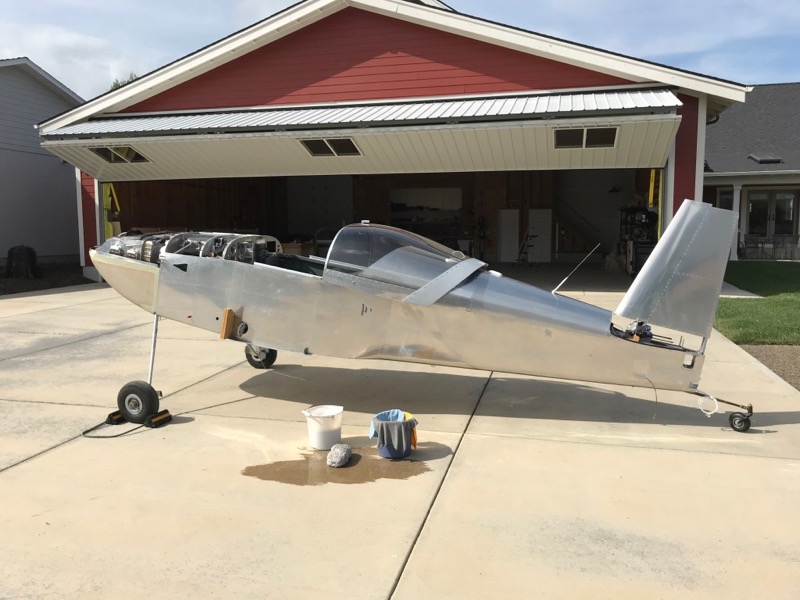
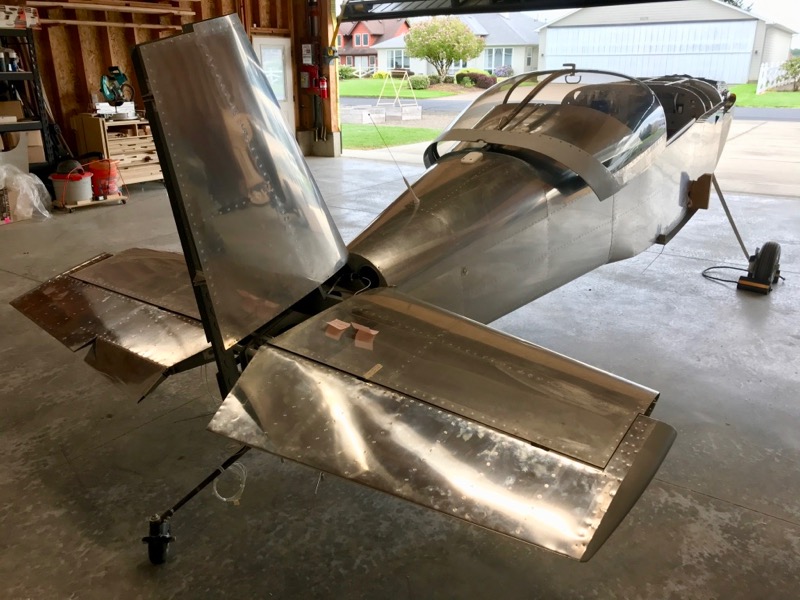
Finally, some work on the airplane! First of all, after being hauled halfway across the country and then sitting in a series of dusty locations for over four years, the fuselage was absolutely filthy. Before trying to work on anything I dragged it outside and gave it a sponge bath:
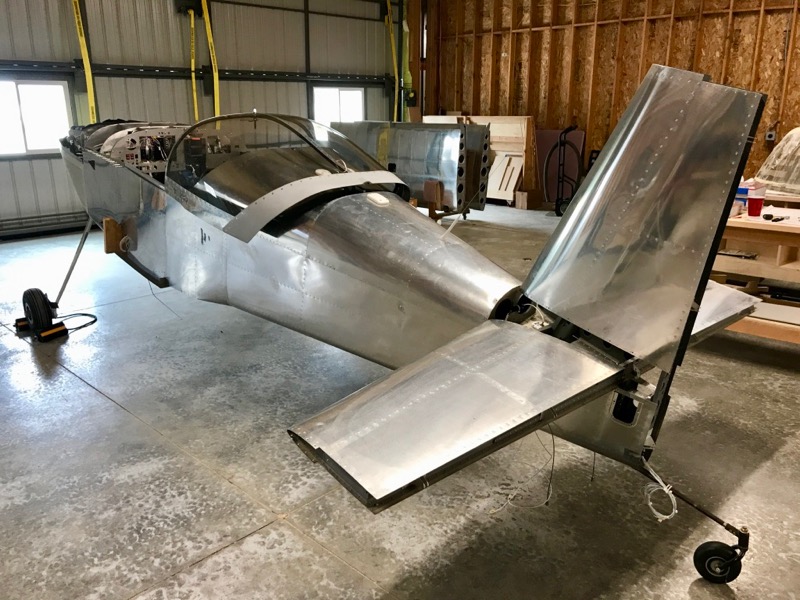
Then I removed the jury-rigged arrangement of wood blocks and clamps that had been holding the vertical stabilizer in place, installed the horizontal stabilizer again, and torqued all the HS and VS mounting bolts.
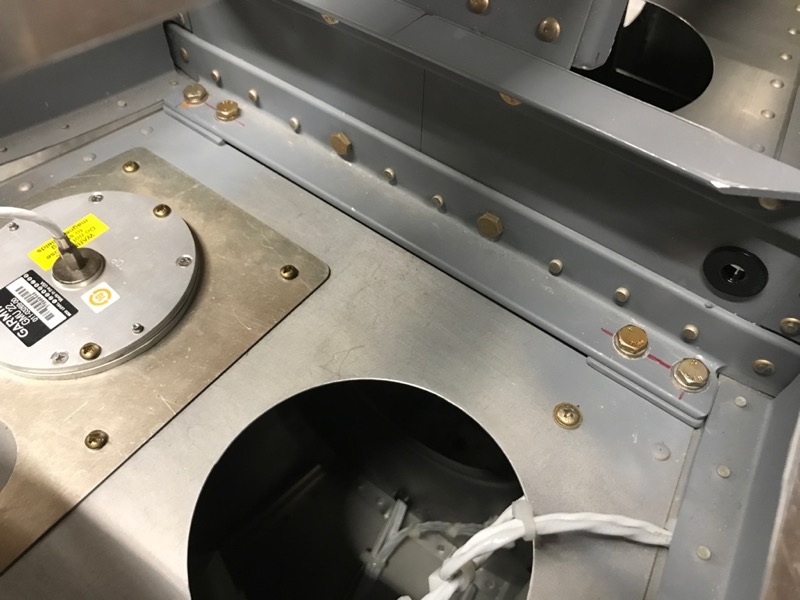
Getting access to all these fasteners to install and torque them properly is a real wrist-shredding exercise. Here's photo proof that I remembered to reinstall the F-798 shims under the leading edge of the horizontal stabilizer:
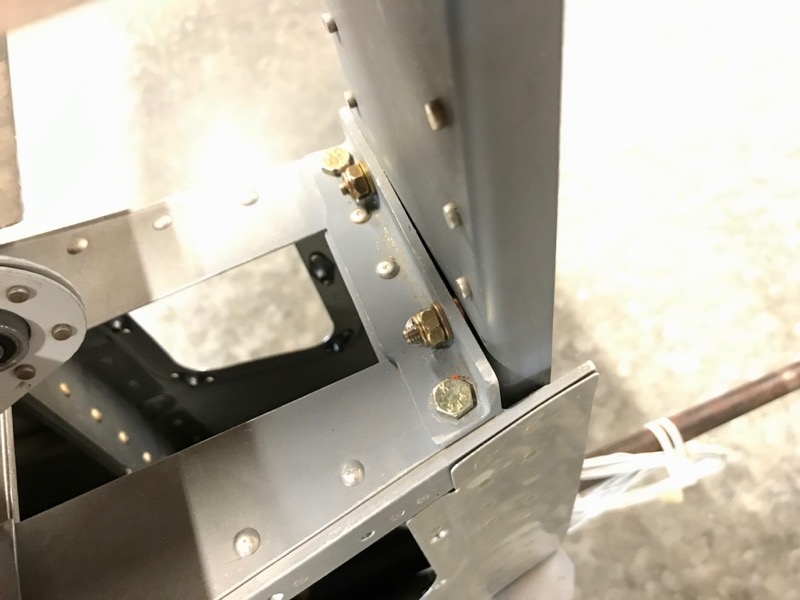
And, the single washer/spacer between the vertical stabilizer spar and the elevator stop on the left side only:
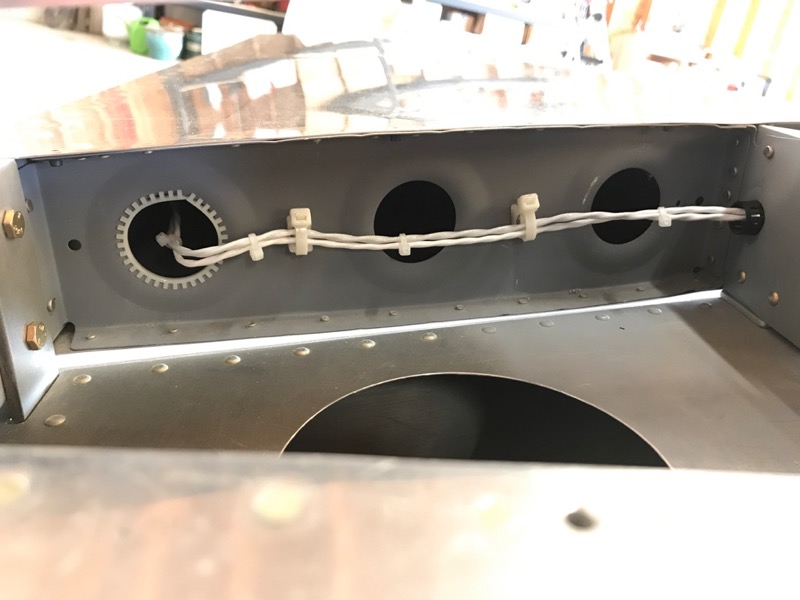
Since I never previously had room to leave the elevators attached permanently, I hadn't yet finished routing the wires to the left elevator for the trim tab motor and position sensor. Now I've tie-wrapped them to the left-side root rib of the horizontal stabilizer, and run them back to the elevator through the previously-drilled bushing hole. I added some nylon grommet edge material to the lightening hole too, which is probably not necessary but makes me feel better.
Here's the left elevator installed with the correct bolts and everything torqued:
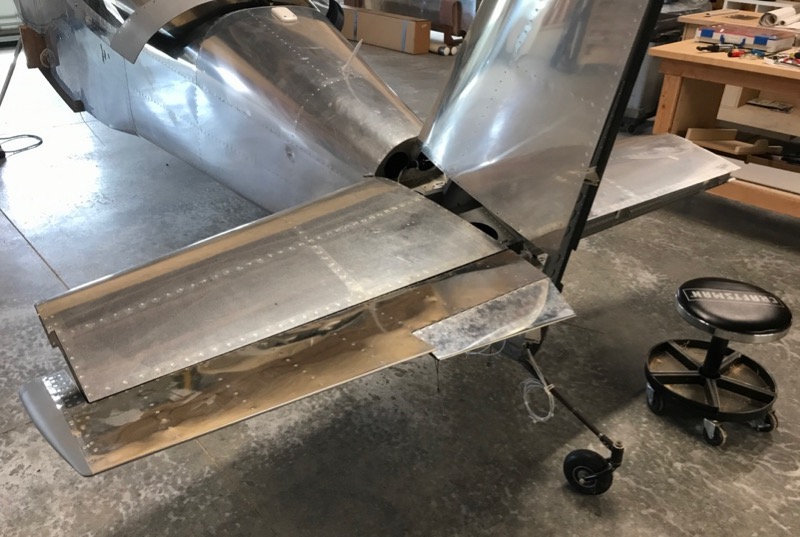
And here's the right elevator installed too. Believe it or not, it took a solid day of work to get to this point from the last photo. Properly installing the elevator pivot bolts and spacer washers is a real exercise in frustration, and you have to take your time and take great pains to get everything exactly aligned or else you'll wind up with unwanted control friction. I must have had the elevators on and off the airplane at least fifty times adjusting various things, but the result is a set of elevators that moves with very little drag.
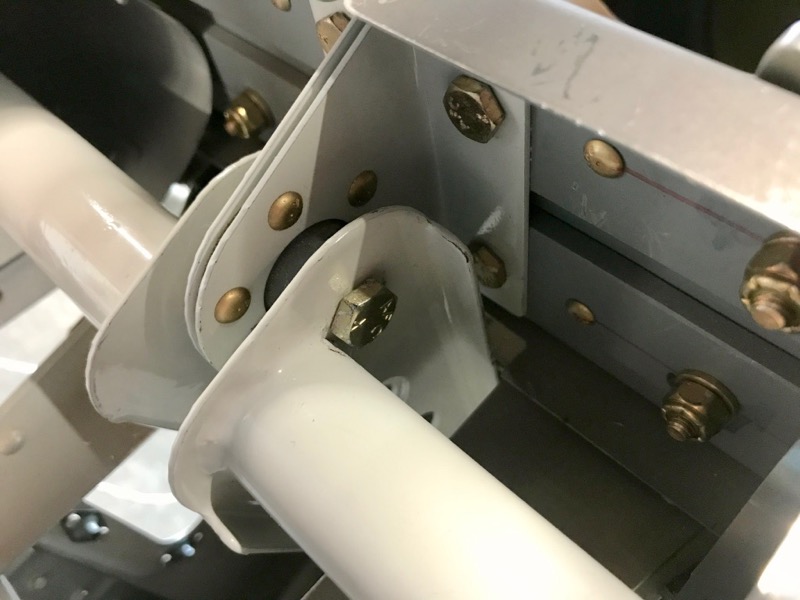
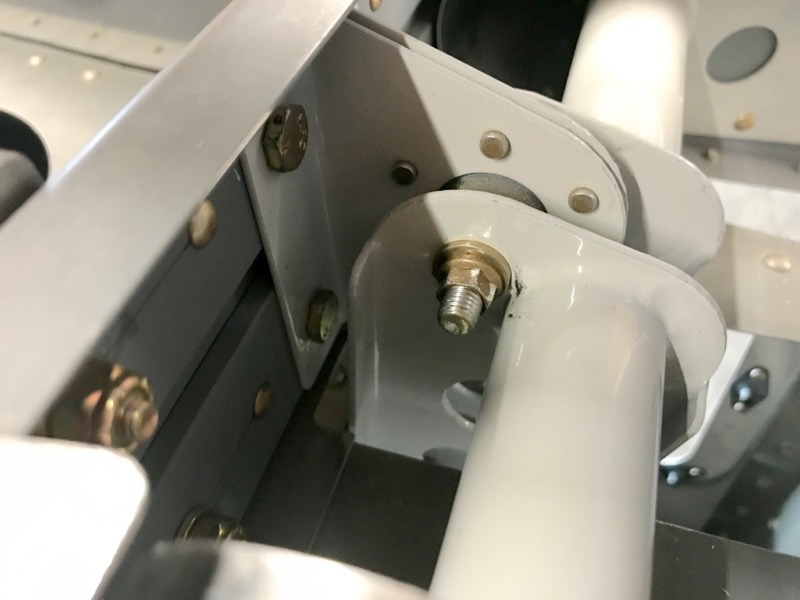
I ran into a trap I unknowingly set for myself years ago… the hole I drilled for the center elevator pivot bolt is awfully close to the torque tube, which means getting a wrench on the bolt head is almost impossible. I ended up making it work with a crow's foot wrench, but it was a close-run thing. In retrospect the plans set you up to fail here, because there's no warning about this possibility, and it's very easy to have this happen if you blindly follow the prescribed dimensions for installing the rod end bearings.
The other side was just as bad – I ended up using a MS21042 metal locknut here in place of the specified AN365, because I was able to get a socket on its smaller-diameter head. Still, it was a real fight, requiring all manner of adapters and flex couplings to make it work. I'm not worried about this fastener substitution, since the specs say you can directly substitute a MS21042 for the equivalent nyloc nut.
The plans are silent on the specifics of how to properly install the elevators, so here are some notes based on my experience:
1. If you haven't drilled the holes for the center pivot bolt yet, make sure you don't place it too close to the torque tube (or the flange, which would be just as bad).
2. Use temporary hardware when fitting the elevators, since you will have them on and off a lot. Plain nuts nuts in place of locknuts will save you a lot of time and effort. Use the proper hardware for the very final installation, obviously.
3. First install one elevator only. Insert the center pivot bolt, but don't worry about the spacers between the control horn and center bearing yet. With the center bolt in place, you want the elevator to be light as a feather, with essentially no resistance. If it binds or drags at this point, you have an alignment problem and you need to adjust one or both rod end bearings. Repeat until the elevator pivots freely.
4. Tighten the nuts on the middle and outer pivot bolts and check for freedom of movement. If the elevator was friction-free after step #3 but starts binding now, one of your rod end bearings is side-loaded. It only takes a small amount of preload in the direction of the bolt axis for the bearings to experience a lot of drag. I had this problem on one side and had to tweak the angle of a couple of the HS-413 brackets slightly. Repeat until the elevator pivots freely with the middle and outer bolts tightened.
5. Now work on the spacer washers between the center bearing and the elevator control horn. You can use washer wrenches to insert washers into the stack, but I found it easier to remove the elevator and just stack the desired number of washers onto the center bolt. When reinstalling the elevator you can carefully slip the control horn over the bolt without dropping the washers. Your goal here is to fill up the space between the center bearing and control horn with whatever combination of -10 and -10L washers will fill the gap exactly, without making it so thick that it side-loads the rod end bearings (and don't forget the 5702 washers shown in the plans!). I found it helpful to mic the thickness of a stack of washers before installing. Also remember that a -10 washer is not exactly twice the thickness of a -10L, so you can substitute two thin ones for a thick one and end up with a slightly different measurement. Repeat until you think the gap is filled and the elevator is free to move, which indicates that your stackup of washers is probably not too thick.
6. Temporarily use either a bunch of extra washers or a shorter bolt in the center bearing so you can tighten it down and test how your spacers work when the bolt is tight. If it starts dragging at that point, your stack of washers is not thick enough, and the bolt is pulling the elevator towards the center.
7. Once you're satisfied with the first elevator, repeat steps 3-6 for the other elevator.
8. Install the final hardware and torque everything properly – remember to clamp the counterweight arms in trail with the elevator tips first.
And after all that, if the elevator doesn't move like you want it, start over and keep at it until it works right. Now you see why this took me all day…