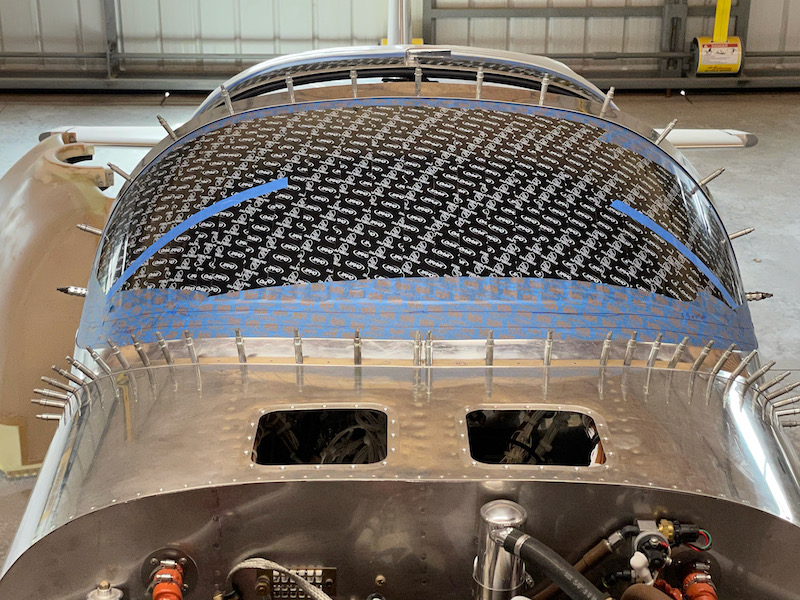
Now that I have all three pieces of the windscreen fairing more or less fitted to the airplane, the next step is to trim the remaining edges to their final dimension. The curve around the base of the windscreen was always going to be the hardest, since it's a compound shape that resists the use of traditional layout tools. I wanted this to look really good, since it will be one of the first things you notice when you walk up to the airplane, so I didn't want to just freehand it – I had to use some kind of edge to mark the cut line. The last few inches at the rear can be marked with a regular straightedge, but how to draw a smooth and symmetrical curve up and over the windscreen was a real head-scratcher.
For this you need something stiff but flexible, and it has to be able to bend in multiple directions, so my usual go-to long flexible straightedge wouldn't work. A length of nylon tubing seemed like a promising approach at first, but I didn't like the results I got from trying to mark a straight line using a piece of round tube. I hunted all over the house to find something suitable, and even took a couple trips to the hardware store, before I stumbled upon a workable idea. It turns out that a piece of exterior door weatherstrip is almost perfect for this. The kind with a hard rubber edge, normally meant to fit into a kerf slot around a door, has just the right combination of rigidity and flexibility to lay out a nice curve, and the flat edge makes it a no-brainer to draw a line against. You could probably walk over to your nearest exterior door and pull a length of this stuff out of the jamb, but I happened to have a piece stashed in the attic, so I just used that. Or just go buy a piece from your local home emporium, and then as a bonus you can use it to replace the old worn-out weatherstrip in your house.
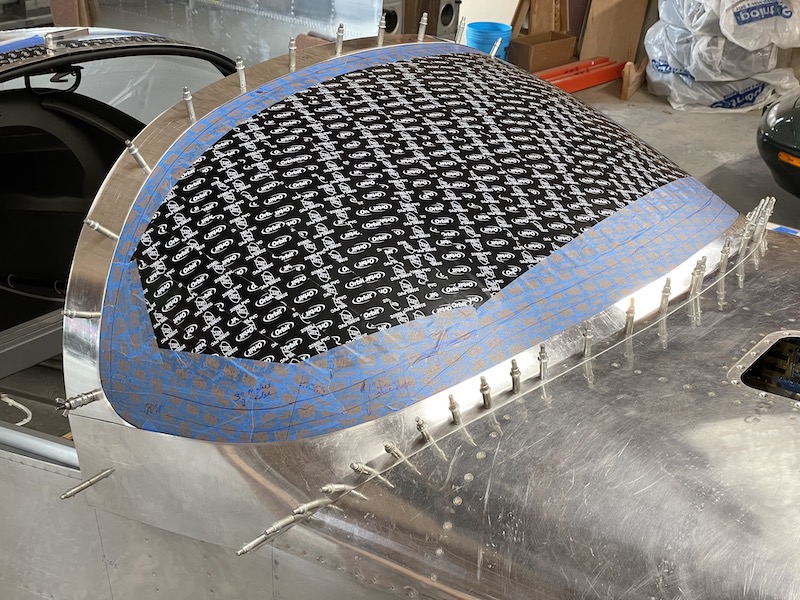
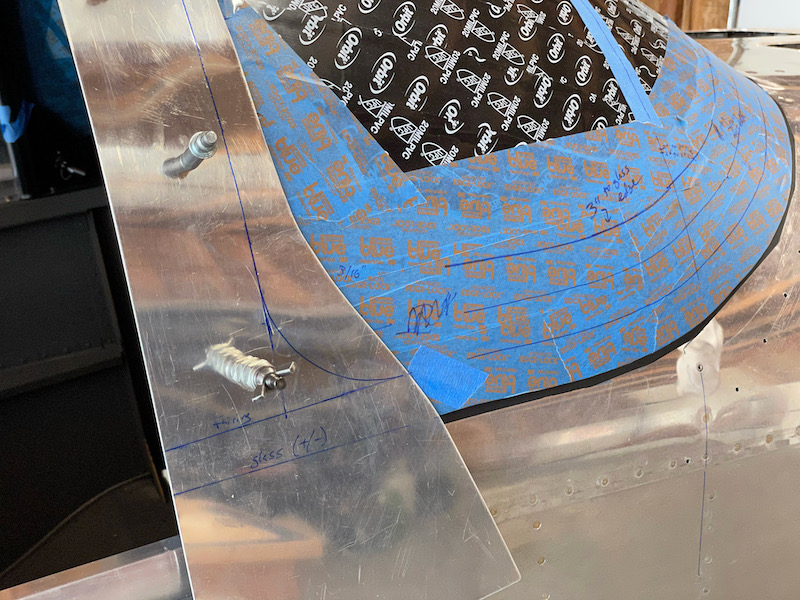
I put some small reference marks in several places on each side of the windscreen, so I could be assured of getting a symmetrical shape. You can also see here where I marked a red line on the fairing, which is 1" up from the edge of the plexiglass all around the base of the windscreen. That helped me avoid trimming too much, which would have been a catastrophe.
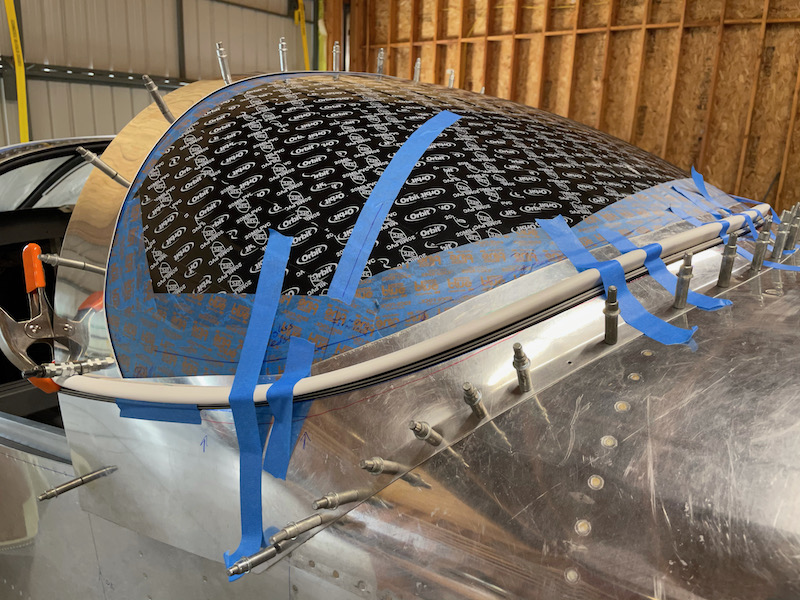
Then I just clamped and taped the weatherstrip in place, lining it up to the reference marks, and it automatically connected the dots into a smooth curve. I got up on a ladder to eyeball it for symmetry, and it looked really great. From there, tracing the edge of the weatherstrip with a sharpie couldn't have gone better.
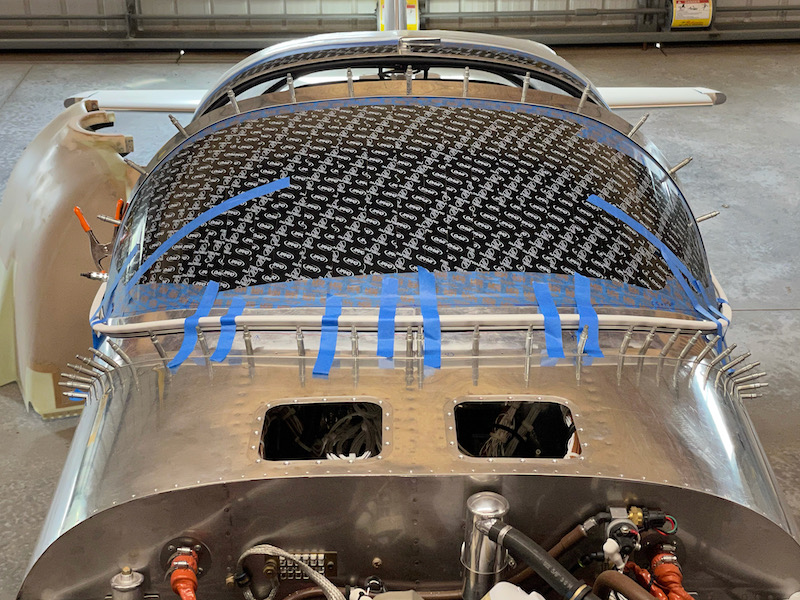
I didn't photograph the process of trimming the top of the windscreen base fairing, but it was the usual drill with snips, files, and deburring tools. Here's the final result, which I'm very happy with. The overlap between the fairing and windscreen is 1" or better all the way around, and the shape looks really good.
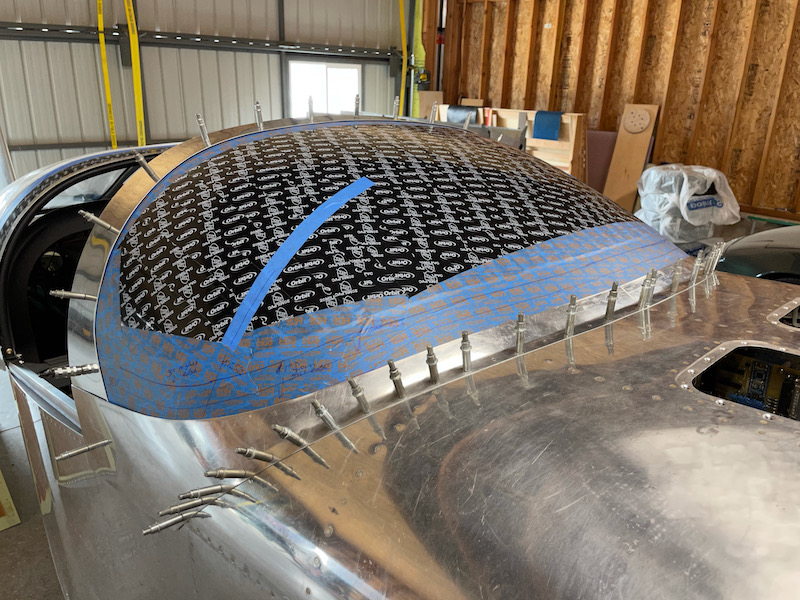
Back up on the ladder, here's what the end result looks like. I'm very pleased with how this turned out:
Now back to the rollbar fairing… I marked a new cut line to trim the forward edge, with a radius at the bottom to give a nice-looking transition to the windscreen base fairing:
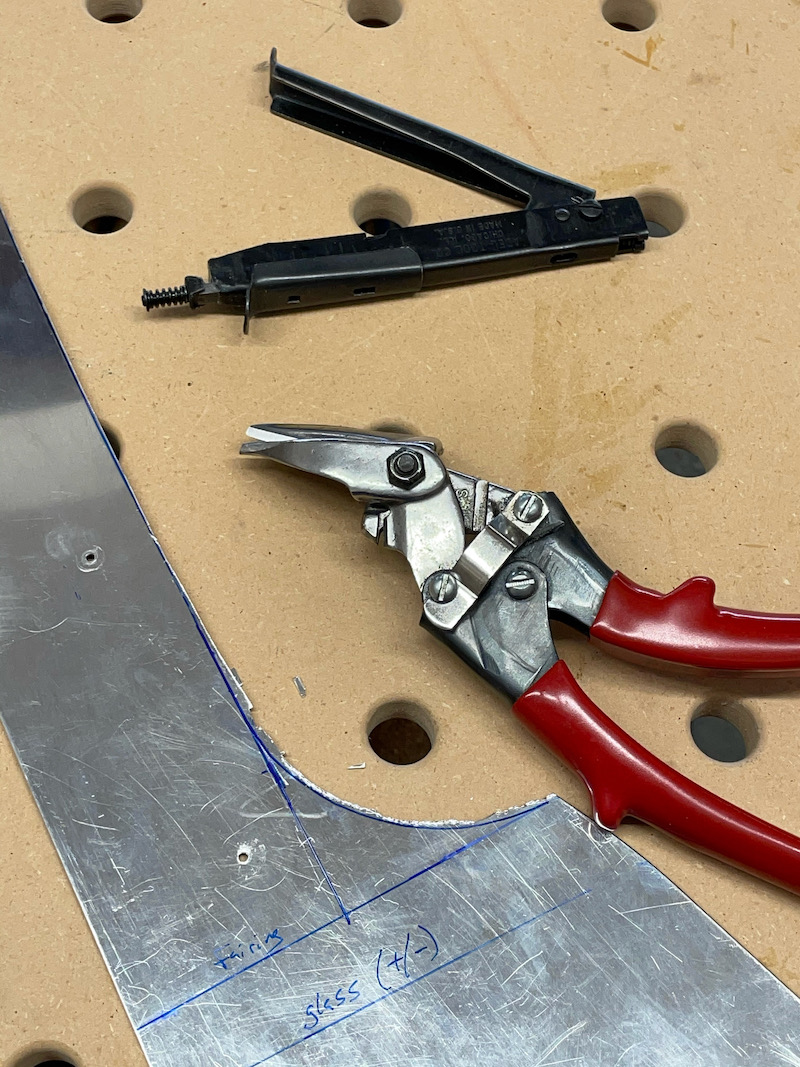
To cut the inside corner I used the nibbler to sneak up to the edge, then did the usual grind/file/deburr thing:
It took a few iterations but I'm happy with how this looks:
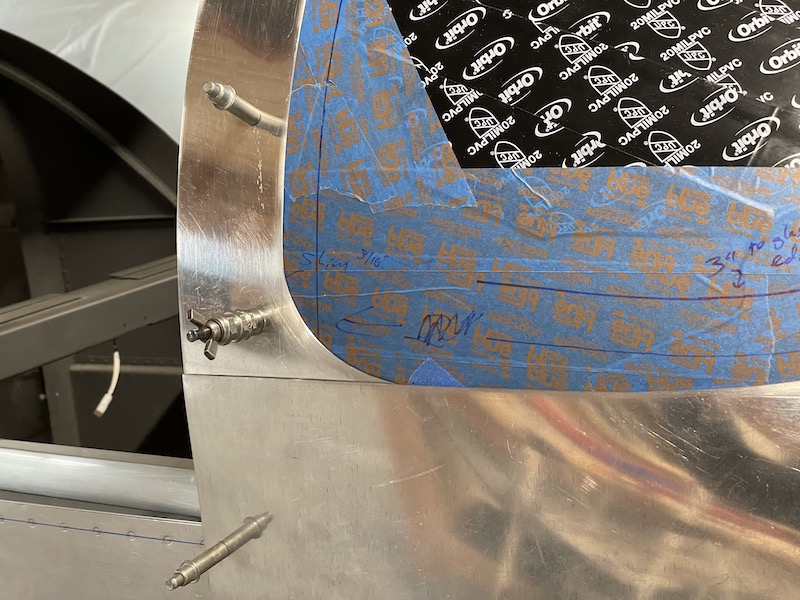
I still need to do some work at the bottom corners along the longerons, but otherwise I now have all the fairing edges trimmed to their final shape. Looking good so far: