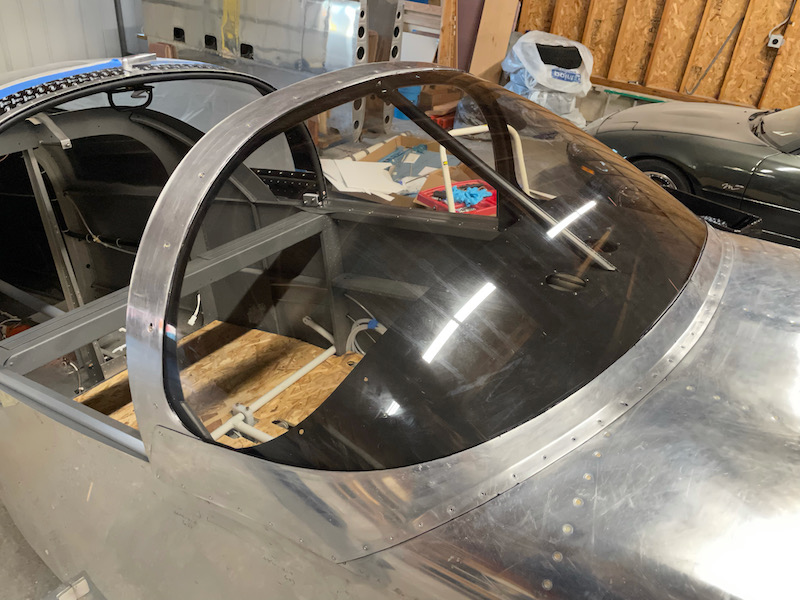
In exchange for a free burrito lunch, I convinced a friend to come help me install the windscreen and fairings. An advantageous deal for me, since a second set of hands is really a necessity for this job. You're working with adhesives and chemicals that want to get all over everything, and once you start applying the glue you're on a time clock. Fortunately the Sikaflex adhesive has a pretty long working life, but you do have to keep things moving along.
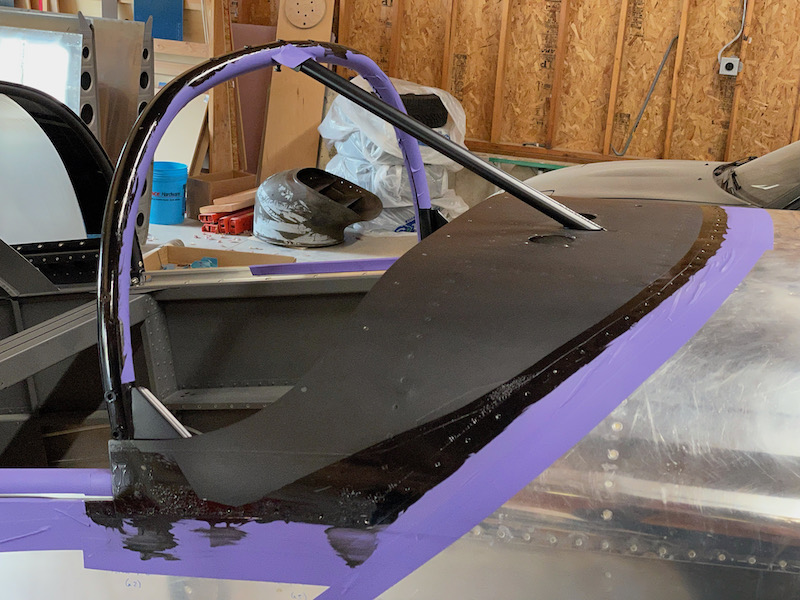
First, we wiped down all the glue surfaces with 205 Aktivator, followed a few minutes later by 209D primer. Having a second person on standby to wipe up drips before they flash off is key for the vertical surfaces:
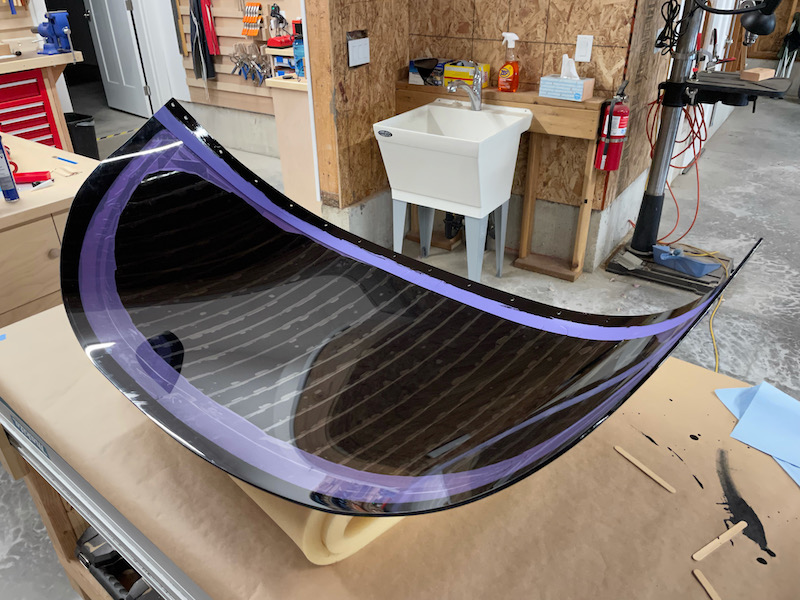
My assistant held the windscreen glass up in the air while I primed the edges. Since all the edges had wet primer on them, we set it on a stack of foam to cure without touching the table.
We also primed the glue lines on the inside of the aluminum fairings:
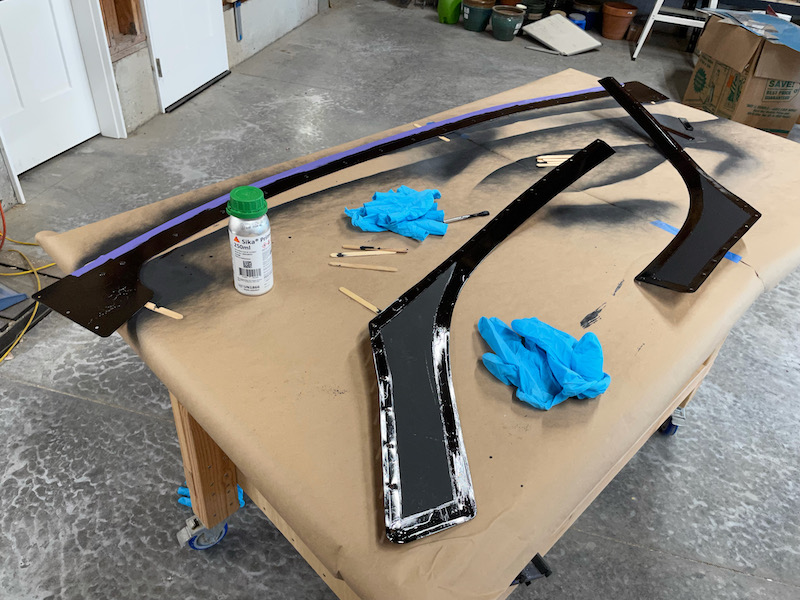
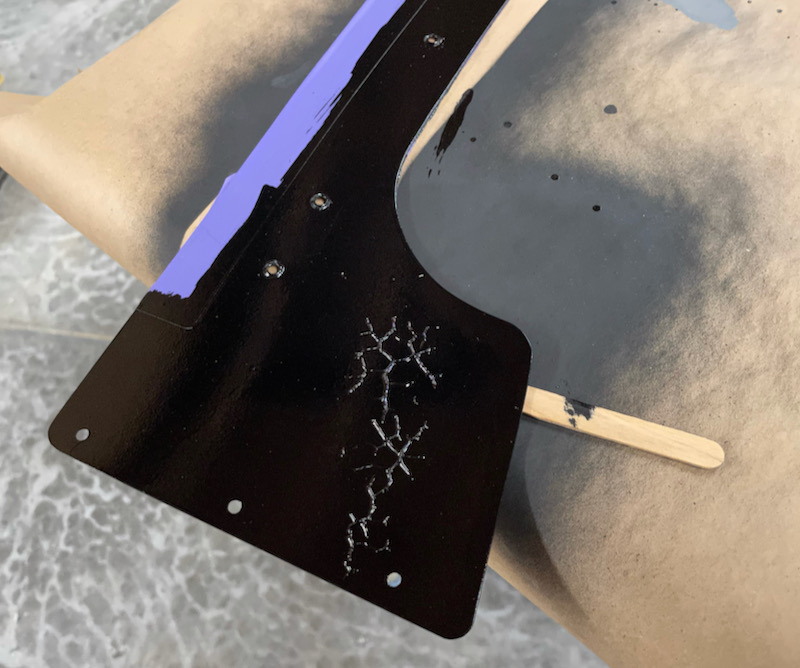
A worrying development – the solvent in the primer (strong stuff, from the smell of it) caused the black paint on the fairings and fuselage to wrinkle. But at this point we were committed to proceed, and the affected areas are only cosmetic and shouldn't be visible anyway, so we pressed on. Next time I will be more careful about keeping the paint and primer separated, or else removing the paint in areas that will be primed.
Not a lot of in-progress photos from this point on, since we were busy making a mess. First we set the windscreen glass onto the fuselage – dry, no glue yet – and glued/screwed the top fairing strip starting from the center and working down both sides, not forgetting to install the silicone bushings in the screw holes. Then we smeared the glue for the windscreen base fairings onto the fuselage and glass, as seen here:
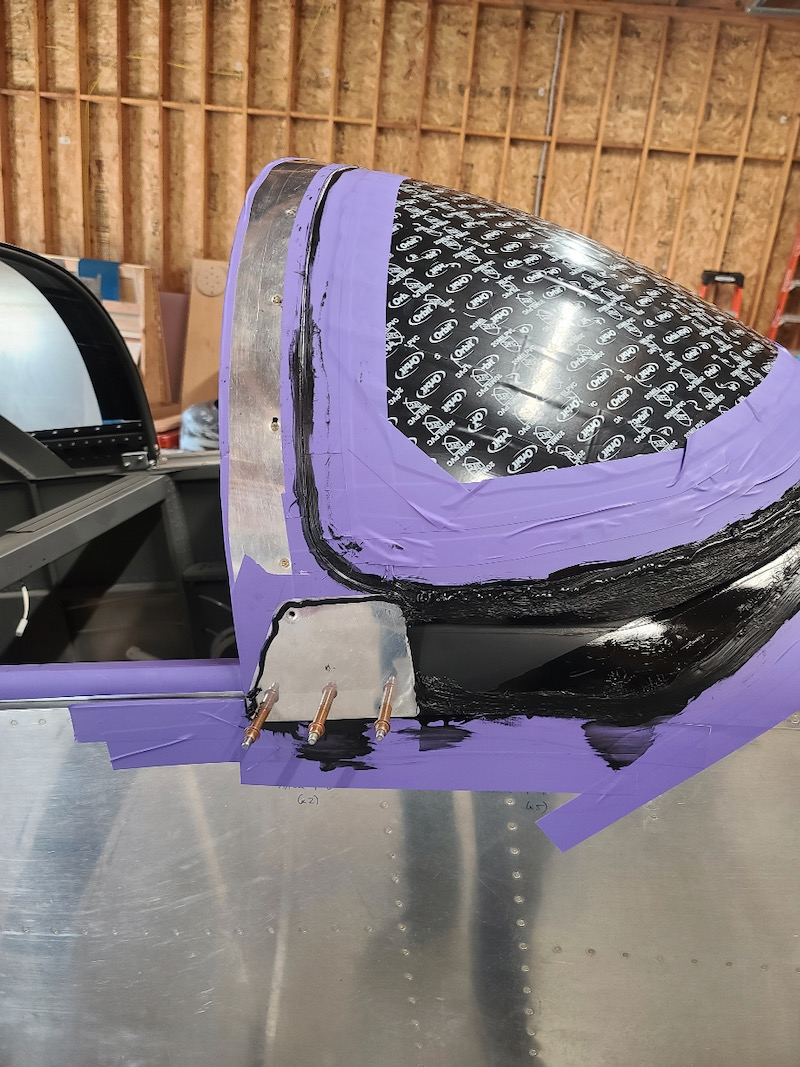
I clecoed the fairings to the fuselage and pressed them down onto the glass to get a good amount of squeeze-out:
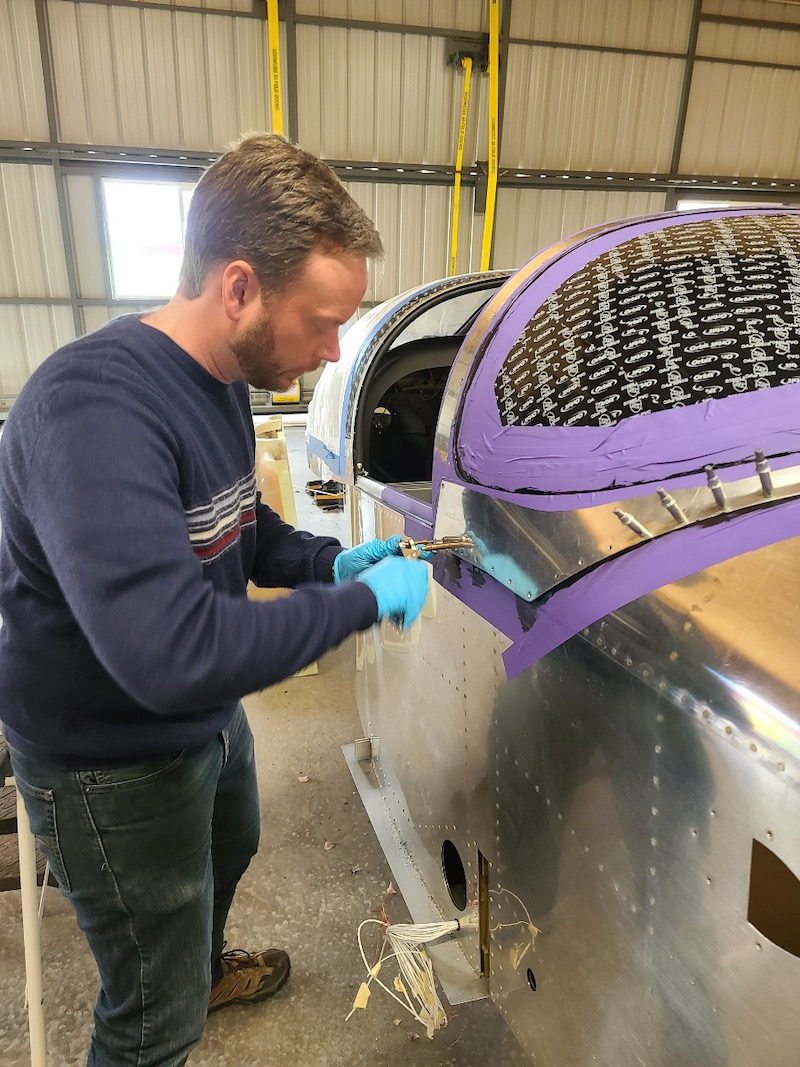
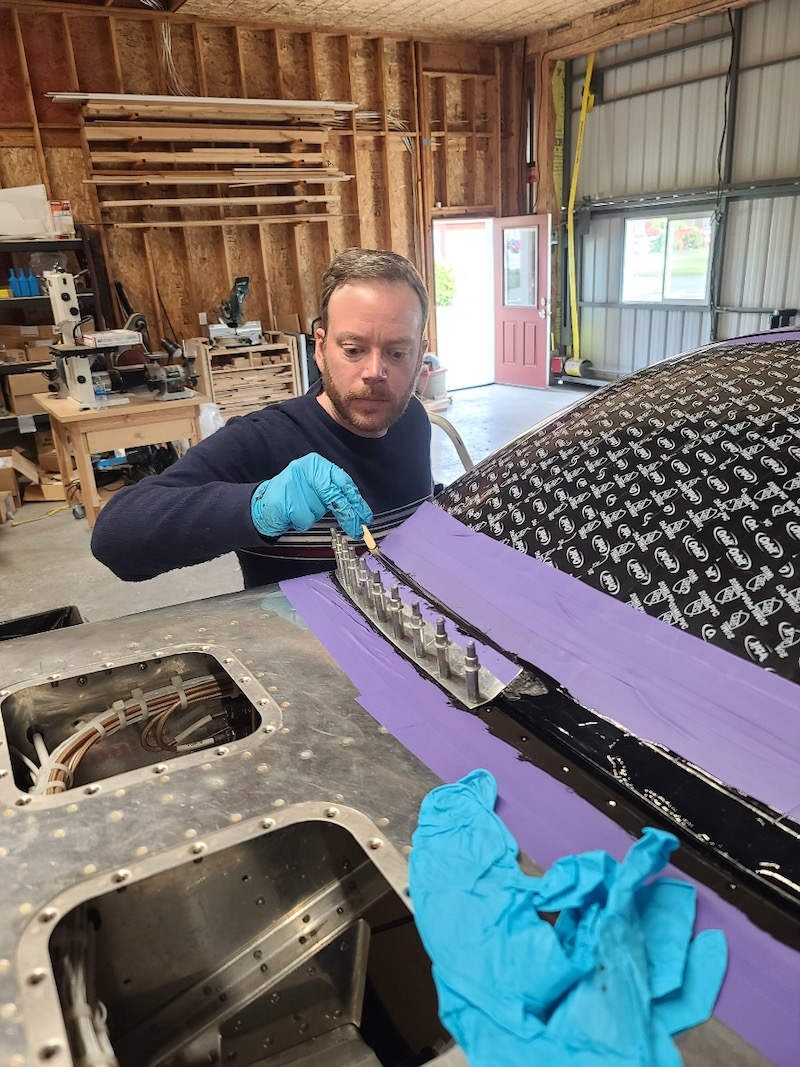
I used popsicle sticks to clean up the excess adhesive and tool the edges:
Then we installed all the rivets (MK319's along the front, AACQ-4's along the longerons), cleaned up more squeeze-out, tooled more edges, and then finally removed the masking tape. I also laid in a thick bead of adhesive on the aft face of the rollbar where it meets the glass inside the cockpit, but didn't get a picture of that step.
And now at last, the windscreen and aluminum fairings are attached for good!
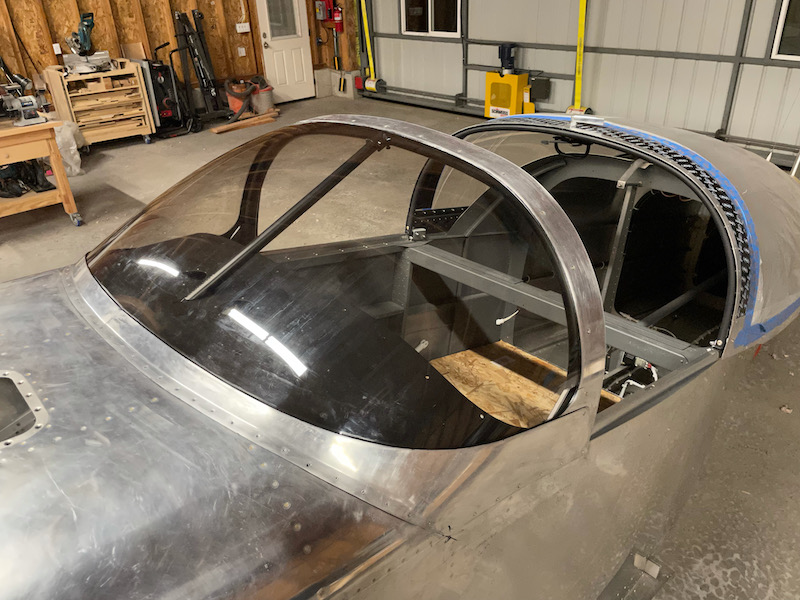
I'm really happy with how this looks:
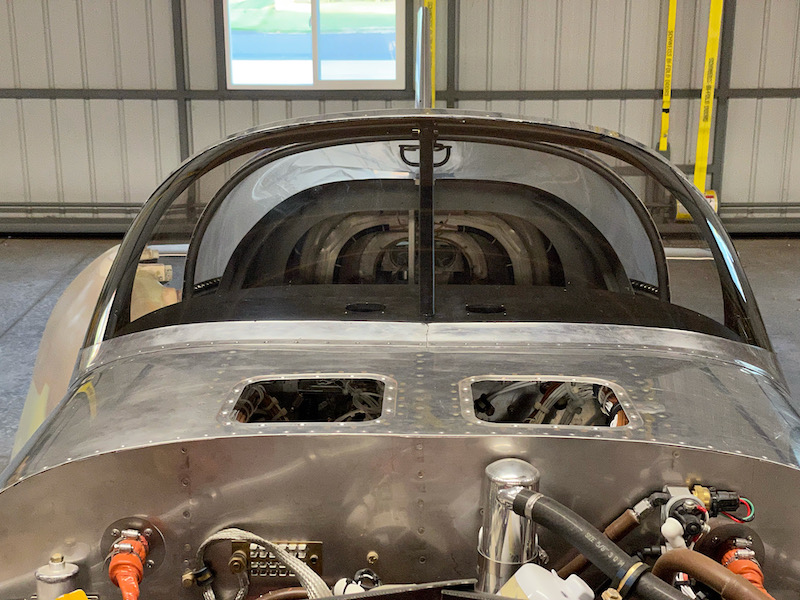
In various places I will have a bit of cleanup to do after the glue is fully cured. But the nice thing about Sikaflex is that it won't stick anywhere that there isn't primer, so I should be able to just rub these little rubber chunks off the aluminum like stray dabs of rubber cement.
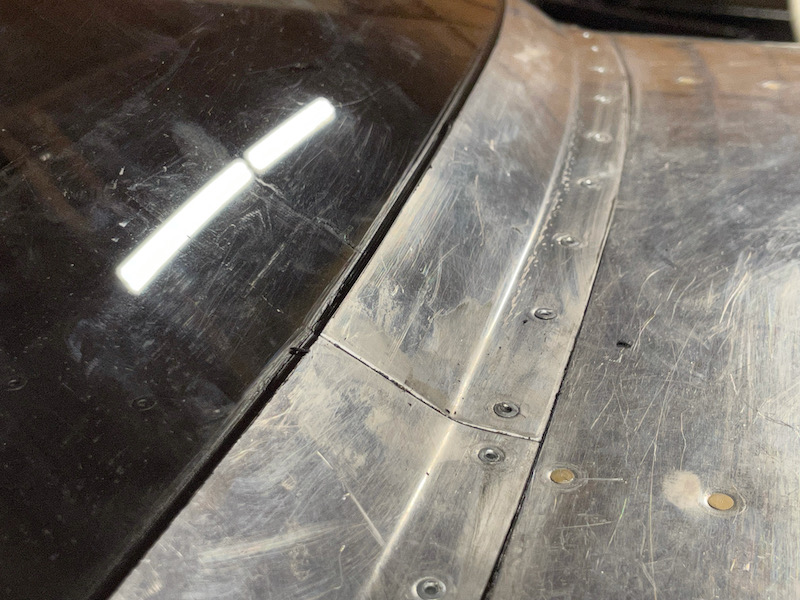
Photographing the adhesive bead under the aluminum fairings is difficult, but I'm happy with the result. The black spot near the rivet in the foreground is a drop of primer that leaked through the rivet hole from the back side. That will be difficult to completely remove, but easy enough for the painter to sand down and paint over.
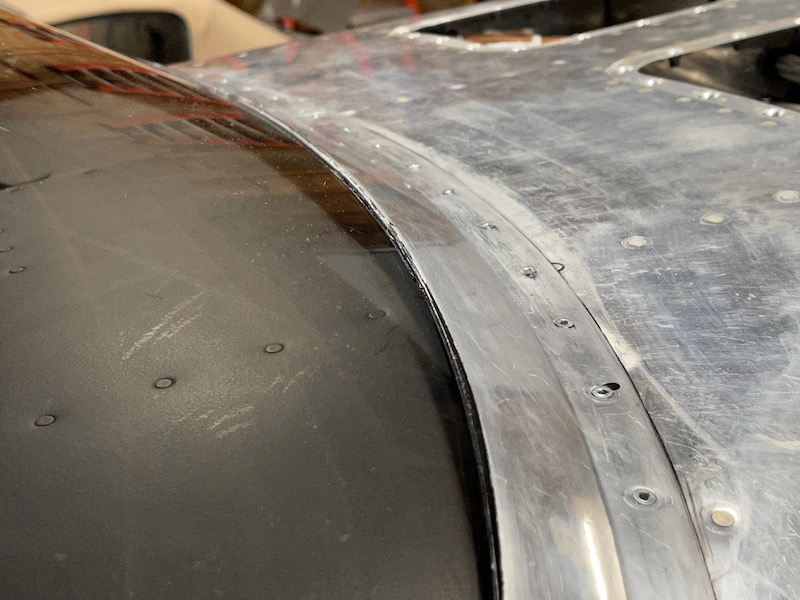
Here's another primer oops-spot on the top fairing strip. There's also a line of unwanted glue on the glass due to some remedial last-minute post-masking-tape-removal tooling, but I can already tell that it will rub off cleanly once it's fully cured.
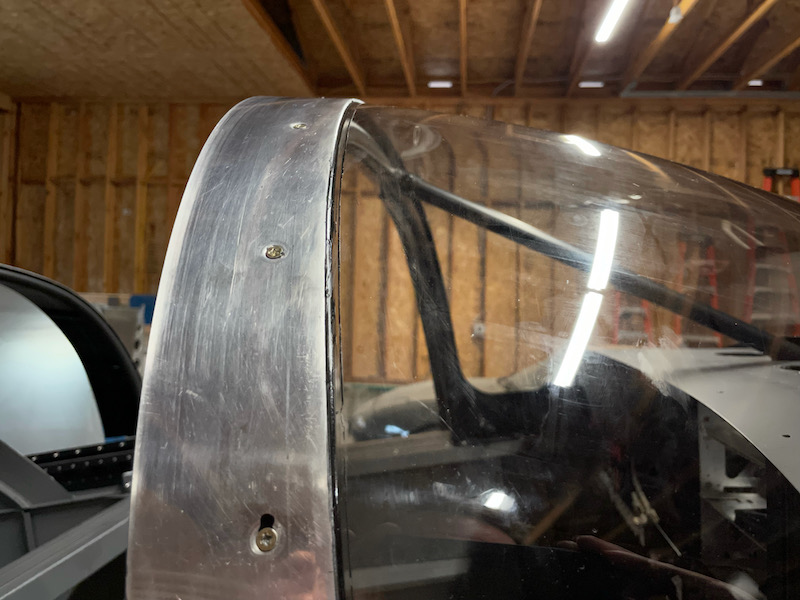
Inside the cockpit, I was able to achieve a great-looking fillet with nice straight edges. I used a gloved finger for the radius here and the result is very nice.
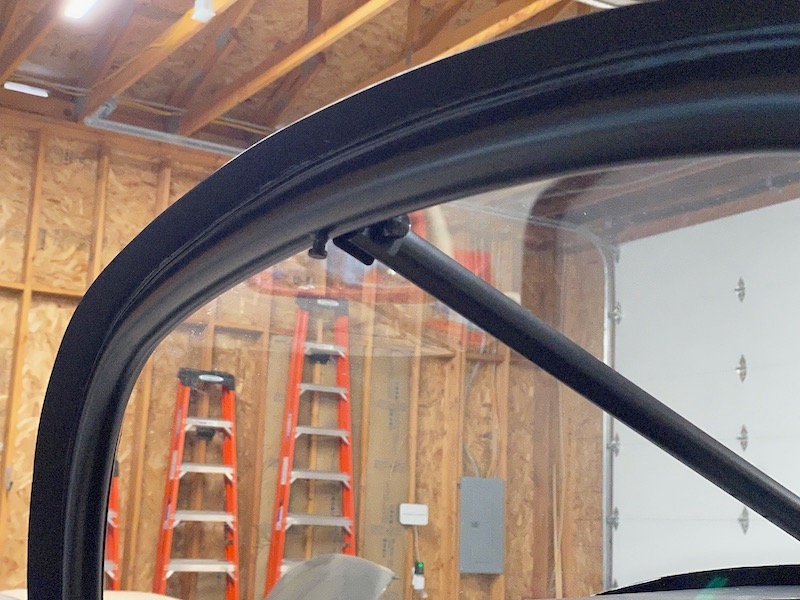
From inside the cockpit, the bottom edge of the windscreen is totally opaque, so you can't see any of the glue where the fairings are bonded. However, in spots where the plexiglass doesn't fully contact the fuselage skin you can still see the edge of the glass, with a glue bead visible in the gap. It's not really visible in photos, but I still have an idea for how to address this cosmetic imperfection to make it look better.
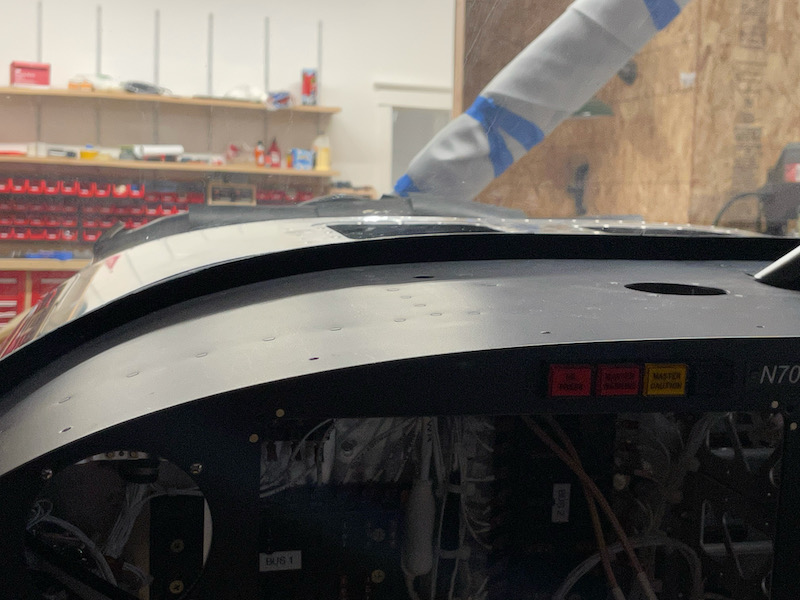
One more picture of the finished result, just because it looks so great. What a milestone!
