I know, I haven't updated this for too long… been busy with other things, as usual.
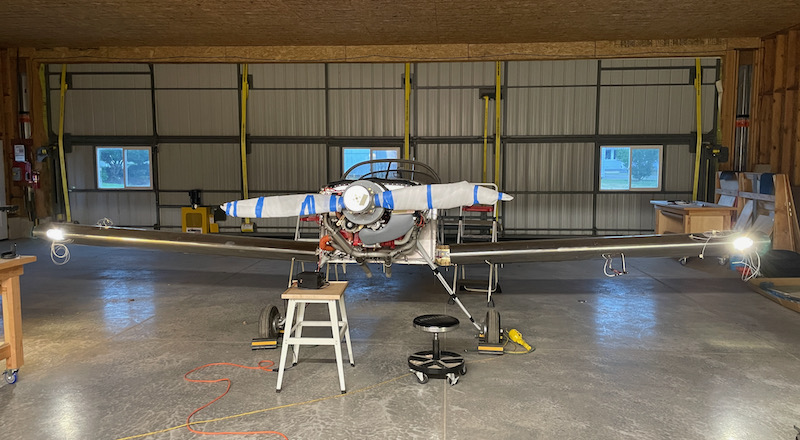
After attaching the wings to the fuselage, I spliced the wing wires into the fuselage wires – a job that was electrically simple but mechanically tedious due to having to work in the confines of the under-floor area.
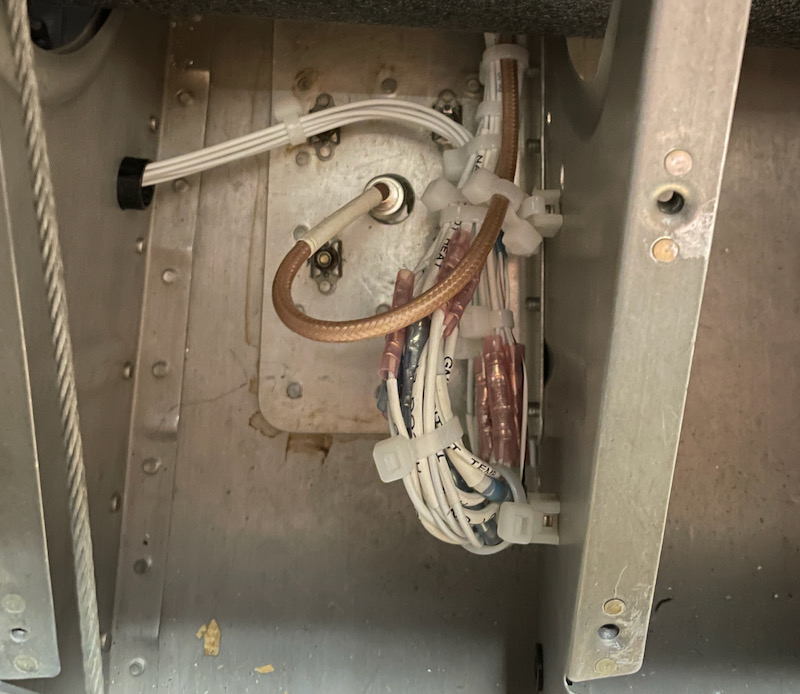
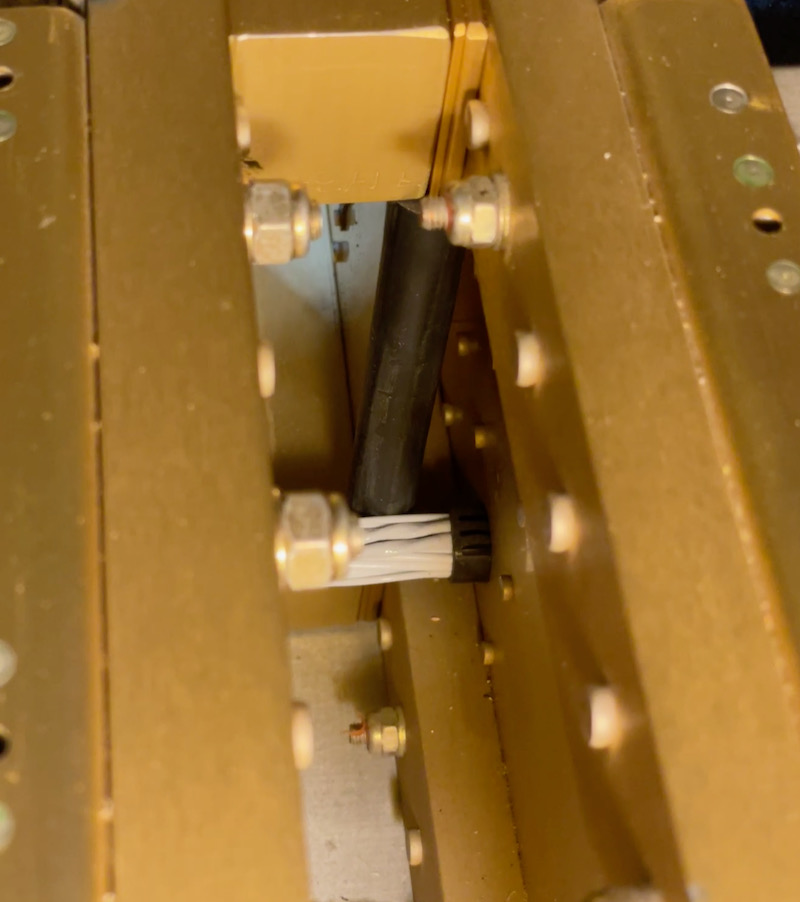
It's difficult to see here, but I slit pieces of rubber fuel hose and slipped them over the inboard edges of each spar web. This is to protect the wire bundles that run through the pre-located holes, which were uncomfortably close:
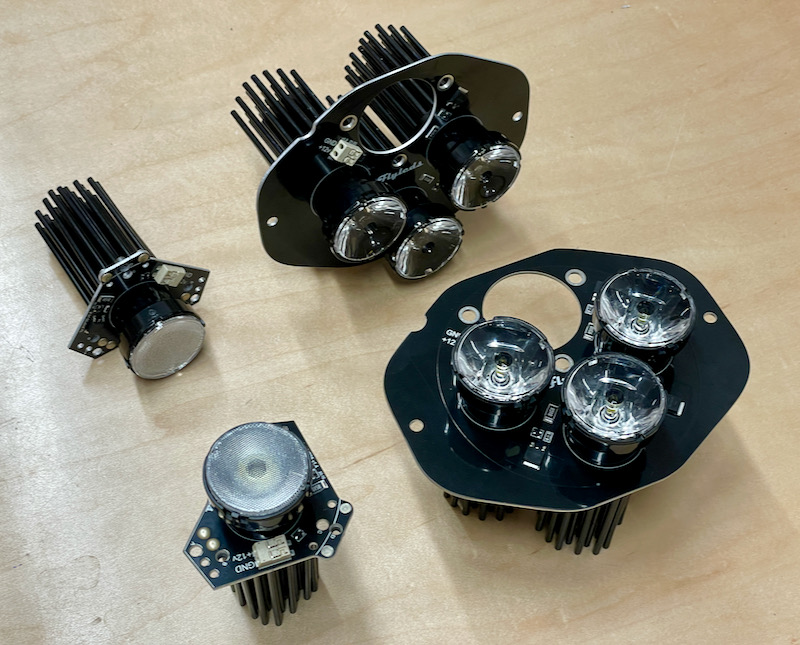
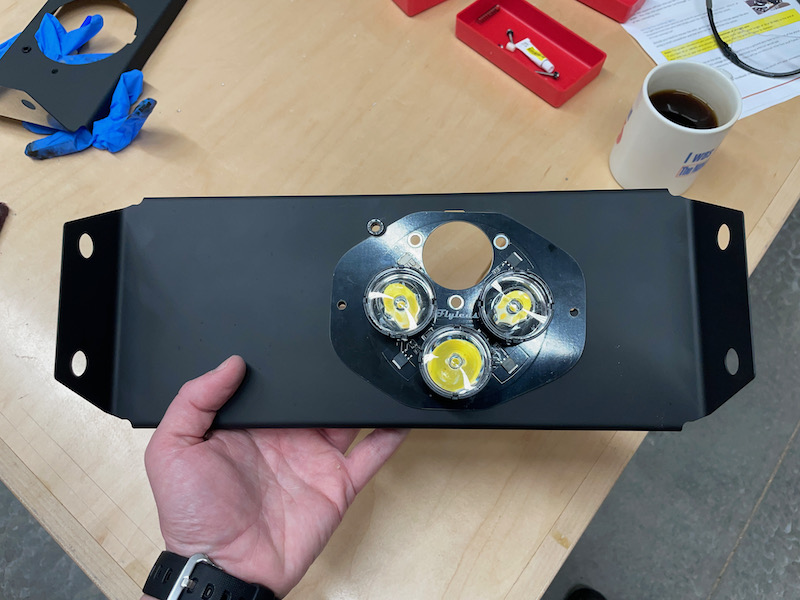
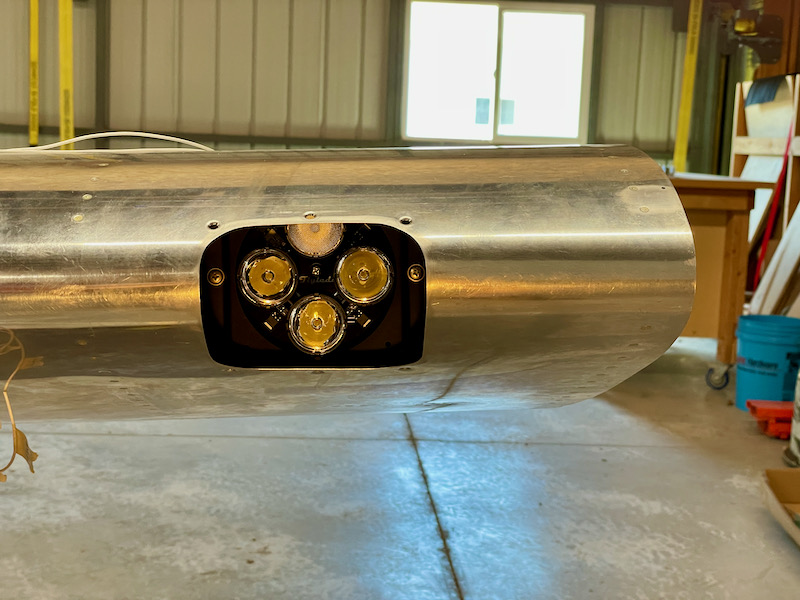
Given that technology is moving faster than I am finishing this airplane, LED lights have become commonplace, so instead of reinstalling my old HID landing lights I opted for a pair of Flyleds combo landing/taxi lights. These are next because they combine the functions of both landing and taxi lights, with the latter canted downward for proper alignment in taildragger applications like mine.
I was a bit surprised that this lighting kit requires you to cut and grind on the assembled PCBs to make them fit, but I managed it without destroying anything:
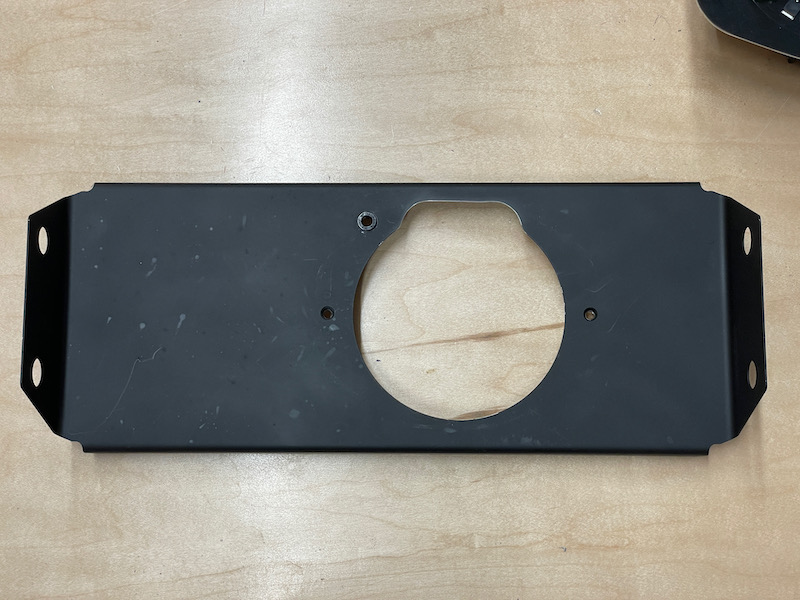
I had to modify the opening in the Duckworks mounting brackets to allow the taxi lights to fit:
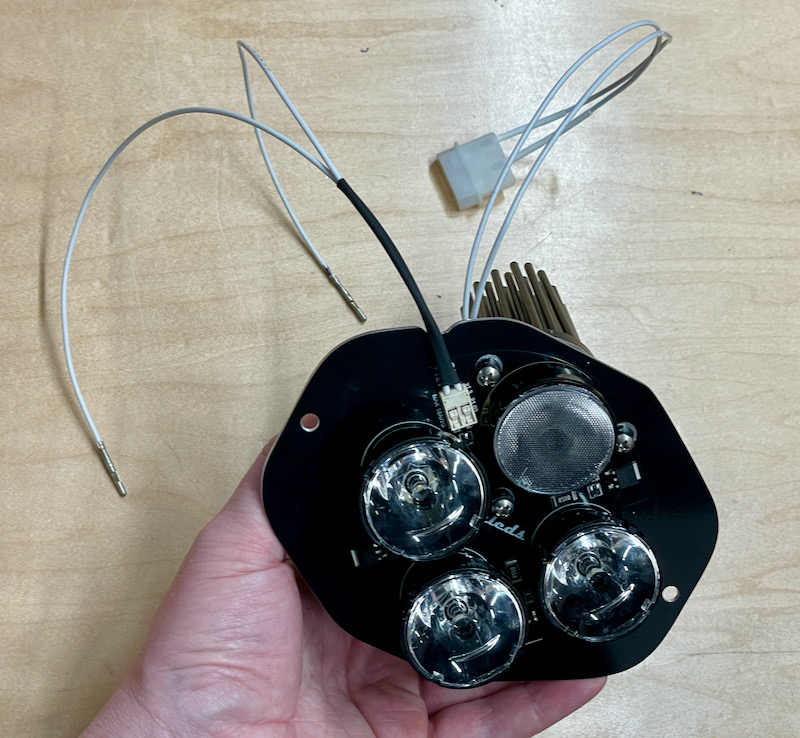
I added a wiring grommet in the mounting bracket, with a matching notch in the main PCB. Frankly I don't love this solution, but given that the wiring connections attach to the front side of the lights, this is the best I could come up with.
I added 4-pin Molex connectors, with the landing light pins being inserted after installation. This will make future removal a challenge, but that's a problem for future me.
Looking through the wingtip rib lightening hole, this is what the light unit looks like installed. It doesn't fit through the rib but does just barely fit through the lens cutout in the wing leading edge. You can see how the taxi light is angled downward, which results in it being more or less level in the taxi attitude.
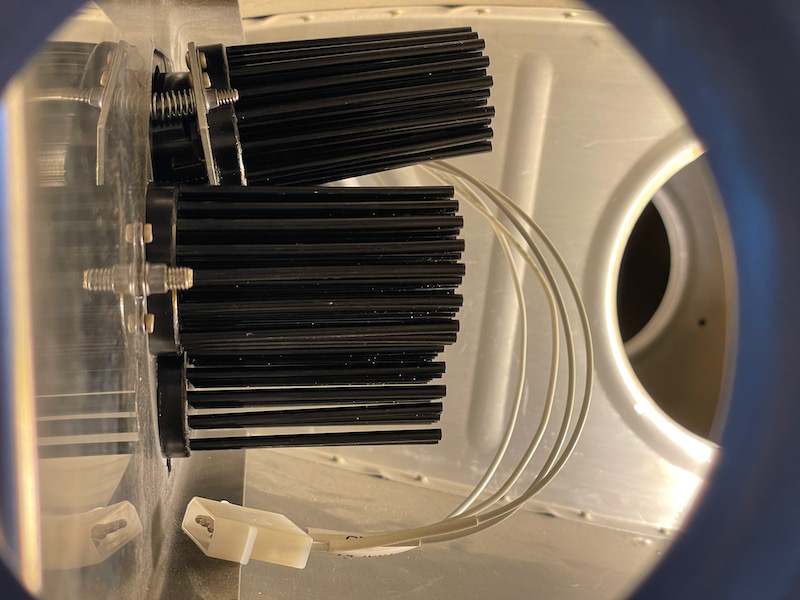
View of the installed light prior to attaching the lens:
Final result: