While waiting on some parts to arrive I spent a weekend on one of the million little jobs on my seemingly never-shrinking todo list… improving the fit of the empennage fairing.
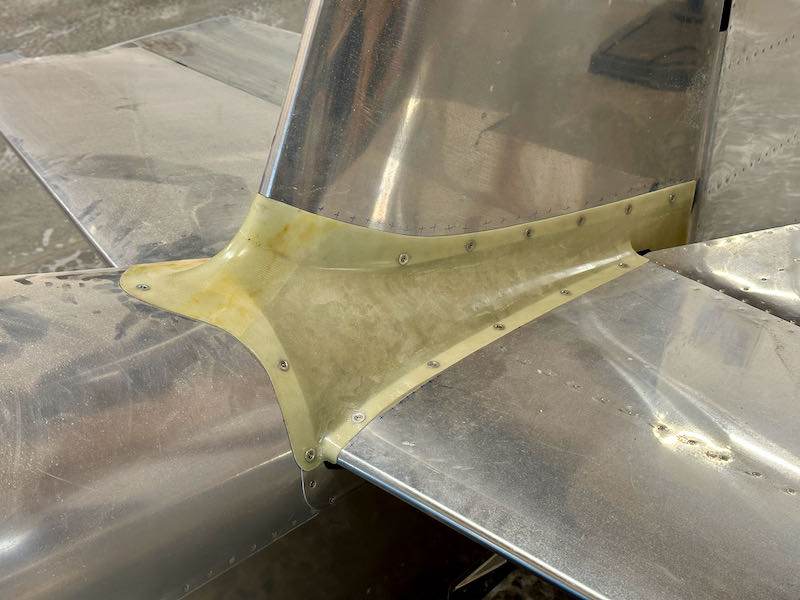
Maybe they've improved the quality of these parts in recent times, but the fit of my empennage fairing has only ever been "just okay". Look at that wavy gap along the top seam where it meets the vertical stabilizer:
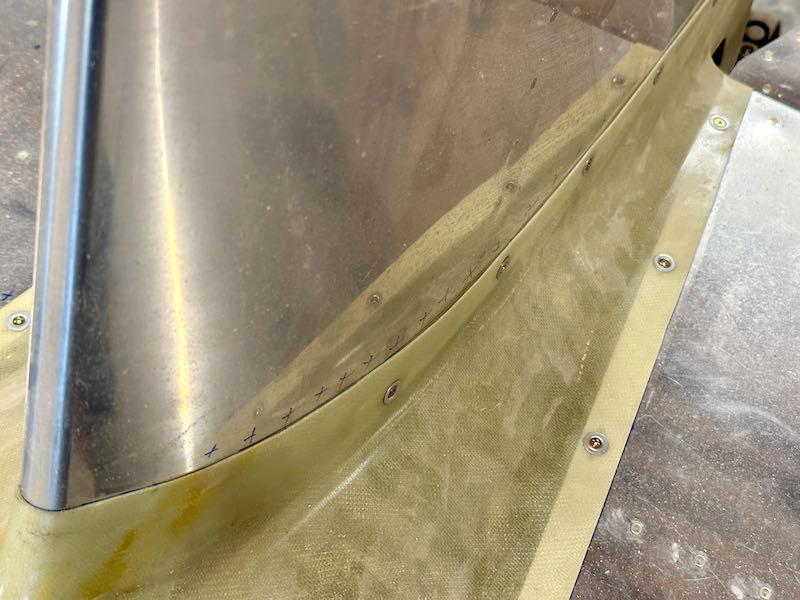
I also have some problems at the leading edge of the horizontal stabilizer on one side:
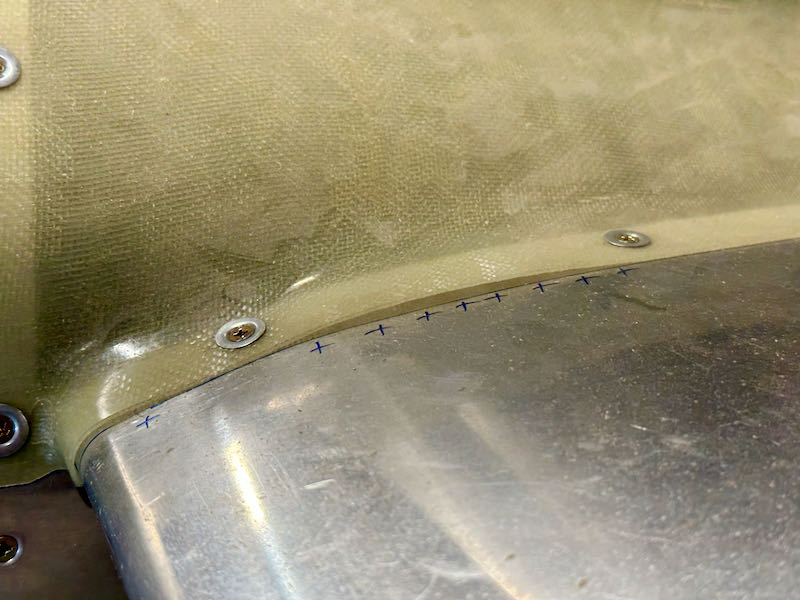
I marked the areas that needed building up (visible in the photos above) and laid down a protective layer of clear tape over the metal parts. Then I mixed up batch of filler (epoxy, flox, microballoons, and cabosil) which I spread over the inside face of the fairing before I screwed it in place.
The FAA wants me to show my face in the build log periodically, so here I am declaring that sanding fiberglass is a messy job.

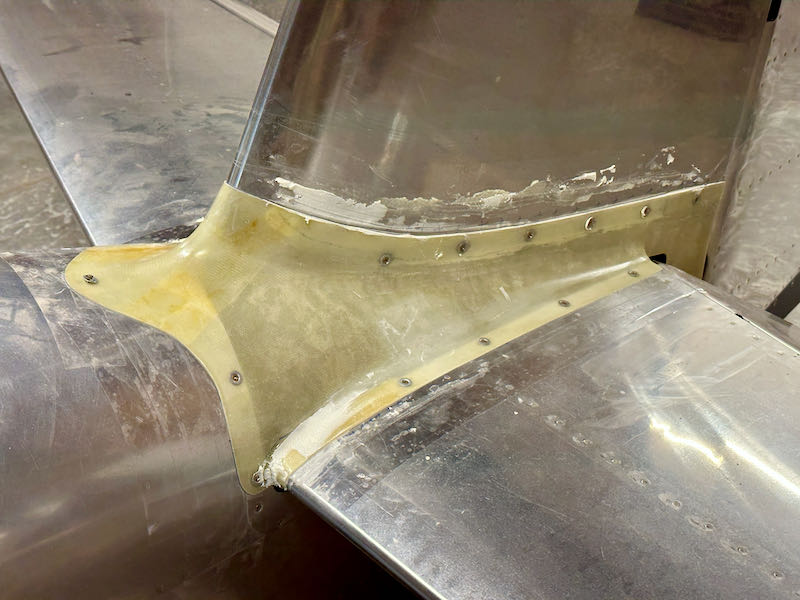
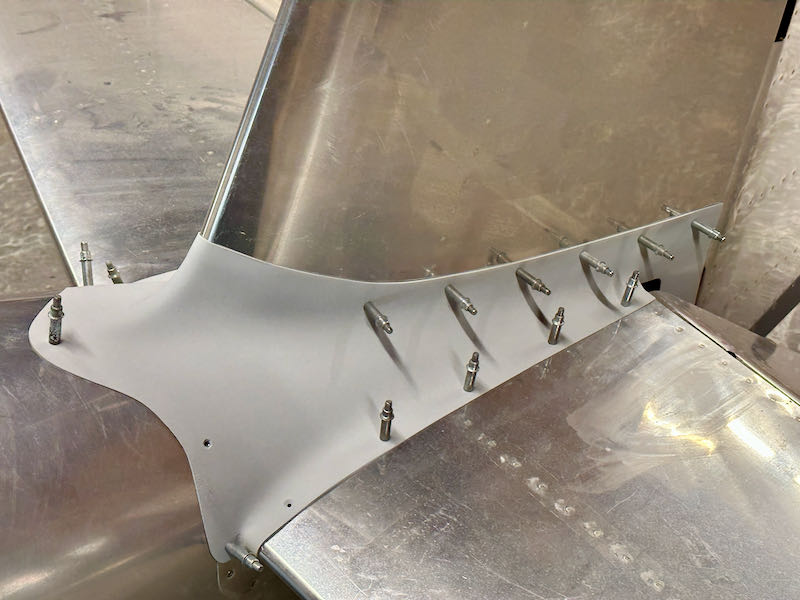
I repeated the above process a couple times before I was satisfied with the results. Here's the result after sanding to 220 and shooting with a primer coat just to gauge the finish. It's not perfect but it looks a lot better:
Still a micro-gap in places along the top, but the overall result of this effort is a much nicer fit in general. Everything else I will leave for the professional painter:
