The FWF portion of the airplane seems to involve doing a lot of work that advances things incrementally, but rarely reaches a "finished" state that lends itself to an interesting blog post. Thus, I've been working on various things for the last month that I haven't been doing a good job documenting. Time to get some of these pictures off the camera…
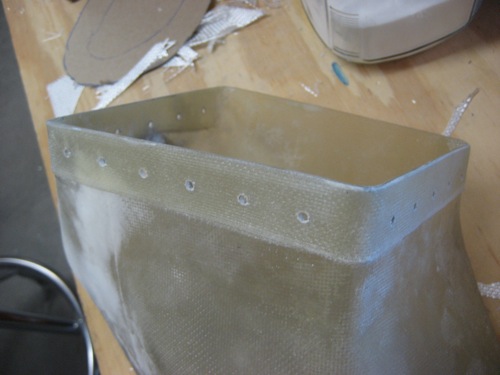
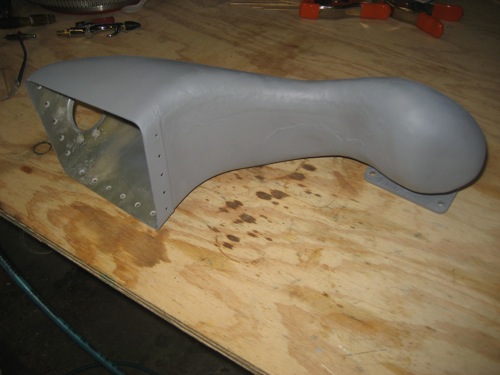
The flanges at the top of the intake air duct are riveted to some fairly thin fiberglass. This seems like an area where cracks could eventually develop, so I laid up a series of glass strips on the outside to reinforce it. After sanding the edge and cleaning up the holes, the air duct now has a "belt" around the top to help strengthen it.
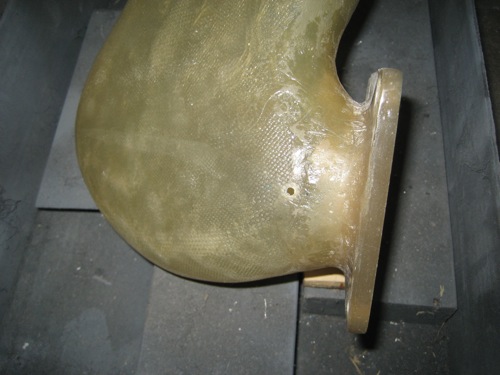
I drilled a 3/16" hole at the low point of the air duct, to let water drain out in case the airplane gets rained on while parked outside. The engine won't be happy (and probably won't even start) if the intake is choked with water.
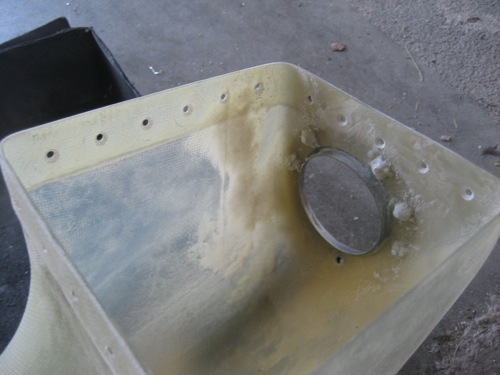
I countersunk the rivet holes on the inside of the duct (an angle drill once again proves invaluable here) and also dabbed a bit of epoxy/flox over the alternate air door rivets to encapsulate them and hopefully prevent cracking.
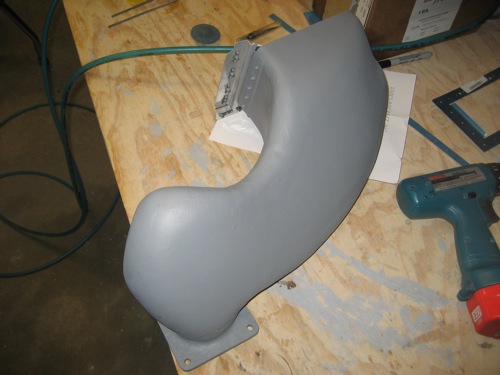
A couple coats of grey primer did wonders for the air duct's cosmetic appearance. It's still lumpy and covered with patches, but at least now it's all the same color.
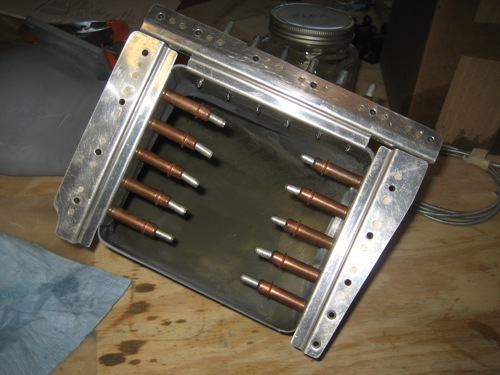
Before riveting the flanges to the duct, I roughed up the mating surfaces and spread epoxy/flox between them, and allowed it to cure overnight while clecoed together. Same basic idea as with the cowl hinges.
Then I riveted the flanges to the duct, using countersunk closed-end rivets with small washers on the outside to prevent crushing the fiberglass. Van's sent me the wrong rivets initially, which caused another work stoppage while I got that sorted out.
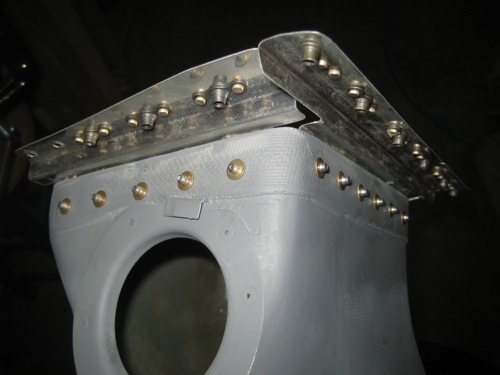
Finally, the air duct is finished and ready to go on the airplane. But I won't install it permanently until I get the starter and alternator wiring sorted out, as it would just be in the way.