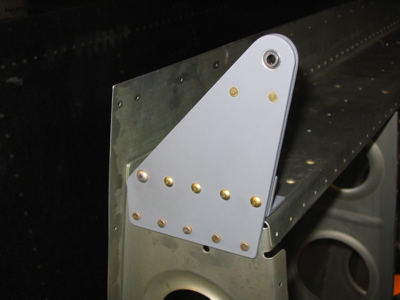
First order of business today was to rivet on the remaining aileron hinge bracket. You can see where I repaired the enlarged rivet hole with a 5/32" rivet (left side in this photo).
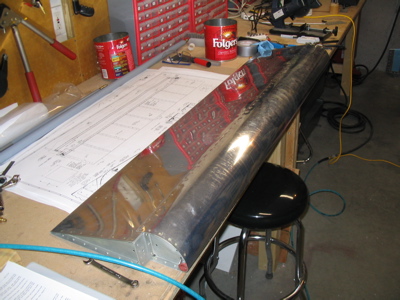
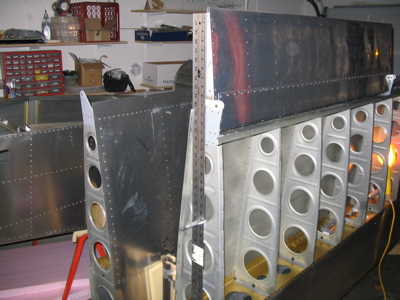
Then I pulled the left aileron out of the airplane parts storeroom:
Pretty much the only thing you have to do to these quickbuild ailerons is to drill and bolt on these pivot brackets. I used a #14 drill followed by a 3/16 reamer to get a slop-free fit on all the bolts.
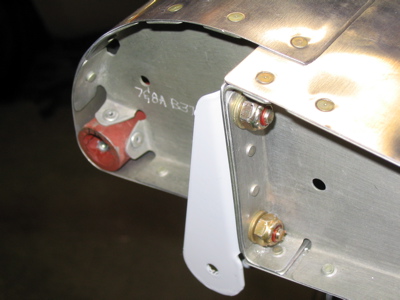
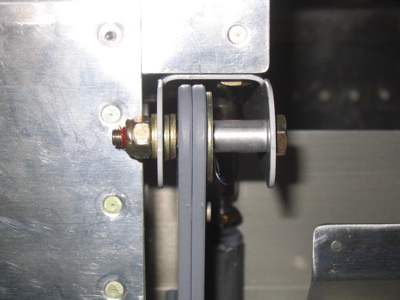
Each end of the aileron is captured by a bolt and a collection of washers or spacers. These photos are for future reference in case I need to remove the aileron. In the first photo the pivot looks crooked because the other end wasn't in place yet. Once both pivot bolts are in place everything lines up perfectly.
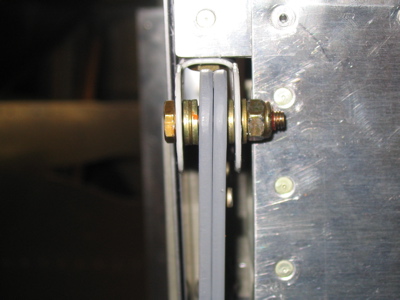
I swear it took me an hour to get all these washers in place. It looks simple but everything is very close together and when you slip or mess up, all your little pieces wind up on the floor.
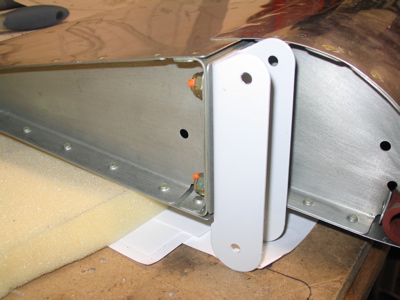
I clamped a straightedge along the tooling holes in the aft rib and used it to get the aileron alignment in the ballpark. The rigging will be adjusted later on by shortening or lengthening one or more pushrods to get everything into perfect alignment.
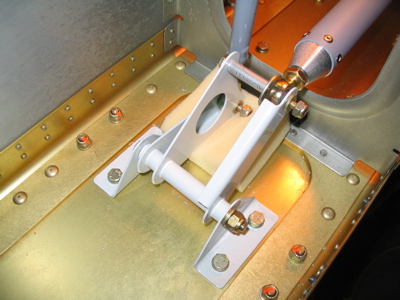
Here's a shot of the aileron bellcrank with all the pushrods hooked up. The foam rubber is just there temporarily to protect the spar when the aileron counterweight tries to slam it into the full-up position.
After this step was completed, I made Mary come watch me stand at the root end of the wing and make the aileron go up and down by manipulating the pushrod. Fun.
Tomorrow's project will be doing the same series of steps for the right aileron, which will be slightly complicated by the presence of the autopilot roll servo.