Lots of progress today. First I primed and attached the aileron gap seals:
All these rivets can be reached with the squeezer and the longeron yoke, which made it a piece of cake. The gap seals themselves are made of pretty thin material (0.020" I think) but when they're riveted in place they add a ton of stiffness to the overhanging edge of the upper skin.
Then it was on to the flaps. I used Dan Checkoway's temporary rivet method of securing the flap brace while drilling the flap hinge. You can read it on pages 8 through 10 of this pdf file.
First I drilled eight additional 3/32" holes through the bottom wing skin and the mating flange of the flap brace, along the pre-drilled rivet line. These holes I countersunk for NAS1097 rivets (used because they have smaller heads than normal AN426 rivets) on the inward side of the flap brace flange, and the preexisting holes on that flange of the flap brace were countersunk on the outward side to accept the dimples in the bottom skin.
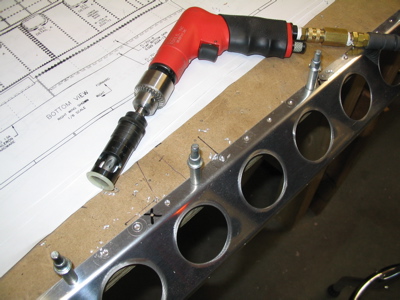
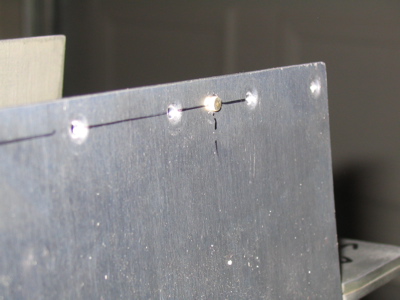
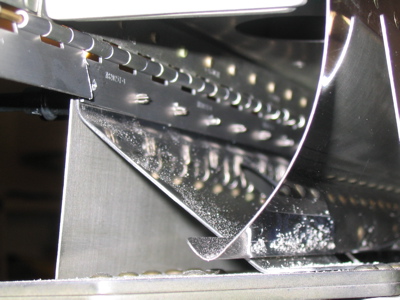
The idea is that you put temporary rivets in the additional holes, to hold the flap brace in alignment with the skin while you clamp and drill the hinge. The flush heads of these temporary rivets are on the inward side so the hinge can lay flat against the flap brace:
When the hinge is completely drilled, the temporary rivets are drilled out and the skin is countersunk to accept another NAS1097 oriented with the flush head outward. For now though, the shop heads protrude outside the wing.
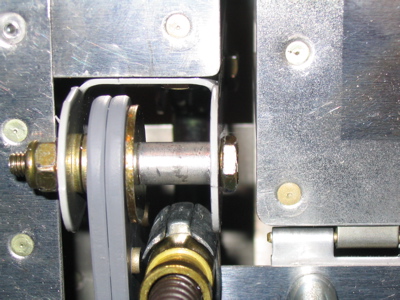
The forward half of the flap hinge is the clamped to the wing, with one cleco clamp on either end. Although it's tight, you actually can get the clamp onto the outboard end if you insert it into position before you bring in the flap. The two halves of the flap hinge are pinned together so as to eliminate any possibility for the hinge line to come out crooked (which would prevent smooth operation of the flap). The gap between the aileron and flap is set at 1/4" per the plans – I just juggled things around until a drill bit of the appropriate size fit snugly between the two control surfaces.
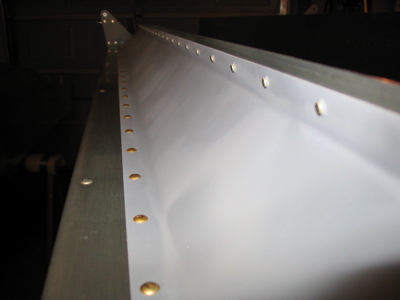
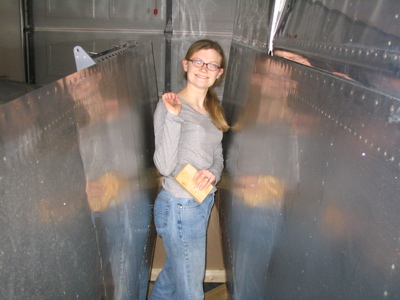
Once everything is lined up, you match drill through the prepunched holes in the skin into the hinge. It helps to have a compact and patient building partner. Mary stood between the wings and pressed on the hinge with a piece of wood to keep it from bowing outward from the pressure of the drill:
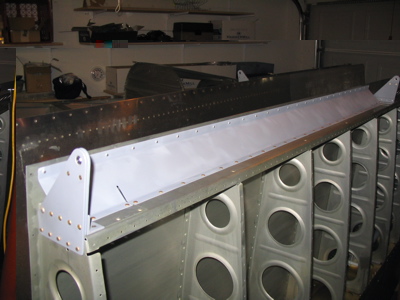
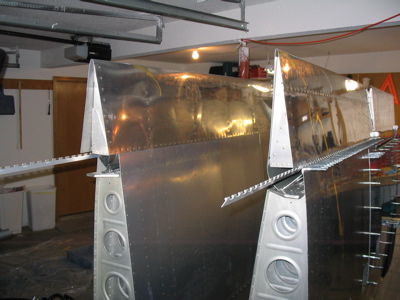
Five or six dozen holes later, the first flap is hung:
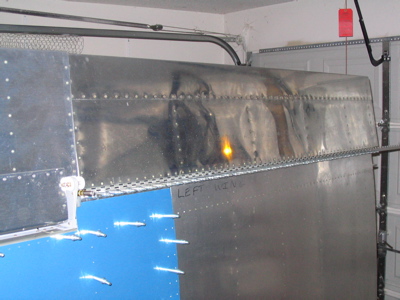
I used a straightedge to ensure that the alignment between the trailing edges of the flap and aileron would come out even for both wings:
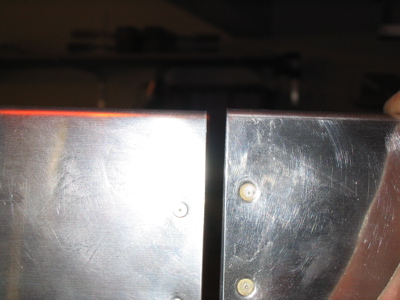
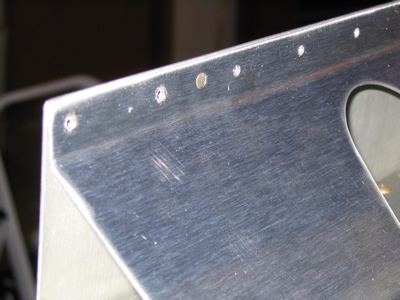
Plenty of edge distance on both hinges. Some people wind up having to use a wider -P4 hinge instead of the supplied -P3 hinge stock in order to end up with enough material between the edge and the rivet holes, but mine came out okay.
Both flaps are hung:
Tomorrow I'll cut the hinges to length, drill out the temporary rivets, prime the flap braces, and permanently attach the braces and hinges to the wing.