Archive for the ‘Flaps’ Category

Aileron alignment jigs

Thursday, August 10th, 2023

The next major project will be to fit and install the wingtips, but first I need to find a way to hold the ailerons in the correct position so I can make all the trailing edges line up. The plans are fairly silent on how to do this – probably they expect that the bellcrank alignment fixture will suffice. But I wanted a more positive means to align the ailerons with the flaps, so I knocked together these jigs out of materials I had on hand:

The center piece is made of 1/4" nylon, strictly because I had a chunk of it laying around, and the angle pieces are lined with UHMW tape so they don't scratch the skins. When installed, they hold the ailerons tightly in line with the flaps, with hardly any play:

On the bottom side, the bungee cord hooks around the inboard aileron hinge and keeps the alignment jig from backing off:

I copied this design from a type of gust lock I've seen used on DC-3s… in fact, I may eventually repurpose these as gust locks for the RV. In the meantime, I now have a way to hold the ailerons in the proper position for fitting the wingtips.

Final flap install

Sunday, August 6th, 2023

I installed the flap channel and backrest brace in the fuselage, and connected and tidied all the wires for the flap motor, positioning system, and cabin speaker:

The travel allowed by flap positioning system is well-matched to the actual stroke of the actuator. After some adjustment, I was able to get essentially the maximum amount of travel the motor can achieve, but now it's under quasi-automatic control.

I hung the flaps on the wings once again:

This time I safetied the hinge pins:

Installed the flap pushrods and torqued/marked all the fasteners. Here you can see the rudder cable guards paying dividends – they allow the bolts to be inserted like they appear in the picture, instead of from the opposite direction which would be a whole new level of difficulty:

I temporarily installed the flap covers to keep stuff from falling down there and disappearing forever:

I will triple-check the rigging in a future work session, but I should now be able to use the flaps as a neutral reference for the ailerons, which will be useful when I go to install the wingtips:

And finally, here's a video showing how the flaps move automatically to the next position with each click of the "down" switch, followed by full retraction when the switch is moved to the "up" position:

Flap pushrods

Sunday, June 25th, 2023

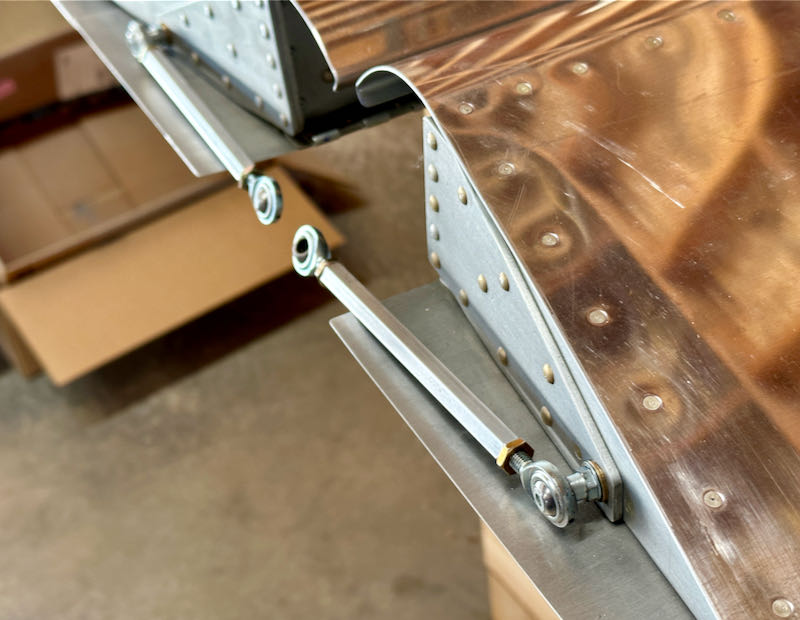
After trimming the flaps to fit nicely to the fuselage, the next step is to finish the mechanism that operates them. The RV-7 plans have you make a pair of pushrods by tapping the ends of some fairly skinny aluminum tubing, but I decided to follow in the footsteps of others and use the beefier hex stock normally used by the RV-9. Since the RV-7 uses shorter pushrods, the easiest way to do this was to simply buy the RV-9 parts and cut them to the correct length:

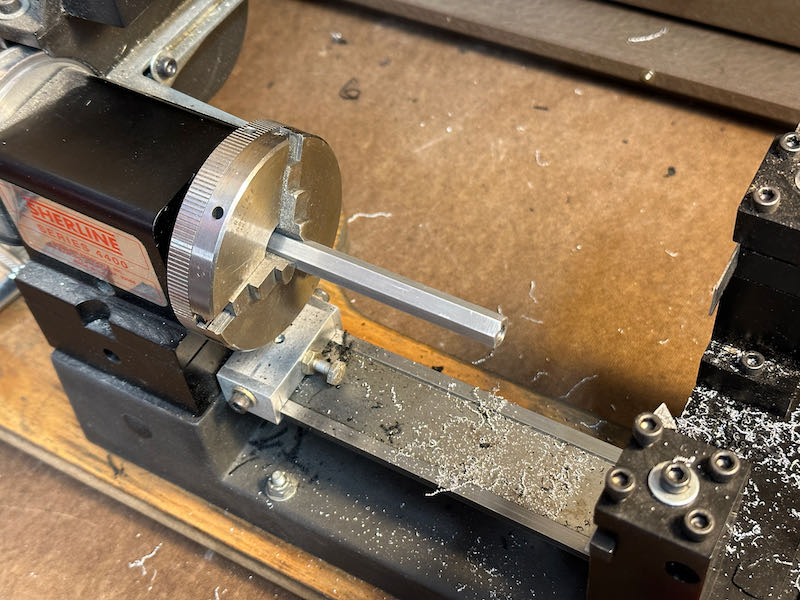
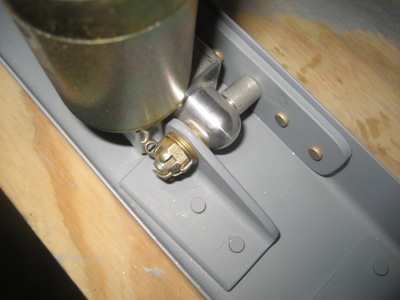
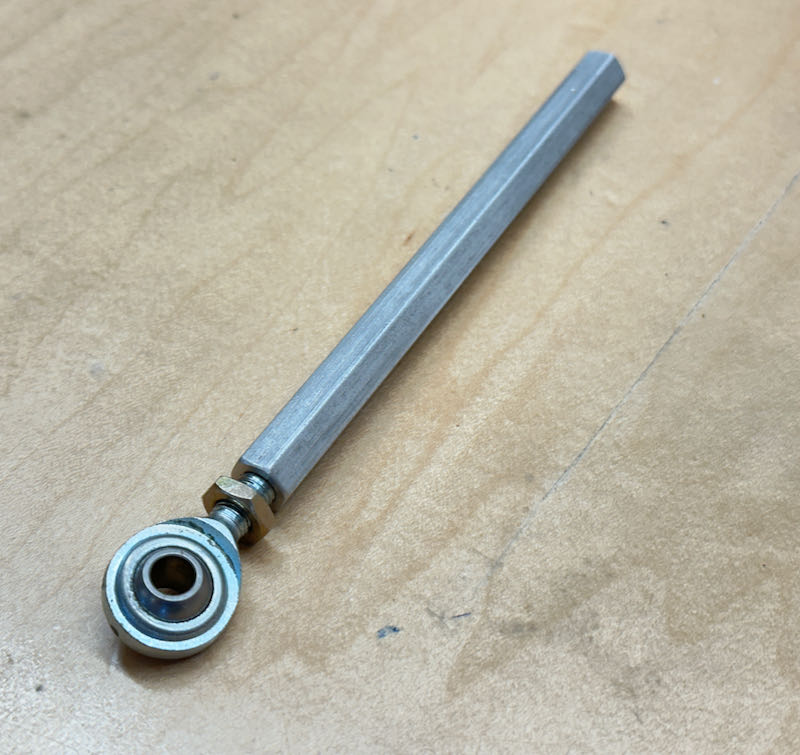
Real machinists are cringing at the unsupported length in the above photo, but since I didn't have a good way to support these pieces while facing the ends, I just took light cuts and worked carefully. Here's a finished pushrod with one rod end bearing installed:

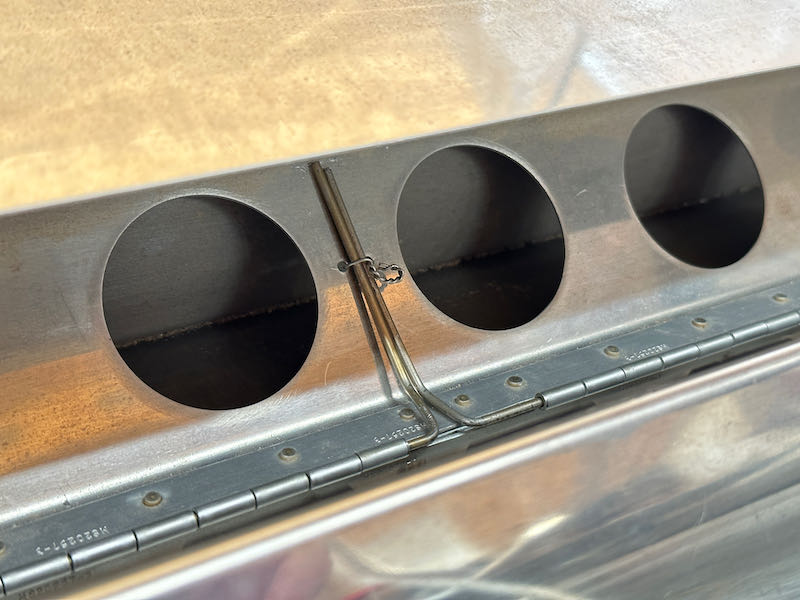
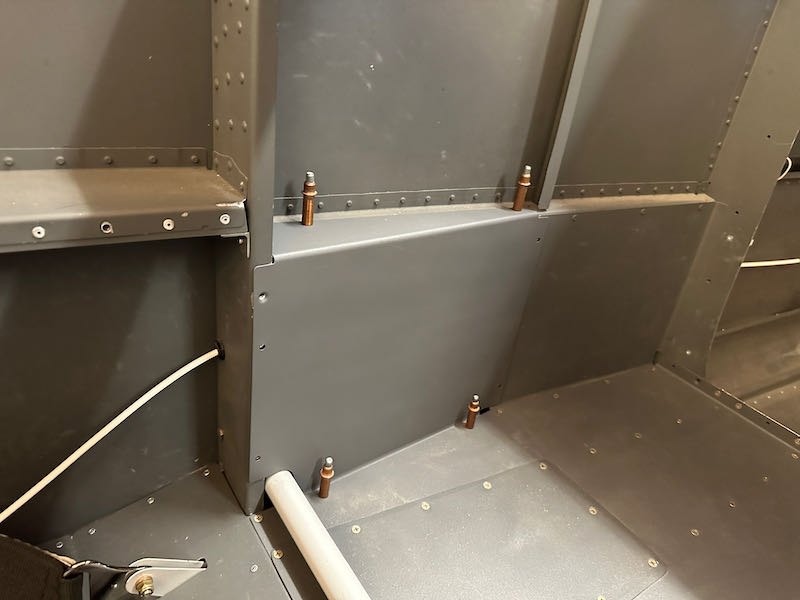
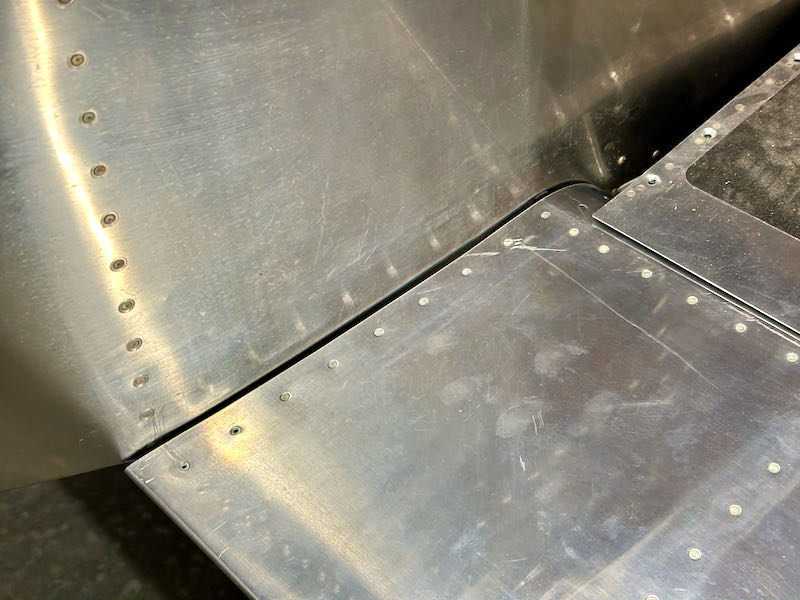
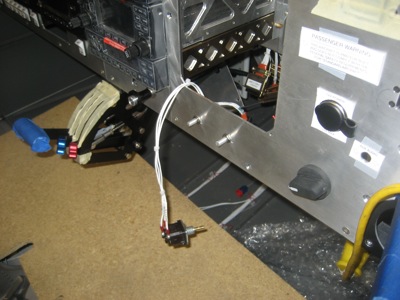
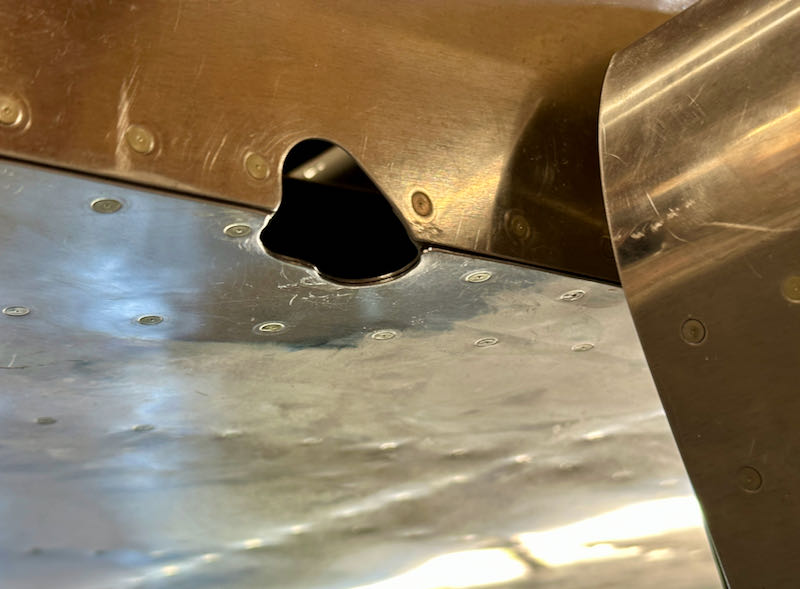
The most challenging portion of this part of the project was cutting the holes that allow the flap pushrods to pass through the fuselage bottom and sides without binding. I'm told that these are prepunched on the RV-14, which must be nice, since they have to be a strange 3D shape that can only be determined iteratively. I didn't take any pictures of the process, but there was a lot of tedious test-fitting, marking, and grinding until I achieved a satisfactory result:

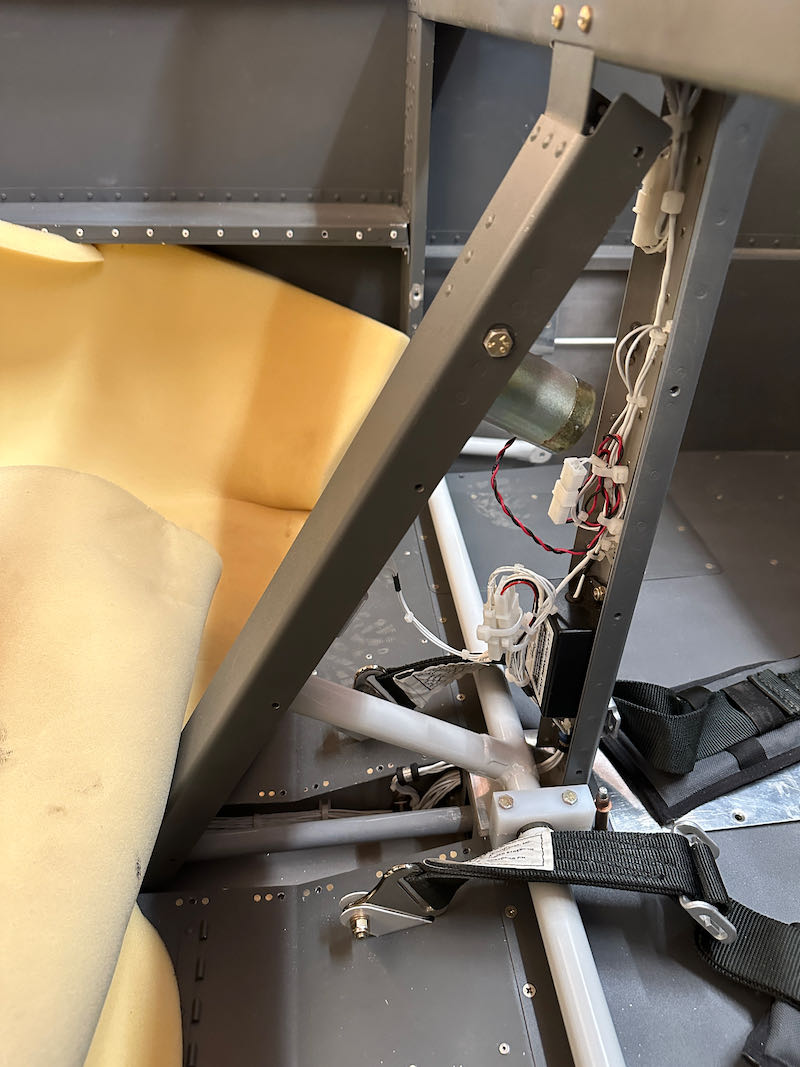
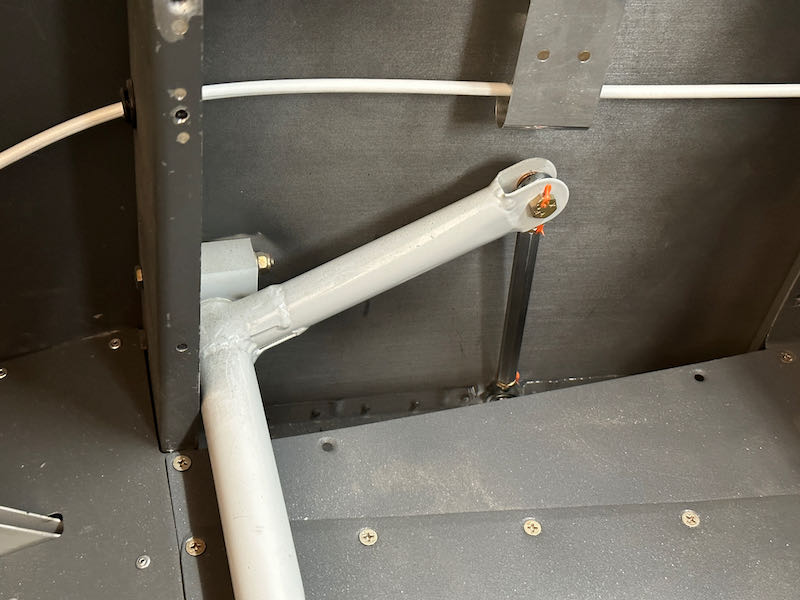
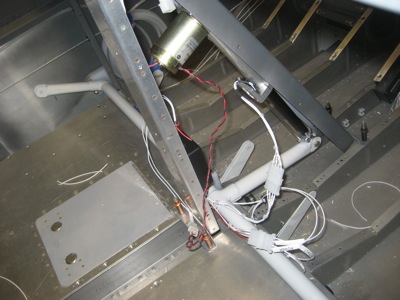
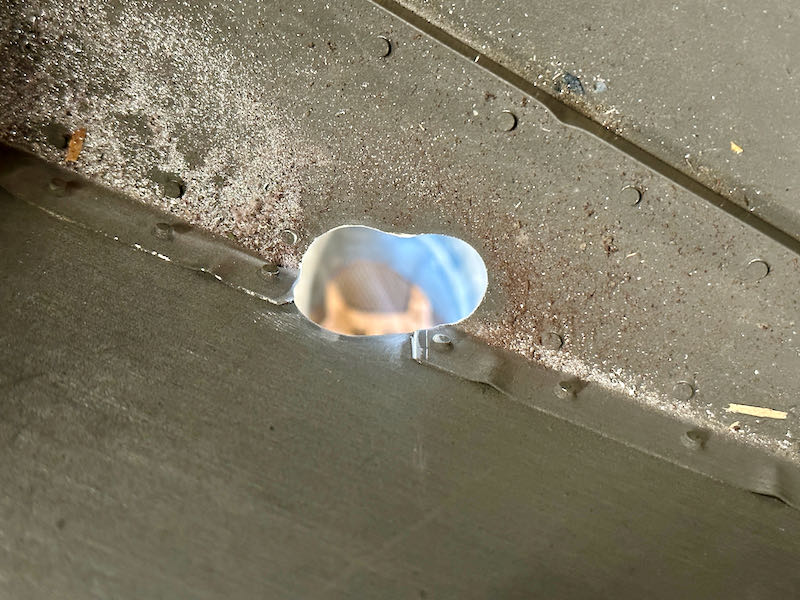
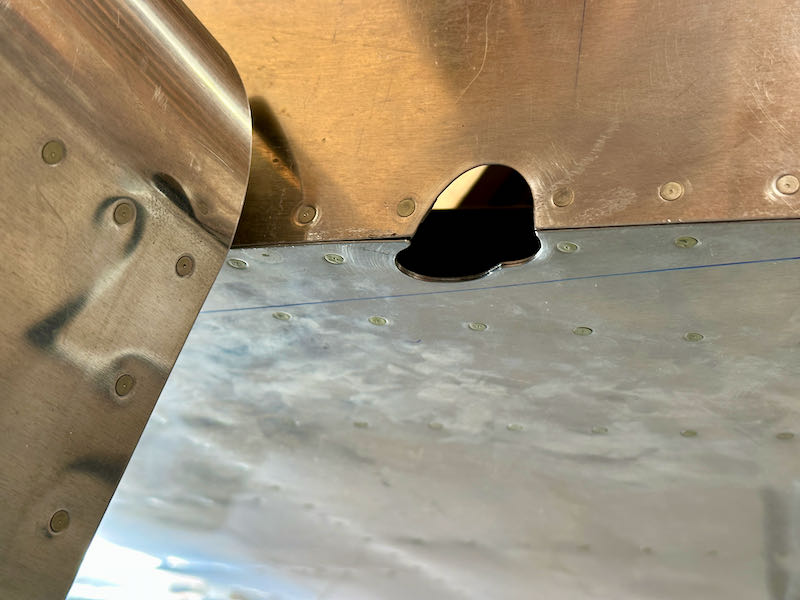
Here's a view of the same hole from the inside looking down. I still need to clean up the mess of aluminum dust and sanding-wheel particles from inside the fuselage:

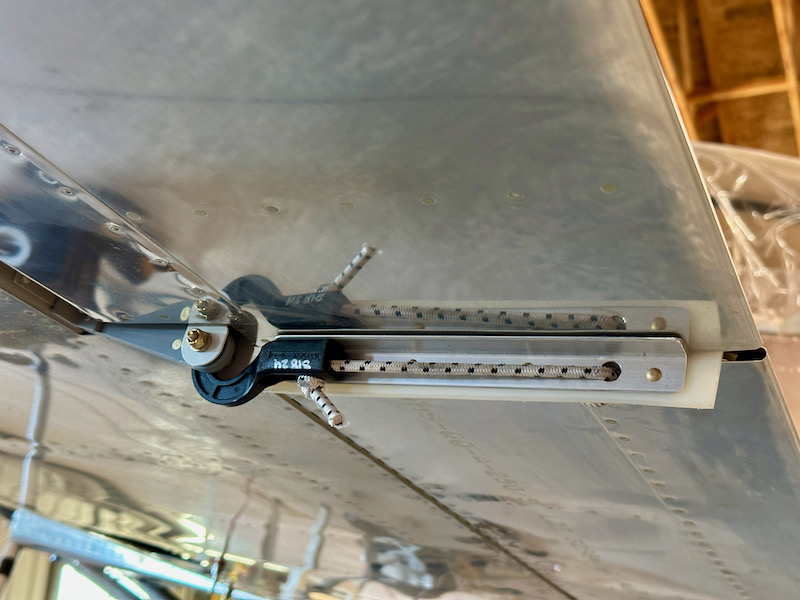
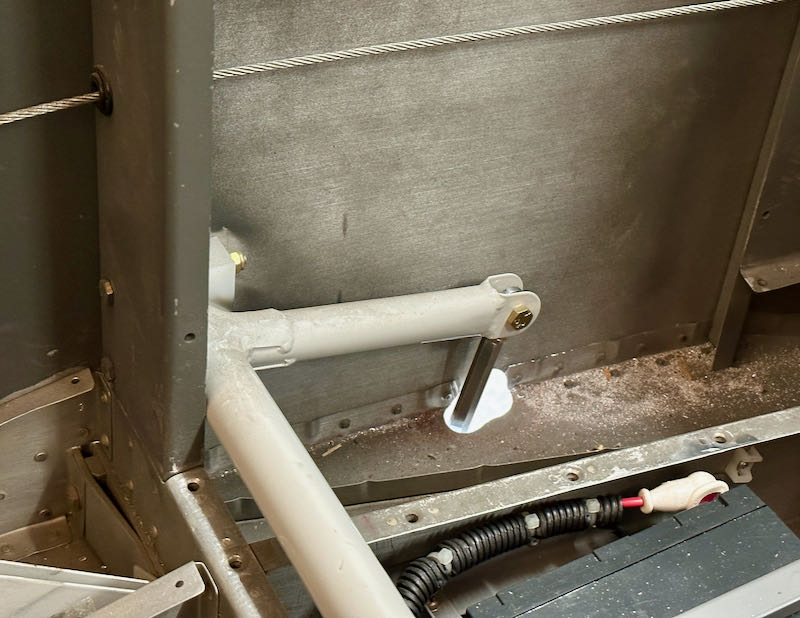
I must have installed and removed this pushrod a hundred times before I got the shape of the hole right. Here you can see that there is adequate clearance all around when the flaps are in the full-down position:

Finishing the first first hole took me an entire day and then some. Instead of starting from scratch on the second hole, I used a piece of manila folder to make a rough template that would give me a head start:

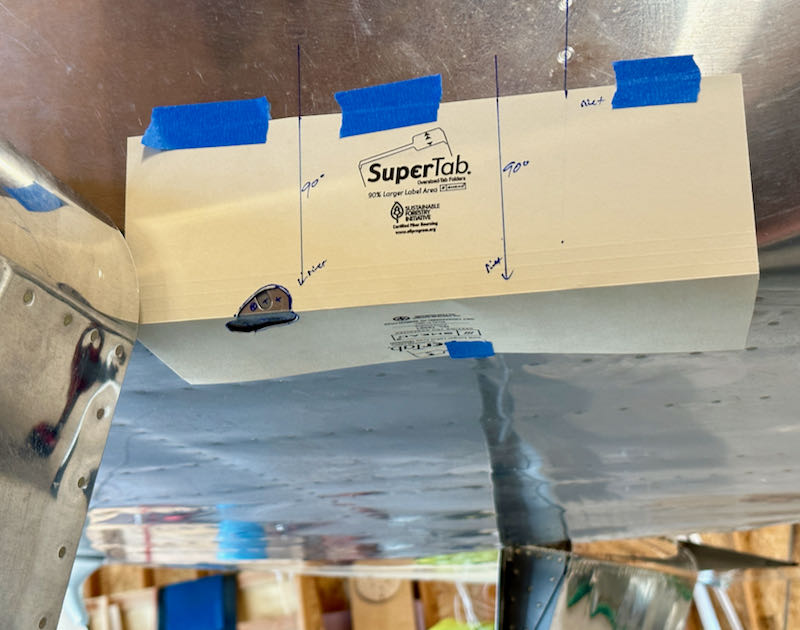
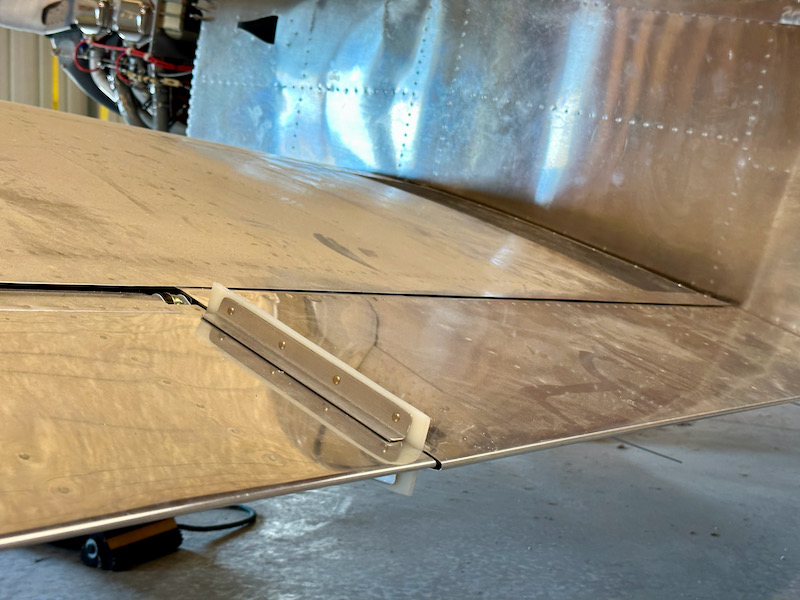
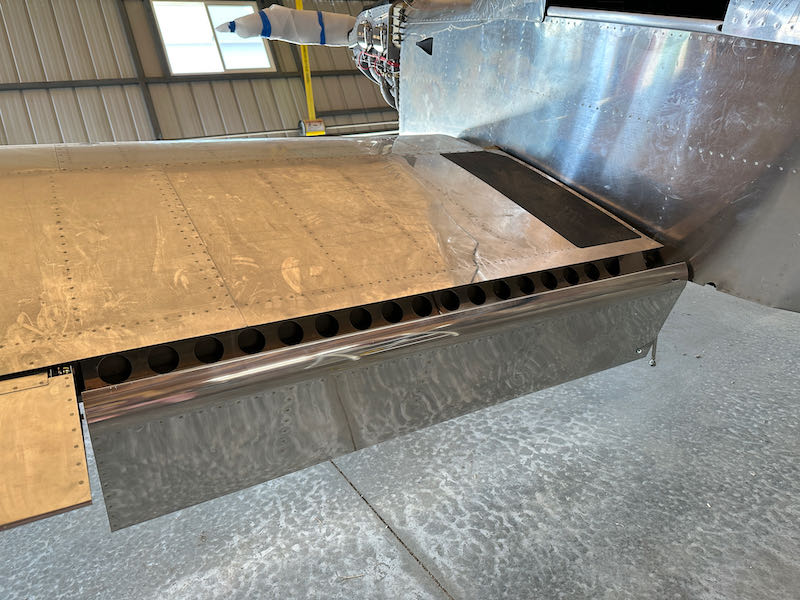
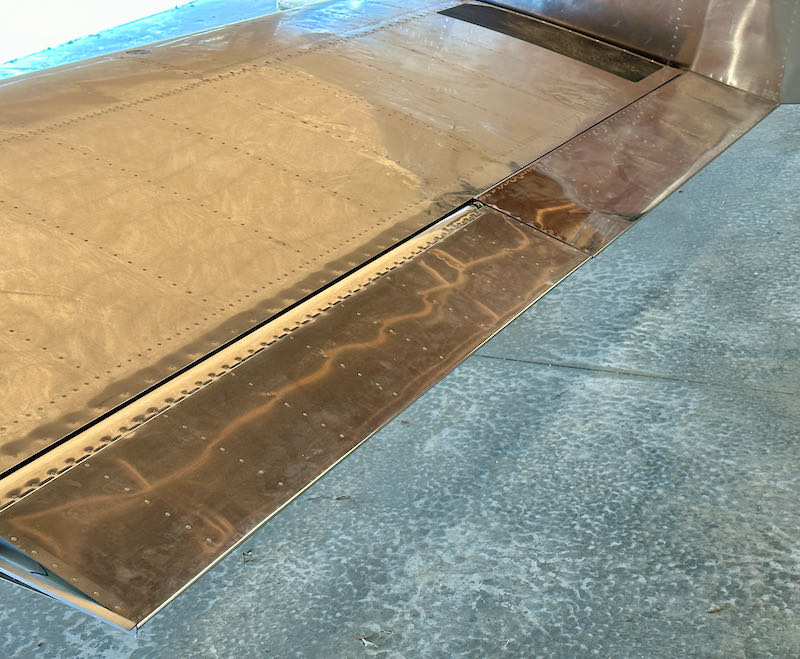
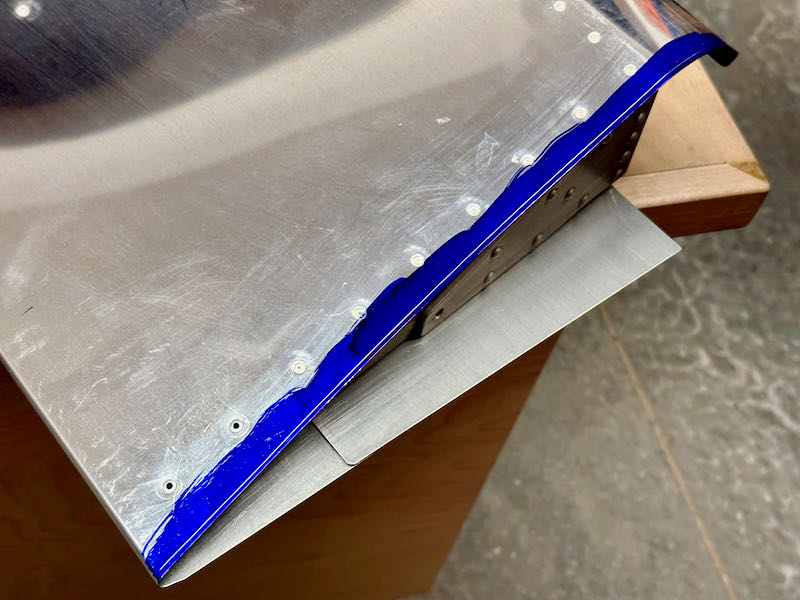
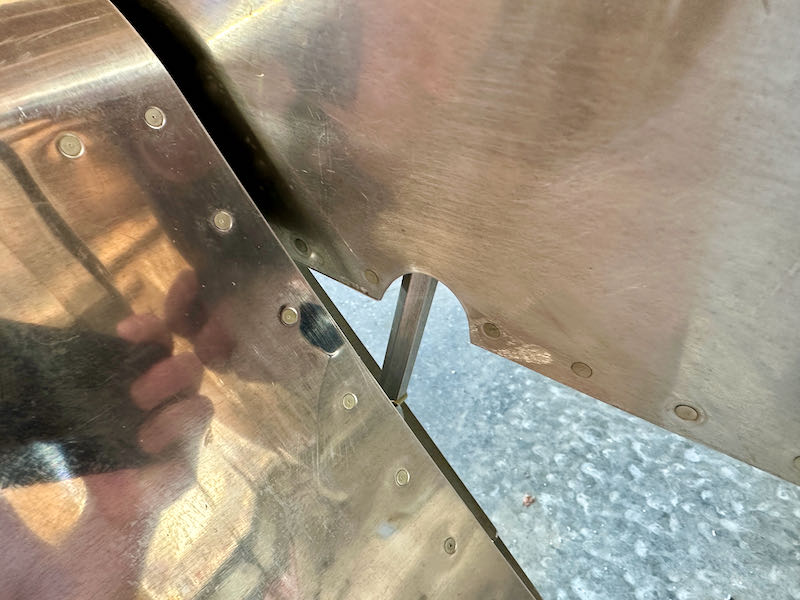
Here's the second hole, which only took me a half-day to finish. The blue line indicates where the flap bottom skin ends, showing that the hole will be completely hidden when the flaps are up:

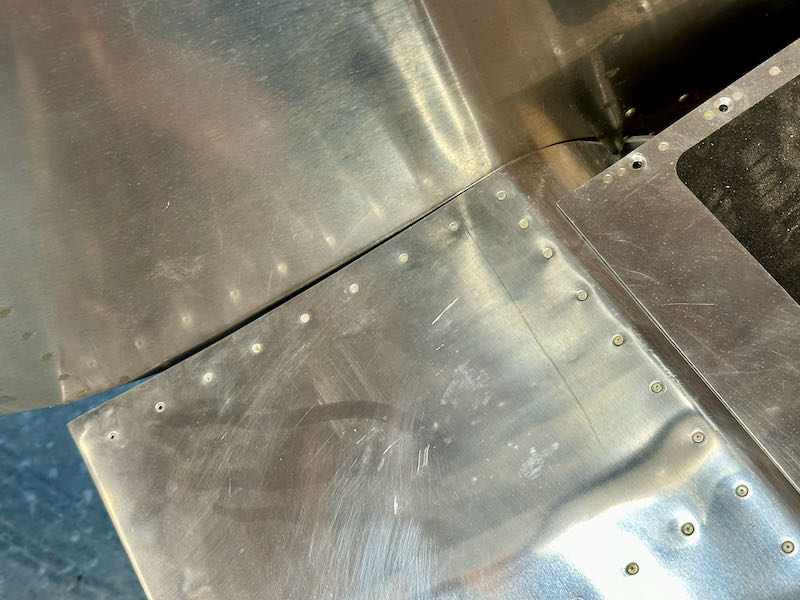
I have to say, this whole pushrod-hole situation seems like a real afterthought to the design, and the way they have you grind your way through the corner of fuselage is pretty barbaric. And I'm not just saying that because I slipped with the sanding drum and scuffed up the fuselage skin:

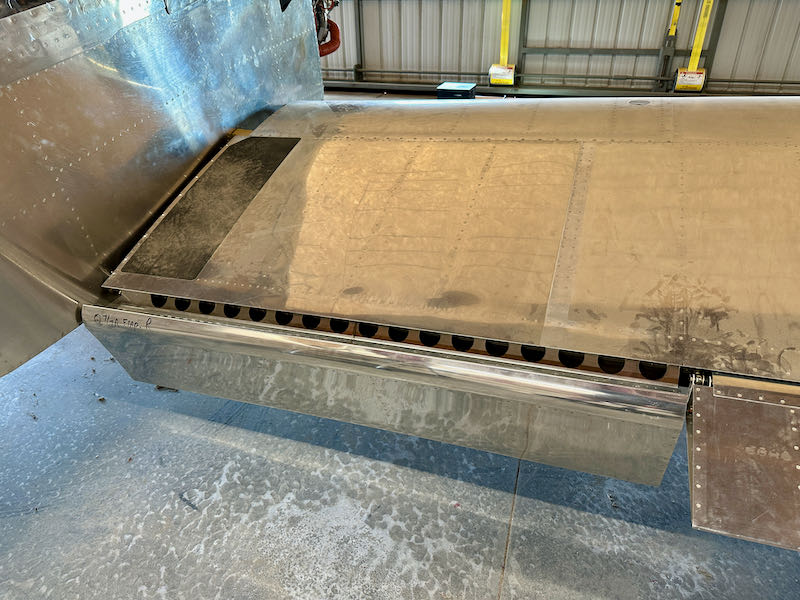
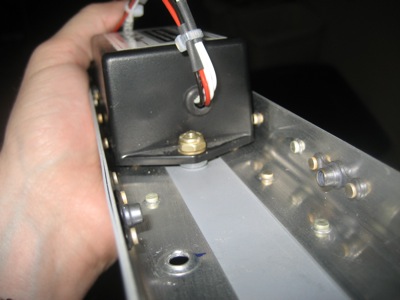
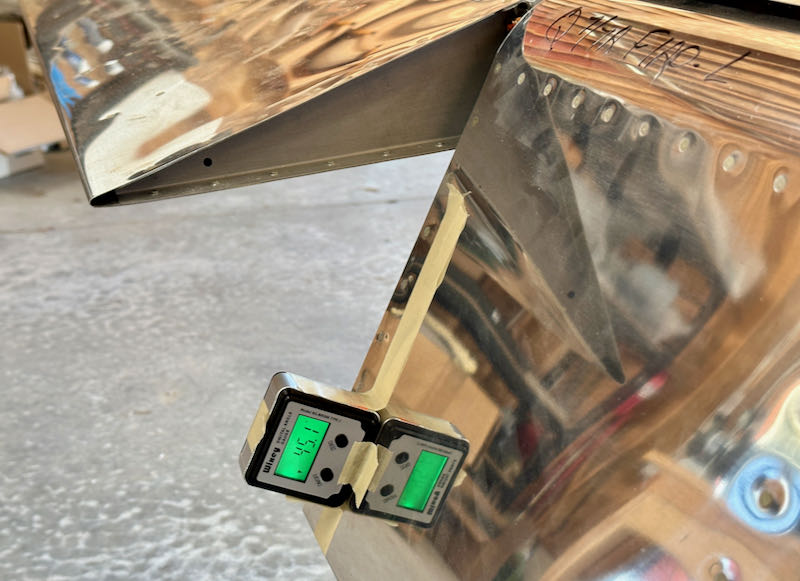
The plans list the flap travel limit as "40-45 degrees maximum", which is less than precise, but I don't think there is actually much adjustment possible with this mechanism – you just have to take what you get. In my case I am right at 45 degrees at full-down, which is acceptable. I haven't hooked up the flap positioning system yet, so this may be reduced slightly in the future.

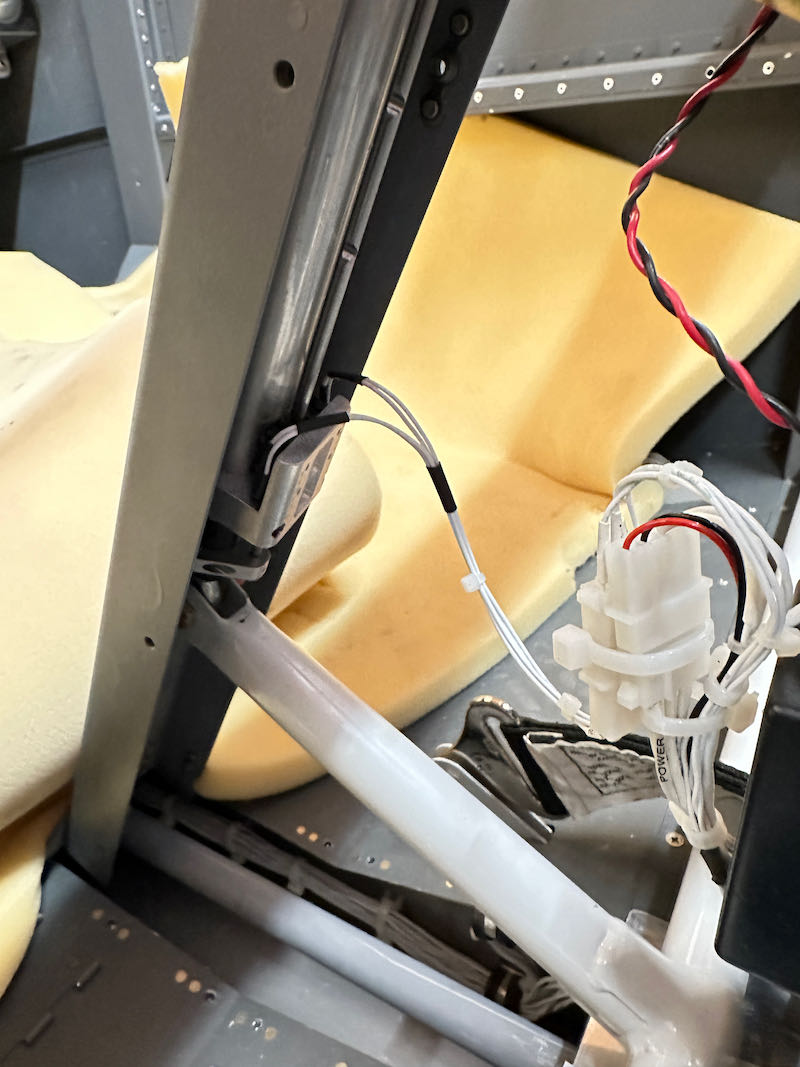
I don't want to install the flap mechanism permanently quite yet, and I don't want to damage the flaps while crawling in and out of the fuselage carrying tools, so I removed them from the wings and set them aside for now. While I have improved access to the lower rod end bearings, I removed and reinstalled them with lock washers and blue Loctite in accordance with the plans:

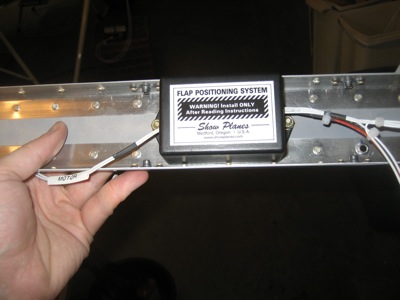
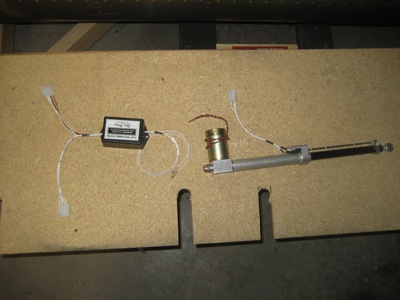
Still some work to be done before the flap system is truly finished, but it was neat to be able to hook up a battery and watch the flaps go up and down.

Flap fitting

Friday, June 2nd, 2023

I got the flaps down from the attic and installed them on the wings to see how they fit:

As expected, the inboard ends needed a little work to properly fit the fuselage. The flap skin was rubbing on the fuselage in places, and the gap was generally unsightly. The plans don't specify how much clearance you need here, but I've seen numbers anywhere from 1/16" to 1/8" mentioned. I decided to split the difference and shoot for a nice consistent 3/32" gap.

Instead of using a sharpie, I painted each flap skin with marking fluid and then scribed a line along the fuselage side with a 3/16" brad-point wood drill bit. Result, a perfect 3/32" line. (click for the big version to see it)

From there it was a simple matter of cutting and filing up to the line. After a couple iterations I was able to achieve a nice even gap that looks pretty good:

Flap motor wiring

Sunday, July 19th, 2009

Since I had one of the required components in hand already, I decided to also work on the flap motor and associated wiring this weekend. Here I've mounted the flap positioning system control box on the new backrest brace:

Here's another view to show how it stands off from the underlying rivets, thanks to a few nylon washers. That dimpled hole in the foreground is for mounting an adel clamp.

As I previously threatened, I cut the wire harness between the control box and position sensor and crimped on some connectors. Now the motor and control box don't have to both come out of the fuselage at the same time.

Since the flap motor is now no longer permanently tethered to anything else, I couldn't think of a reason not to (semi) permanently attach it to the flap actuator channel. This photo is proof that I did put the cotter pin in:

Then I spent several hours running wires to the flap switch and pulling wires back to the flap motor. Properly bundling and securing new wires takes me about ten minutes per linear foot per wire (longer if I have to drill new grommet holes or install new clamps or tie wrap anchors) so consequently this took all afternoon. I left the flap switch hanging from the panel for now, since there's no need to go to the trouble of bolting it in place for an electrical test.

Once I had all the connectors installed, I plugged it in and gave it a floor run… it works! Bump the switch, and the flaps move one notch up or down. Nice. I'll clean up the wires in a future work session.