This weekend's project is the tailwheel. There's a steel mount that bolts between the two aftmost bulkheads, and you have to cut an odd-shaped slot in the aft bottom skin to let it poke through. First I removed the aft bulkhead, which in the quickbuild kits is only held in with a few temporary pop rivets – it was still a pain to remove it, though, because of the way the aft fuselage tapers. I xeroxed the full-scale template from the plans, then aligned it on the inside of the skin by shining a light through the bulkhead rivet holes and lining the marks up. It worked out pretty well.
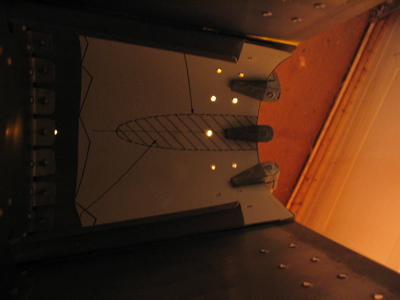
I marked the cutout and started the front end with a unibit:
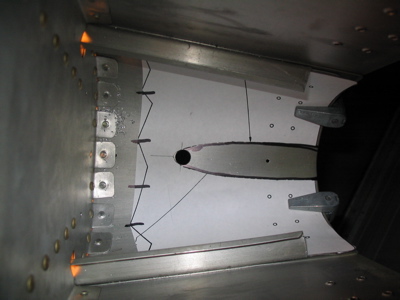
Like with the landing lights, I rough cut with snips and then used drum sanders and files to enlarge the hole. I probably filed away at it for an hour before the mount fit through. I'll clean up the edges and make it look pretty tomorrow. The hole just aft of the bulkhead there is for a socket to go through later on when I'm installing or servicing the tail spring. It gets pretty close to the center rivet, but it's per plans.
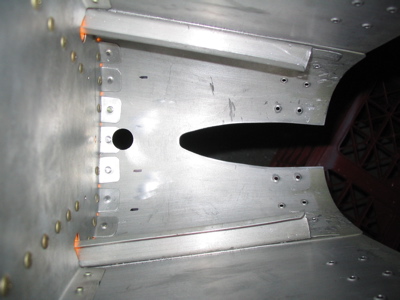
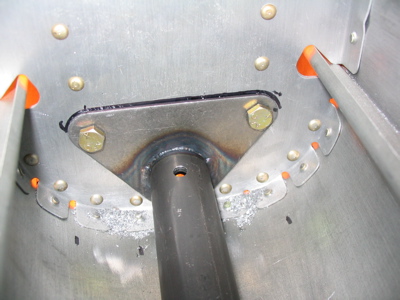
Here's how the mount fits in:
Two 1/4" bolts secure it to the forward bulkhead. These were tricky holes to drill because the tailwheel mount is made of some kind of extra hard steel, and the shape of the mount makes it tough to get a drill in there – not to mention the fact that you have to locate the pilot holes by back drilling from the other side. You have to hold it square with one hand, hold the angle drill with your second and third hands, and hold the shop light with your fourth hand. These bolt holes came out fine though, and the tailwheel mount is straight.
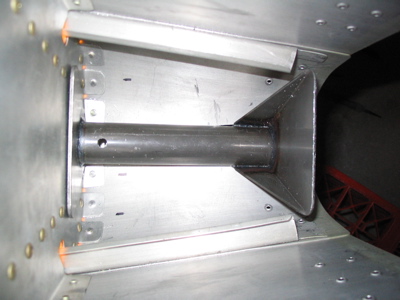
The "mouse hole" at the bottom of the aft bulkhead is enlarged to fit the mount:
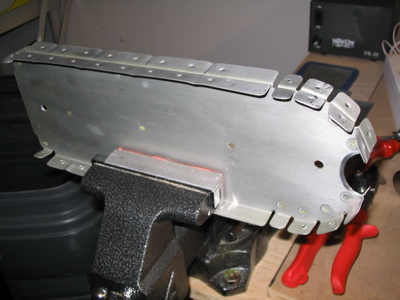
Reinstalling the aft bulkhead tomorrow is going to be a pain – it was hard enough to remove. Stay tuned.