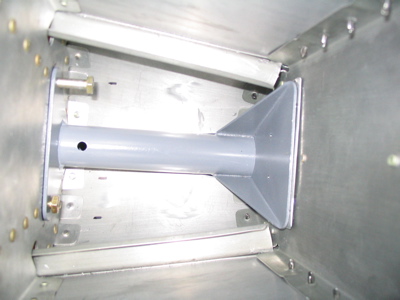
Here's the tailwheel mount back in the plane, after being cleaned, primed, and painted with some grey enamel to keep it from rusting. The aft bulkhead is also back in the plane, after lots of fitting, twisting, pounding, and bad language. I actually had to grind off about 1/16" from the top of it to get it to go back in – this is one area where the slow builders have an easier time, since they can just un-cleco the skins and put the aft bulkhead in and out all day long. I used some random 1/4" bolts to keep the mount in alignment with the forward bulkhead while drilling the holes for the two "keeper rivets" that keep (naturally) the tailwheel mount aligned with the aft bulkhead until the vertical stabilizer is bolted in place to hold all this stuff together.
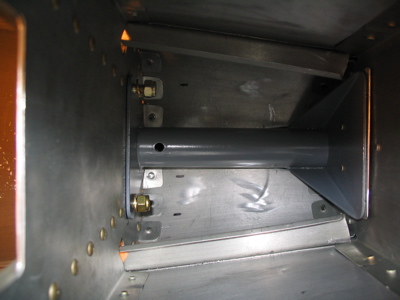
Here's the same shot, but now it's mostly riveted together. In this and in the above photo you can also see the 0.040" shim I decided to add between the aft face of the mount and the aft bulkhead to take up some of the gap there. The plans say to add a shim between the mount and the forward bulkhead if necessary, but my problem here is that the lower part of the mount is fine, it's just the upper part of the aft face that doesn't perfectly match with the aft bulkhead. I think the aft part is actually welded a little crooked. Anyway, I jammed a piece of alclad down in there, and hopefully the bolts that will go through here later on will pull everything into alignment.
This little tab didn't lay down against the longeron like it should have, so I put a little shim in between and used a longer rivet:
![]()
The skin doesn't lay down over the bulkhead in a perfectly flat manner – it sort of tucks in a tiny bit and then bows back out, probably because the bulkhead flanges aren't 100% square with the skin. I guess I could have taken the bulkhead out, tweaked the flanges, and put it back in over and over until it was perfect, but I figured I'd risk bending something else in the process and decided not to mess with it. Anyway, this caused me to put a couple of light smiles in the skin when driving a few of the rivets, but once it's painted nobody will notice. Note that in the photo below I'm holding the light at an angle that exaggerates the dings and fingerprints – in real life you have to look closely to see this.
The tailwheel mount and aft bulkhead are completely installed, with the exception of four holes on each side where I plan to use Cherry Max structural blind rivets (there are five clecoes per side in the photo but one is for the rudder stop and will be riveted later). Three will go on each side below the tailwheel mount where you can't get a bucking bar to fit, and one will go through each of the little tabs on the forward face of the bulkhead where I can't get them to lay down on the longeron without a clamp, and I can't fit both the clamp and the rivet squeezer or bucking bar in at the same time.
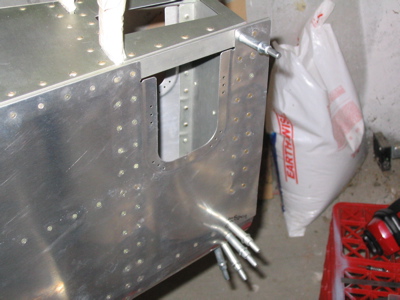
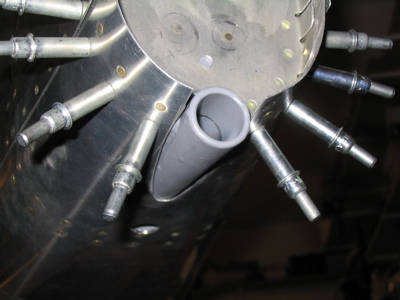
I thought this was a neat view… I think it sort of looks like some kind of spiny deep-sea creature, what do you think?