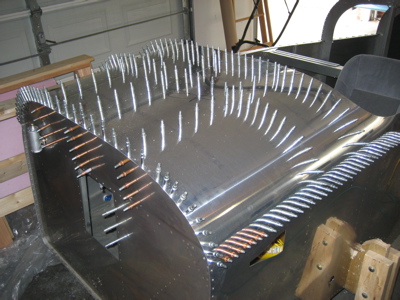
Most of today was spent crawling in and out of the fuselage, laying on my back in weird contortions, trying to get all the holes underneath the panel and subpanel drilled. I have some experience messing around under an RV panel from my previous airplane, so this was just like old times. Still not fun, ugh. For most of these photos, the camera had a better view of what was going on than I did.
First was match drilling the holes I put in the forward flange of F-7108A to the firewall. After I got the #40 pilot holes drilled, I went back outside the fuselage and drilled them up to #30 from the other side.
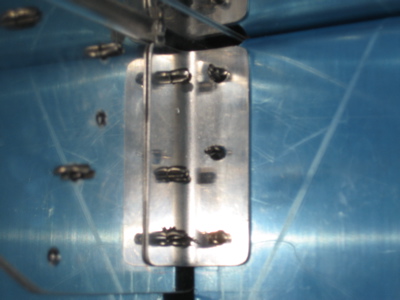
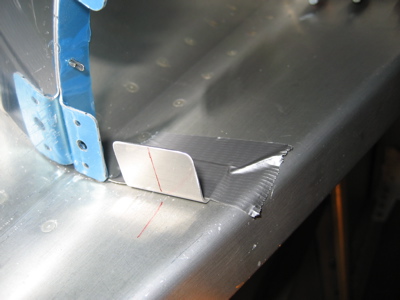
Then came the F-7108C angle that attaches the center rib to the subpanel. No big deal except it was really hard to see what I was doing.
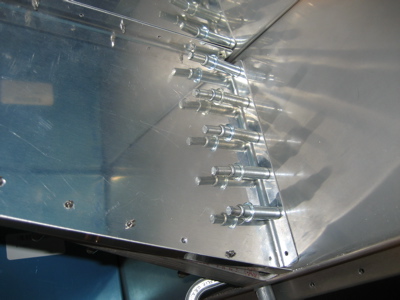
These groups of holes on the outboard subpanel pieces were a pain too.
The F-7108C angles were a bit of a poser. These provide the means to attach the panel to the F-721 canopy decks. Pretty simple, except that when you're installing them, you need to have the panel and top skin clecoed in place to position the panel properly, so it's really hard to get in there to drill the holes. I ended up pushing the angles up against the rear of the panel and then using the handyman's secret weapon to stick them in place for drilling.
With the angle taped and then drilled and clecoed in place, it was no sweat to drill the #19 hole for the attachment screw. "Remember, if the women don't find you handsome, they should at least find you handy."
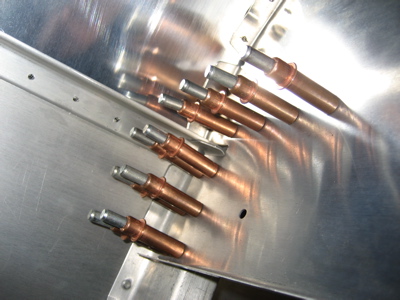
Then I drilled the top skin to the underlying structure. The plans are a little vague on whether or not you should drill the skin holes into the firewall flanges; I chose to do so right now since I couldn't think of a reason not to.
I know all you ladies out there have been writing to ask when I'm going to put up some more pictures of my hairy legs, so I hope today's update does not disappoint. I put the pilot's seat back in and adjusted it to its most comfortable position, in order to measure the clearance between my knees and the bottom edge of the stock instrument panel. It looks like with my feet on the rudder pedals (imaginary, in this photo) I will have somewhere between four and five inches of clearance between my knees and the panel. This is good news, because it means I will probably be able to install a slightly oversized panel such as the Affordable Panels XL panel. That means more room for delicious avionics.
![]()
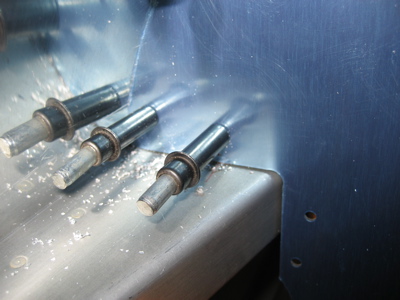
Then it all came apart for deburring. Funny, the photos above don't make it look like I did much today. It took a long time, though, because most of it was really hard to get to. At least I was able to contemplate the meaning of life while performing many airplane-based yoga poses.
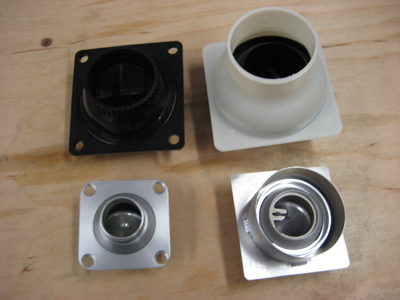
Also, since it's germane to this discussion of the instrument panel – I got my air vents recently. The factory-supplied plastic vents are in back, the new (expensive, ugh) aluminum vents are in front. They seem well-made. I think I'll end up needing to make special mounting plates for them, though.