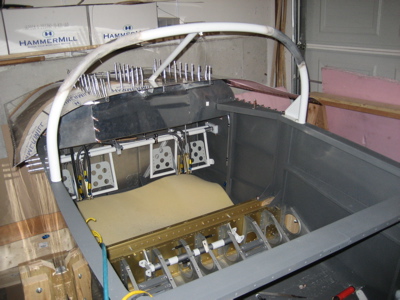
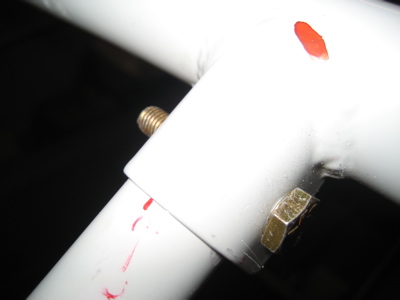
I cut off some of the extra unused portions of the feet of the rollbar weldment. The material still overhangs the underlying canopy deck, but at least now it's parallel instead of sticking out at a weird angle. I didn't want to cut off any more because I'd have started to get pretty close to the welds.
The underside of the aft bolt on either side of the rollbar is pretty much inaccessable behind the canopy deck flange. I guess you're supposed to get the spacer, washer, and nut onto the bolt with the one finger you can get back in there, without being able to see what you're doing. I've even heard of people supergluing the parts together and then supergluing the whole thing to their finger. I didn't want to have anything to do with that so I carved notches into the bottom flanges of the canopy decks, just bit enough to get a 7/16" socket through. Now I can easily get the parts in place and tighten the nut, and I can even see what I'm doing if I use a mirror. I'll probably eventually pop-rivet covers over these notches to keep passengers from getting their fingers caught in there.
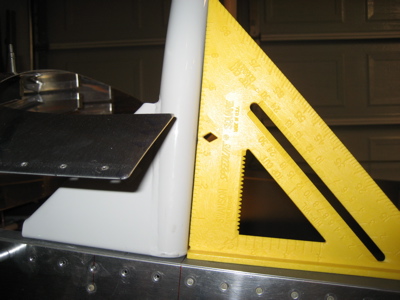
The rollbar is perfectly square, no need for shims.
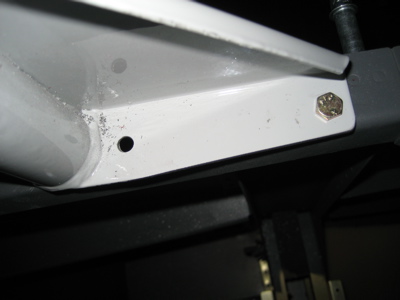
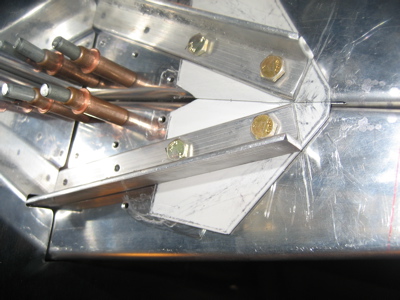
I trimmed the rollbar brace until it fit where it was supposed to go, then drilled the 1/4" bolt hole shown below. This was much harder than it sounds, because the brace tube is thick stainless steel and therefore really hard to work with. I melted one drill bit and probably dulled a few more.
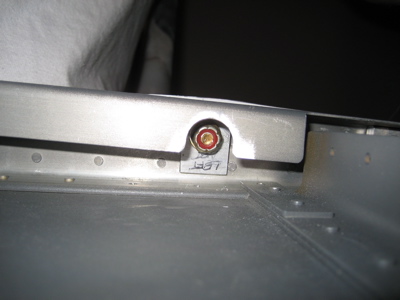
I also drilled the two bolt holes that attach the bottom end of the brace to the subpanel structure (which I clecoed back into the fuselage for this exercise). Hooray for the angle drill. I will trim the excess steel later on.
With the rollbar and brace attached, it's beginning to look like a real airplane…