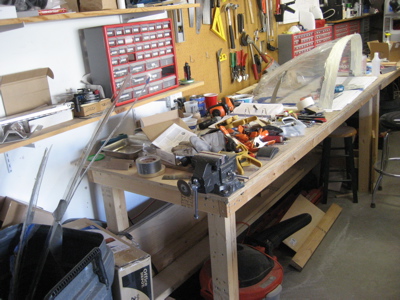
Some call it the Big Cut. Others call it the Thousand Dollar Cut. A few call it El Diablo. Well, not really, but the act of splitting the plexiglass bubble into separate sliding canopy and fixed windscreen pieces is something that's universally dreaded in RV building circles. Here goes…
I started by marking the approximate area of the cut, and trimming back the plastic sheet an inch or so in either direction.
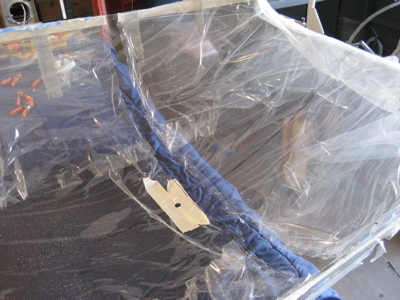
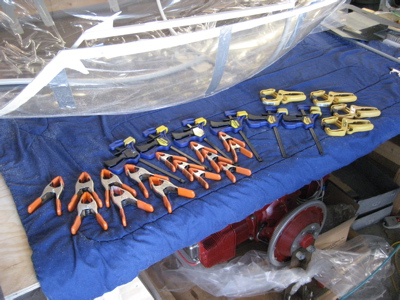
If you're buying clamps with which to build an RV canopy, figure out how many you think you'll need, double it, and then buy twice as many as that. I had to run the store a couple times to get more clamps, and I used all of these and more at various points throughout the process. The ones on the right were the least useful (I had them laying around already) but spring clamps and padded bar clamps are a necessity.
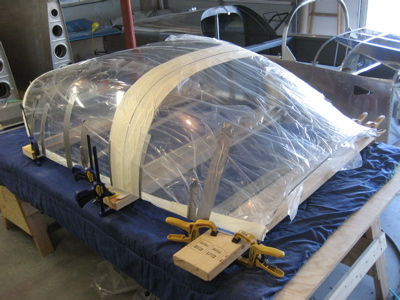
I clamped the canopy frame securely to the bubble…
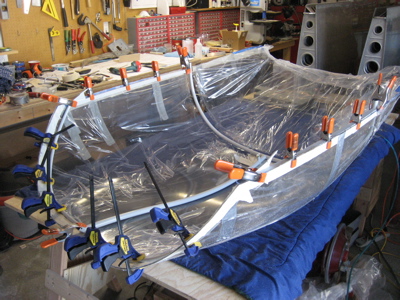
The fit was good along the sides and rear, but there were finger-sized gaps between the forward bow and the bubble. I wasn't too worried because I figured the plexiglass would change shape and relax to fit the frame better after it was cut.
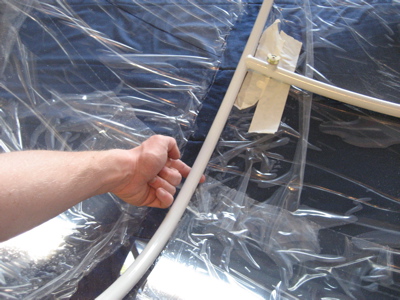
You're supposed to make the cut between 1/16" and 3/32" ahead of the forward face of the canopy bow. I cut a notch in a block of wood that let me mark a line 3/32" from the forward bow, then ran it from one end to the other using a sharpie to make the mark.
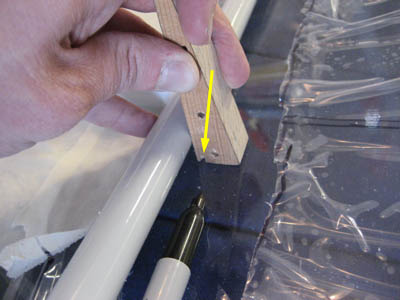
The cut line is marked:
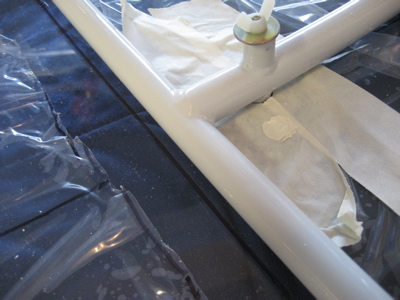
I laid masking tape over all the exposed glass on the inside of the canopy, then strung five separate runs of duct tape across the bottom to keep it from flopping around while it was being cut.
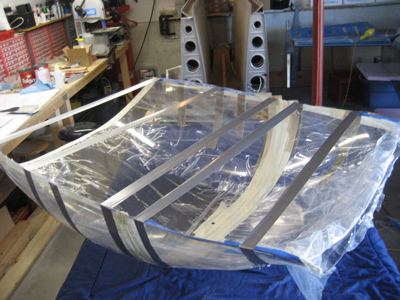
I put masking tape over the exposed glass on the outside too, but left a gap of 1/8" or so along the cut line so I could see it through the glass. Then I set the canopy up on boards to give me some room to get the cutting disc in at the bottom edge. Those clamps you see aren't actually clamping anything – they're just there to function as stops that keep the canopy from spreading while it's being cut.
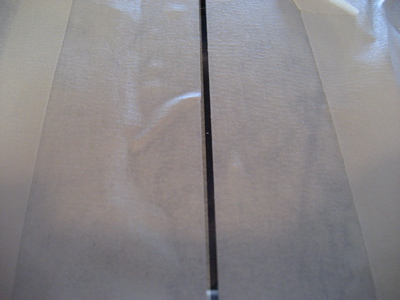
Here's a view of the cut line showing through the gap in the exterior layer of tape. From the inside out it goes: tape, ink line, glass, tape with gap in it.
Since I wanted precision, and the upright canopy didn't need a hand to stabilize it, I used the air drill to make the big cut. I was doing it solo so I didn't get any action shots, but here's a view of the cut about halfway done. Every few inches I stopped and put on a strip of duct tape, to keep the two halves from pulling themselves out of alignment.
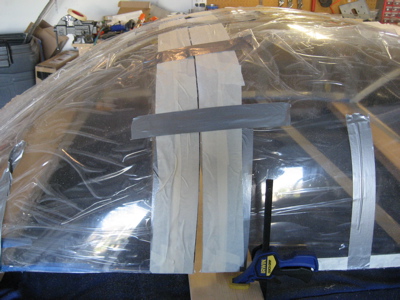
Here's what it looked like at the moment of separation:
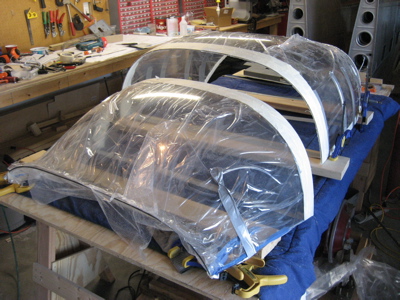
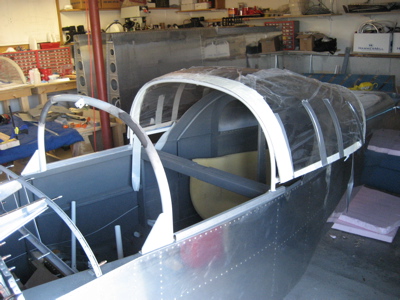
I used the belt sander and sanding blocks to clean up the edges of the cut, then set the canopy and slider frame on the fuselage for safekeeping. This way there's a minimum amount of strain on the unsupported plexiglass.
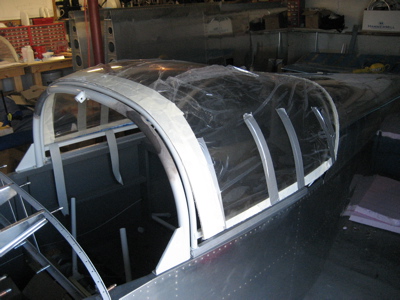
I couldn't resist sliding the canopy back and forth with the glass on it. What do you know, it works! It has a different feel with the weight of the canopy bubble on the rollers, but it still slides pretty smoothly.
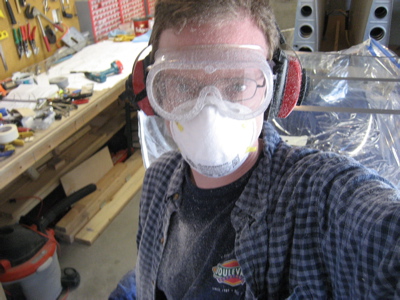
Here's what the well-dressed airplane builder is wearing this season. I was unbelievably hot, itchy and miserable after this exercise, but I'm happy that nothing major seems to have gone wrong with the dreaded Big Cut.
Ugh, what a mess. I need to do some workshop cleaning before I proceed. But first, a very long shower.
