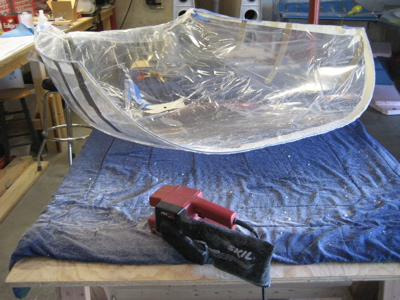
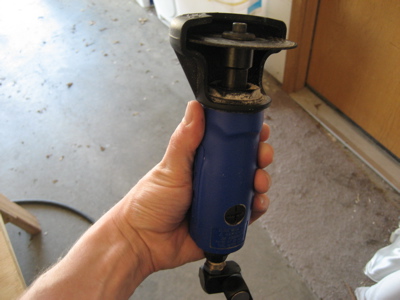
Scott loaned me his cutoff tool, which has more oomph than my die grinder. It's not as precise for canopy cutting as the air drill, but it can be used one-handed, so it was excellent for making cuts while the canopy was upside down.
I stretched some duct tape across the inverted canopy to relieve some of the stress on it, drew some initial cut lines along the sides, and trimmed back and taped down the protective plastic covering to keep dust off the plexglass.
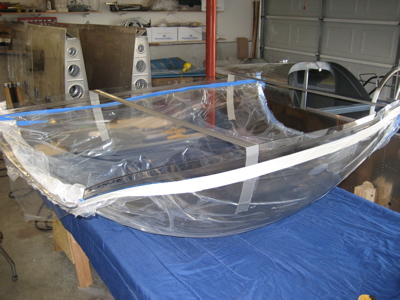
As I was cutting along, I stopped to "repair" the duct tape every time I cut through it.
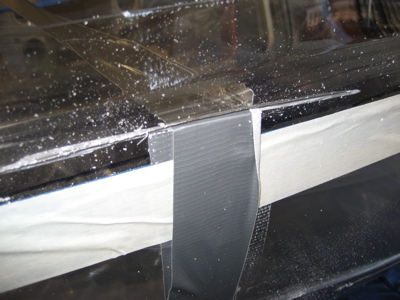
After trimming the mold flanges off the sides, I was close enough to at least be able to clamp the bubble to the canopy frame side rails:
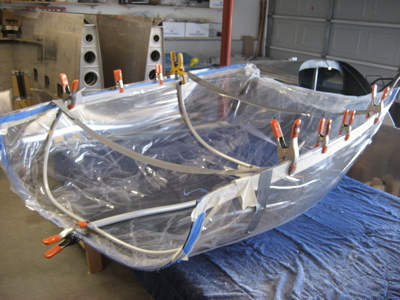
To keep the center latch tube from popping out of its hole and ruining the positioning of the frame, I lightly clamped it in place using a bolt, nut, and two fat washers. The washer that contacts the glass is padded with duct tape to prevent scratching, and the nut is only finger tight.
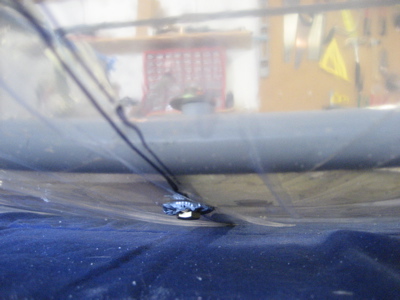
I then needed to draw a line on the outside of the bubble that was even with the bottom of the canopy side rails. However, the tape holding the plastic in place prevented me from looking through the bubble to see where to draw. So, I made this little edge marking tool out of scrap wood, and it made marking the line a piece of cake:
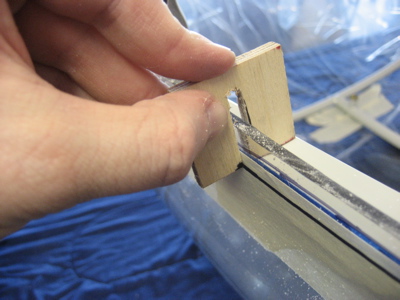
I used another little piece of scrap wood to help me mark a trim line on the glass 1.5 inches aft of the rear canopy bow. This will need to be trimmed back further eventually, but this is a good start.
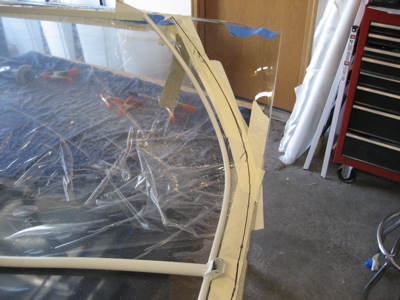
I also borrowed Scott's portable belt sander, which he promised would be a good way to clean up the cut edges of the plexiglass bubble. I was really skeptical, but this thing took care of uneven cut lines and jagged edges in a flash. A couple applications of the belt sander, then successive passes with 220 and 400 grit sandpaper, and the edges were reasonably nice. Once everything is finished I'll go down to some insane grit like 1500 or 2000, but for now 400 is okay.
