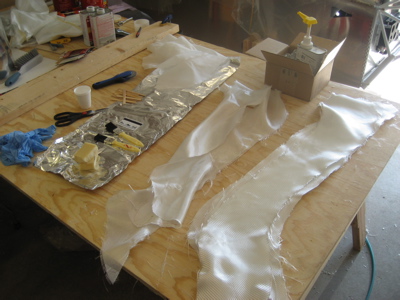
Here's a shot of the supplies I use when doing layups: Aluminum foil for keeping goop off the worktable, West Systems epoxy resin and hardener, bid cloth of a couple different weights, chunks of foam rubber and cheap bristle brushes for wetting out the cloth, an old credit card for pressing out excess epoxy, peel-ply, fabric cutter, scissors, non-waxed mixing cups, popsicle sticks, and gloves.
This is what you see when you open a new can of West Systems epoxy hardener. See, you can't say that they didn't warn you to turn back.

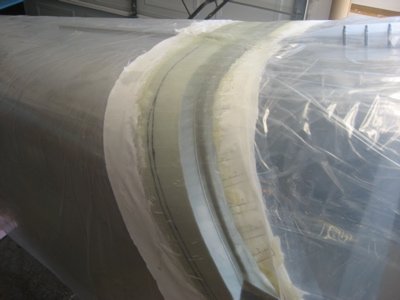
I didn't take any pictures of the laying-up process, since I was working solo with messy hands and the epoxy clock was ticking. This photo was taken right after I finished putting down all the layers of glass, while I was changing gloves.
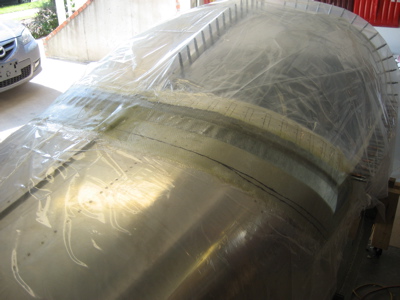
I usually like to wet out the glass on a piece of aluminum foil or wax paper and then lay the wet cloth onto the work piece, but the canopy skirt is way too big to do anything but lay it up directly on the fuselage. Basically, I painted epoxy directly onto the skirt area, then laid down a piece of 6-oz cloth on one side of the fuselage. With the brush, I stippled the cloth with epoxy until it was wetted out, and smoothed out all the wrinkles and air bubbles. Then I did the same thing on the other side, followed by four more pieces of 9-oz cloth, for a total of three plies on each side. After laying down each new piece of cloth, I wetted it out with the brush and worked out the bubbles. The cloth becomes translucent when it's saturated with epoxy, so you just keep pressing epoxy into the cloth until it changes color. Using too much epoxy just makes puddles on top of the cloth that are hard to sand off and don't contribute to strength, so the excess gets the squeegee treatment.
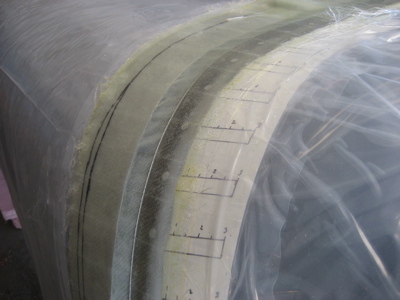
At the centerline, I taped over the C-679 canopy track seal and laid the glass directly on top of it. That should make it seal up pretty well. Because of the overlap, the center section is six plies thick.
You can also see some ripples in the glass between the fuselage skin and the plexiglass. These are not bubbles – the tape itself is a little bit wavy where it spans the gap between canopy and fuselage, so the fiberglass is dutifully following the wavy shape of the mold. I'm already committed to slathering filler over the entire thing to smooth out the "ski jump" contour created by the height mismatch between the canopy and fuselage skin, so I guess I will put down more filler to get rid of the ripples.
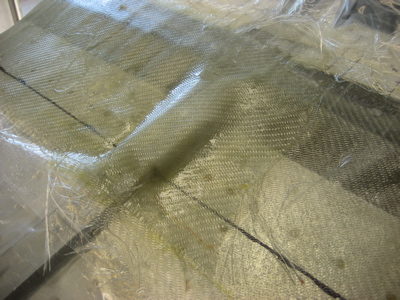
I laid peel-ply over the skirts and wetted it out just like another layer of glass cloth. This helps fill the weave of the cloth with epoxy, and gives you a better surface for sanding afterwards. Once the epoxy is cured, the peel-ply will be removed using approximately the same technique as is used for the final step of a bikini wax job.
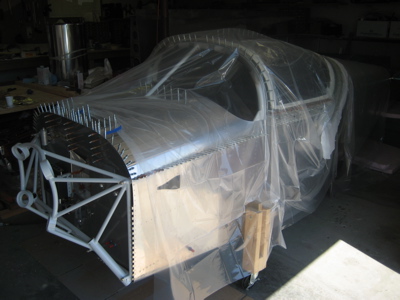
Here's a perspective shot to remind myself that the end goal here is indeed to have a flying airplane. I've been working on the canopy for so long that lately I've been unable to think of this project as anything other than a never-ending series of canopy-related chores.
I've even caught myself looking through Kitplanes and thinking, "You know, it would be super awesome to build an airplane someday. Oh wait…"