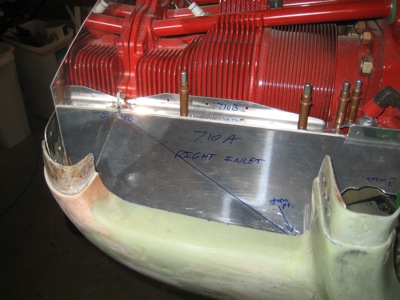
Working on the right side inlet ramp is much easier than the left, since there's no air filter to deal with. I roughly trimmed the inlet ramp and #1 cylinder baffle until they were short enough to put the cowl on, then bent the inlet ramp to match the contour of the cowl inlet.
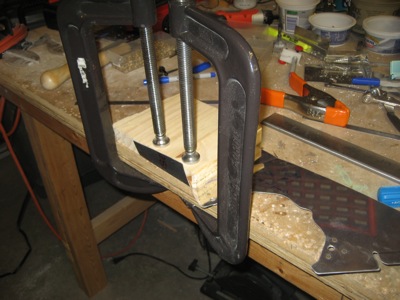
To bend the flange on the cylinder baffle, I had to use a hammer and a wood block since the geometry wouldn't work with my little bending brake. Yes my C-clamps are big enough, why do you ask?
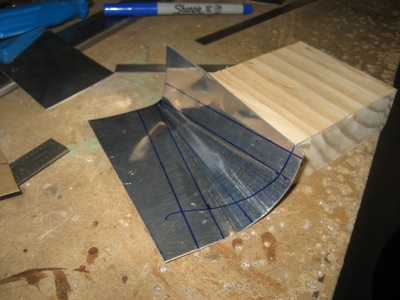
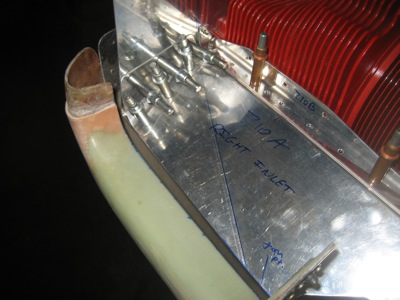
To provide a smooth surface for the rubber material to seal against, you have to make this conical gusset out of sheet aluminum. That was kind of a fun little task… surprisingly, bending it by hand over a wood block really does work.
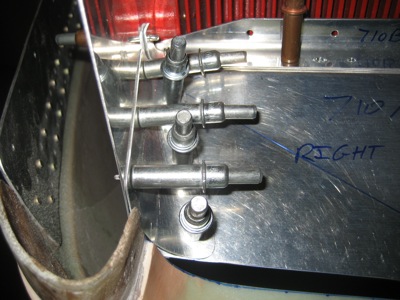
Most of rivets connecting the two baffles are common with the gusset, but I went ahead and put in one extra rivet hole so I could hold things in alignment. That made it a lot easier to get it all fitted properly without requiring three hands.
Here's the gusset after being fitted and trimmed:
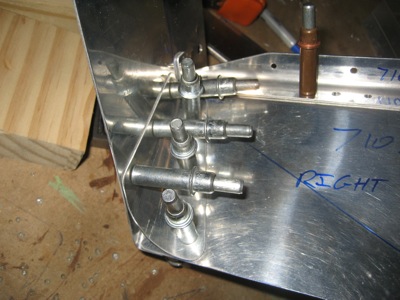
I cut the baffles back to create a 3/8" wide gap between the baffles and the cowl. Amazingly, this dimension appears nowhere in the plans, but the consensus is that 1/4" is the minimum and 3/8" is about right. I could only get 1/4" on the left side due to the air filter being in the way, but on this side I decided to go to 3/8".
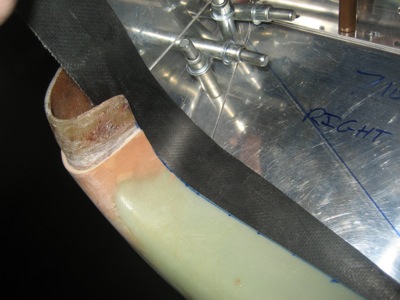
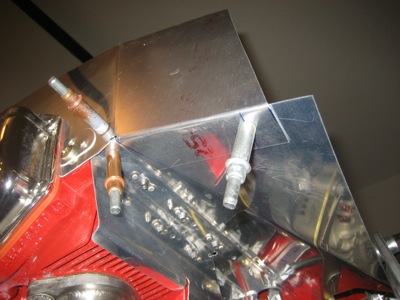
You have to trim the outboard edge of the inlet ramp so the cylinder baffle ends up just outside the edge of the cowl inlet:
Here I'm using a scrap piece of rubber airseal material to demonstrate the desired effect. This stuff will be attached to the cowl inlet lip, and will seal against the baffles to keep air from escaping. Note how the conical gusset allows the rubber material to transition smoothly from horizontal to vertical without disturbing the seal.