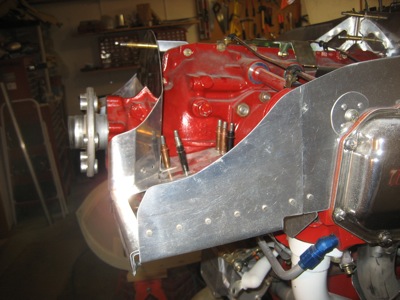
After a seemingly never-ending process of measuring, marking, trimming, and test-fitting, I finally have the forward baffles trimmed to fit the cowl inlet ducts.
I ended up totally re-making the center crankcase baffles from new parts. It was really tough to figure out the proper shape here, so I'll post plenty of photos.
The key thing here is to try for a nice smooth transition up the side of the inlet ducts to the inside surface of the top cowl. This is highly dependent on how you shape your inlet ducts so there is a feedback effect as you work on the shape of the various parts.
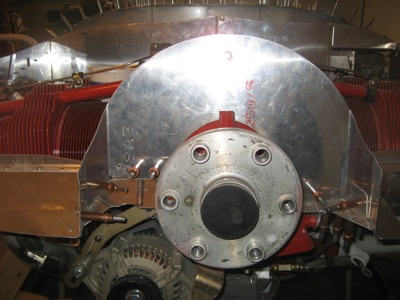
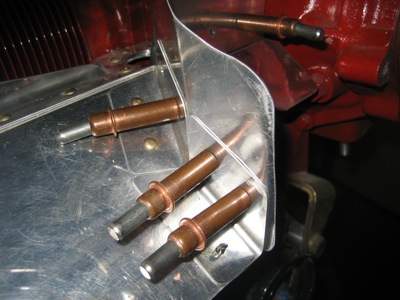
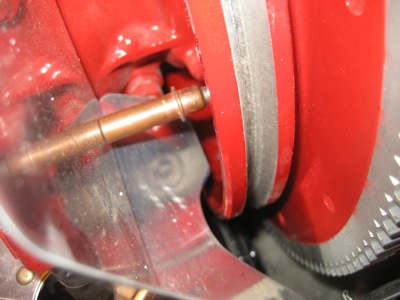
Close-up of how the parts join together just behind the spinner:
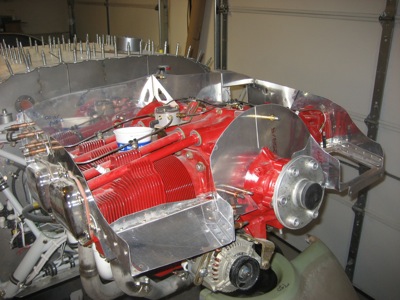
All the various baffle parts are cut about 3/8" behind the aft edge of the cowl opening:
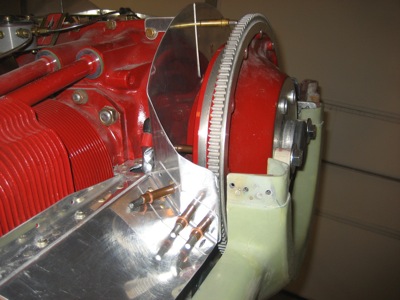
A view from the other side:
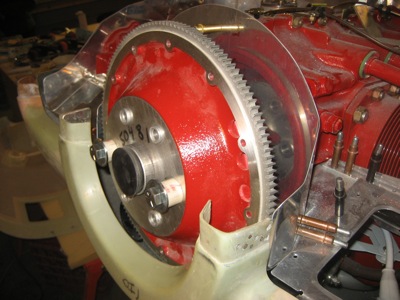
I bent the forward edges of the crankcase baffles inward to help the rubber baffle seal material bridge the gap:
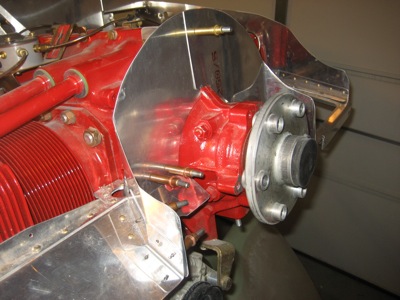
Trimming the outboard baffle on the #2 cylinder was fairly easy. I already made the corresponding modifications to the outboard #1 cylinder baffle in a previous work session.
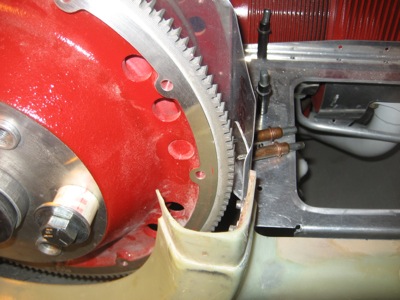
I had to grind away more baffle material in front of the #1 cylinder to make room for the back of the flywheel:
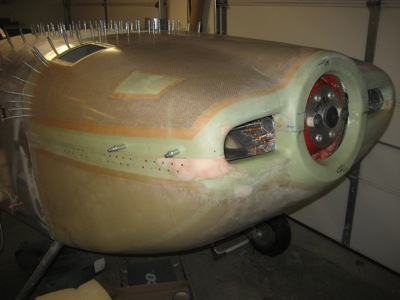
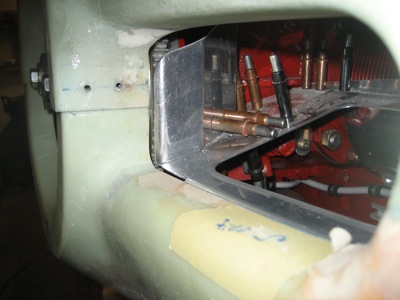
A view with the cowl on… the gap between the crankcase baffle and inlet duct looks huge due to the camera angle. In real life it's between 3/8" and 1/2".
Same area on the left side. This photo shows where I still need to do some fiberglass work to square up the face of the cowl behind the spinner… that can wait till next summer, though.
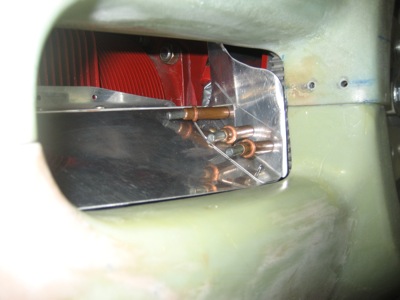
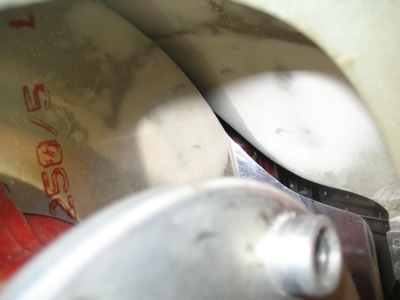
Looking in through the spinner cutout. This is the best photo I could get of how the crankcase baffle runs up the side of the inlet duct towards the apex of the cowl. It's almost impossible to see in real life – you mostly have to figure it out by sticking your hands in through the inlets and feeling around. Naturally this makes trimming the baffles a long and tedious process.
On to the next step…