The taildragger RV-7 has a pair of hefty aluminum gussets (F-7114) that bolt to the main spar and the lower fuselage longerons, fulfilling the same purpose as the main gear weldments which would be there in a tri-gear RV-7A. The plans don't really say when to attach these parts, other than you obviously need to have them in place before you mate the wings. I'm not to that stage yet, but I'm trying to get everything possible done inside the fuselage, so I decided I'd better check these gussets off the list.
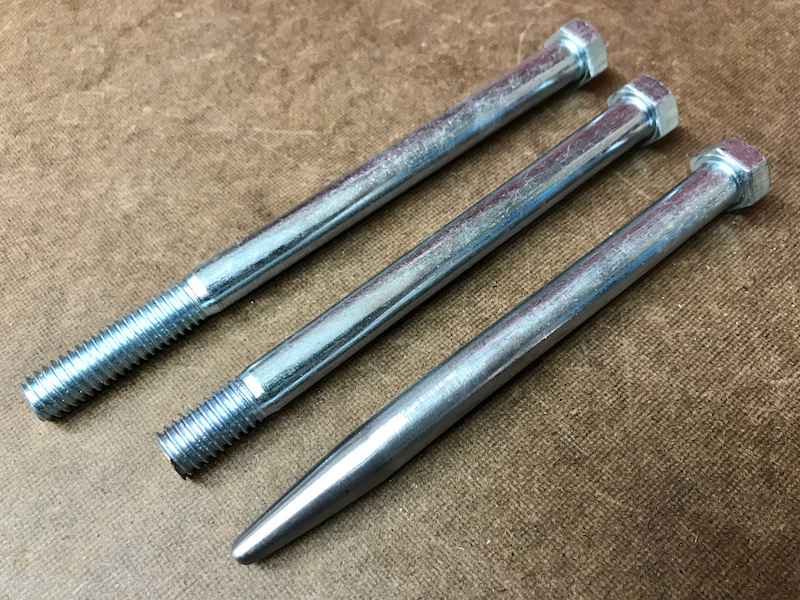
First I made a set of drift pins by cutting down some appropriately-sized hardware store bolts and grinding a the ends to a taper point. By chucking a bolt into a hand drill and spinning it against my belt sander, I was able to make a nice taper fairly quickly, and it warmed my hands up to boot. A quick pass with some emery cloth made the ends nice and smooth.
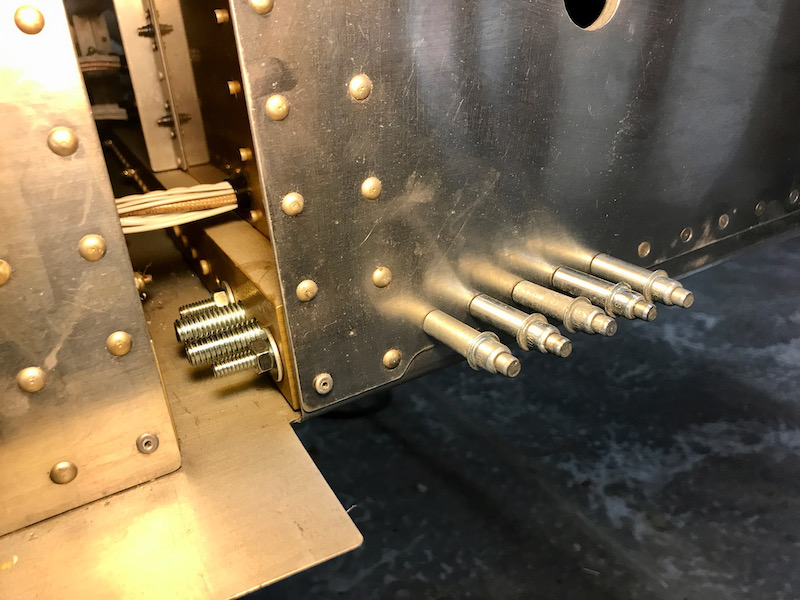
Before doing anything else, I used the taper pins to check that the factory-drilled bolt holes in the spar were okay. There was a brief moment of panic when I could only get about half of them to go in, but with the aid of a hole gauge I figured out that the actual problem was that the F-704C/D plates were slightly misaligned with the corresponding F-704E/F bars that they were riveted to. This must have been due to the quickbuild factory failing to bolt the plates and bars together properly before match-drilling and riveting. I decided the best fix would be to carefully file the holes in the F-704C/D plates only, leaving the bores in the much more structurally significant F-704E/F bars untouched. This was fiddly, but I managed to make it work. In this photo you can see how out of alignment the parts were before I finished this repair:
I bolted the gussets to the forward face of the spar using short hardware-store bolts. You have to reshape the bent flanges on this part to make it fit properly, but it's no big deal if you go slow with the hand seamer. I drew a centerline on the outboard flange and used a paint stick to prop up the gusset at the correct angle to pick up the existing holes in the lower longeron.
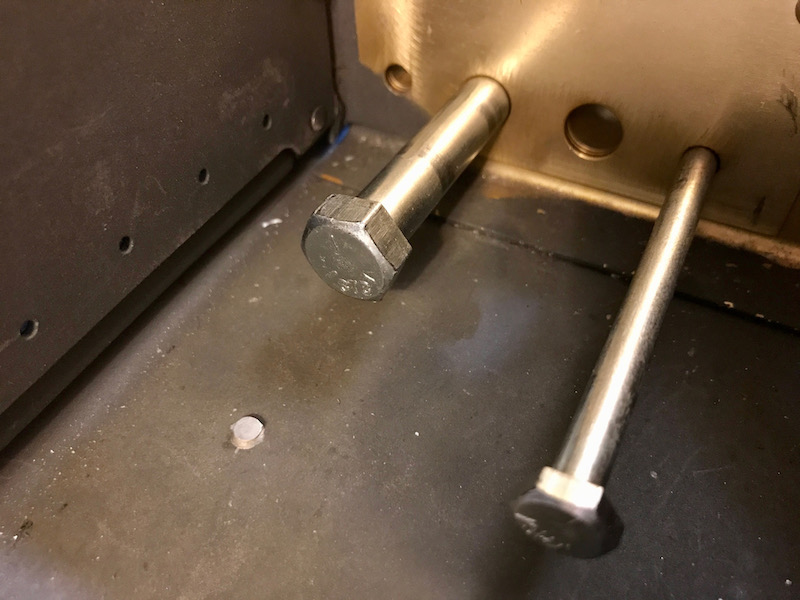
From the outside of the fuselage I match-drilled into the gusset through the existing rivet holes, clecoing as I went. Here you can also see the temporary hardware-store bolts I used to affix the gussets in place while drilling:
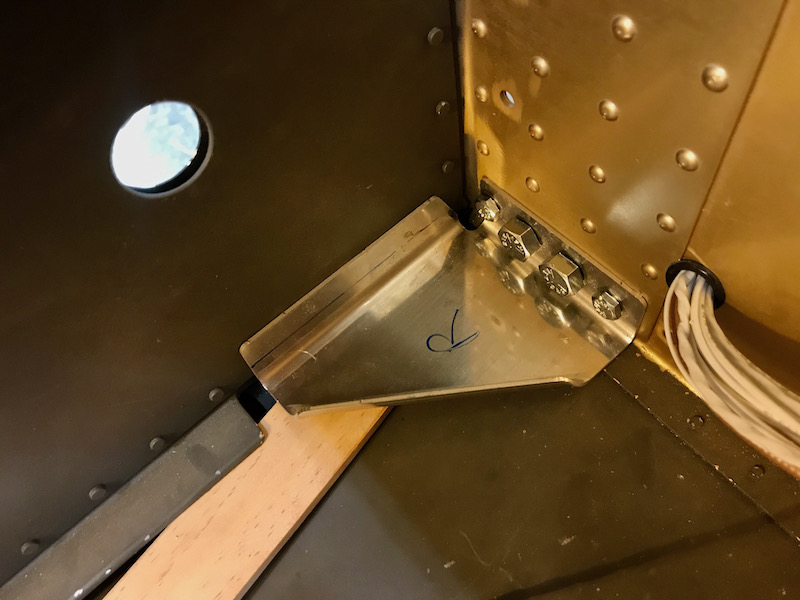
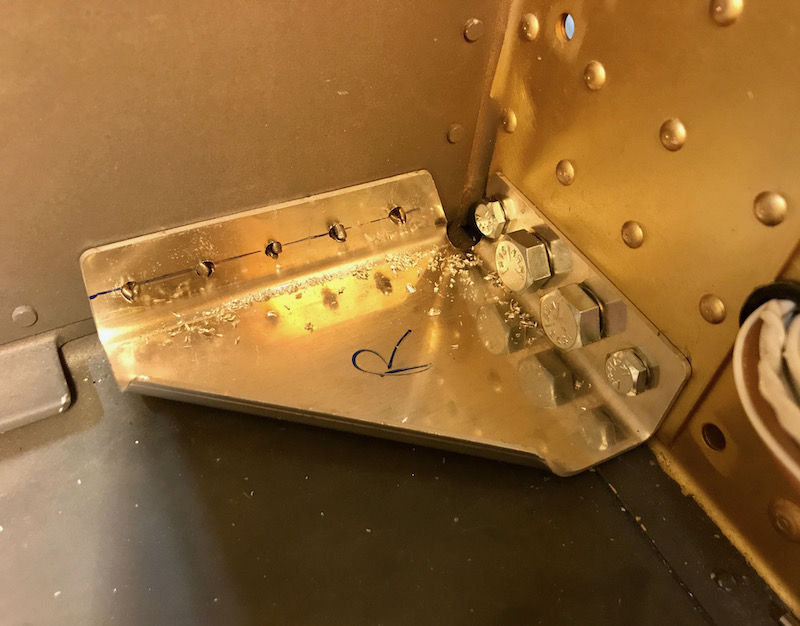
Not too bad, plenty of edge distance:
I repeated this process for the other gusset, then drilled the five holes in each part up to #10 to accept an eventual row of bolts. Then I removed the gussets, deburred, and got them ready for painting. These won't actually be installed until the wings go on, so in the meantime I'll just shoot some paint on them the next time we get a decent day for painting.