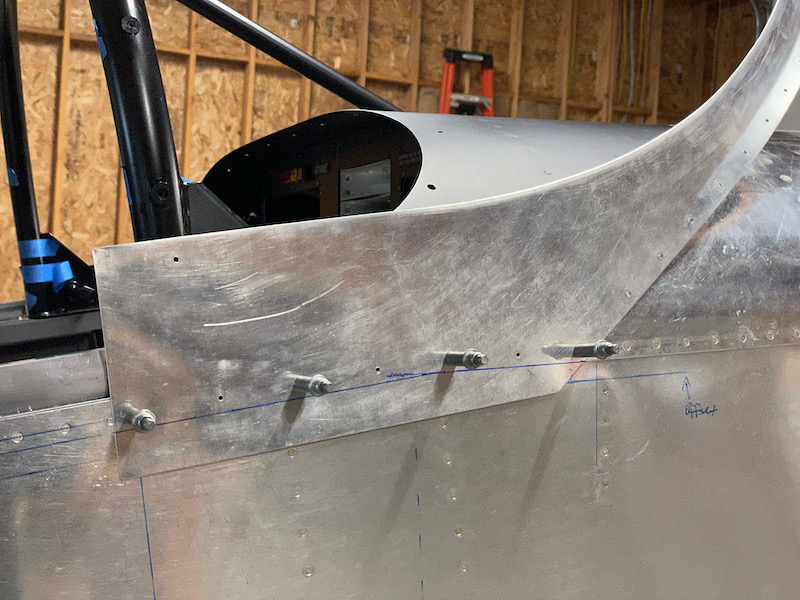
More progress on the windscreen fairing… I laid out a pattern of holes in the longerons (avoiding the existing rivet holes which I'm leaving alone) then drilled the fairing pieces using a hole finder:
You can also see that I added an extra hole at the aft corner of the lower fairing, to keep it from flapping in the breeze.
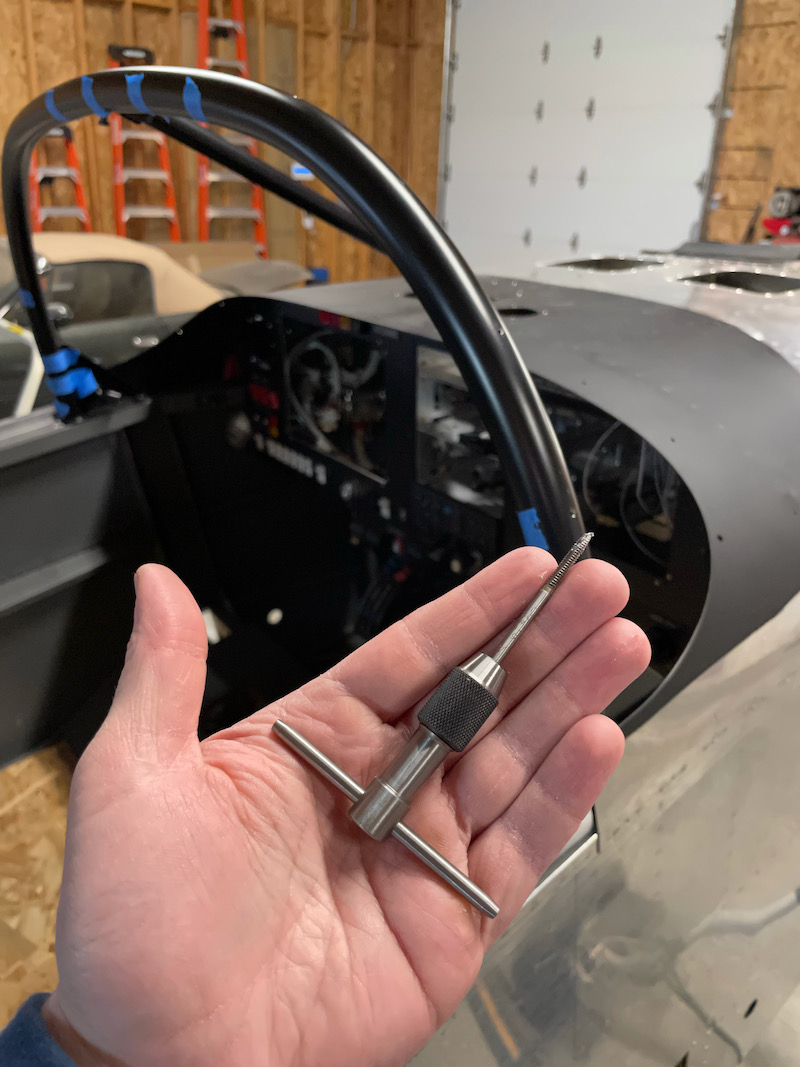
Next I drilled the pilot holes in the rollbar up to #36, and tapped them for 6-32 screws. This meant I got to use one of the Starrett tap wrenches Mary gave me for Christmas a few years ago. I love these things; they're so precisely and perfectly made, like little pieces of jewelery.
I ordered some black nylon spacers from McMaster to replace the temporary hardware-store ones I'd been using. These I attached to the rollbar with superglue – it doesn't form a super strong bond to nylon, but it's good enough for my purposes here. I used screws and tinnerman washers to keep them centered on the holes while the glue dried:
Here they are a few minutes later after I pulled the screws out:
Important note: It would have been better to tap the screw holes with the plexiglass and fairing pieces installed, so I could do a better job of getting the approach angle correct… still, I think what I've done here will still work.
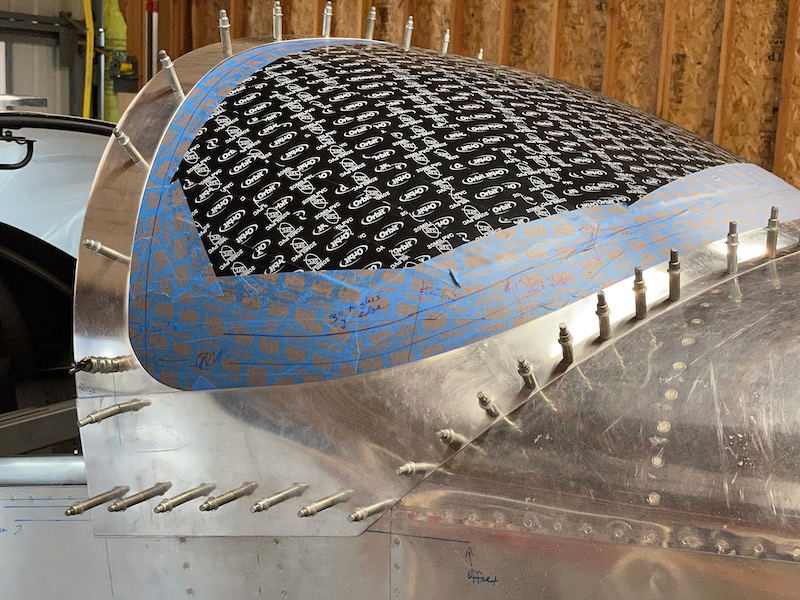
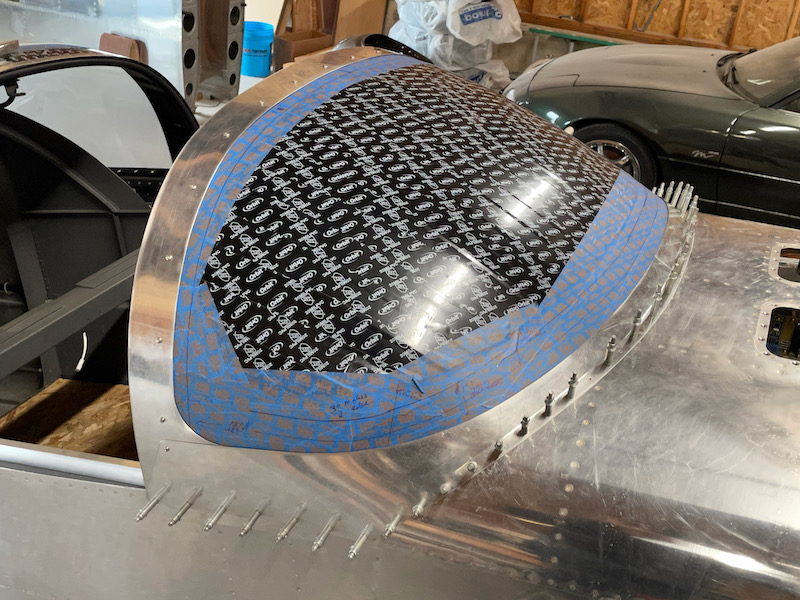
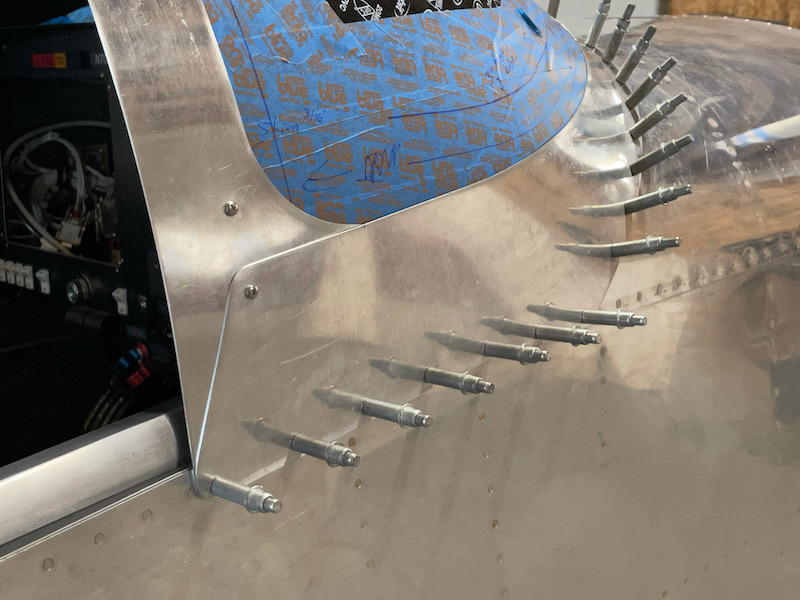
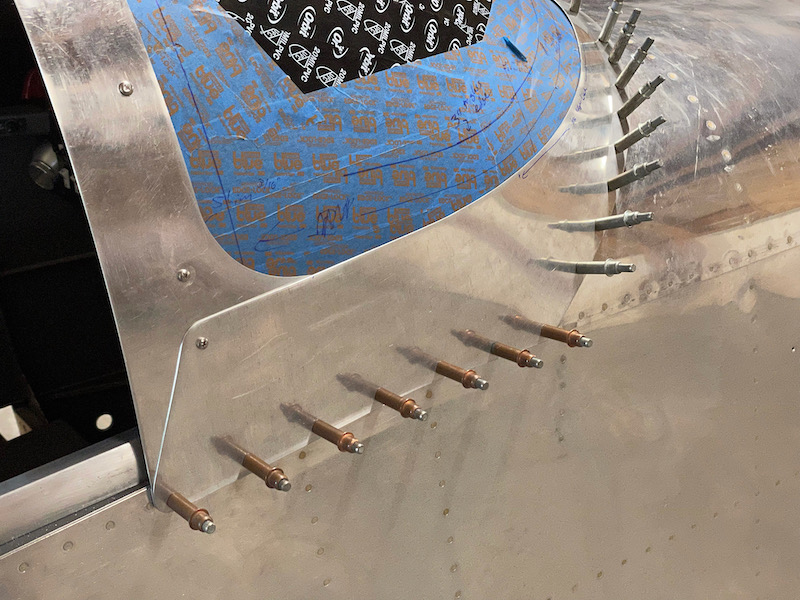
Anyway, with the position of the fairings now locked down relative to the longerons, I was finally able to mark and trim the overhanging material from the bottom edges:
After much tweaking and adjustment, I think I now have the fairing pieces completely trimmed. Here the rollbar fairing is installed with hardware-store screws:
I angled the aft edge of the windscreen base fairing forward from the longeron to the bottom-most screw hole, which incidentally makes it look rather jaunty if you ask me.
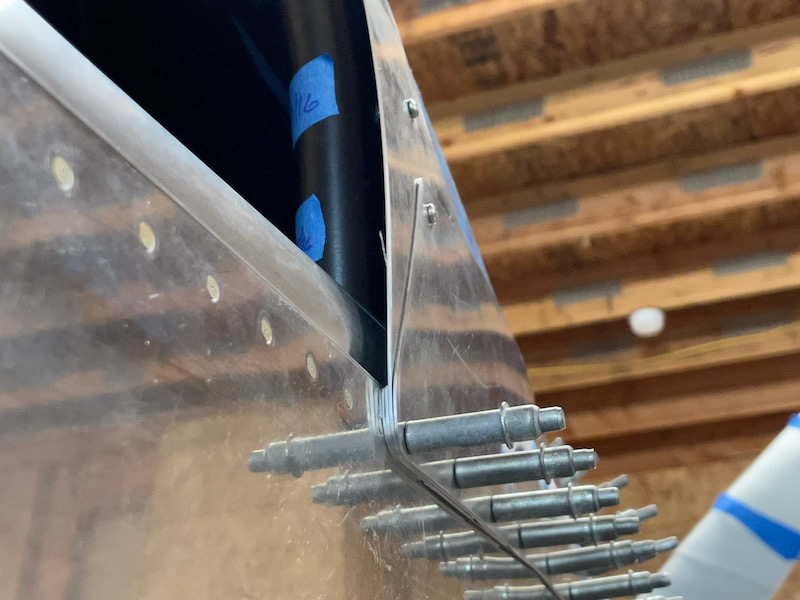
I found that I needed to move the fairings outboard slightly at the bottom corners to allow the canopy to close without binding, so I made little spacers out of 0.040" to make everything slightly wider. This results in kind of a thick stackup of material – four layers if you include the top skin – so I'll probably put a little proseal fillet under here to smooth it out a bit.
I had no excuses remaining, so I final-drilled the holes in the longeron up to #30:
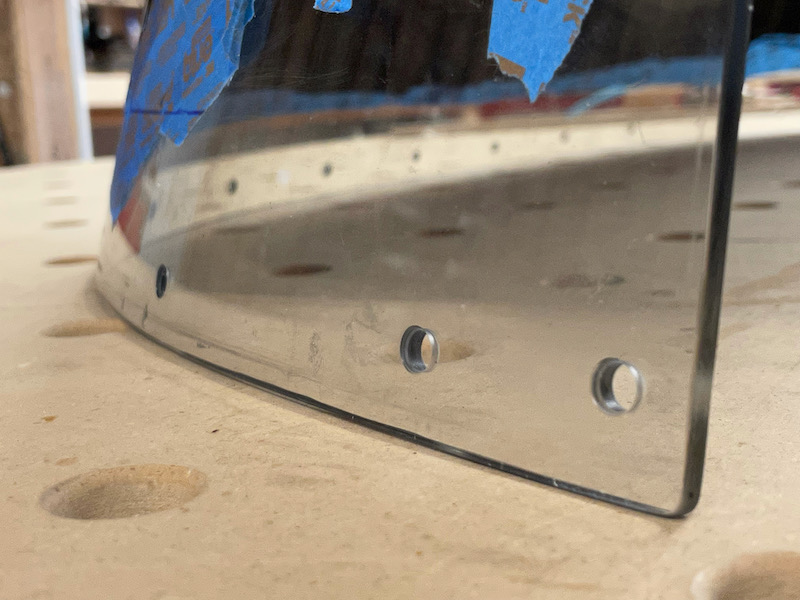
I countersunk the plexiglass to accommodate the #6 screw dimples in the rollbar fairing, then drilled the holes up to 1/4". That didn't actually leave much countersink left, more like just a light chamfer.
Then I deburred all the holes in the airframe, countersunk the longeron holes where required, and got started on dimpling the holes in the skin… whereupon I promptly dropped half of my 3/32" pop rivet dimple die set and lost it forever. I looked all around the hangar, but it seems to have been transported into another dimension. So, I guess I am stuck on this project until I can get a new one in the mail. What a bummer.