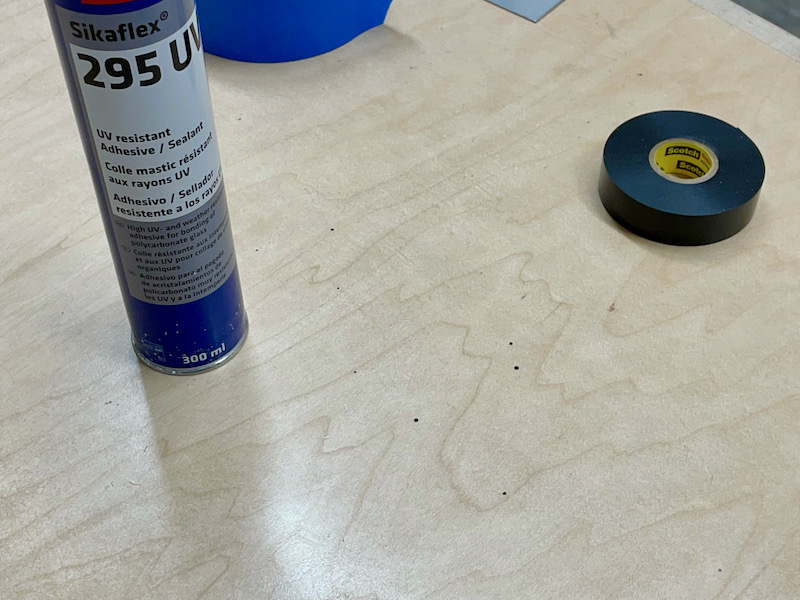
I decided to investigate the use of Sikaflex for sealing the windscreen fairing to the fuselage and canopy, to make it air- and water-tight. The techniques for using this stuff have become well-known in the amateur-built aircraft world since I started my project. If I were to start over again today I'd seriously consider doing an all-glued canopy, but since I already had the fastener holes drilled, I decided I'd more or less follow the plans for the actual windscreen attachment and use the glue only for sealing purposes.
I ordered a half-pint each of 205 Aktivator and 209D Primer, and two tubes of 295UV sealant. Since I didn't want my first experience with this stuff to be on my practically irreplaceable canopy, I decided to do a quick test using a scrap of aluminum and a piece of plexiglass from the local building materials store:
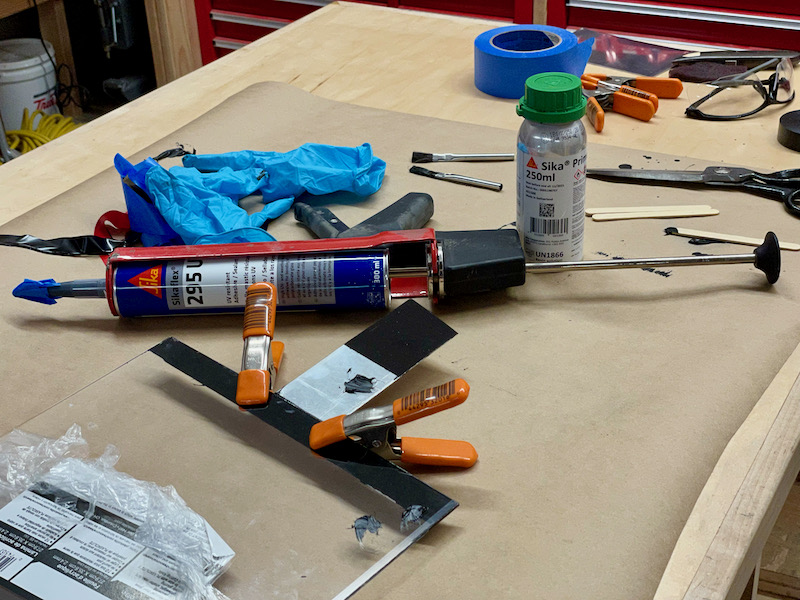
I masked a bond line on the plexiglass and a matching one on the aluminum, and used an acid brush to apply the activator, followed ten minutes later by the primer. I also applied activator and primer to a second area on the aluminum that I didn't plan to glue, just to see how the coverage would turn out. Then after waiting 30 more minutes I applied the sealant to the bond line, cleaned up the squeeze-out, and clamped the pieces together. The last thing I did was to put down a few random dabs of sealant in areas where I hadn't applied primer, so I could see how hard it would be to remove sealant if I got some in a place where I didn't want it.
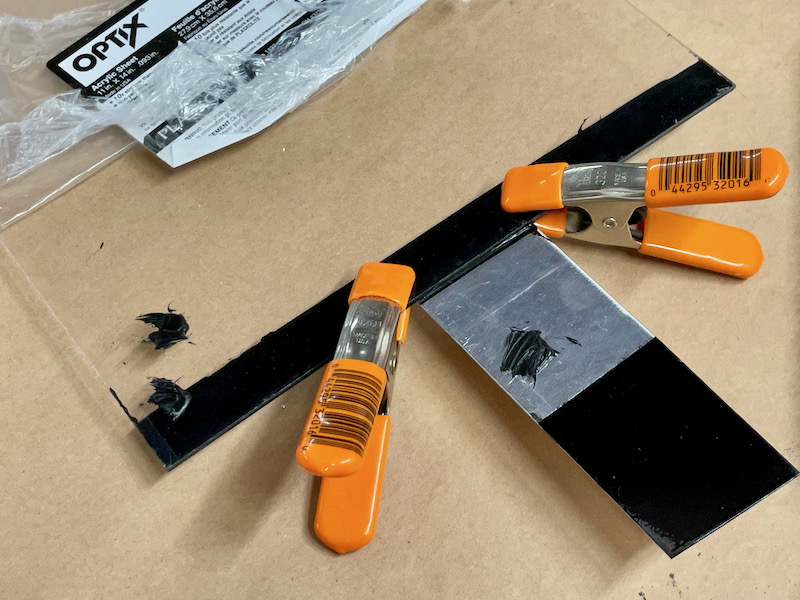
24 hours later, it looks pretty much the same. The sealant has cured to the consistency of hard rubber, and the primer-only areas are glossy black with some faint brush marks visible.
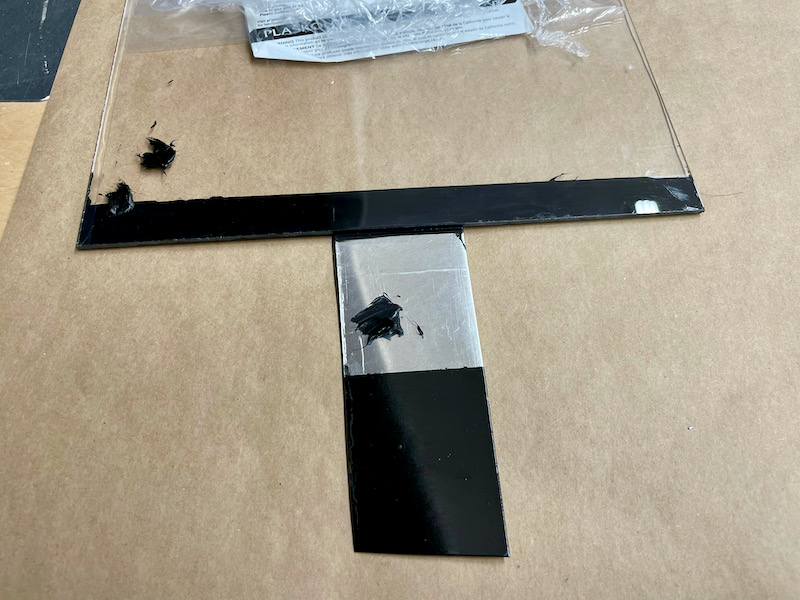
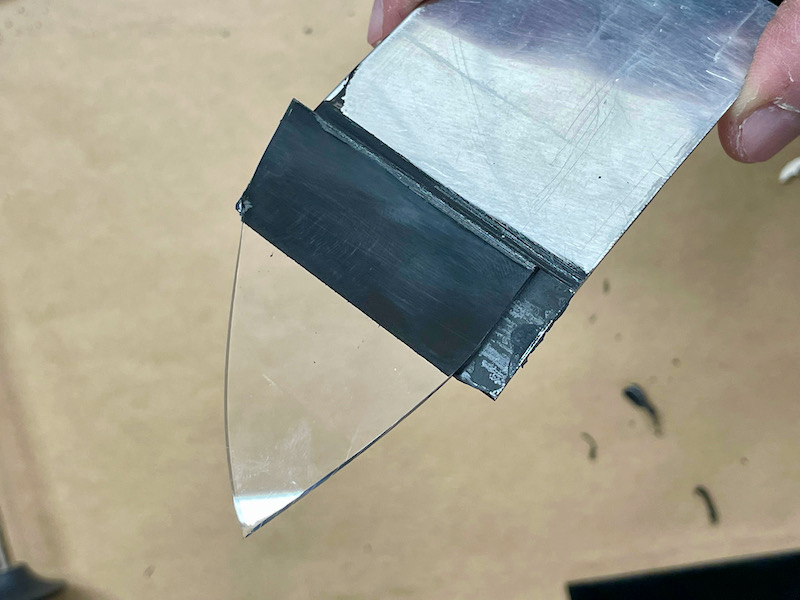
As I was lead to expect, trying to break the sealant bond just resulted in bent aluminum and broken plexiglass. This stuff really is amazingly strong.
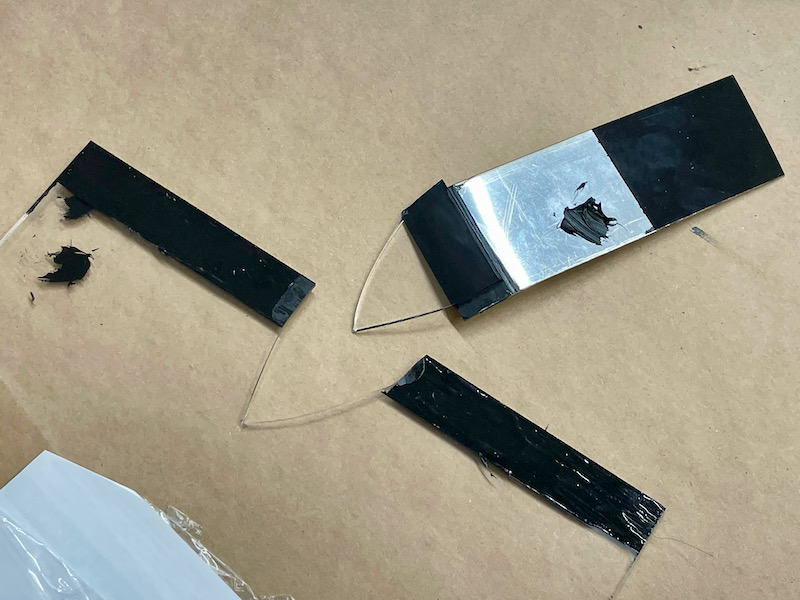
It was quite easy to remove cured sealant from un-primed areas (compare this photo to the one above). However, what's not possible is removing the primer once it's applied, or removing cured sealant that is stuck to the primer. So in fact applying the primer will probably be the most fiddly step, since it seems to stick forever to anything it touches. I'll also have to do a better job of masking the glue lines than I did with this test – note the ragged edge where I was lazy sticking down the tape.
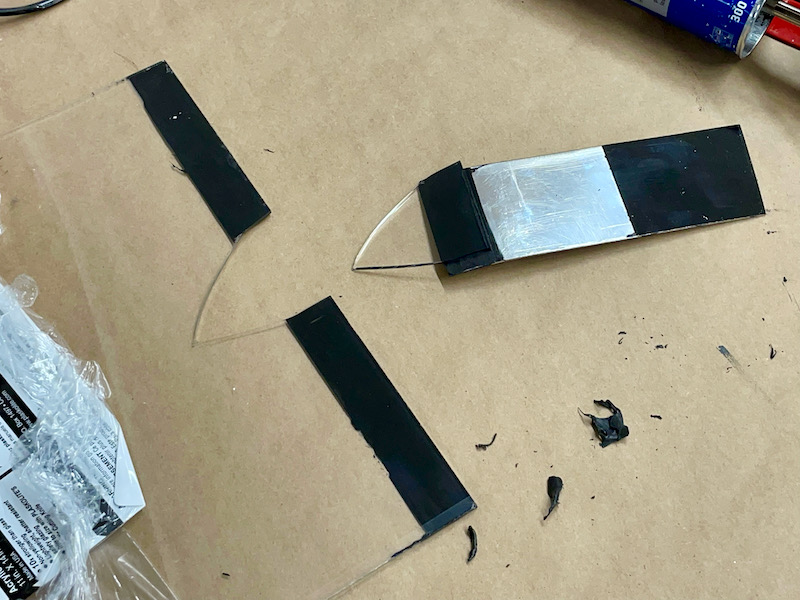
The glued joint looks fairly nice when viewed through the other side of the plexiglass. I was worried I'd have to go to the trouble of masking and painting the reverse side of the glass to avoid having to look through the windscreen at the back of an ugly glue joint, but I don't think that will be necessary.
I wasn't totally satisfied with the amount of primer-bleeding I was getting with garden-variety blue masking tape, so I took a trip to the local automotive paint supplier looking for 3M #218 tape, which is supposed to be better for Sika masking. They didn't have any of that, but they did have some very purple 3M poly tape which I decided to test. I masked off a strip and applied activator and primer, then pulled the tape on one side immediately:
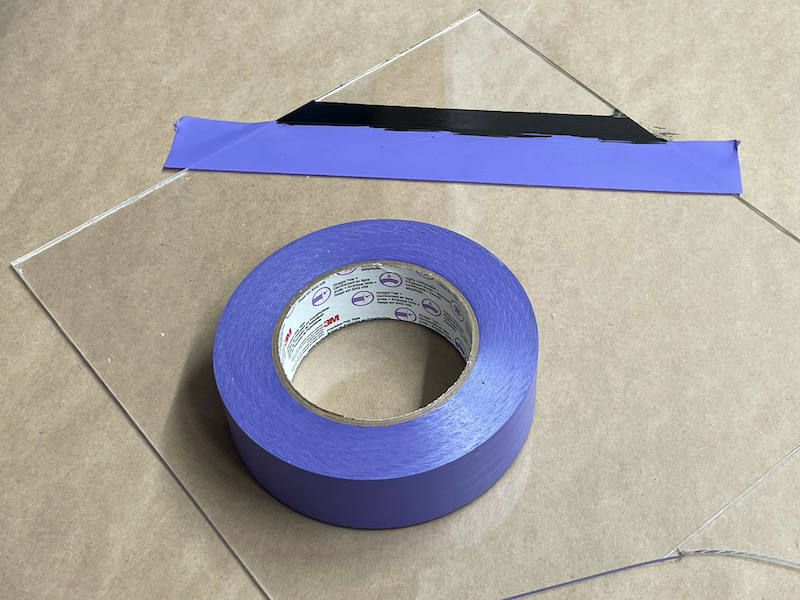
I pulled the other piece of tape the next day. Both methods seem to provide adequate results, although obviously it's better to pull the tape with the surface still wet to get a good clean line. For now I'll plan to use the purple stuff for the final glue-up.

Despite the fact that I put down paper and tried not to spill anything, I still managed to get a few drops of primer on my workbench, which seem to be resistant to my entire arsenal of solvents. Further warning that I'll have to be extremely careful with the primer.