The two lenses for the wingtip lights come as one conjoined bubble, which you have to split in half as a first step. I had kept this part packed in bubble wrap, and was pleased to see that it survived the cross-country move with only a few small scratches:
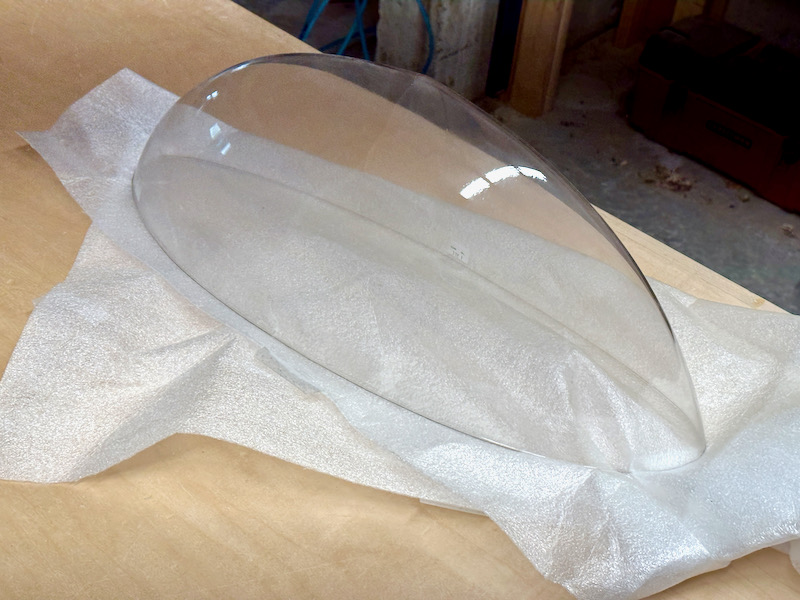
There is enough material here that you don't have to be super precise about the initial cut – just dividing it at the approximate midpoint is sufficient:
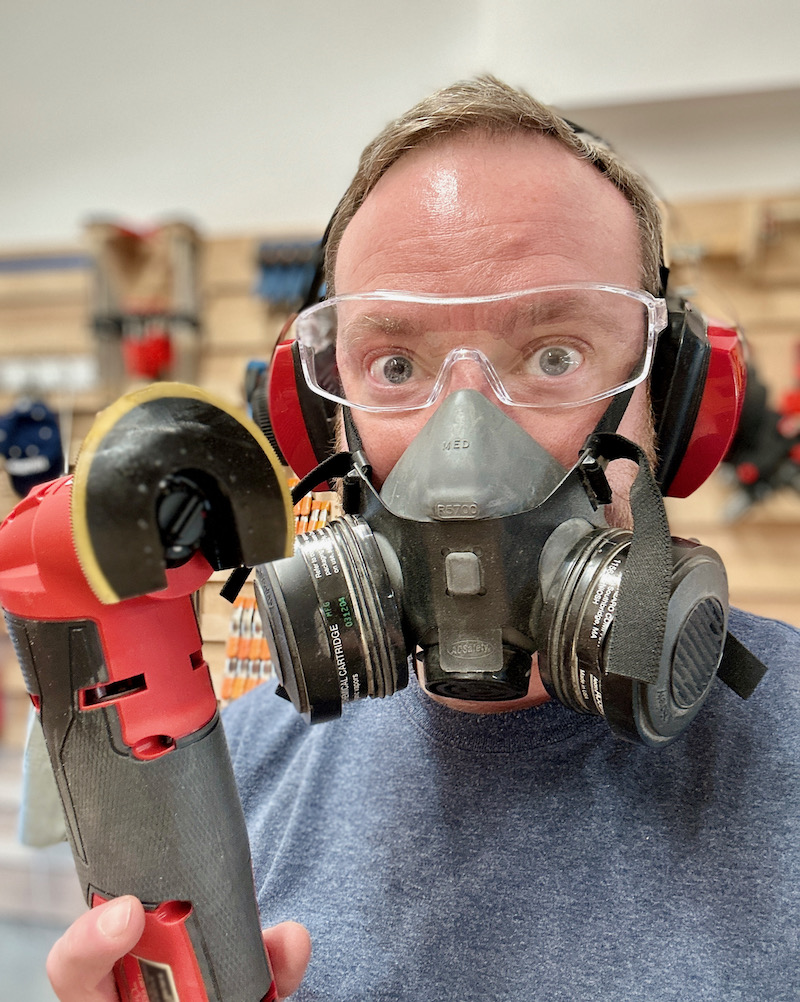
The best way I found to cut this material was with a round blade in an oscillating multitool – buzzer saw, shaker saw, or whatever you happen to call it. With this method I was able to make controlled cuts pretty close to the desired line. It is loud and it does produce a lot of dust (or is it fumes?) that seemed inadvisable to breathe, so all the protective gear is a must:
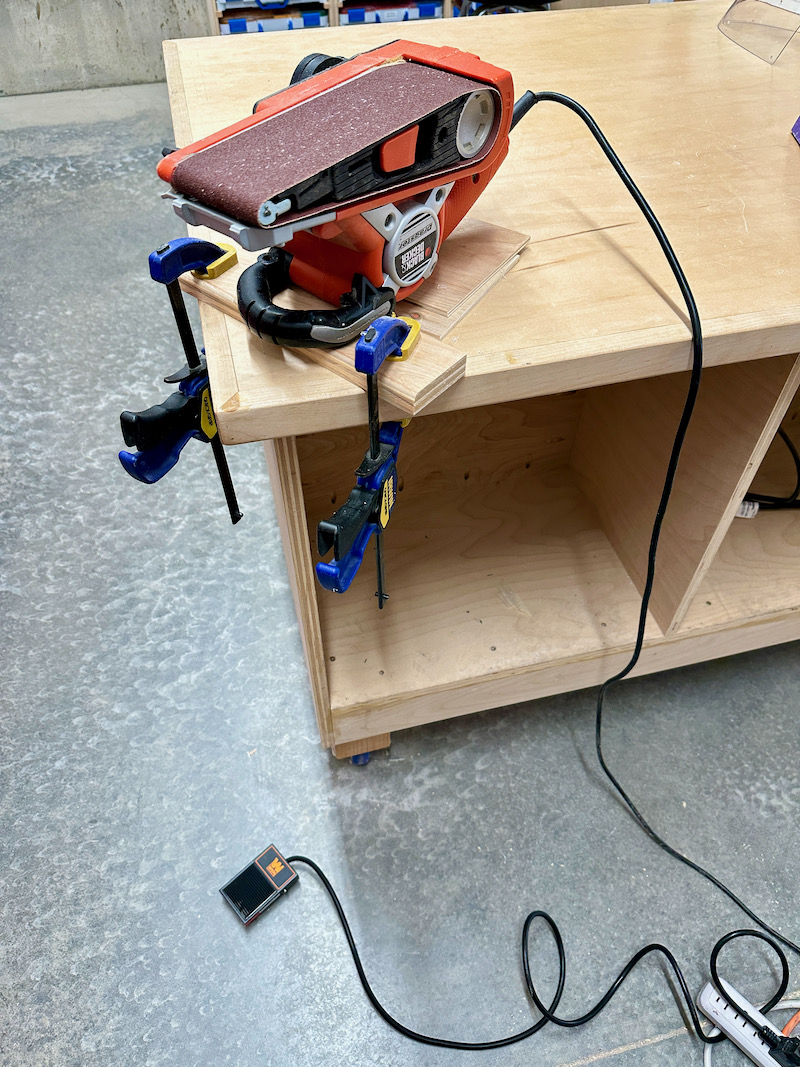
For the initial edge straightening after a cut, I used my handheld belt sander, converted to a sketchy benchtop unit. This is more solid than it looks, as the wood crosspiece is screwed to threaded mounting bosses in the plastic handle. But just in case it managed to get out of control, I used a cheap deadman switch to power it:
Then it's an iterative process of marking, trimming, and sanding. I used a dry-erase marker, which worked well. For removing more than about 3/16" I used the buzz saw and sander, otherwise I just went after it with a sanding block. The material is thin and pretty soft, so it machines quickly. I've even heard of people using tin snips to cut the lens material, which I think would probably also work if done carefully.
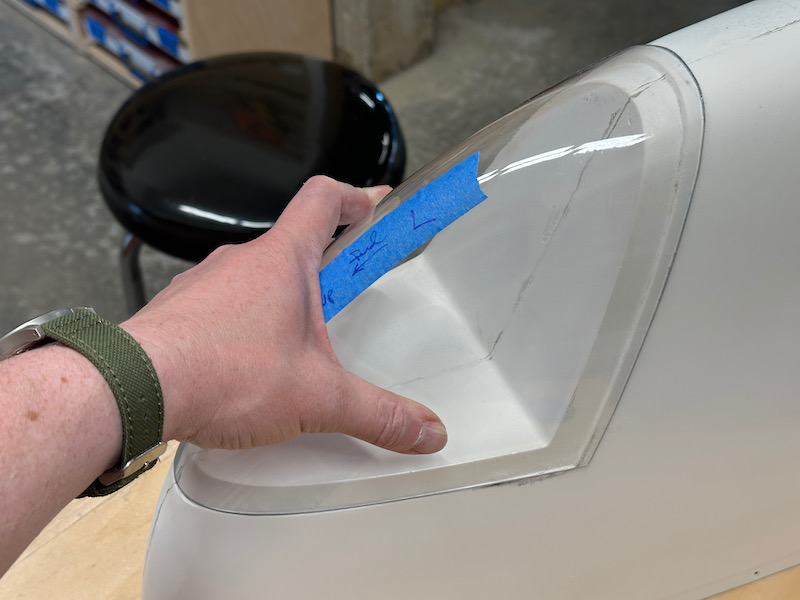
Eventually I had the lenses fitting about as well as I figured I was ever going to get, so I sanded the edges to 320 grit, hit them with a scraper, and then polished them with a felt wheel. Then I drilled one mounting hole in each corner:
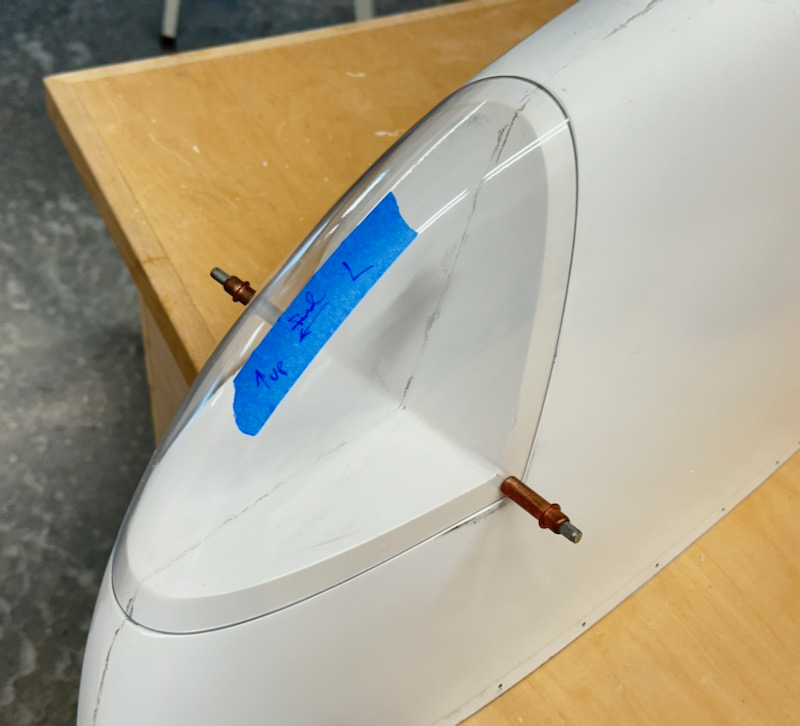
I don't know what the plans say about mounting the lenses, since I seem to have lost the loose instructions sheet that came with the lens bubble, but usual method is to use nutplates. These are often held in place with pop rivets, due to the geometry of the wingtip and the hazards of driving solid rivets in fiberglass. I decided to take a different approach, still using nutplates, but with their mounting ears twisted roughly 45 degrees:
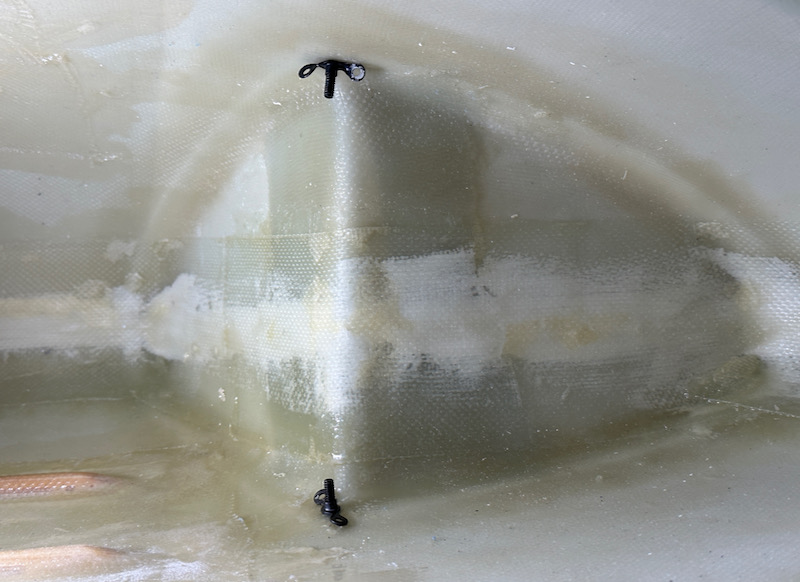
I simply gooped the nutplates in place with blobs of epoxy/flox, which is inelegant but definitely worked. The purpose of the bent nutplate ears is to give the flox something more solid to grab onto. Now I have the nutplates mounted permanently, and I'll never have to deal with wear issues related to pop rivets in thin fiberglass:
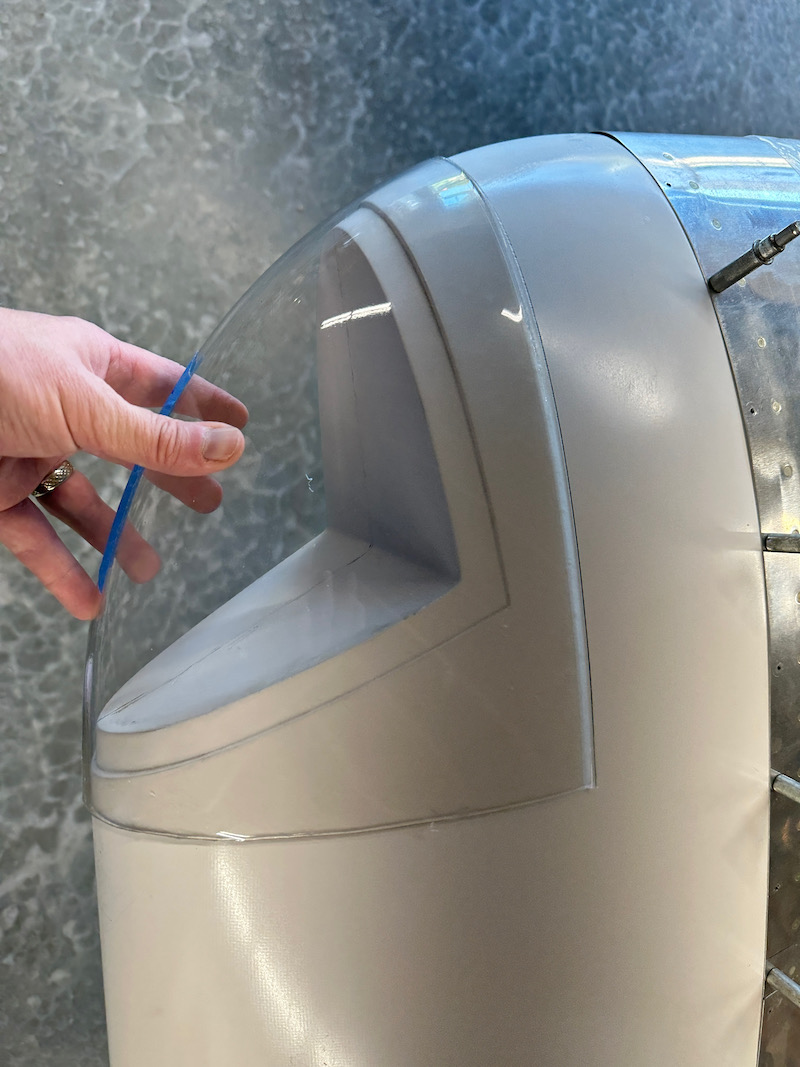
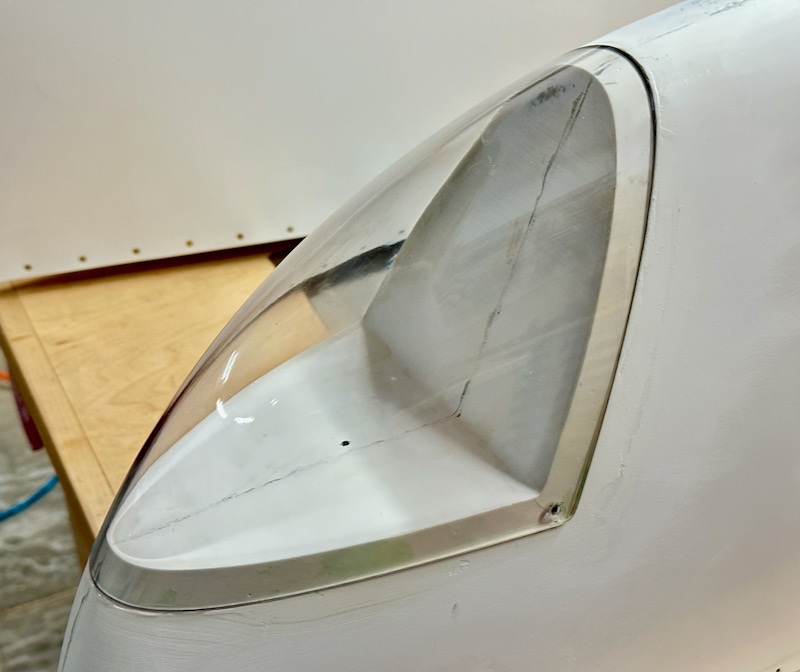
The fit of the lenses at this point was "okay", but if you zoom in on this picture you can see that it could be better. The profile of the lens and wingtip don't match perfectly at the apex, and the edges of the lens don't match the wingtip recess:
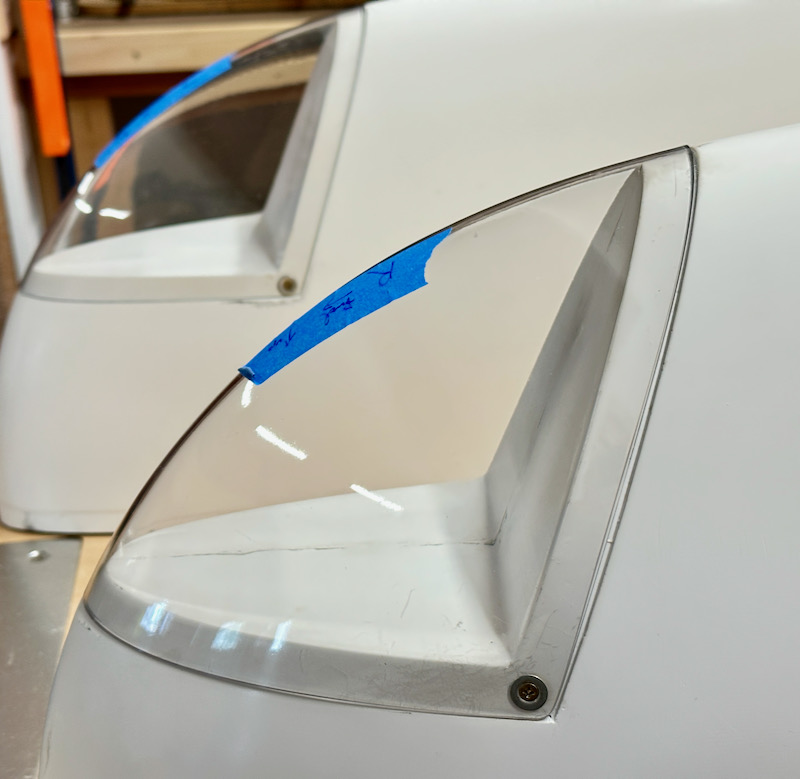
I know the latter must be due to the molded recess having a wavy edge, because the lenses themselves are dead-flat if I set them on a table. To improve the fit, I decided to add some filler where necessary.
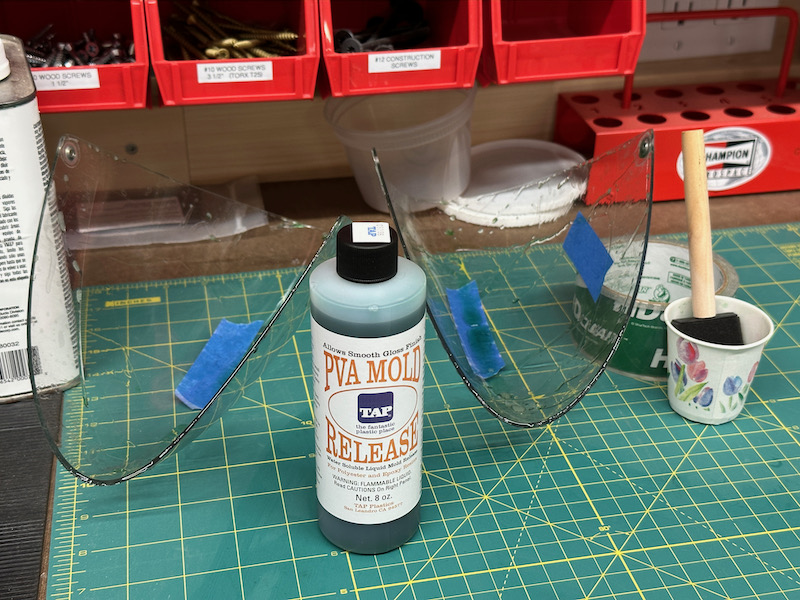
I applied clear tape around the outside perimeter to keep the epoxy off the plexiglass, but I couldn't get the tape to lay down nicely along the complex curve of the inside surface of the lens. Instead, I brushed on a layer of PVA mold release:
I spread an epoxy/microballoons mixture on the wingtip recesses, screwed the lenses in place, and then added more filler on the outside where there were low spots:
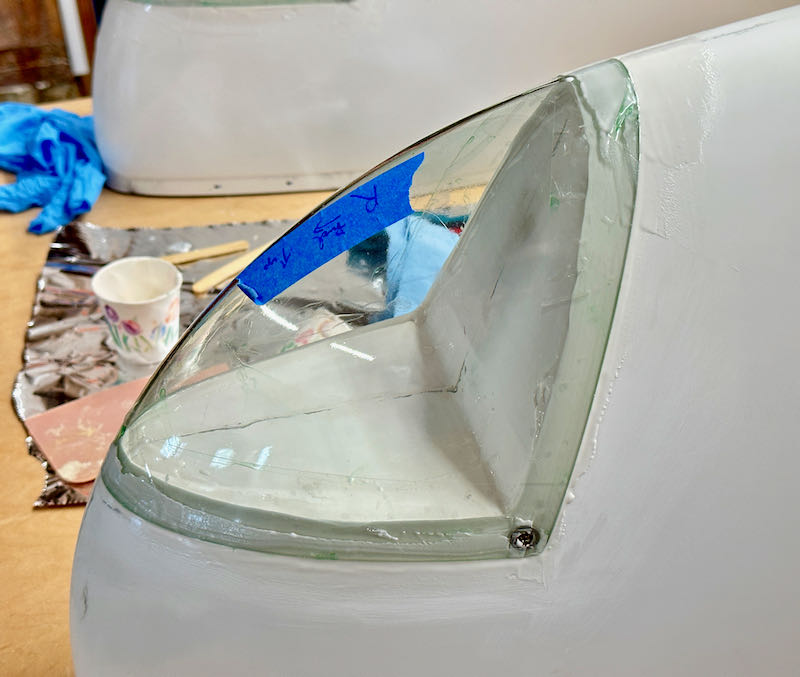
After letting everything dry – while worrying that I had just made a huge mistake – I managed to remove the lenses from the wingtips without damage, but it was a real struggle. I eventually resorted to drilling a small hole in each wingtip so I could blow in compressed air, which helped pop them loose. I'll repair the holes with flox later.
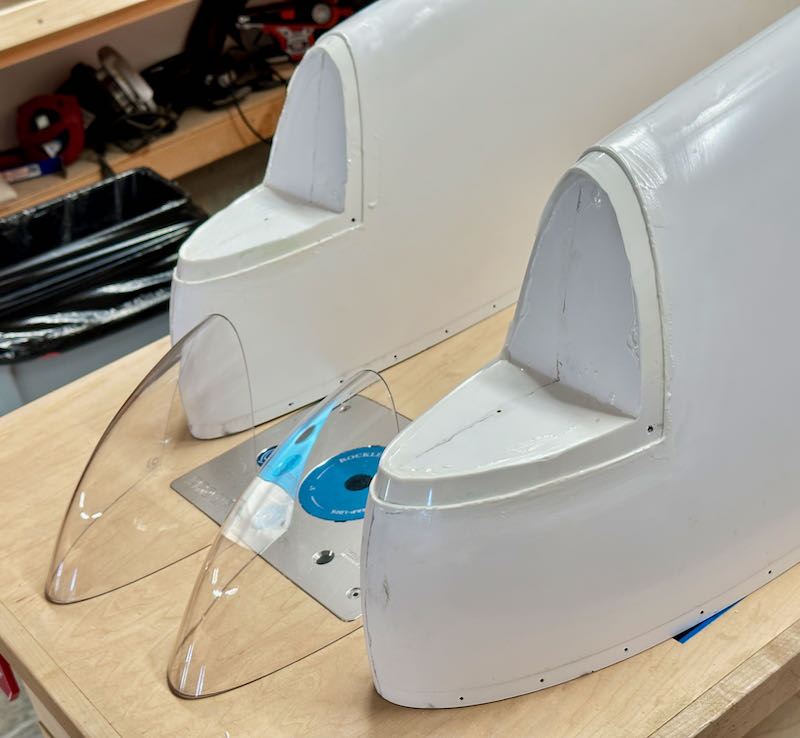
After sanding off the excess filler, I now have perfectly-matched wingtips and lenses:
I still have some smoothing to do in a few spots, but some of that can be left for the painter to worry about. Meanwhile, I'll consider the wingtip lenses finished.