Archive for the ‘Wingtips’ Category

Wingtip lighting & final installation

Sunday, October 1st, 2023

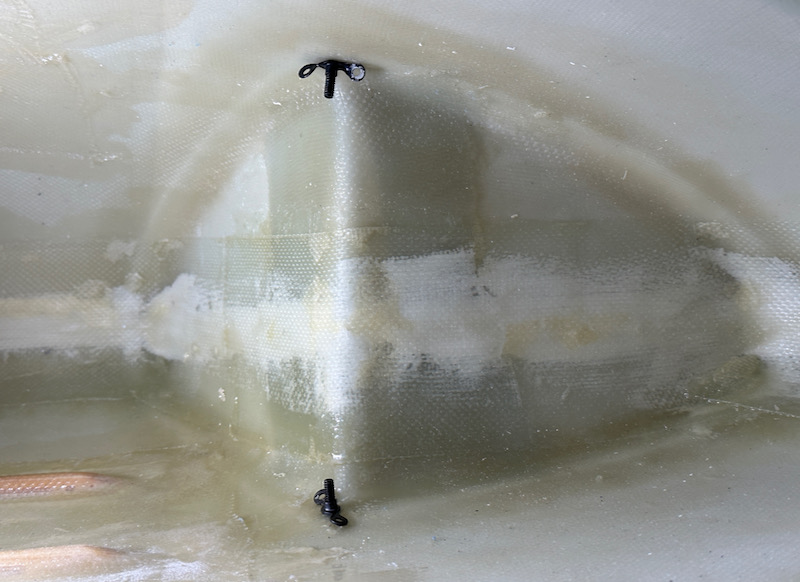
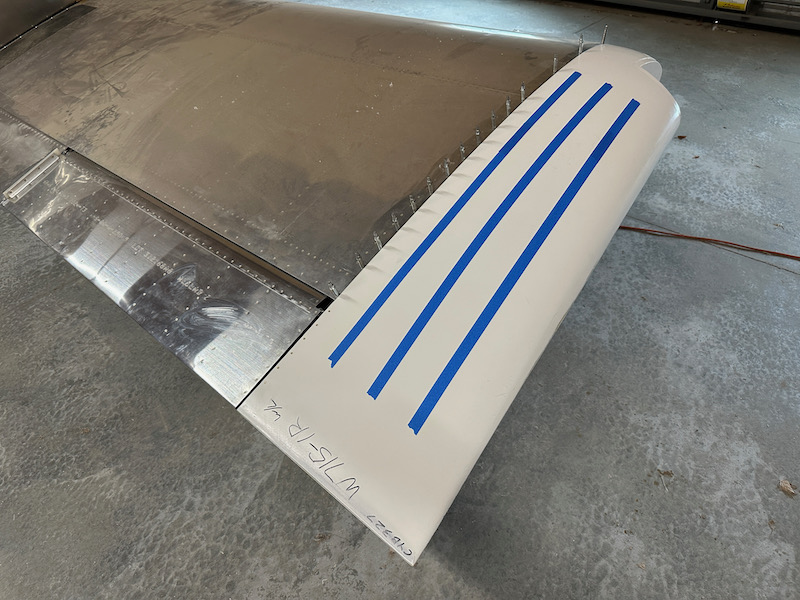
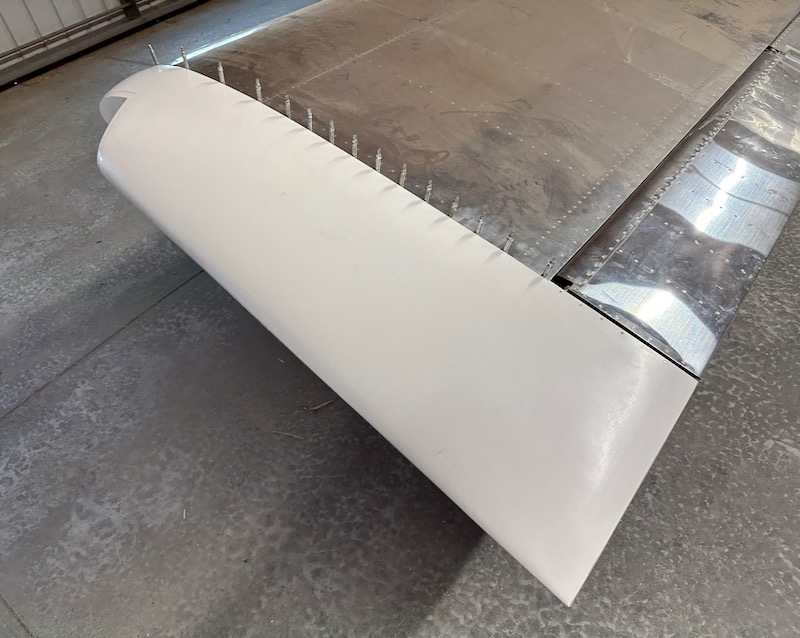
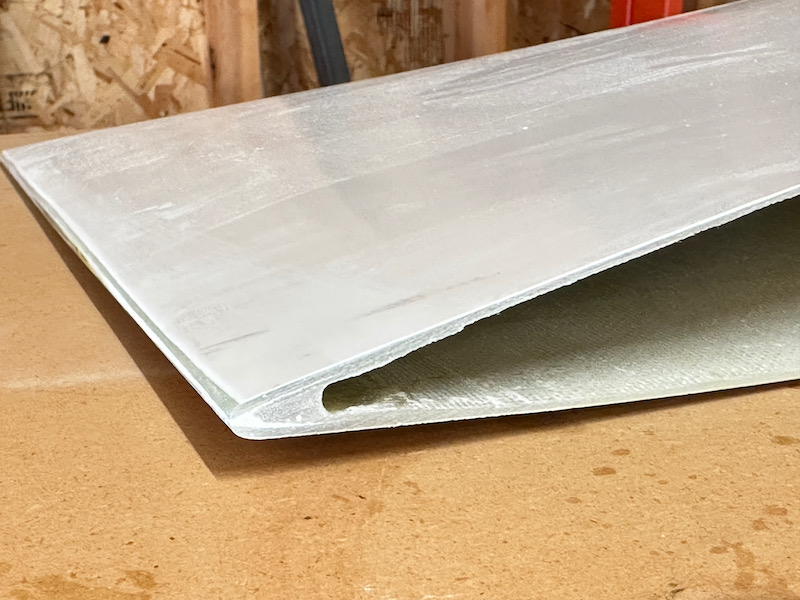
I spent a couple evenings installing the eighty or so nutplates that will be used to attach the wingtips. Once again I slightly under-squeezed the rivets to avoid cracking the fiberglass, and I was none too picky about achieving countersinking perfection. These holes will all be hidden when in use, so as long as everything fits together and the nutplates are nominally attached, it will be good enough:

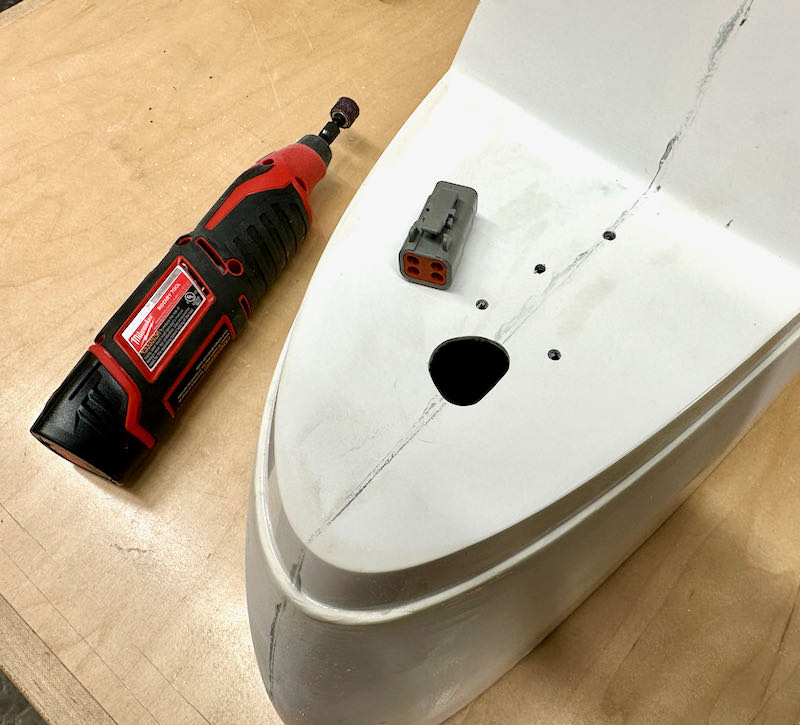
The Whelen nav/strobe heads are designed to be screwed to a mounting plate, which is in turn affixed to the wingtip. However, they don't give you much of a hole for the wiring, which is sort of annoying. I passed the wires through the mounting plates, then installed Deutsch DTM connectors, which will have to be de-pinned if I ever want to separate these components:

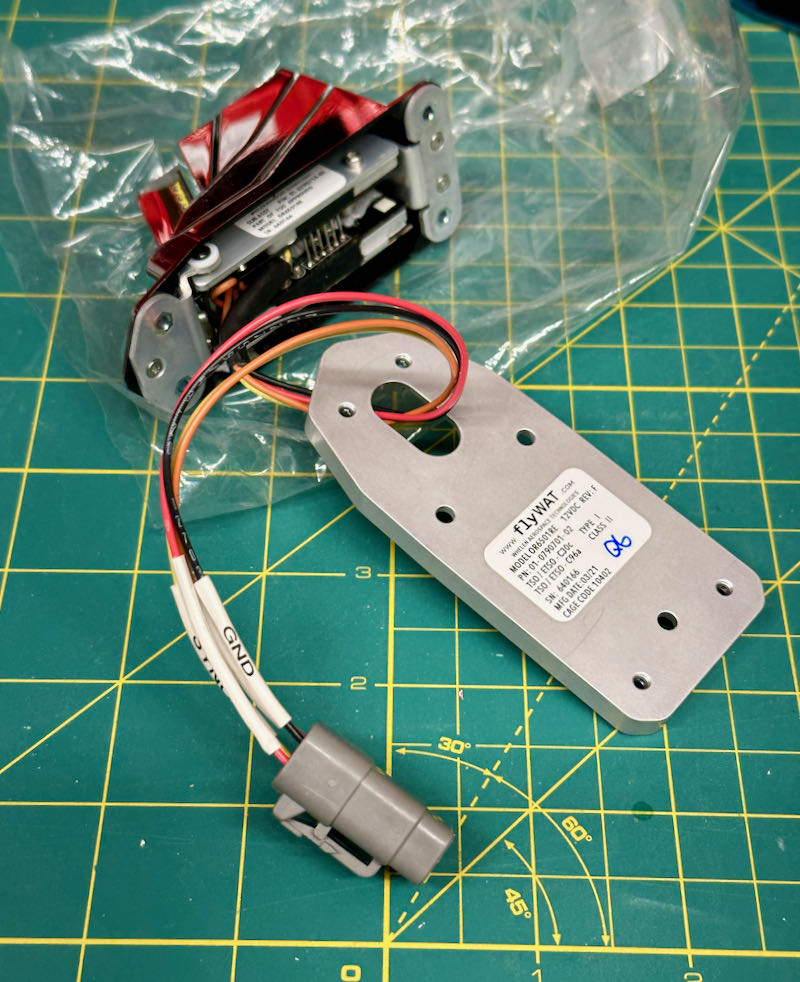
I have known about Deutsch connectors for a long time, but only recently picked some up to play with. Once you understand the installation process, these connectors are just as easy to use as Molex connectors, and are apparently vastly more reliable. Over time I'll probably replace any problematic Molex connectors with Deutsch, but I can't be bothered to go back and redo any of my old work at the moment.

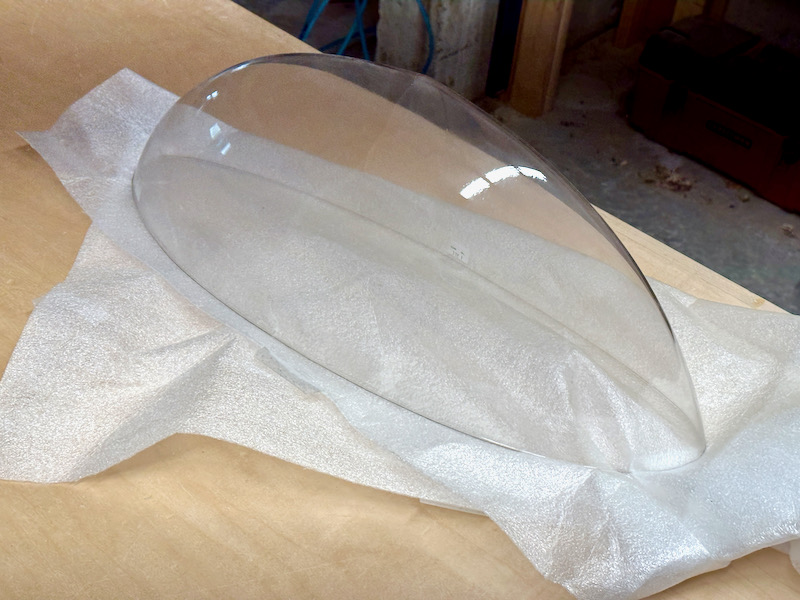
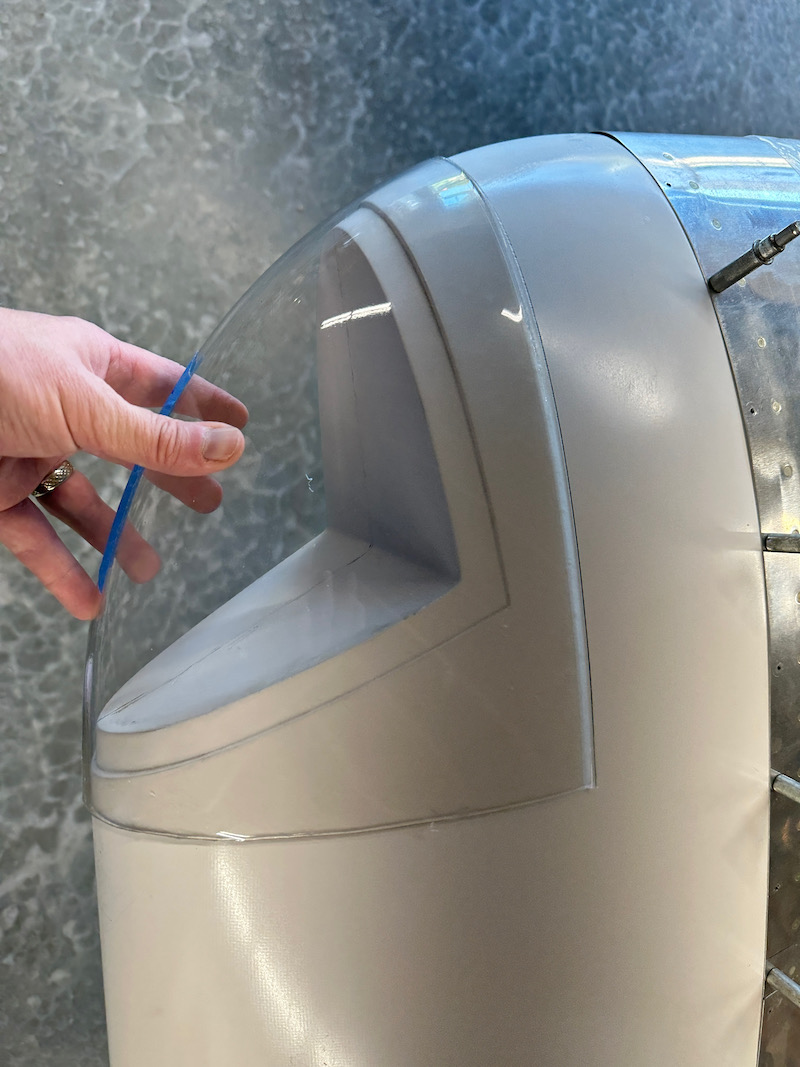
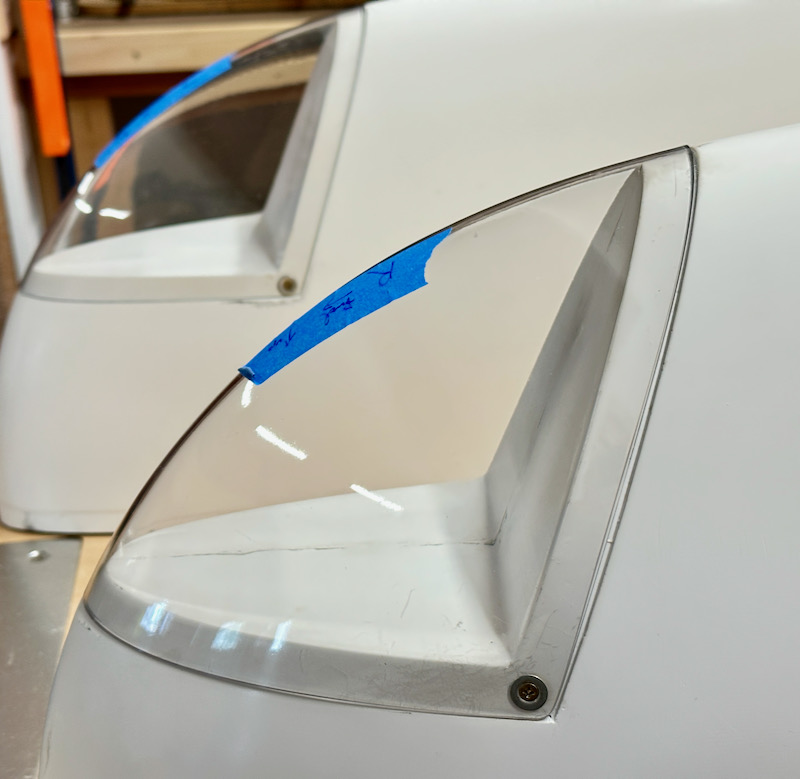
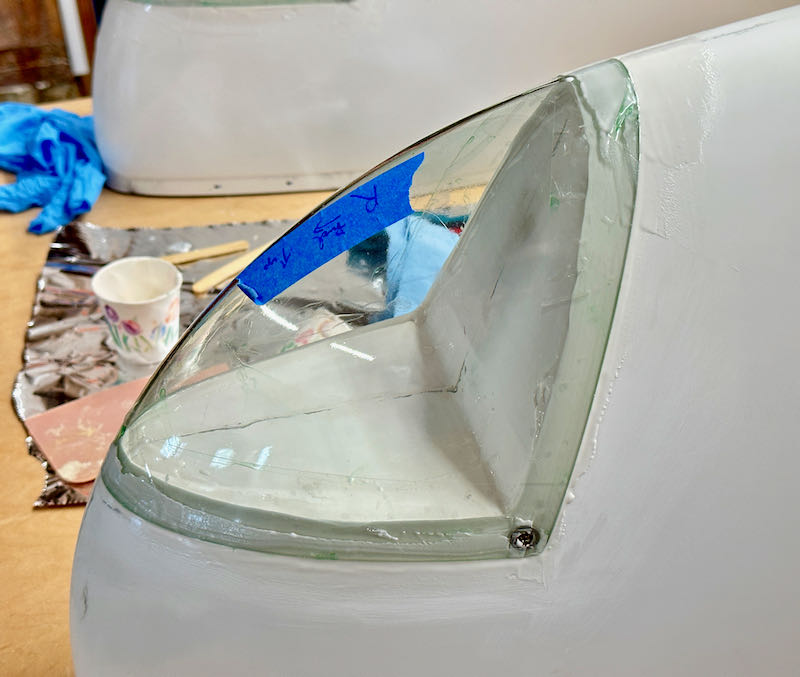
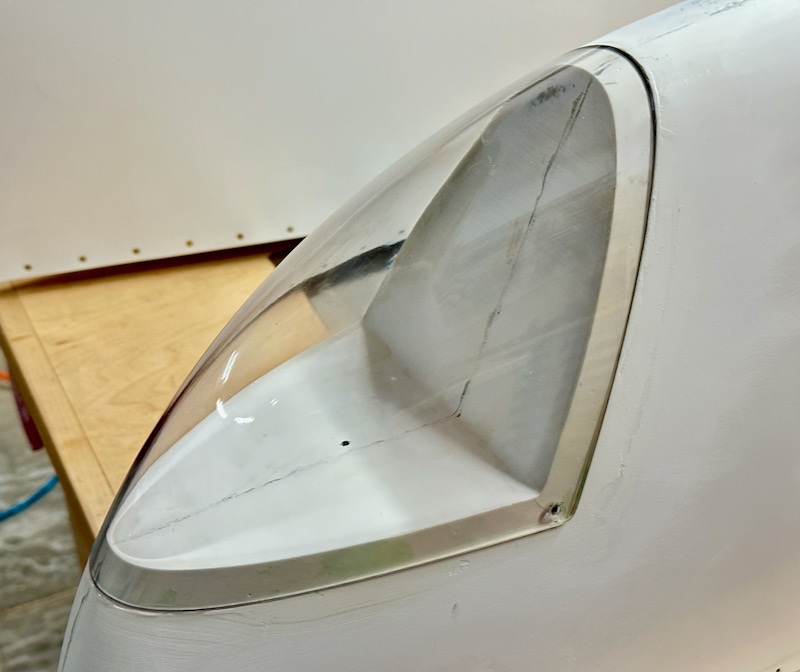
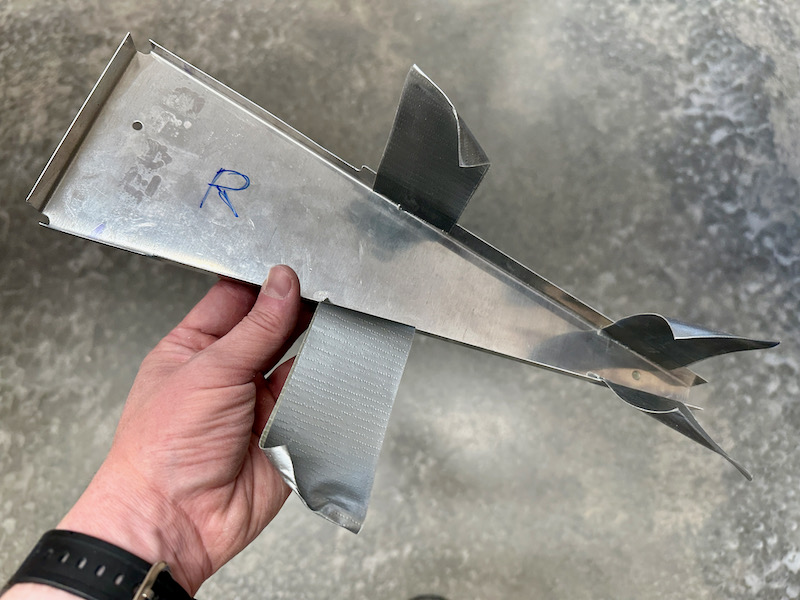
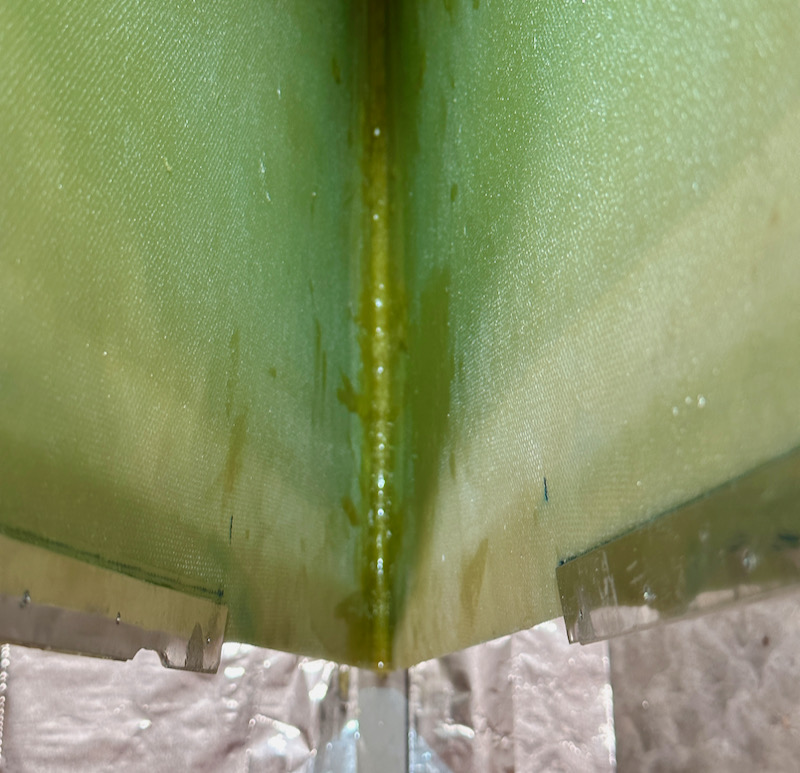
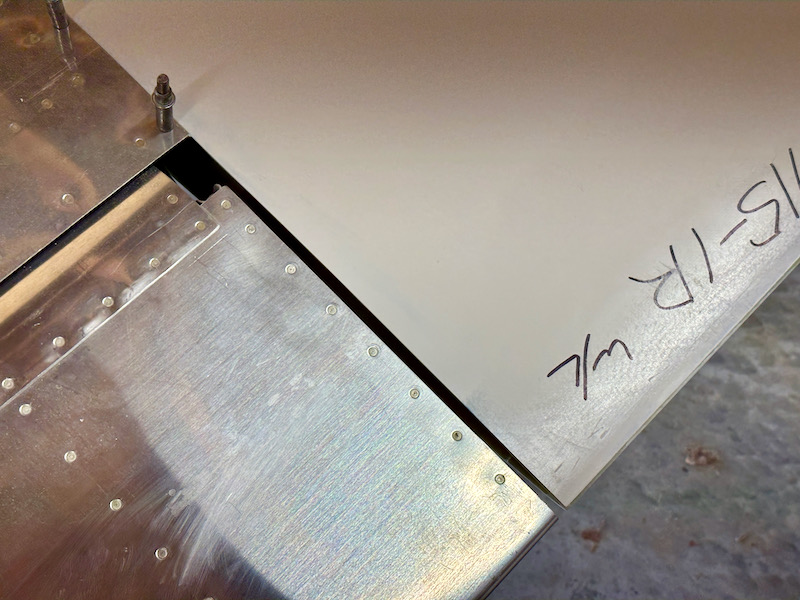
I cut holes in the wingtips to allow the connector to pass through. Luckily this will be hidden behind the mounting plate, as will the extra hole I previously drilled to help with fitting the lenses:

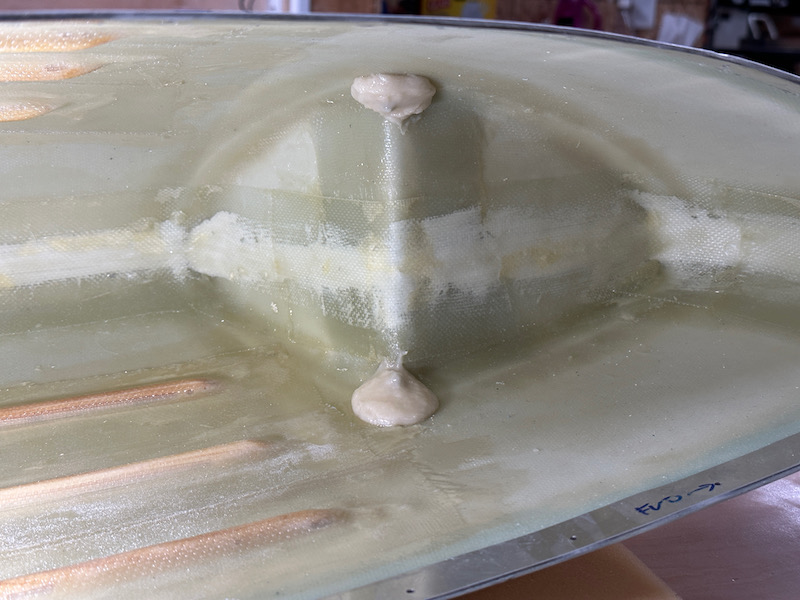
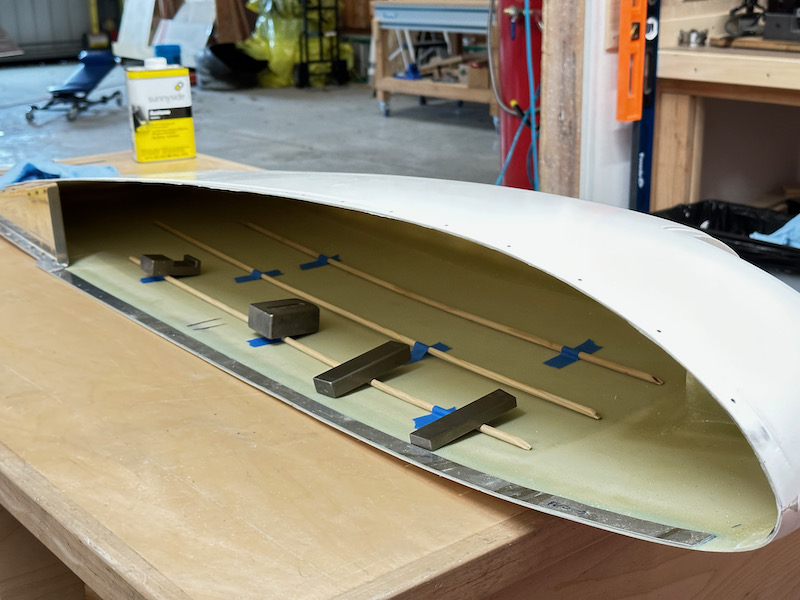
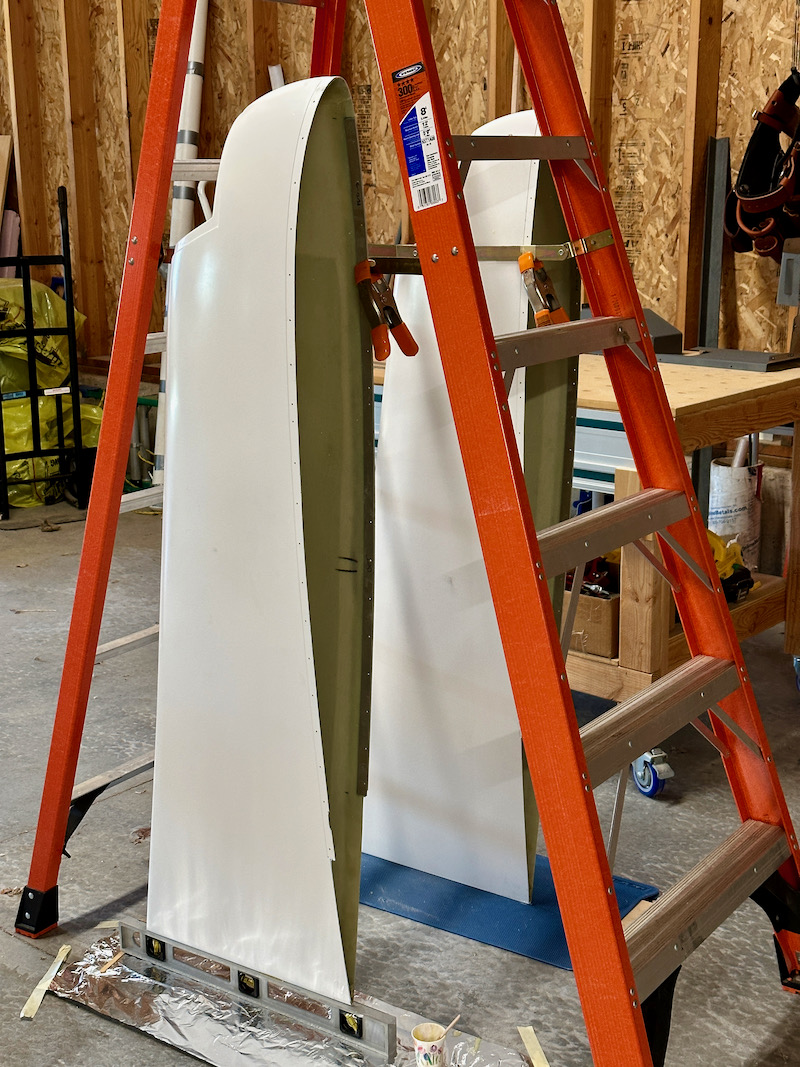
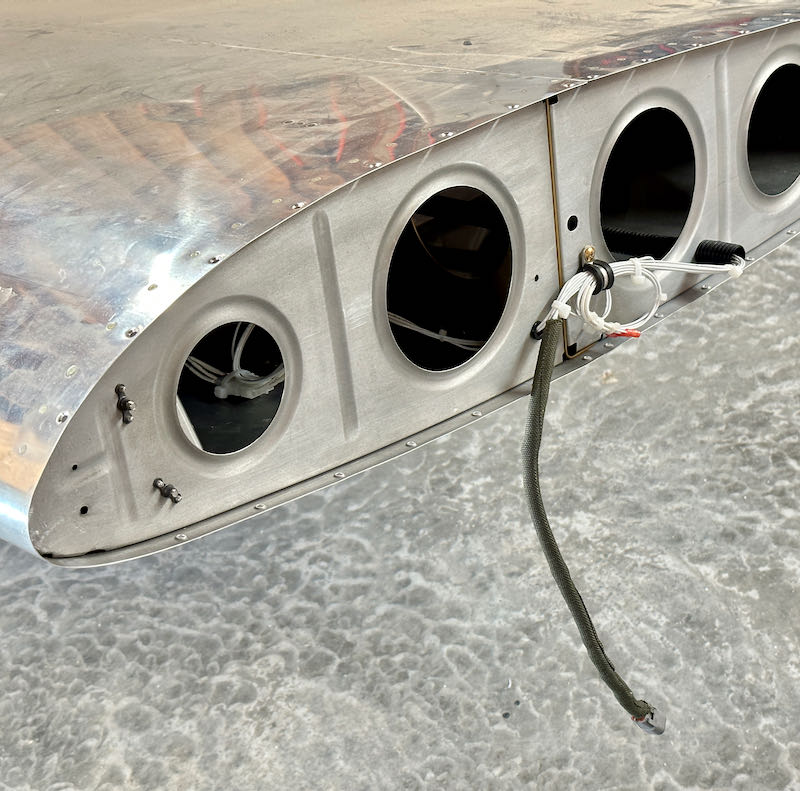
I attached the mounting plates to the wingtips with large-area washers so the fiberglass won't crack. Since rough fiberglass is abrasive, I used some snake skin on the exposed wires to prevent chafing:

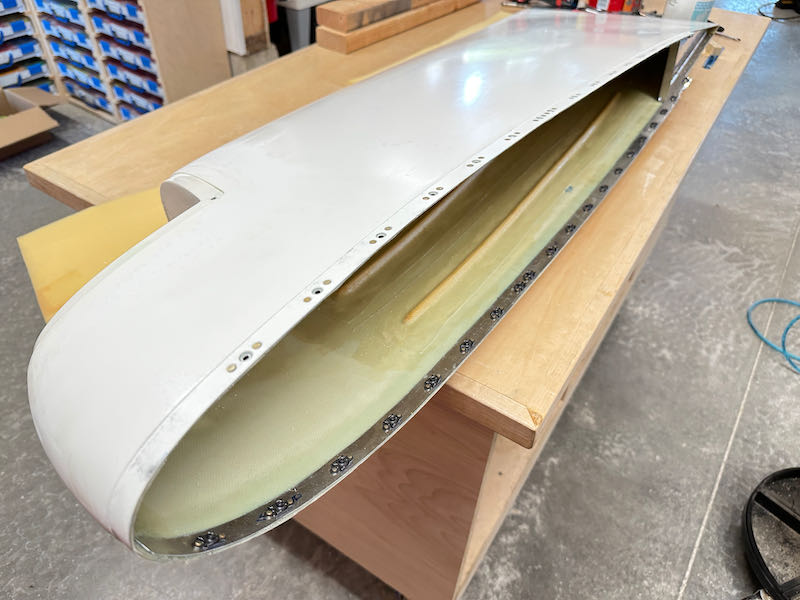
With zip ties, grommets, snake skin, and clamps, I cleaned up and secured the wingtip wiring. Later I realized that these might actually have been the very last wires I needed to finish on the whole airplane:

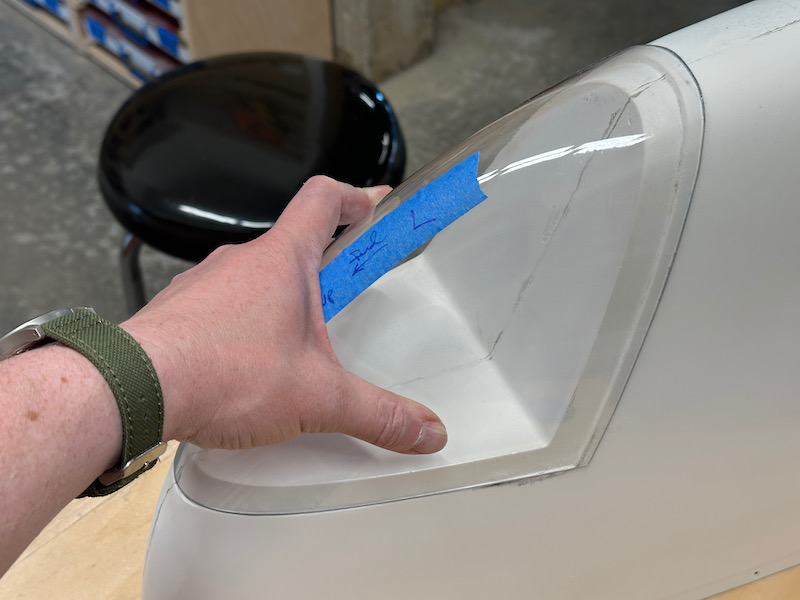
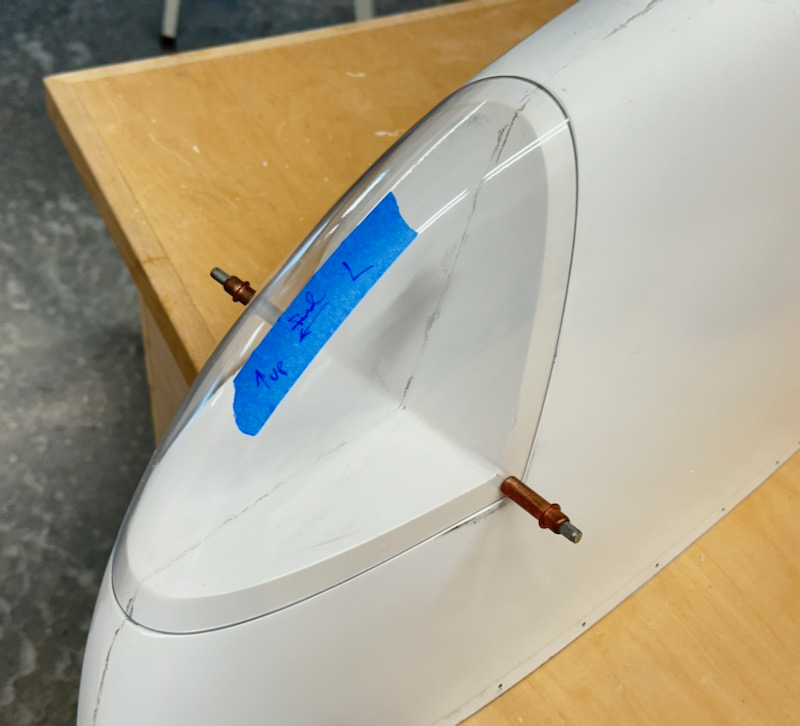
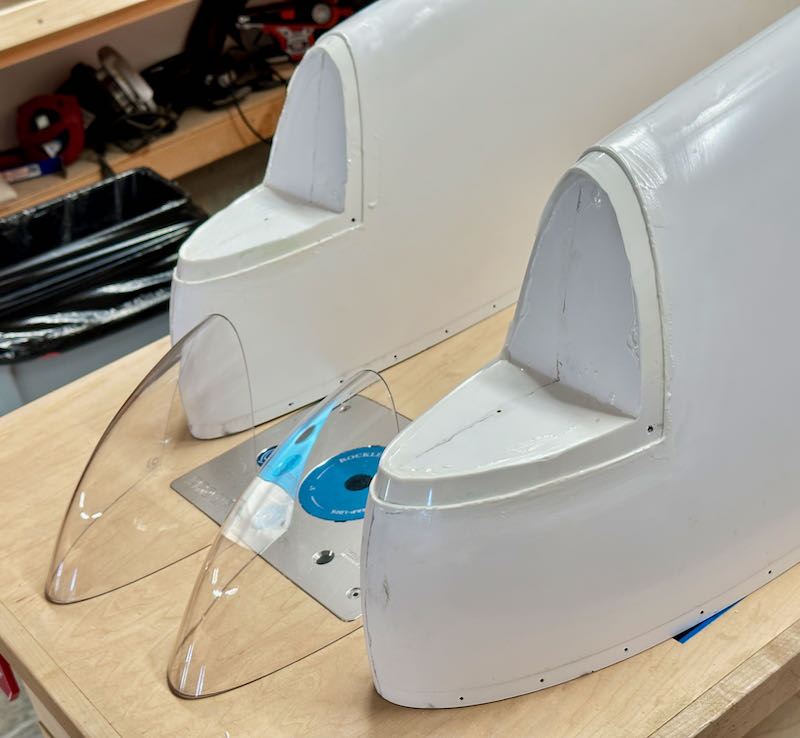
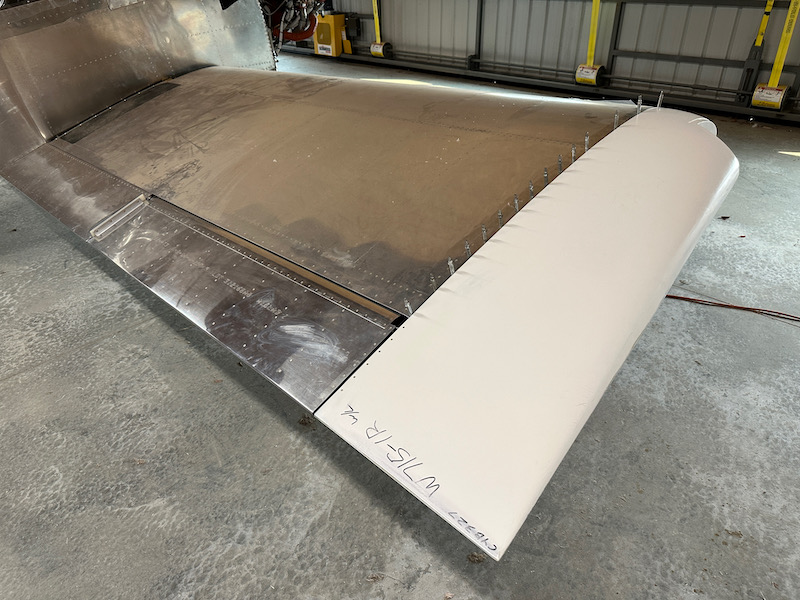
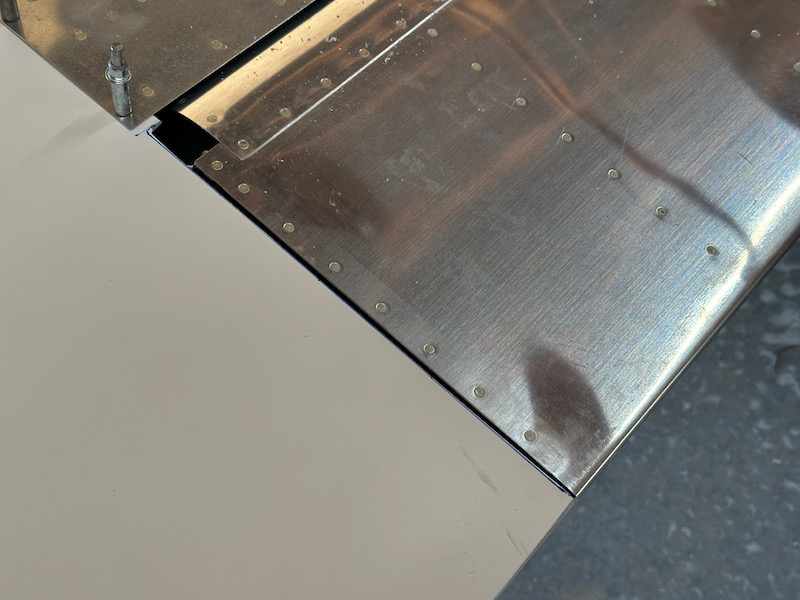
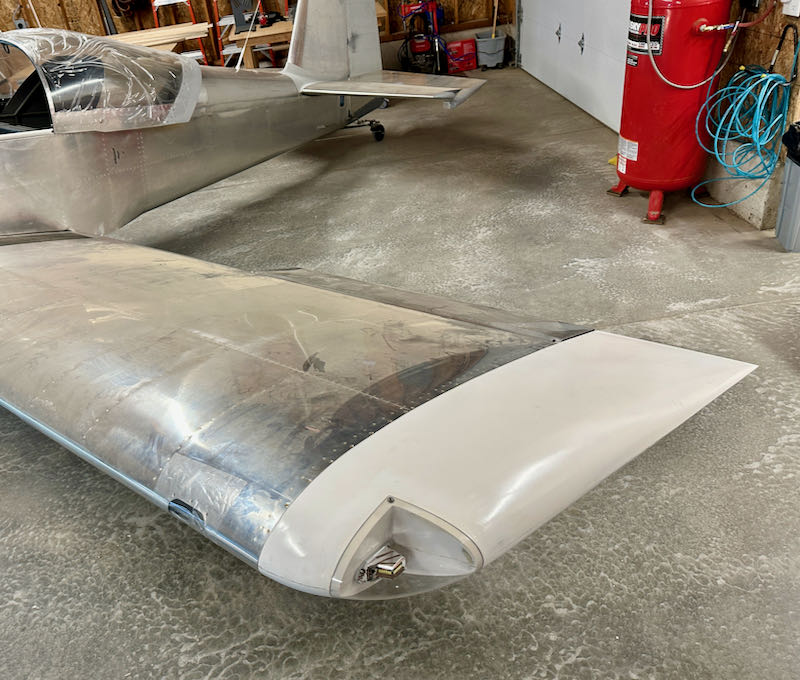
With nothing left to do to the wingtips, I aligned them to the control surfaces and drove in all the screws, then installed the lenses:

Here's a short video showing the airplane all lit up. The beast is beginning to stir…

Wingtip lenses

Wednesday, September 20th, 2023

The two lenses for the wingtip lights come as one conjoined bubble, which you have to split in half as a first step. I had kept this part packed in bubble wrap, and was pleased to see that it survived the cross-country move with only a few small scratches:

There is enough material here that you don't have to be super precise about the initial cut – just dividing it at the approximate midpoint is sufficient:

The best way I found to cut this material was with a round blade in an oscillating multitool – buzzer saw, shaker saw, or whatever you happen to call it. With this method I was able to make controlled cuts pretty close to the desired line. It is loud and it does produce a lot of dust (or is it fumes?) that seemed inadvisable to breathe, so all the protective gear is a must:

For the initial edge straightening after a cut, I used my handheld belt sander, converted to a sketchy benchtop unit. This is more solid than it looks, as the wood crosspiece is screwed to threaded mounting bosses in the plastic handle. But just in case it managed to get out of control, I used a cheap deadman switch to power it:

Then it's an iterative process of marking, trimming, and sanding. I used a dry-erase marker, which worked well. For removing more than about 3/16" I used the buzz saw and sander, otherwise I just went after it with a sanding block. The material is thin and pretty soft, so it machines quickly. I've even heard of people using tin snips to cut the lens material, which I think would probably also work if done carefully.

Eventually I had the lenses fitting about as well as I figured I was ever going to get, so I sanded the edges to 320 grit, hit them with a scraper, and then polished them with a felt wheel. Then I drilled one mounting hole in each corner:

I don't know what the plans say about mounting the lenses, since I seem to have lost the loose instructions sheet that came with the lens bubble, but usual method is to use nutplates. These are often held in place with pop rivets, due to the geometry of the wingtip and the hazards of driving solid rivets in fiberglass. I decided to take a different approach, still using nutplates, but with their mounting ears twisted roughly 45 degrees:

I simply gooped the nutplates in place with blobs of epoxy/flox, which is inelegant but definitely worked. The purpose of the bent nutplate ears is to give the flox something more solid to grab onto. Now I have the nutplates mounted permanently, and I'll never have to deal with wear issues related to pop rivets in thin fiberglass:

The fit of the lenses at this point was "okay", but if you zoom in on this picture you can see that it could be better. The profile of the lens and wingtip don't match perfectly at the apex, and the edges of the lens don't match the wingtip recess:

I know the latter must be due to the molded recess having a wavy edge, because the lenses themselves are dead-flat if I set them on a table. To improve the fit, I decided to add some filler where necessary.

I applied clear tape around the outside perimeter to keep the epoxy off the plexiglass, but I couldn't get the tape to lay down nicely along the complex curve of the inside surface of the lens. Instead, I brushed on a layer of PVA mold release:

I spread an epoxy/microballoons mixture on the wingtip recesses, screwed the lenses in place, and then added more filler on the outside where there were low spots:

After letting everything dry – while worrying that I had just made a huge mistake – I managed to remove the lenses from the wingtips without damage, but it was a real struggle. I eventually resorted to drilling a small hole in each wingtip so I could blow in compressed air, which helped pop them loose. I'll repair the holes with flox later.

After sanding off the excess filler, I now have perfectly-matched wingtips and lenses:

I still have some smoothing to do in a few spots, but some of that can be left for the painter to worry about. Meanwhile, I'll consider the wingtip lenses finished.

Wingtip reinforcement

Sunday, September 3rd, 2023

As-delivered, the wingtips are fairly flimsy and prone to oil-canning. To rectify this I decided to follow the same trail previously blazed by others, adding stiffeners to the insides to make them less flexible.

With the wingtips clecoed in place, I squeezed various spots to identify the weakest areas, and used masking tape to mark some proposed locations for internal stiffeners:

I bought a bushel of 1/4" dowels – which turned out to be more than I needed, but thank goodness for generous return policies:

I marked out where I wanted the dowels to live, cut them to length, and beveled the edges. Then I temporarily attached them to the fiberglass with CA glue, using weights to keep them in place while the glue dried:

Sort of a whalebone corset effect inside the wingtips – I guess in aviation terms these would be stringers:

I mixed up an epoxy/flox mixture, leavened with a bit of micro, and used it to more permanently glue the stringers to the fiberglass. I tried to incorporate a nice fillet as I went:

Then I laid a strip of glass cloth over each stringer:

It doesn't convey in a photo, but the wingtips are now immeasurably stiffer, and demonstrate much greater resistance to flexing:

I'm totally happy with the outcome of this modification – for the cost of a few work sessons and some inexpensive materials, the wingtips are now much less likely to crack due to aerodynamic forces and ground-handling mishaps.

Wingtip ribs

Sunday, August 20th, 2023

The plans tell you to "slip the W-412 tip rib into place", but with the wingtip clecoed to the wing there's no obvious way to manipulate the rib once it's inside. I solved this with a couple strips of duct tape:

Once I was happy with the position of the rib, I marked and drilled the rivet holes in the top and bottom:

The flanges on the tip ribs interfere with the nutplate reinforcing strips I glued to the inside of the wingtip flanges, which I suspected would happen. I guess I could have planned that better, but it's no matter, as I actually came up with an improvement while dealing with this. First I relieved the rib flanges to fix the interference:

I replaced the cut-off rib flanges with some pieces of aluminum angle that sit on top of the wingtip flanges and their reinforcing strips. This will end up being stronger than the stock design, since forces acting on the tip rib will be transferred to the wing structure via the three aftmost screw holes:

Finished ribs after riveting the modified flanges:

I countersunk the rivet holes and then attached the ribs to the wingtips. To avoid cracking the thin fiberglass, I erred on the side of slightly under-squeezing these rivets. Here you can also see how the add-on rib flanges sit on top of the reinforcing strips:

One of many test-fitting sessions to make sure everything is lined up:

I'm happy enough with the way the wingtip ribs turned out. I could have done a better job of planning ahead, but I'd probably use the same basic approach again. I think this is going to be stronger than having a rib that's supported by nothing but flimsy fiberglass.

Wingtip trimming

Saturday, August 19th, 2023

Continuing with wingtip fitting, I block-sanded the trailing edges until they were even with the ailerons:

This caused the trailing edges of the wingtips to become awfully thin, and I was worried about them cracking or splitting. I decided to reinforce the trailing edges by pouring in a thin epoxy/flox mixture and standing the wingtips upright while it cured. Here you're looking down at the inside of one wingtip's trailing edge, with a flox bead drying at the bottom – a terrible photo, I admit:

This is how I secured the wingtips while the epoxy was curing. The inboard ends of the trailing edges are dammed with clear tape, and the bottoms are leveled, all in an effort to get an even application without making a mess:

Here's the finished result after more sanding. This turned out pretty well, and seems to have added plenty of extra strength to the questionable-looking trailing edges:

Next I trimmed the inboard edges to achieve a uniform 1/4" gap between wingtips and ailerons, and cut back the remaining flanges as required for clearance: