Archive for October, 2008

Wiring

Monday, October 27th, 2008

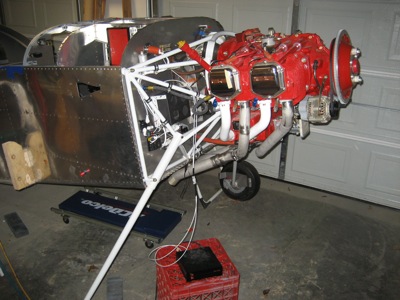
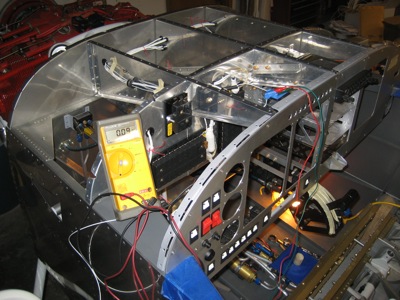
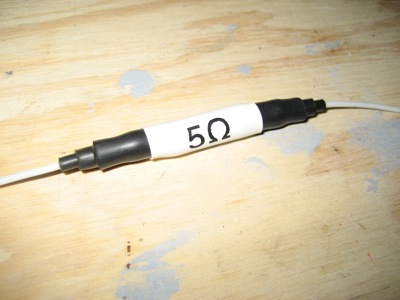
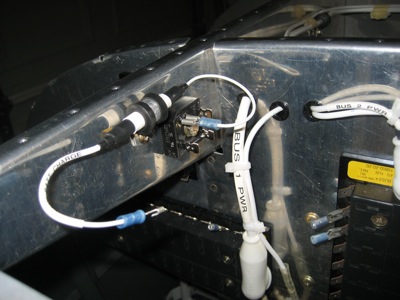
I made a cable to connect my bench power supply to the airplane, where the battery would normally be hooked up. This will let me test the wiring as I go. I also bought the totally sweet mechanic's creeper that's visible in the background. I've always wanted a flimsy excuse to buy one of those.

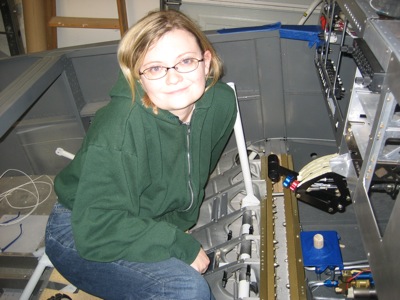
Mary, ever a good sport, agreed to crawl into the fuselage to help me rivet some tie wrap anchors in place.

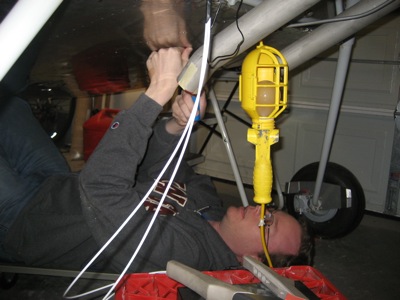
…while I was on the creeper below, pulling rivets:

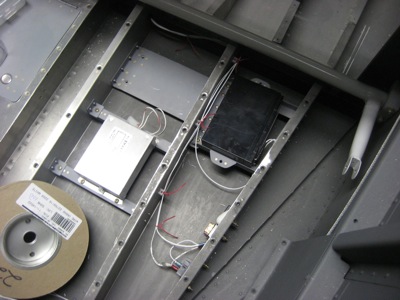
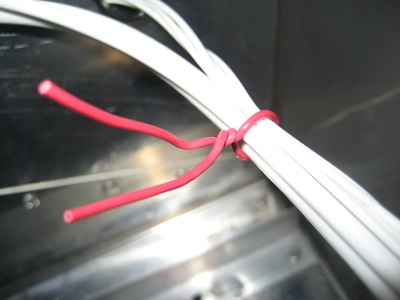
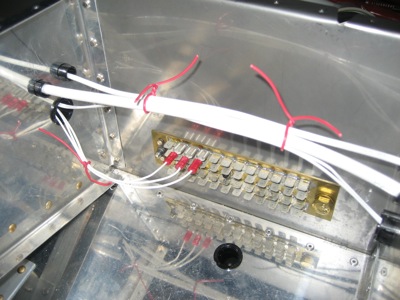
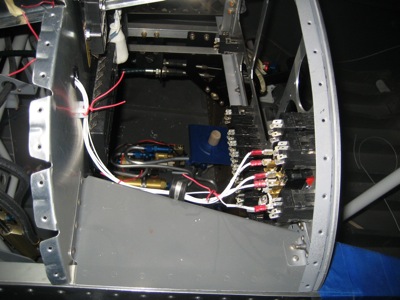
We put in two rows of plastic tie wrap anchors between the firewall and spar. They are attached to the floor with blind rivets that are flush on the exterior skin. Here you can see I've started to run a few wires back to the cargo bay area.

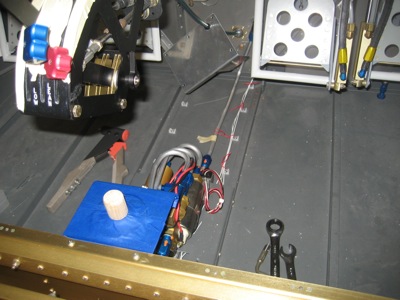
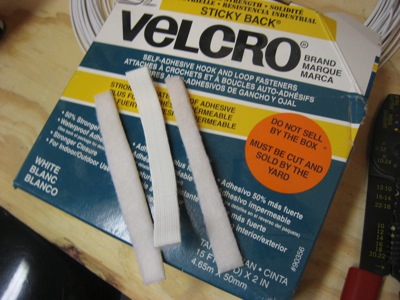
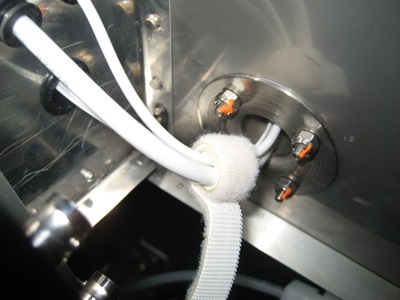
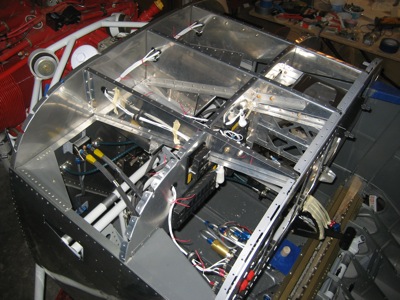
More tie wrap anchors are riveted to the sides of the center tunnel between the forward and aft spars. These will be used to keep the wire bundles away from the elevator pushrod. Some of these were kind of tricky to rivet in, but I'm glad I went to the extra effort instead of cheating by using the self-adhesive kind. I just don't trust them to not eventually come unglued.

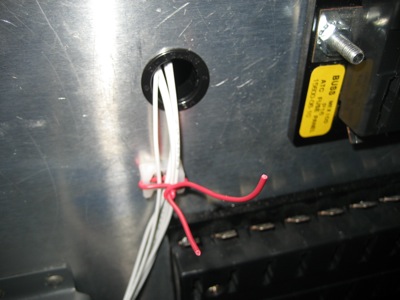
So far, most of the wires I've run through the center tunnel go to the aux battery.

I'm still playing with the exact configuration of the aux battery charging circuit.

Planning the routing of wire bundles and then actually running the wires is a delicate, fiddly, and complicated business – so of course I love it. But I'll admit that it doesn't make for very exciting photographs. I will try to post interesting things here, but don't expect a picture of every wire! Once I get farther along I'll post an updated schematic of the airplane, for those who are really into this kind of thing.

Temporarily securing wire bundles

Sunday, October 19th, 2008

I've been stringing wires around behind the panel, and experimenting with ways to keep the wire bundles organized as I build them up one wire at a time. A lot of folks do this with tie wraps, but that seems like it could be very wasteful – especially if you're freaky about keeping your wires neat like I am. Every time you need to add another wire to a bundle, you have to clip off the old tie wraps, throw them away, and install another set.

I tried masking tape instead of tie wraps, but I was almost immediately annoyed by how fiddly it was to peel the tape off the wire bundles. So, time for a new idea.

I've had this box, which contains several yards of self-adhesive velcro, laying around my shop for years. I cut out some small pieces and stuck them to each other, so I ended up with a handful of velcro strips with hooks on one side and loops on the other.

These velcro strips can be temporarily wrapped around a wire bundle to keep it from unravelling, and of course being velcro they come off without fuss.

Another way to temporarily keep wire bundles tidy is to use twist ties. I made a bunch out of three-inch lengths of some solid-core copper wire I had laying around. The red insulation will help me remember to eventually replace them with actual tie wraps when I'm finished running wires.

As you can see, this helps keep the wires together in neat bundles (but I'm not wasting a pile of tie wraps).

You can even run the wire ties through one of those little nylon tie wrap anchors I love so much:

I've found that I tend to use both methods in conjunction – velcro strips to hold things when I'm pulling a new wire and I just need an extra hand, and twist ties when I'm through adding a wire to a bundle.

Wiring

Sunday, October 19th, 2008

Yes, I am alive… I was laid up and unable to work on the airplane for several days, thanks to my lovely wife who works with sick people and sometimes brings her work home with her. Ahem. Anyway, I have been running a few wires here and there, which is both interesting and challenging – however, it unfortunately does not always lend itself to exciting and dynamic photographs for one's world-wide-web-log. But here are a few pictures nonetheless.

I soldered wire leads to a 5W, 5Ω resistor, then mummified it with heatshrink tubing per this method – the better to keep the resistor leads from breaking off thanks to vibration. I probably didn't really need to label it, but I wanted to see if my heatshrink label printer could do an omega symbol.

I used a clamp to affix the resistor to one of the subpanel ribs, and also bolted in a power diode. These components are part of the circuit that trickle-charges the aux battery.

I ran some wires to the bus master switches, which should soon provide me the ability to turn the various buses on and off. See the next post for an explanation of the red twist-tie looking things.

Here's another view of the festivities. I put in a few snap bushings here and there to allow wire bundles to be routed to various places.