Archive for the ‘Fuel Tanks’ Category

Fuel system check & calibration

Friday, March 15th, 2024

Today's task was to flush the fuel tanks, test as much of the fuel system as possible, and calibrate the fuel quantity gauges.

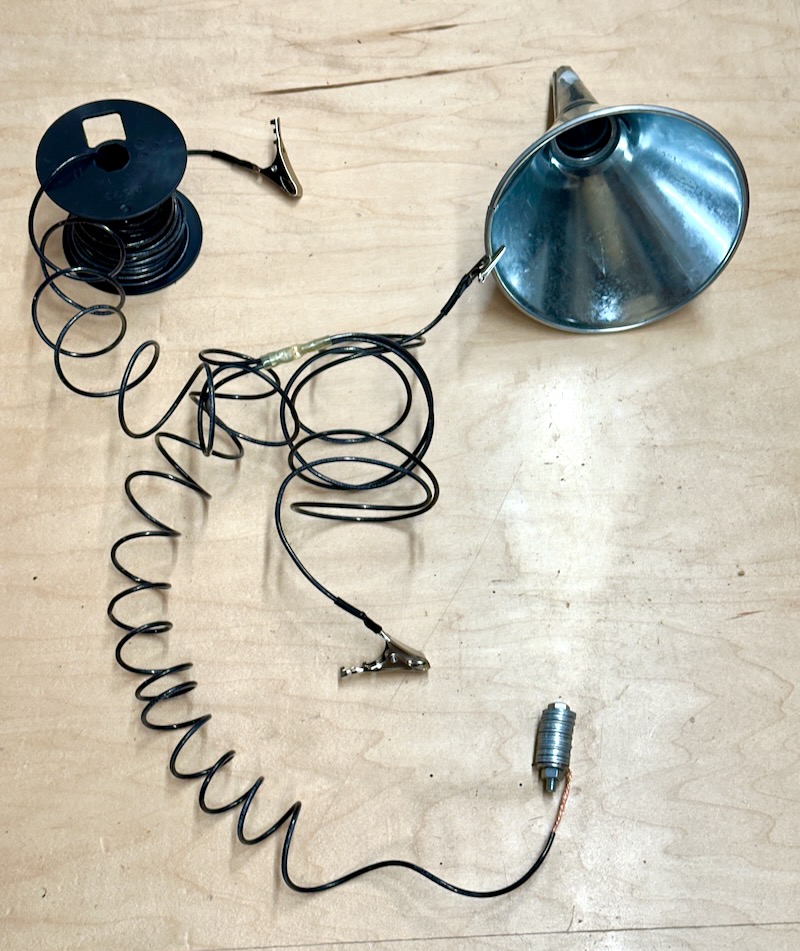
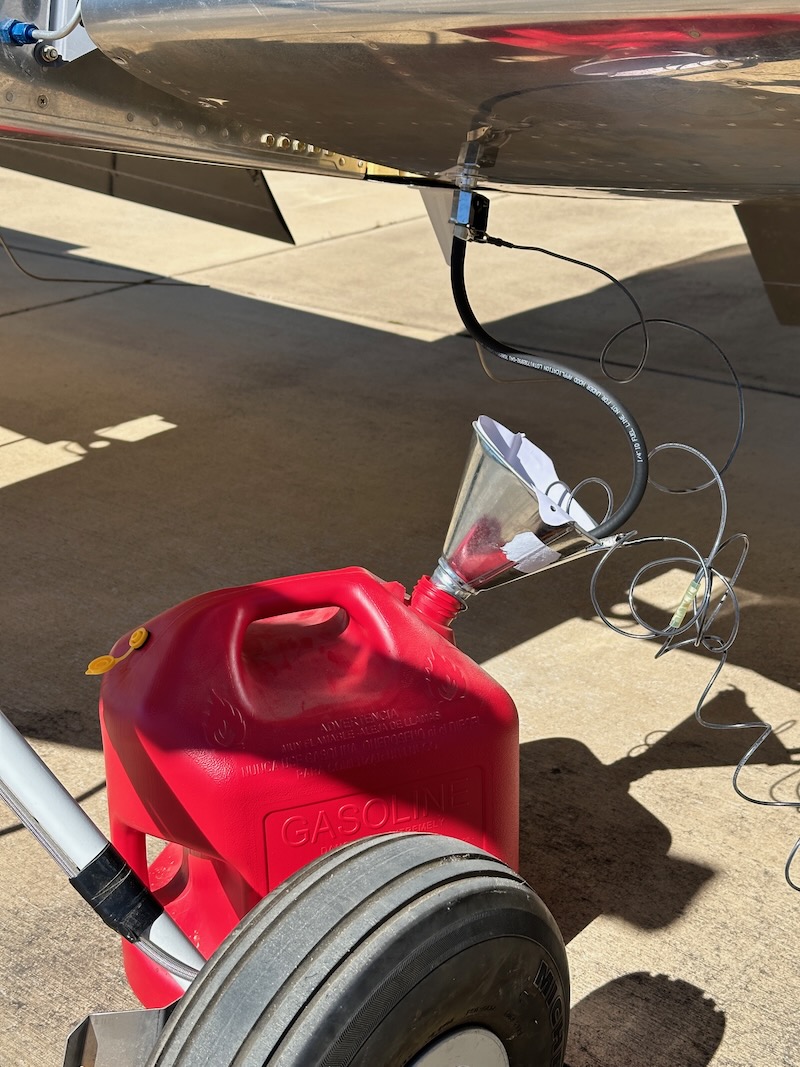
To avoid blowing myself up, I fabricated this simple grounding harness from a spool of hardware-store wire. It has one alligator clip for the airplane, one clip to attach to a metal funnel, and a third clip on the end of a long run of wire that I can connect to a ground rod if needed. There's also a length of wire with a weight on the end (made from a bolt and a stack of washers) which I can drop down the neck of a plastic gas can. The goal here is to prevent a potential difference between the airplane and the fuel container due to the static electricity generated by fuel flowing from a tank being drained, which could otherwise cause a spark. This might be overkill, but fuel flowing through rubber and plastic can do funny things, and I enjoy not being exploded.
I temporarily removed the fuel tank drains, and installed a pair of ball valves with rubber fuel hose attached. With this setup and the ground rig connected, I flushed about ten gallons of avgas through each tank, draining it back into the gas cans through a clean paint filter:
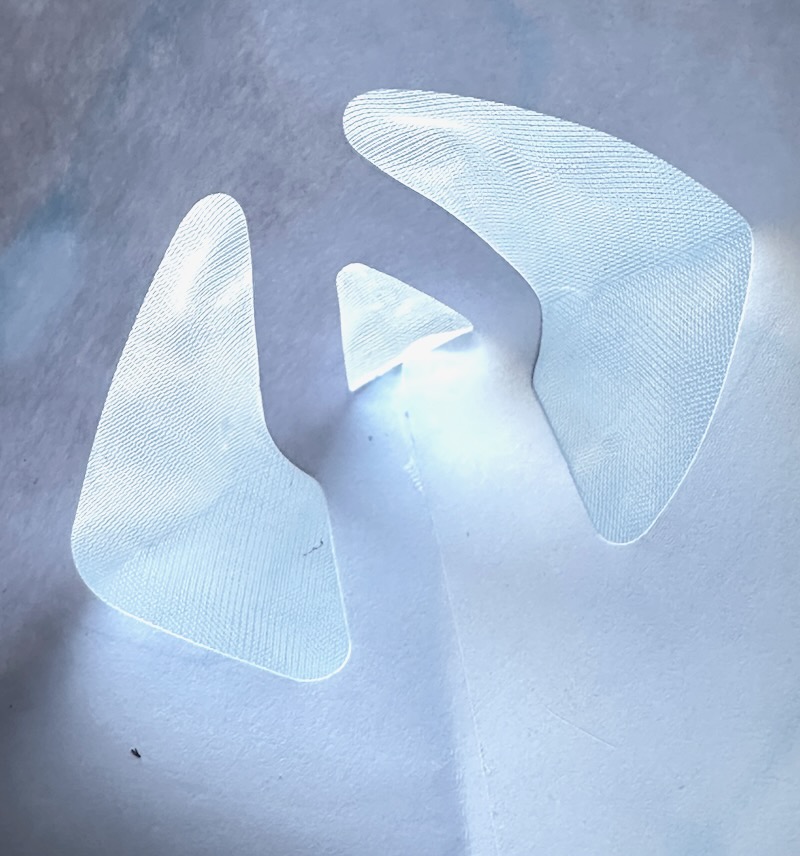
Happily, I only found a few tiny particles of trash in the filters, and nothing leaked:
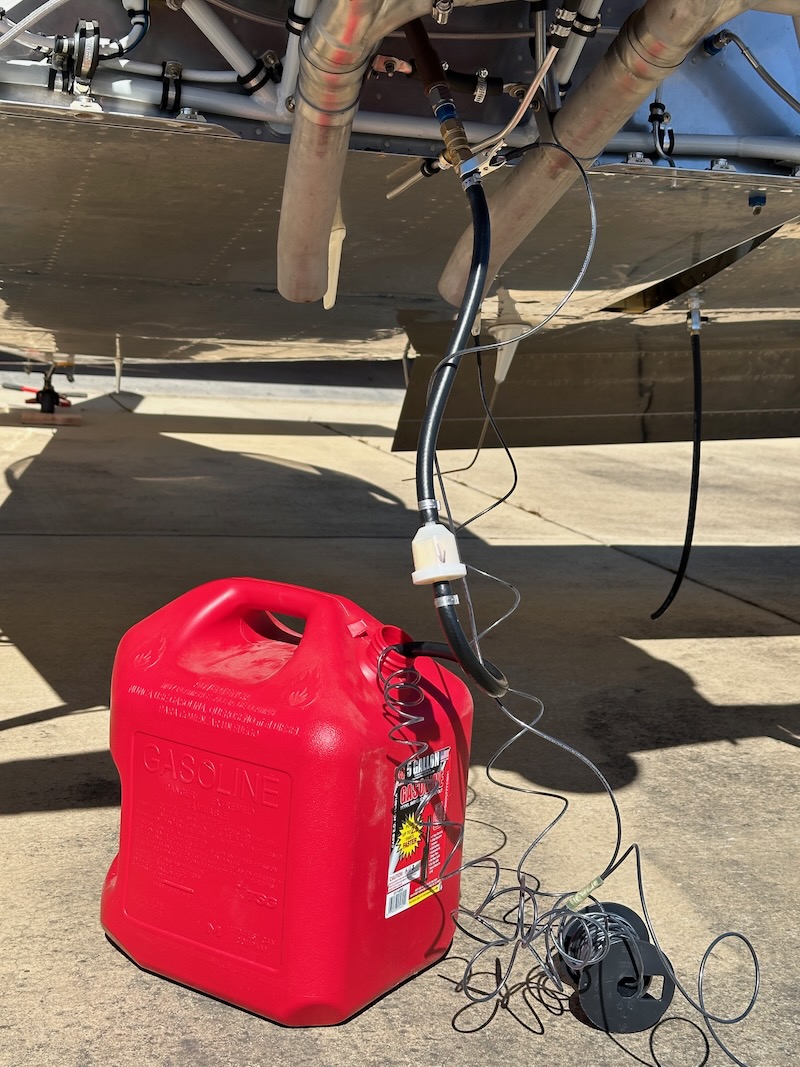
Then I disconnected the fuel hose at the inlet to the mechanical fuel pump, and used the electric boost pump to run several gallons from each tank through the fuselage plumbing and back into gas cans. This allowed me to check most of the plumbing for leaks, verify the operation of the fuel selector, and test the boost pump and fuel flow gauge. I put a lawn-mower fuel filter in the temporary drain hose to avoid putting any trash back in circulation:
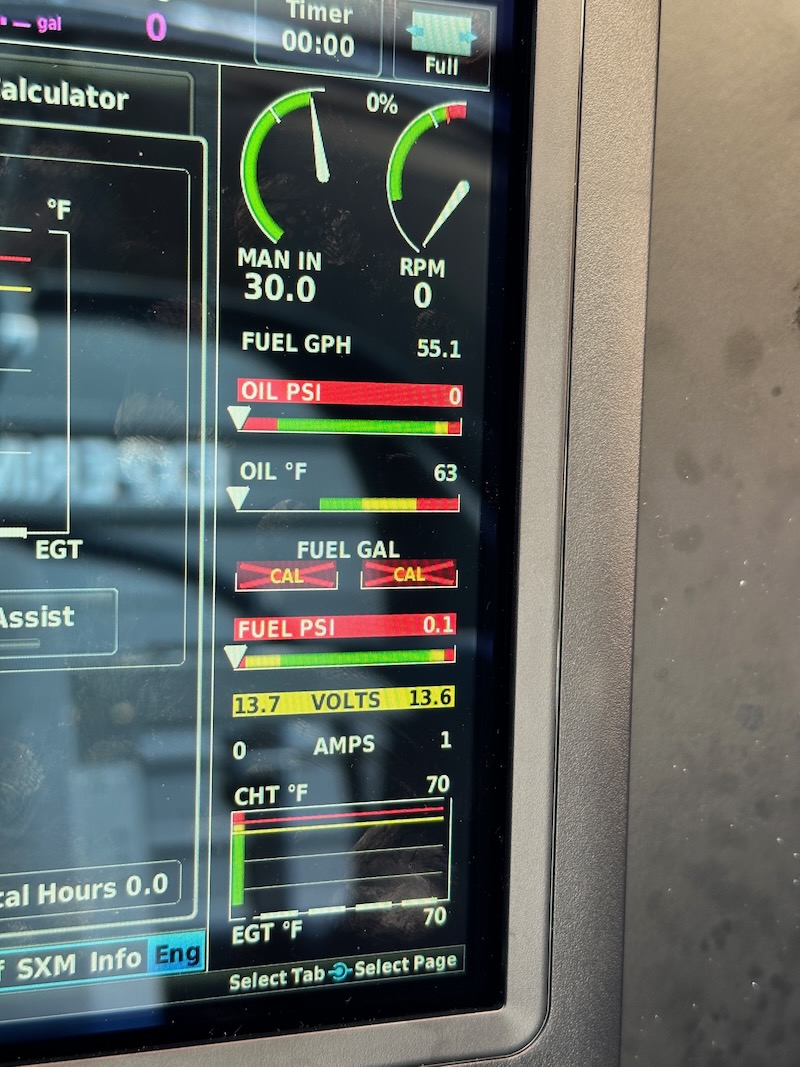
The fuel flow gauge was showing about 55 gallons per hour with the boost pump drawing from either tank. Judging by my watch, it was filling the gas can at the rate of about a gallon every minute, so that number seems believable. No fuel pressure indication here, since the hose is disconnected:
I recruited Mary to push buttons, got her situated in the seat, and then heaved the tail up onto a stand to level the fuselage:
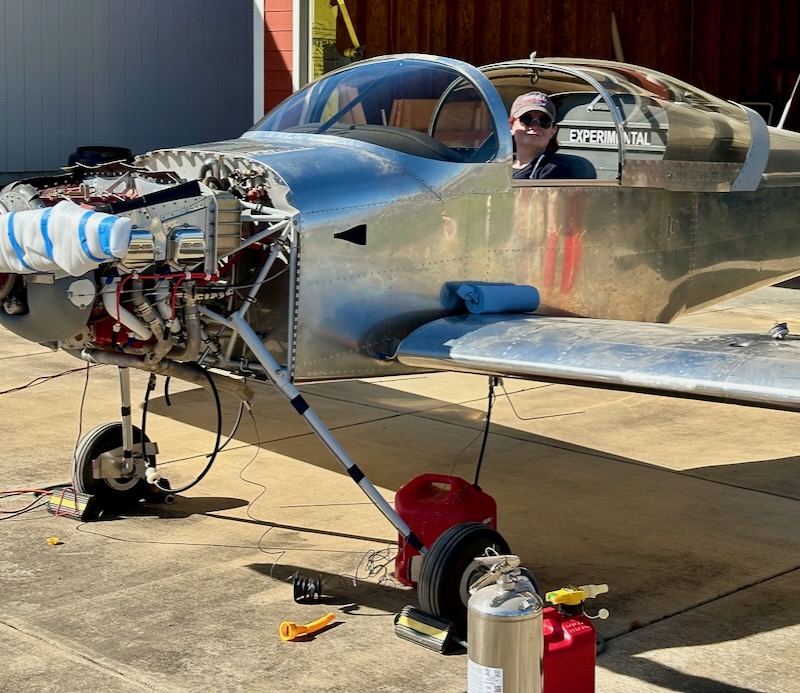
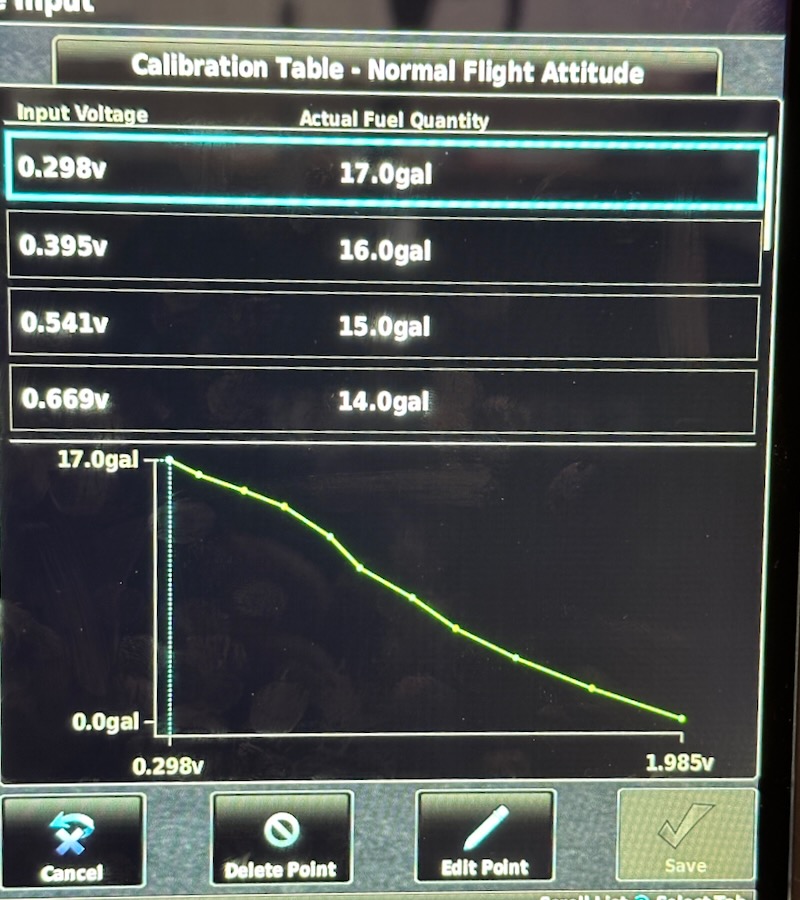
Using a calibrated fuel container, I added two gallons at a time and had Mary record each calibration point until the gauge stopped registering. For the right tank, we had no problems with the calibration process and were able to record points up to 17 gallons. Above that level, the float tops out due to the dihedral of the wing:
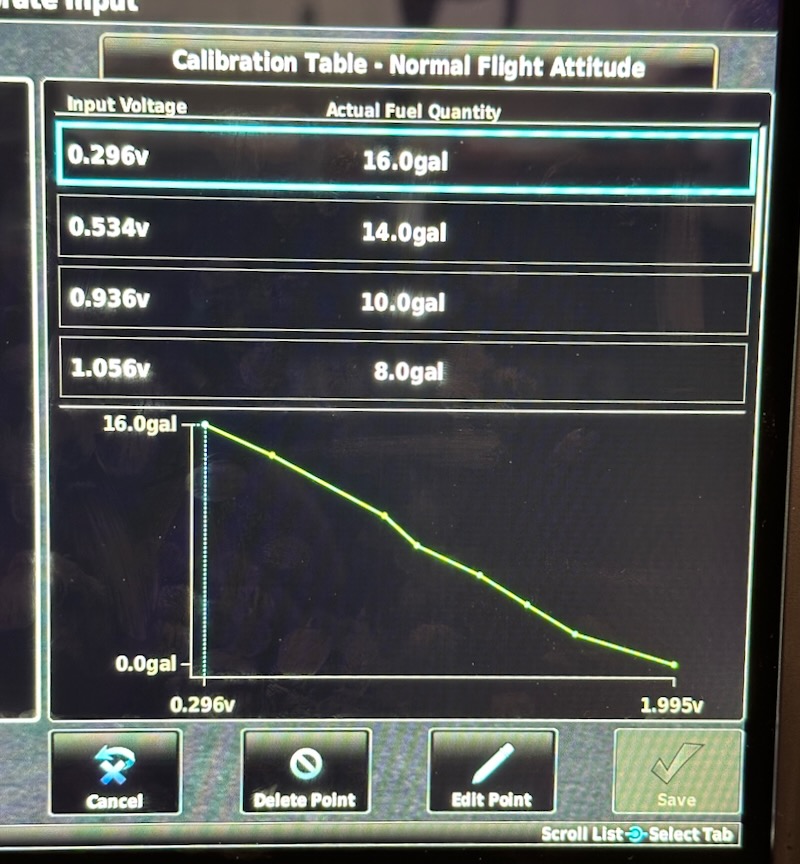
The left tank seemed to have a sticky float, requiring a lot of tapping to get it to register changes in fuel level. We were eventually able to get a believable calibration curve out of it, but I'm not completely convinced. I'll monitor this and see if it frees up with use, and hopefully I won't have to pull the sender to fix it:
After filling and calibrating each tank, we then used the boost pump to drain the fuel back into gas cans again.

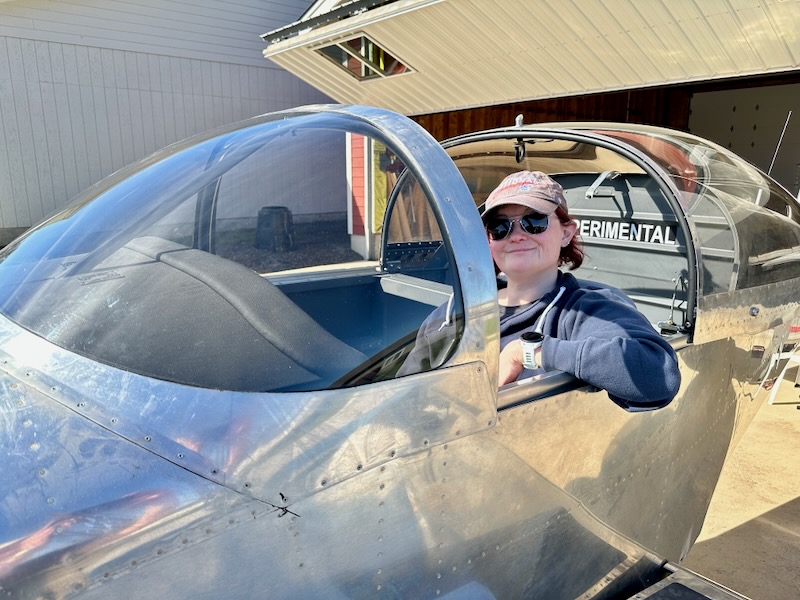
Mary the long-suffering assistant rated the Classic Aero Aviator seats as "like the seats in an upscale SUV":
Fuel caps

Sunday, December 24th, 2023

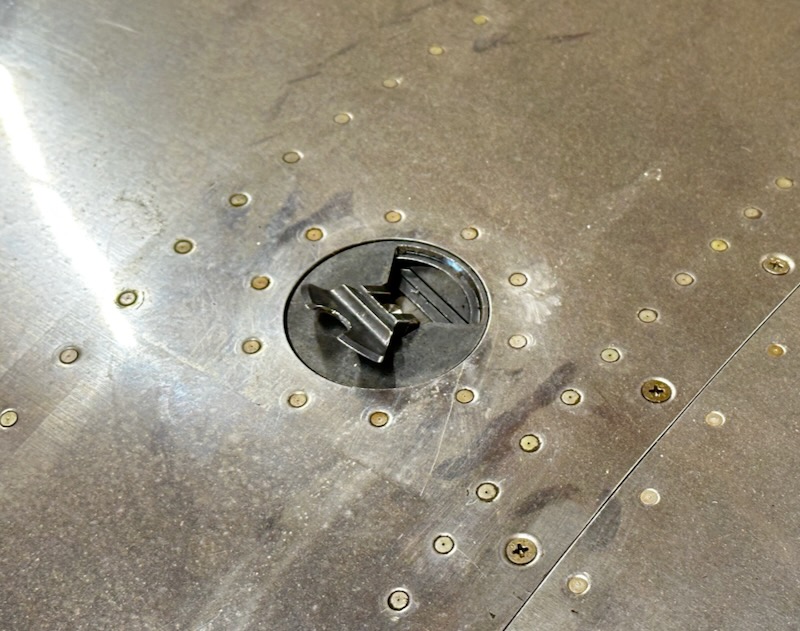
After sitting untouched for too many years, the fuel tank caps didn't want to come off immediately, but I got them loose eventually:

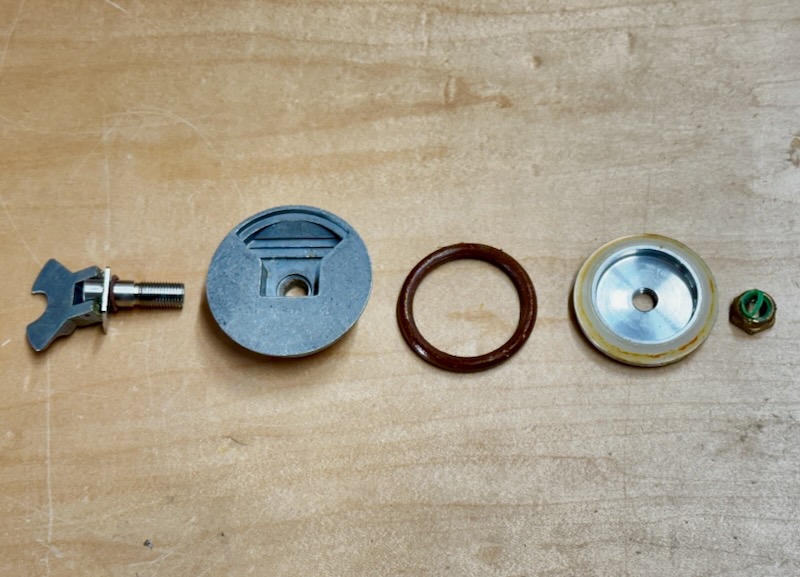
I disassembled the caps so I could clean out the old grease and replace the ancient o-rings:

Since I started this project, Vans has switched to a different style of fuel cap, so information about this type is getting harder to find. Click here for an exploded view.

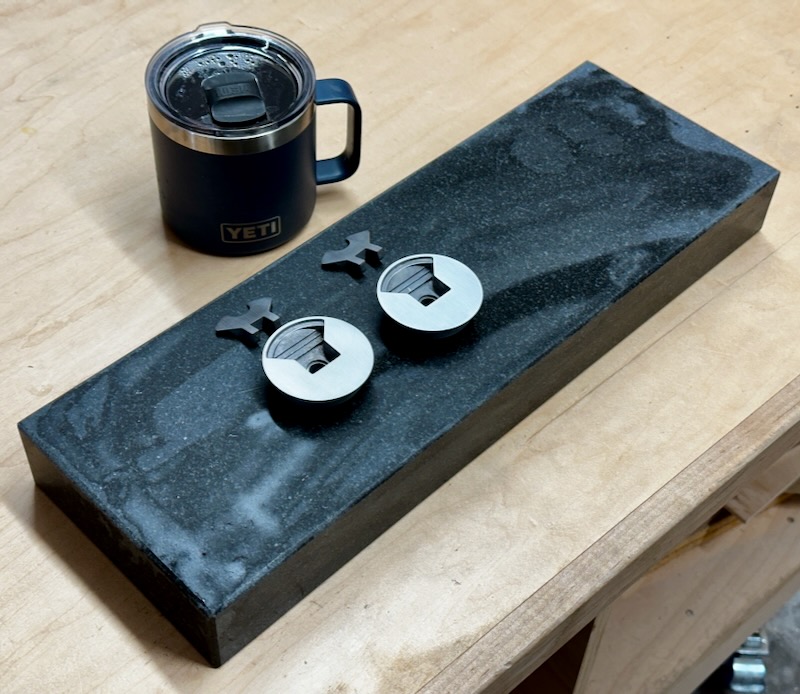
I decided I wanted to improve the cosmetic appearance before engraving, so I got out my granite surface plate and wet-sanded the caps and levers using a series of progressively-finer grits. The hardest part was flattening the rough castings using 220 grit; each successive grit after that went pretty quickly.

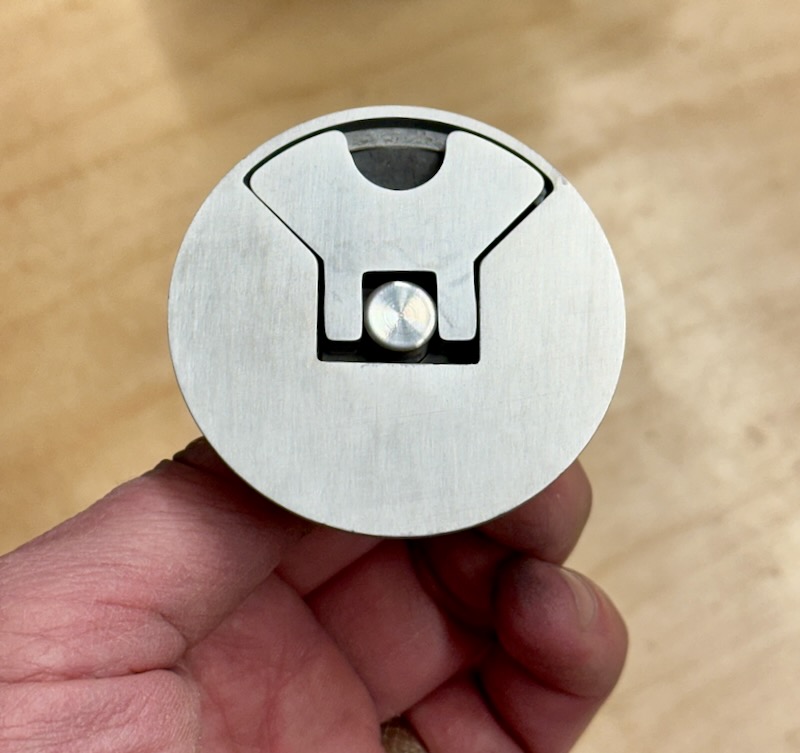
I progressed to 600 grit, not quite a mirror polish, then applied a vertical brushed finish using a grey scotchbrite pad. I didn't worry about making this look perfect, since these will inevitably get scratched up, but I'm happy with the results:

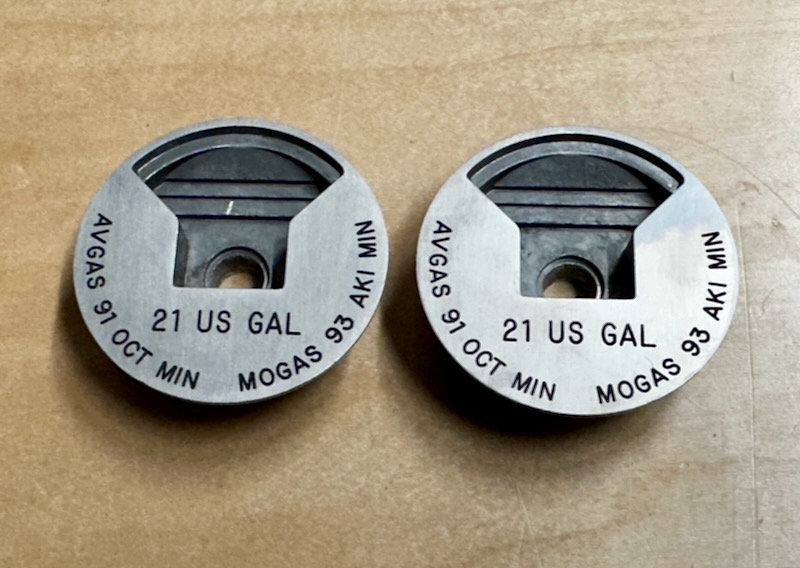
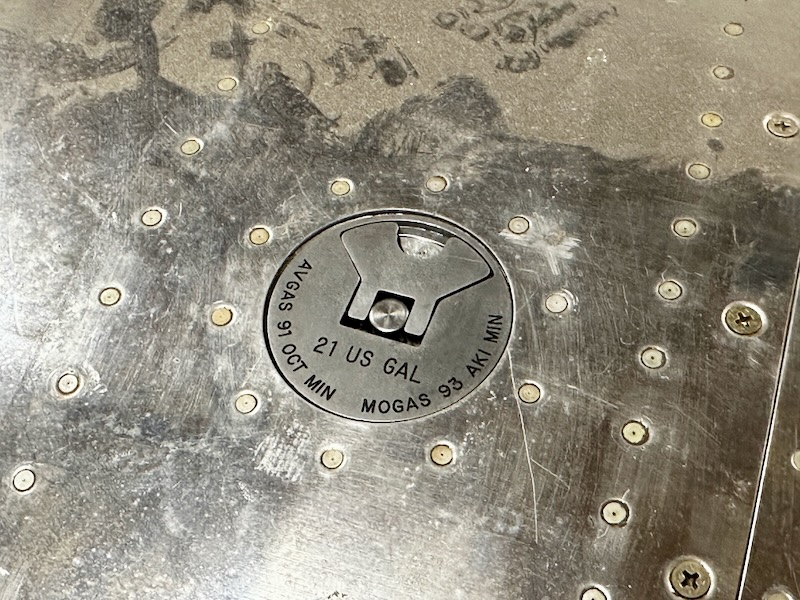
After researching the fuel tank labeling requirements and the fuel type specifications for my engine, I sent the caps off to Aircraft Engravers. A few weeks later, they came back looking like this:

New o-rings installed and lubed, latches adjusted, and caps reinstalled on the (very dusty) tanks:

Fuel system plumbing

Monday, March 6th, 2023

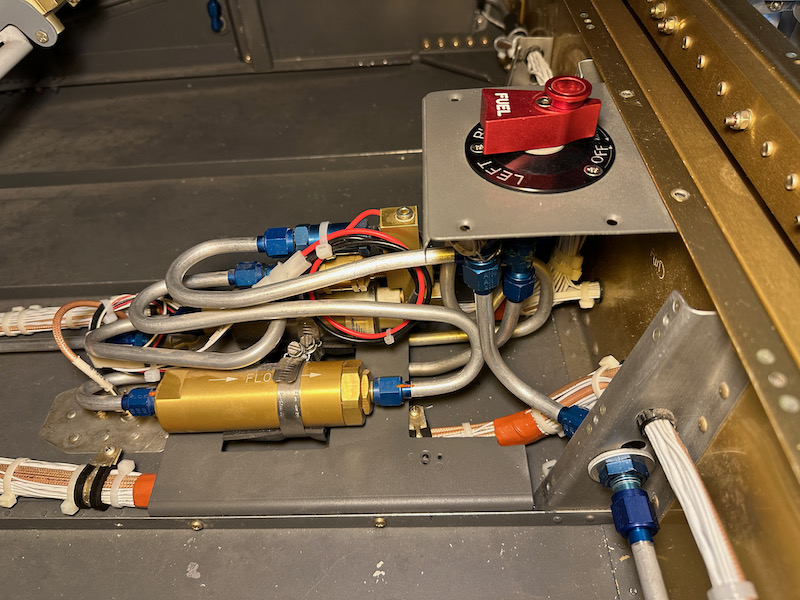
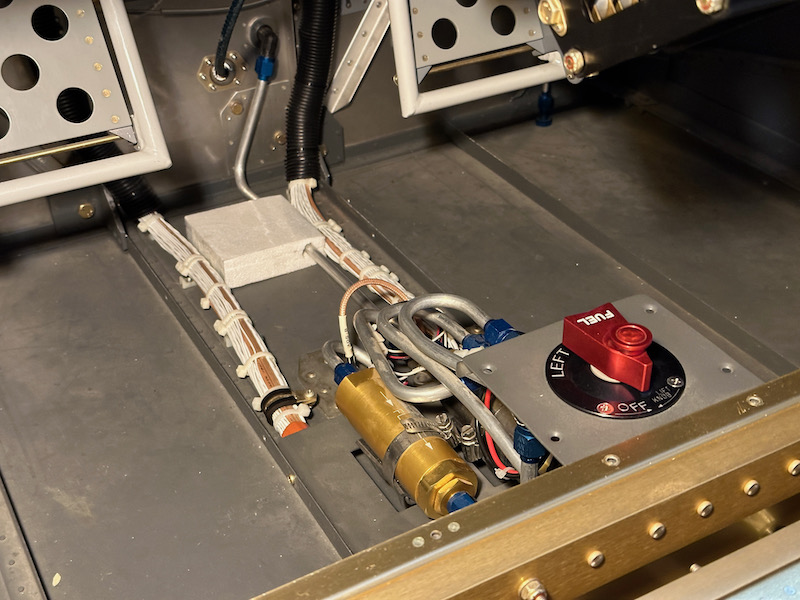
Having finished all the electrical tasks in the lower-forward fuselage that I can conceive of, I should hopefully not have too much more crawling under the panel in my future, so there's no reason not to install the fuel plumbing for good. I retrieved the fuel pump/filter unit from storage, touched up the paint on the selector valve plate, and installed the whole assembly in the fuselage with screws:

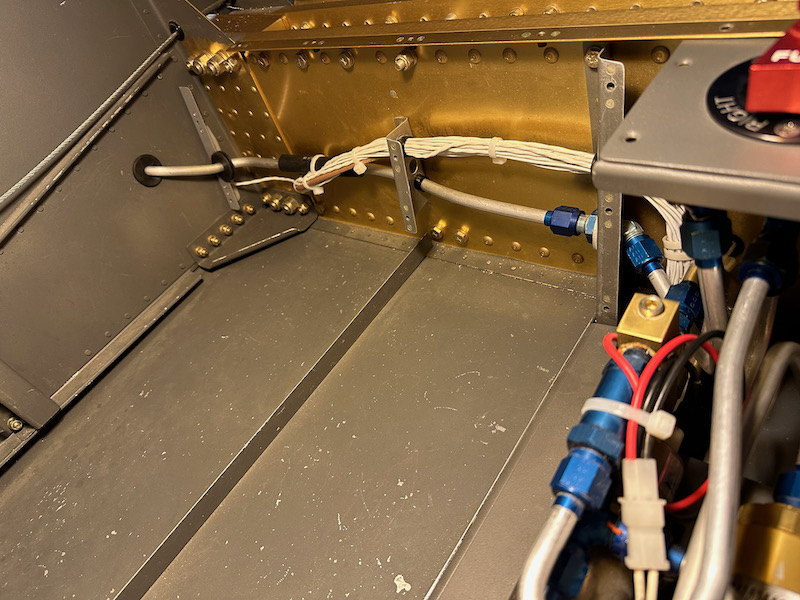
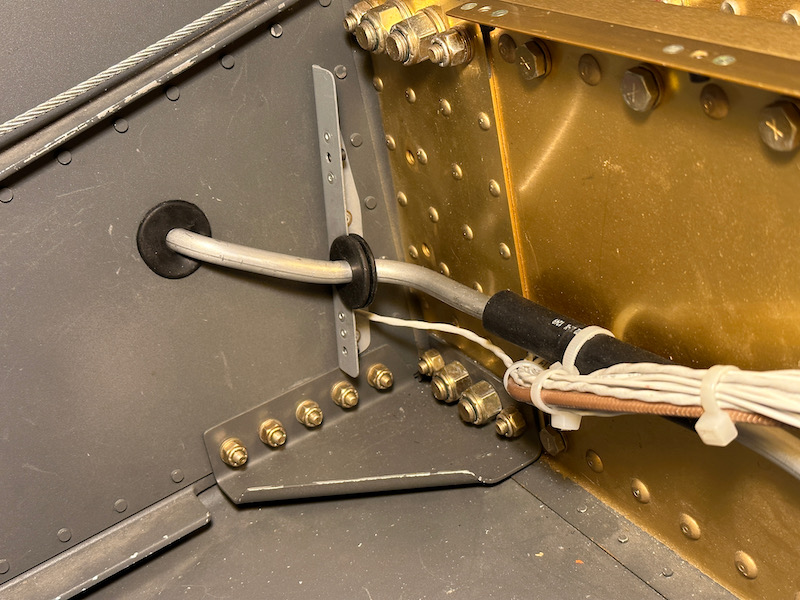
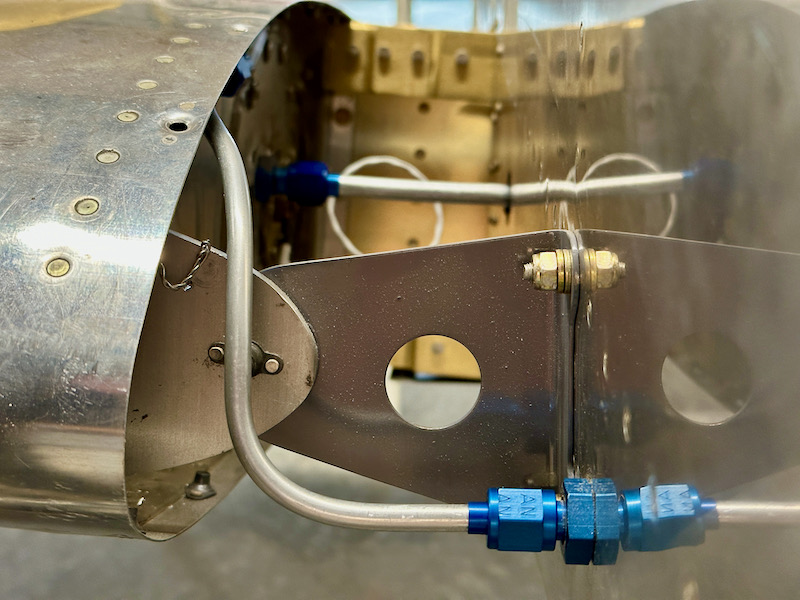
Next I fabricated the remaining fuel lines that go between the wing tanks and the selector valve. I'm really glad I decided to make these in two pieces, with a bulkhead fitting in each F-783B cover support rib, because it would have been a nearly impossible task to fabricate these lines as a single piece. As it was it was still difficult – even though it's a pretty simple component, the lack of access and the fact that you have to bend and flare it in situ results in a fairly challenging job.

At each outboard side I used zip ties and a piece of rubber fuel hose to prevent the wiring bundle from chafing on the fuel line:

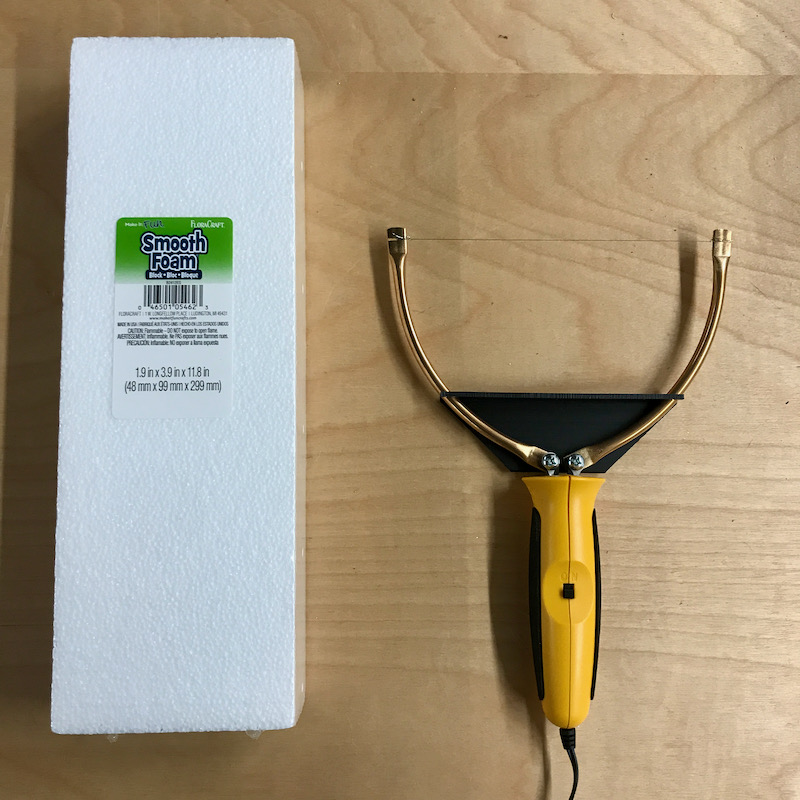
The plans call for a block of styrofoam to support the line that runs forward from the fuel pump to the firewall. I started with some craft foam and a hot-wire cutter:

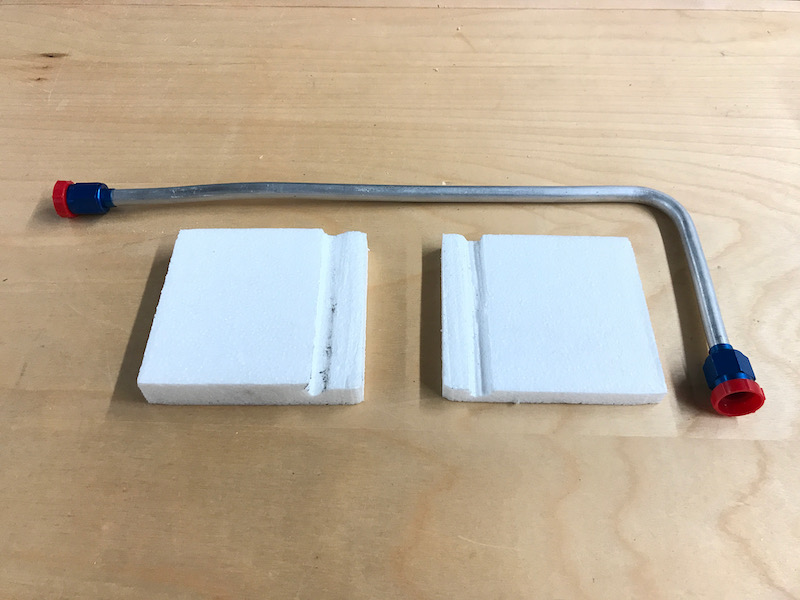
I split the foam in half and cut out a groove for the fuel line. I like cutting foam with this tool, much less mess than traditional cutting tools – just try not to breathe the fumes.

Fuel line and foam support installed between pump and firewall – the foam block is held together with a strip of clear packing tape:

Out in the wing roots, I fabricated and installed the 1/4" vent lines that run from the tank to the fuselage, snaking around the tank attach bracket in the process. In the background you can see the 3/8" line that goes from the tank outlet into the fuselage:

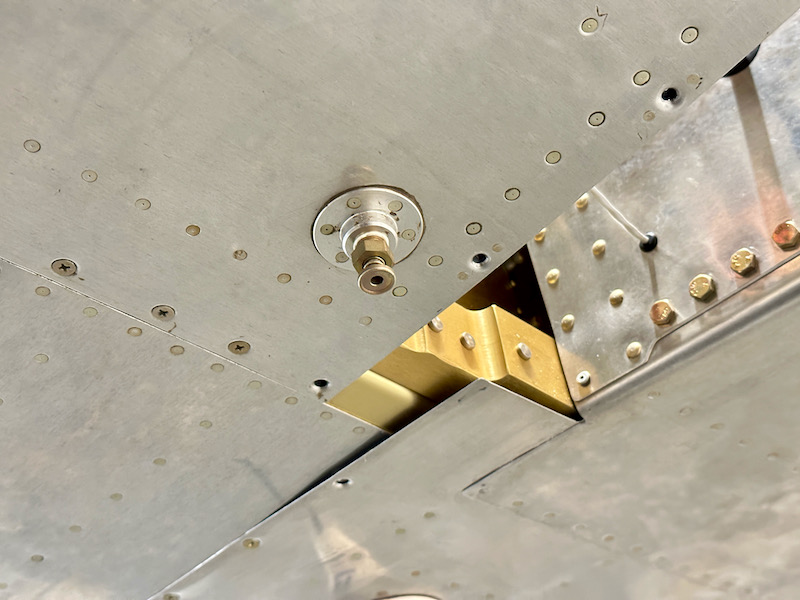
As a final step in finishing the fuel system, I removed the plastic plugs from the bottom of tanks and installed the fuel quick drain valves:

It's kind of wild to think that, in theory, I could probably fill the tanks and start the engine almost any time I want. Well, a set of working brakes would probably be good first. Still, feels like progress.

Fuel tank manometer test

Saturday, September 22nd, 2007

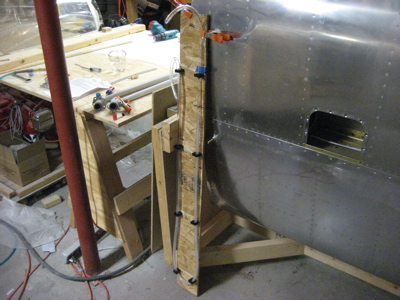
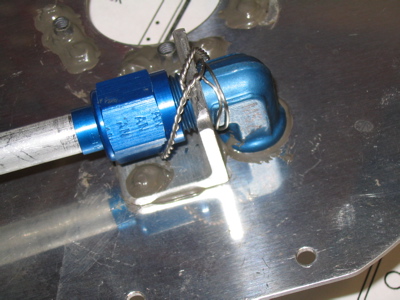
John loaned me his fuel tank leak testing kit a couple weeks ago, and I've been using it to do some extended testing of my fuel tanks. It's a simple water manometer that plugs into the tank outlet – you cap off the vent line and then use a Schraeder valve threaded into the drain flange to pressurize the tank.

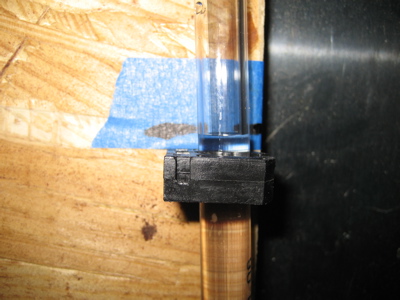
I filled the first tank to 27 inches of water, which is about 1 psi, and marked the height of the water column.

Then I left it alone for a week. The water level fluctuated up and down with local pressure and temperature changes, but at the end of a week the tank was still holding approximately the same amount of pressure. After that I did the other tank, and it tested fine too. Hooray!

You can buy the fittings to make one of these setups from Van's, but you have to supply the plumbing and yourself (or borrow a buddy's).

Sealed up the right fuel tank

Wednesday, June 7th, 2006

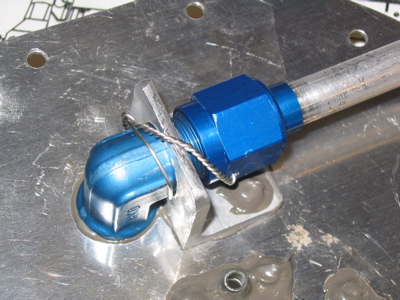
Today's mission: Finish out the remaining fuel tank. First order of business: safety wire the fuel pickup tube. Oh wait – I put the safety wire on backwards! Arrgh.

Ahem. Here it is again, properly safetied this time.

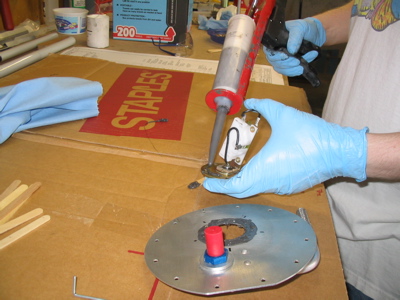
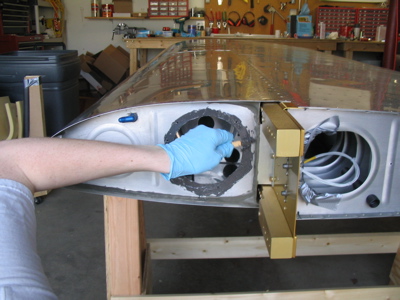
Mary took a bunch of photos while I was doing the proseal part. First the fuel sender gets gooped in place:

…with a nice seal all the way around the hole, plus a blob of proseal on the back of each nutplate.

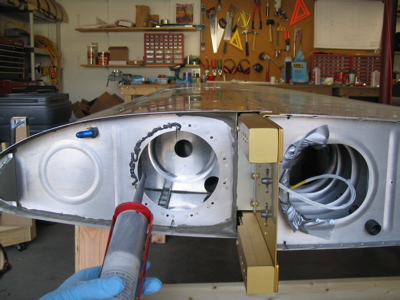
Then I laid down a bead all the way around the access plate opening:

…which I then spread out with a popsicle stick.

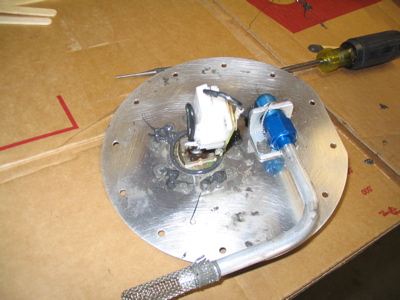
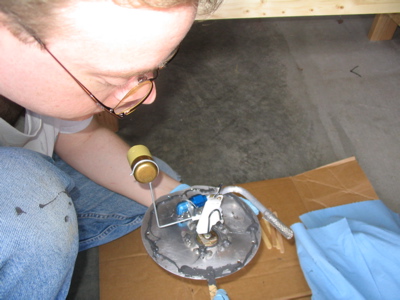
If you are referring to this website during your fuel tank construction, take note! The float on the fuel sender in the photo below is on backwards. I discovered my error after I got all the proseal applied and was about to seal up the tank, but luckily was able to reverse the float without having to re-bend the wire (by popping the plastic float out of the wire loop, flipping it, and snapping it back in). That was a small moment of panic. If I'd paid closer attention in the first place, I would have noticed that the float was hitting the stiffener inside the tank.

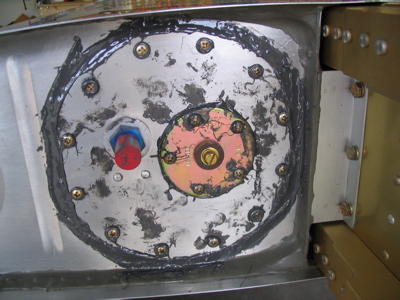
Done! Sticky fingerprints everywhere, but it looks like we got a good seal all the way around. I'll know in a week after this cures and I perform a leak test.