The following is a guest post…
Mary here, talking to all of you who ladies whose husbands have said, "Honey, I want to build a plane in our garage." You're understandably freaked out right now – I was when I found out that building airplanes is one of Matt's favorite hobbies. Don't fret! This is a doable project! However, you shouldn't go into it blindly. Here are some things to expect from an airplane-building husband.
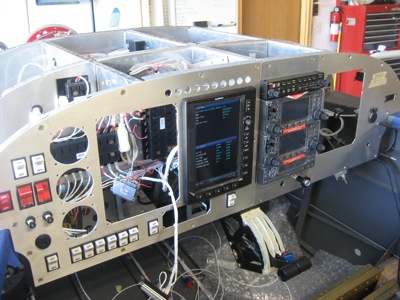
This is a huge endeavor. OK, you probably already figured that out. But let me give you a little perspective. Matt began building the plane in Spring 2005. I started pharmacy school the following fall. I graduated this month, but Matt's plane is still a year away from flying. This is not for the flighty (no pun intended). This is like having a baby. The plane will be a major part of your lives for years, if not the rest of your life. (Thankfully, there are no 3 AM feedings.) And much like a baby, a plane will require you to invest a good deal of money and space. Consider:
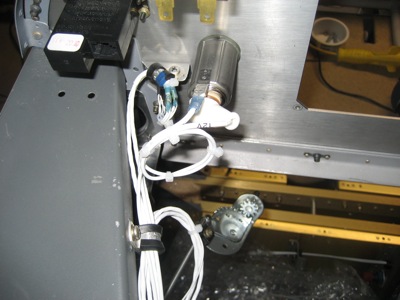
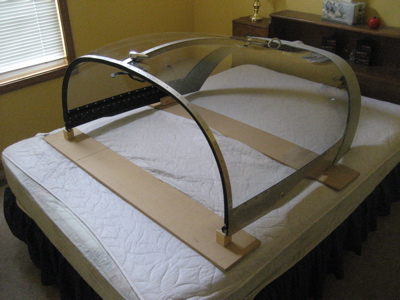
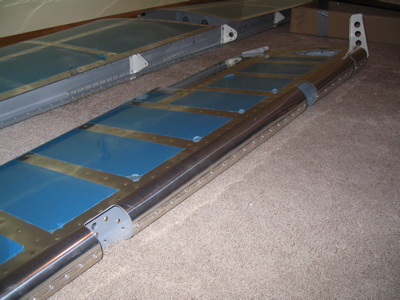
- You'll need workshop space. For a lot of you, this means you'll have to give up parking in your garage. You also might find an airplane canopy on your guest bed, or ailerons in your spare room.
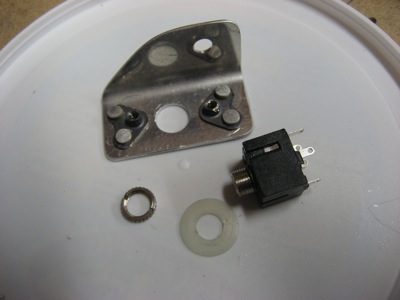
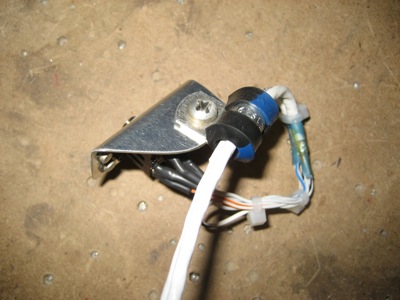
- It gets expensive. Builders need rivets, rivet guns, clecos, pliers, drills, screws, an air compressor, wires, deburring tools, wrenches, countersinks, fiberglass material, hoses… It adds up, and will continue to add up throughout the project, as he'll need to get more and more stuff. The UPS guy and I are pals.
- As I mentioned above, it takes a ton of time. If you want to be at his side 24/7 either be prepared for him to never finish the plane or go out and help him. Which brings me to my next point…
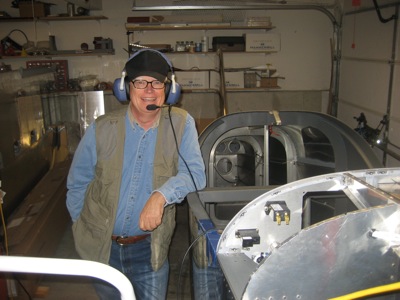
Building an airplane is not just something for him to do. This can be a family project. You don't have to be out there every second – despite what the pictures on Matt's blog might suggest, I'm not out in the garage every time he is. It will go a lot smoother if you get involved. There are certain tasks that are a lot easier to do with a second pair of hands, and everything that gets done puts you a little bit closer to flying. Even going to the workshop for a few minutes to look at the neat new thing he built can be a big morale boost. And men, this is a two-way street. Make a deal that for every, say, 30 minutes, your wife spends on the plane, you spend that much time on something she likes, or do some of the household chores for her, or stay home with the kids while she runs errands. And speaking of kids, they can help too. But use your good judgment; letting your toddler handle a rivet gun is probably a bad idea.
You'll meet a lot of new people in this process. Your husband will probably make friends with other builders through VAF, the EAA, and local airports. Take advantage of this! For one thing, it gives him someone else to talk shop with when you get sick of the airplane stuff. For another, a lot of these guys are married too, and you and the builder's wives can commiserate. Airplane people are some of the nicest, most interesting people you'll ever meet. Far-flung airplane pals can also tip you off to places to visit on your next vacation and maybe even get you a free lunch somewhere. (Thanks Doug!)
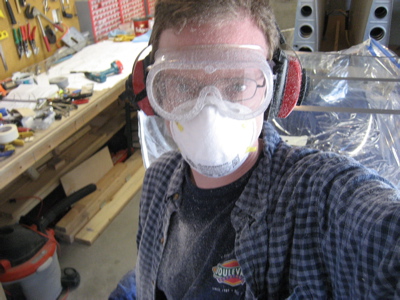
You need to be his #1 cheerleader. I'm not asking you to put on a short skirt and wave pom-poms [aww. -ed.] unless you enjoy that sort of thing, [woohoo! -ed.] but airplane building can be a frustrating process, and your husband probably won't enjoy every part of it. (See also: Matt and fiberglass) Help keep him going during the difficult parts. If you can't help, come down and talk to him while he builds, or let him bounce ideas off of you.
You may also need to keep him on task. Again, not every part of this is enjoyable, and it's easy to get discouraged, especially for someone who has a demanding job. He may, like Matt, suddenly think it's more important to work on one of his other projects than the plane. While sometimes that's necessary (the plane can wait if Junior needs help with his science project), too much of that can mean he loses momentum and before he knows it, he hasn't worked on the plane in a month. Planes that don't get worked on don't get done, and we want these planes to get done. I once had to threaten Matt with no slushes for the rest of his life if he didn't give up his extra projects and just focus on getting the plane done.
And finally, have a sense of humor. So your friends all think you're crazy, you can't walk into your house without tripping over a just-delivered box of parts, and your guest room looks like an obstacle course. So what? You and your spouse have a fun (hopefully) relationship-strengthening project you can do together, and even if you're only minimally involved, you always know what he's up to.
| – Mary |


