Archive for July, 2005

Trimmed replacement rudder brace

Saturday, July 16th, 2005

Here are the old and new rudder horn braces. The new one is on the right – notice how much extra edge distance there is if you don't trim along the prepunched guide holes. I used my Dremel tool to make little stress-relieving scallops where the guide holes were.

More with elevator stiffeners

Thursday, July 14th, 2005

Here I'm match drilling elevator stiffeners and the E-615 trim access plate reinforcment ring:

And now a word about suppliers. I had heard that if you order parts online from Van's, you can expect to see your package sometime after the turning of the next season. Boy is that ever true. I needed to replace a stiffener, so I ordered it through their website on Monday morning. On Thursday I got a tracking number from UPS, which shows a scheduled delivery date of next Wednesday! That's just inexcusable. I don't understand how, in this day and age, they can possibly be so slow – what are they doing, printing out the web orders and sending them over to the order department by regular postal mail? Apparently they are still stuck in the 80's up there in Oregon, so next time I guess I'll have to "call" them on the "telephone". What a quaint concept.

Contrast this with Avery Tools, from whose website I have often ordered tools at lunchtime on a Monday and had them waiting for me when I got home from work on Wednesday. Now that's service.

Elevator Stiffeners

Sunday, July 10th, 2005

Ended up not having a lot of time to work on the airplane over the weekend, but when I did I was making elevator stiffeners. Way too boring for a photo.

Stupid Rudder Brace

Wednesday, July 6th, 2005

What's this? It's the R-710 rudder brace I trimmed and installed on Monday. Notice the unacceptably small edge distance on the brace-to-skin rivet holes. I did some web searching and found that it's common to have this problem if you follow the plans and trim along the prepunched guide holes. Would have been nice to have this pointed out in the instructions – "Trim the R-710 rudder brace, but not as shown on the plans!" – but I guess since it's only a nine dollar part it's not the worst thing ever to replace it. Too bad it won't arrive till next week sometime… Van's has good prices and service but sometime it seems like it takes an eternity to receive an order.

Riveted Rudder Stiffeners / Worked On Skeleton

Monday, July 4th, 2005

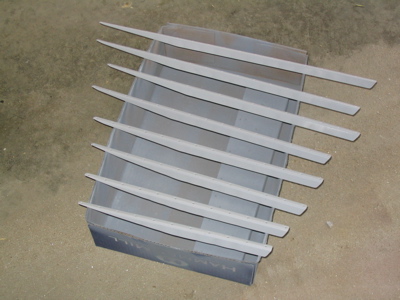
After getting deburred, the rudder skin and stiffeners are dimpled and primed:

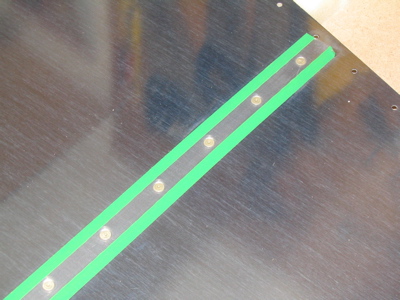
Rivet tape holds the rivet heads in place on the outside of the skin for back riveting:

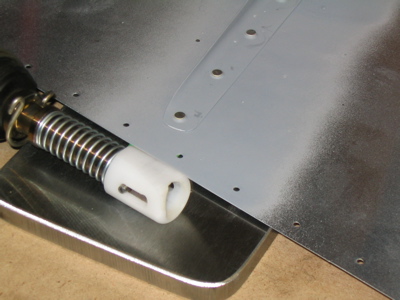
I ground off part of the white plastic collar on my Avery back rivet set to let it sit down squarely around the rivet without interfering with the stiffener flange.

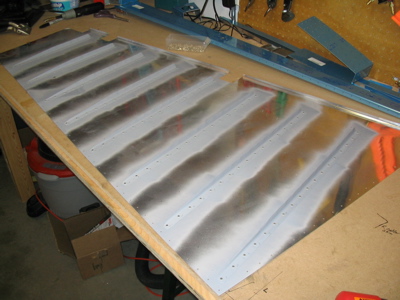
Here the stiffeners have been back riveted to the rudder skin. The rivets themselves turned out great, and back riveting is really easy. The only bummer thing was the way the edges of the back rivet plate left marks on the skin. About three quarters of the way through I decided to put some blue masking tape around the perimeter of the plate, which made it stop marking up the skin – wish I'd done that to begin with. Oh well, they're very light marks and the paint will cover 'em up anyway.

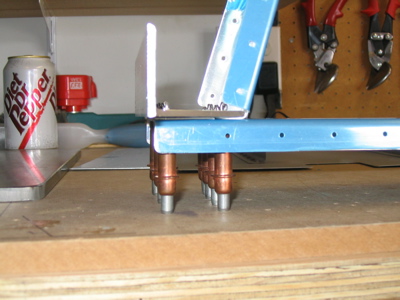
Then I moved on to the rudder skeleton. First they have you drill out the 3/8" hole for the lower pivot bearing, and fit the rudder horn.

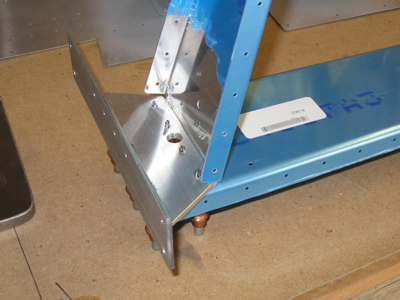
It's hard to see, but there is a little shim in there that I had to fabricate from 0.032" stock:

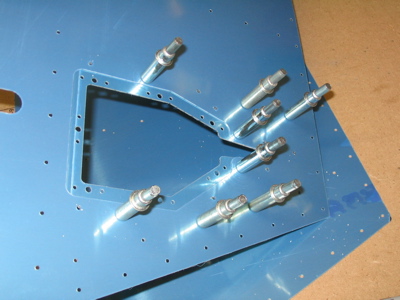
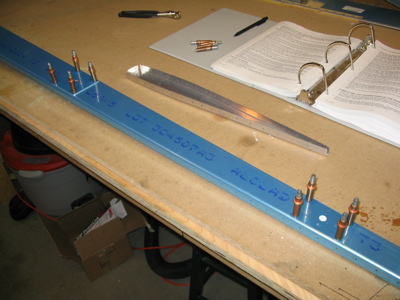
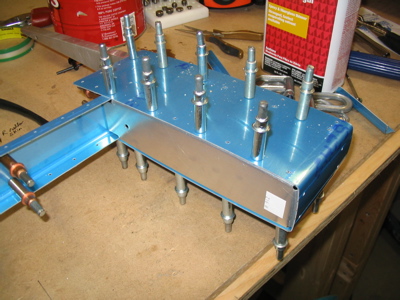
Reinforcement plates get match drilled to the spar at the three hinge points:

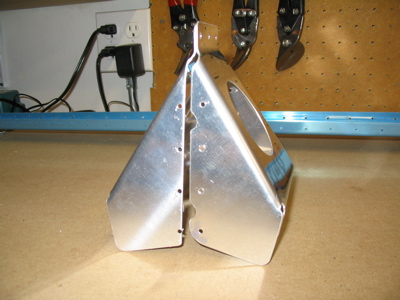
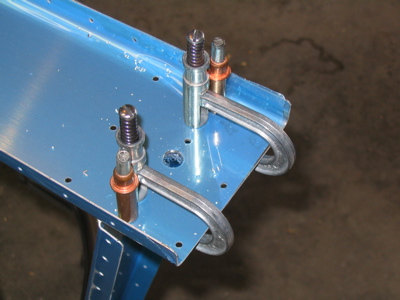
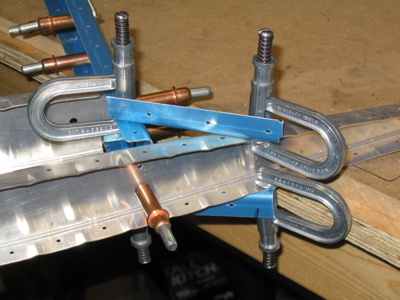
Then the tip and counterbalance ribs get fluted and match drilled to the spar. This is one solution to the problem of holding a rib in place while you pull out one of the two clecoes holding it to the spar in order to enlarge the holes – two pieces of scrap angle and some clamps keep it from moving around:

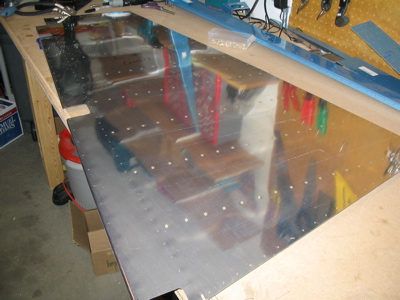
Here the counterbalance skin is being match drilled. This skin along with the spar, tip rib, and counterbalance rib forms a little box where the lead counterbalance weight will live.

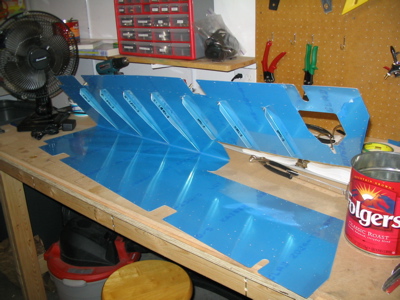
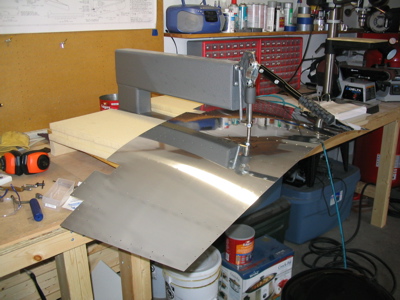
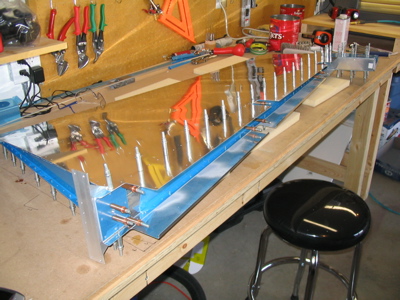
The next step is to cleco on the rudder skins and match drill everything, including the trailing edge wedge. Hey look, a control surface!

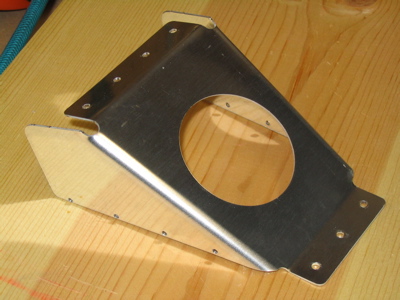
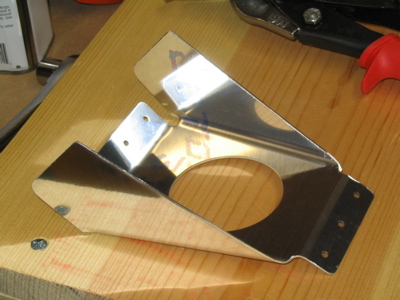
Then they have you modify the rudder horn brace by cutting off part of the "ears" (already done in this photo).

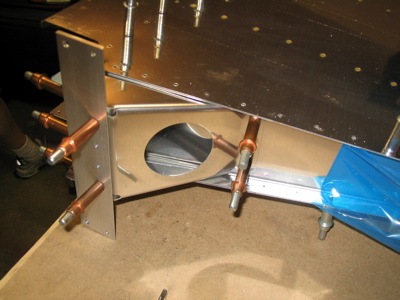
Then the brace gets match drilled to the spar and rudder horn.

This was a productive day. Here's one more photo – "Self Portrait With Rudder".