This weekend I went nuts on the left elevator and got it 95% completed.
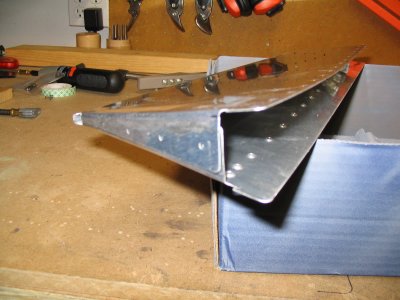
One of the first things I did with the new elevator skin was to cut off the little flaps that Van's wants you to fold down to close out the trim tab area. Instead, I made this little stub rib out of scrap 0.020" to close out that area. I elected to orient it with flanges facing inboard so I could squeeze some of the rivets. If I had it to do over again, I would stagger the rivets on the upper and lower surfaces so they wouldn't line up quite so exactly – that might have let me get the squeezer in there to squeeze one more of them. As it was, I ended up using three AD3's and three MK-319-BS pop rivets to hold this guy in place. It worked out very well and looks great in the finished version.
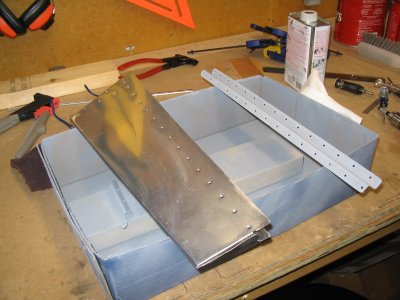
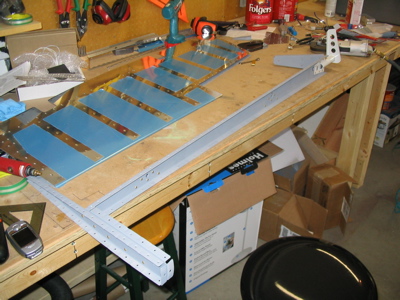
Here the left elevator parts are resting after being primed (trim servo brackets, interior rivet lines within the skin) or getting some primer touch-up (ribs, spars, etc). The old stiffeners got riveted to the new skin with nary an oops rivet to be found.
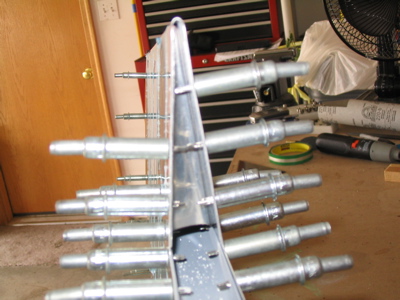
Here the left elevator skeleton is complete and ready to be installed in its permanent home. Right after I took this picture I put the required blobs of blue RTV at the trailing edge of the four full-length stiffeners.
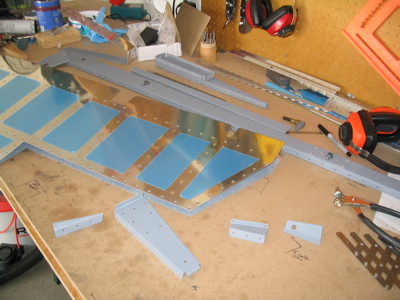
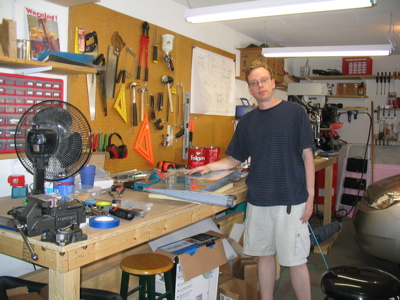
Here's a dorky shot of me looking tired, standing next to an almost completed left elevator. Gotta prove to the feds that I built this thing myself.
The only things left to do to the left elevator are to rivet on the trim tab hinge and affix the counterweight permanently in place… oh, and roll the leading edge… and, install the fiberglass tip… and…
In other news, two guys from work have each ordered an RV Training Kit for themselves, and are going to eventually bring them to my little aircraft factory for a hands-on tour of basic sheet metal construction. It should be a fun time. Too bad it will cost them each about $70k before they're finished. Muahahaha!