Archive for October, 2005

Paid for the QB stuff

Tuesday, October 11th, 2005

So today I'm sitting at work, thinking up new ways to get all of your money, when the phone rings:

Van's: Hi, this is [somebody] from Van's Aircraft.
Me:    Is this The Call?
Van's: Yes, your quickbuild kit is ready. Send money.

So I wrote the big check for $13,980 (the remaining 75% of the quickbuild cost) and sent it off. I suspect it will probably be sometime in November before the kit gets delivered, so I should have a few weekends yet to get the garage ready.

In the meantime, I need to drill the hole for the hinge bolt through the elevator horns, so I went to the local hardware emporium after work, looking for something I could use as a 1/4" OD, 3/32" ID drill bushing as called for in the plans. No dice. So, I ended up ordering an actual drill bushing from McMaster-Carr for twelve bucks. Kind of steep for a little piece of steel, but I'm sure I'll be able to loan it out to at least one co-worker eventually.

I also ordered some misc low-dollar stuff, including chucking reamers, from Avery while I was on a mini shopping spree.

Elevator hinges

Sunday, October 9th, 2005

The in-laws were in town so I didn't do any work on Friday or Saturday, but today I was able to spend the afternoon out in the garage, building airplanes and enjoying the nice weather. I rolled the leading edge of the right elevator as best I could, and since I figured I'd have a similar puckering problem on this elevator I went ahead and doubled up on the rivets for the middle and outboard sections while I still had it clecoed together:
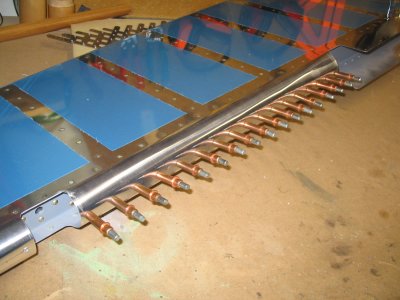
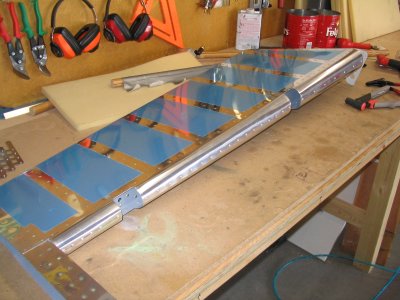
That made it turn out pretty nice. I think the problem with the elevators is that the skin is too stiff and the spar is too narrow at the tip to get a nice bend out there; I probably also could have used a smaller-diameter broomstick and gotten better results. It turned out acceptably though:
Then I hauled the horizontal stabilizer out of storage, and went to work getting the elevator hinges set up:
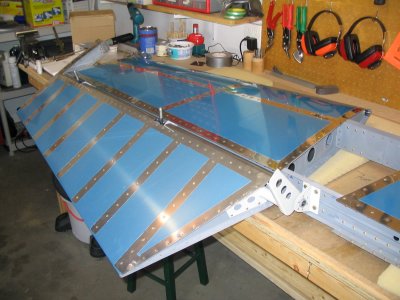
I used Avery's temporary alignment pins to hold the elevators in place while I worked – way easier than putting bolts in and out. I must have had the elevators on and off a half dozen times today, and these pins made the job a lot simpler. I also used Avery's rod end bearing installation tool to (surprise) install the rod end bearings, although if I'd been feeling industrious I could have made my own out of PVC. I don't actually remember ordering the Avery one, but I found it in my toolbox so I must have been planning ahead during some previous tool-buying spree. Or maybe it was the tool fairy…?
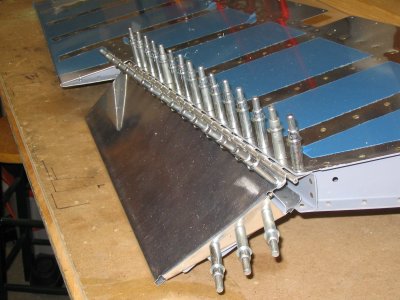
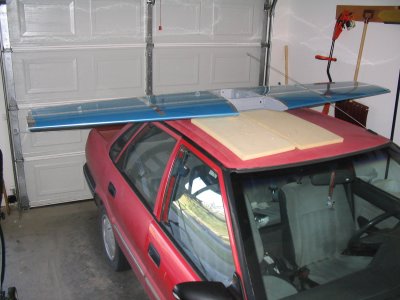
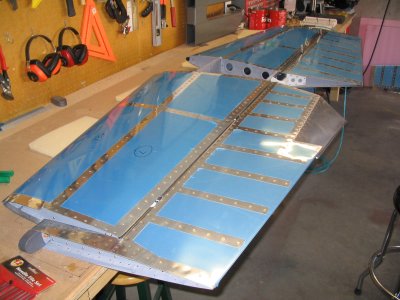
Behold the newest addition to our country's military arsenal – the F/A-RV-7 Stealth Attack Geo!
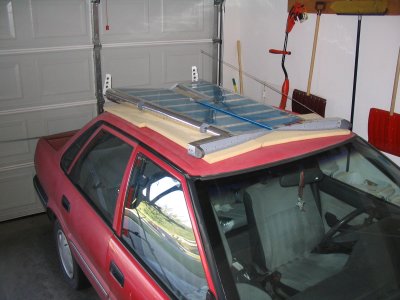
Here is another shot, this time with the wings folded for supersonic cruising flight!
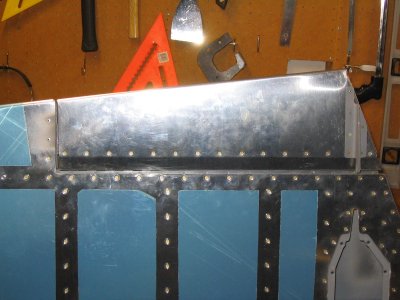
The elevator counterbalance arms were way too long to fit the cutout in the stabilizer skin – I think Van's must have changed the elevator design at some point without changing the HS to match, because I've read about this problem happening to a lot of builders.
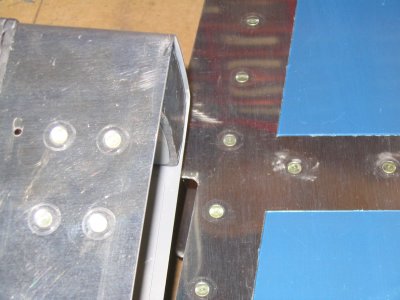
I trimmed about 3/4" and now everything fits together. This will be cleaned up and deburred after I take the elevators off again.
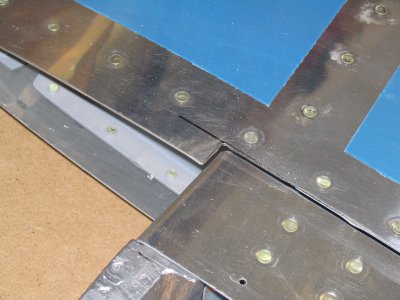
I also had to notch the lower flange of the HS spar, per the plans, to clear the elevator horns and allow enough down-elevator travel.
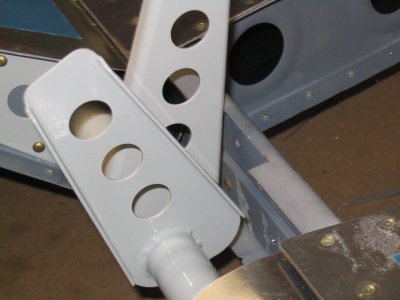
Here's the HS with both elevators temporarily attached. This thing is huge – over eight feet wide. Sweet.
Finished left elevator leading edge

Thursday, October 6th, 2005

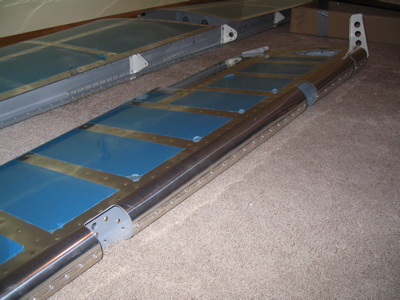
I had a little time after work tonight, so I finished the leading edge of the left elevator. Here it is, completed, sitting on the floor in the unused bedroom we call the "airplane room":

I didn't like the way the skins were puckered up between the rivets in some places, so I doubled the number of rivets in the leading edge along the middle and outboard sections. That made the skins lie down and look nice.

Finished trim tab

Saturday, October 1st, 2005

I managed to use all solid rivets on the bottom of the trim tab, except for one blind rivet each at the aft ends of the E-717 and E-718 control horn halves. It would have been perfectly okay to use blind rivets all the way across, and plenty of people have done it that way, but I am feeling triumphant today because I succeeded in finding a way to squeeze all the spar rivets and almost all the control horn rivets.

Here the forward half of the trim tab hinge has been drilled, after lining up the trim tab carefully with the elevator:

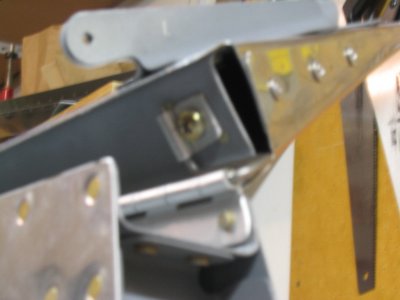
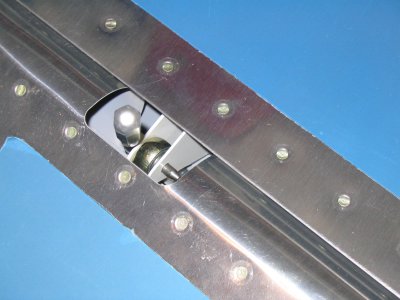
Here's how I secured the end of the hinge pin – a hinge eye affixed to the trim tab spar via a nutplate. Can't take credit for this neat idea since I read it somewhere else first.

Here's the finished trim tab, completely installed. Look at those solid rivets in the spar… mmm, solid rivets…