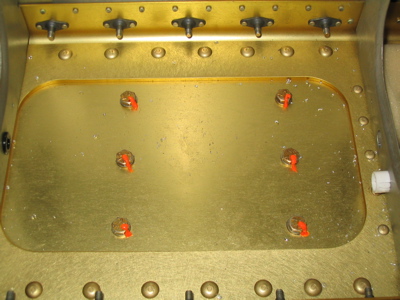
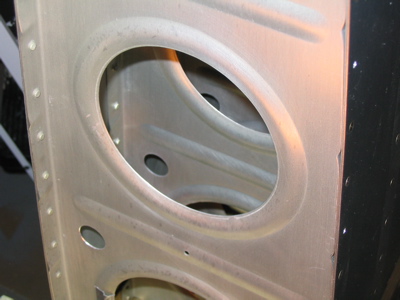
Today I drilled the holes in the wing ribs through which the electrical wiring conduit will pass (Van's has a writeup on the subject here). Corrugated plastic tubing will be run through these 3/4" holes, bringing the wires for the strobe lights, nav lights, landing lights, and VOR and marker beacon antennas out to the wingtips. I'll probably also run AOA tubing through this conduit as well. Drilling the holes in the outboard ribs, where the bottom skin isn't on yet, was a piece of cake. Drilling the inboard holes was less easy – I had to use bad words and an angle drill.
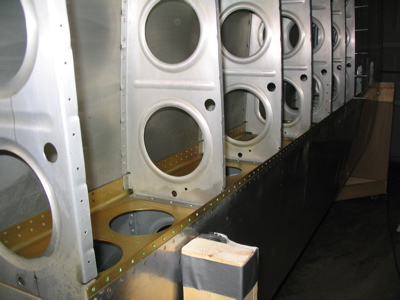
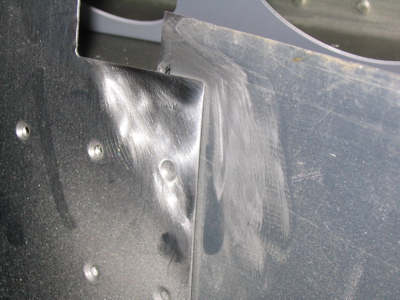
The holes at the root end, where there is a root rib plus three wing walk ribs all bunched up together, were particularly challenging. I used the unibit with a series of drill extensions I found at Aircraft Depot to poke the holes, and I sort of stuffed a scotchbrite hand pad back in there and rubbed the sharp edges until they were gone.
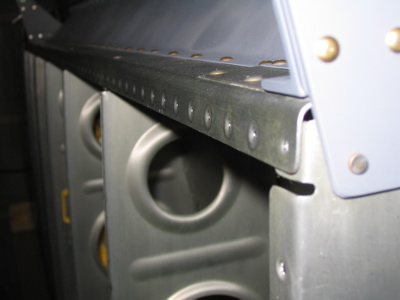
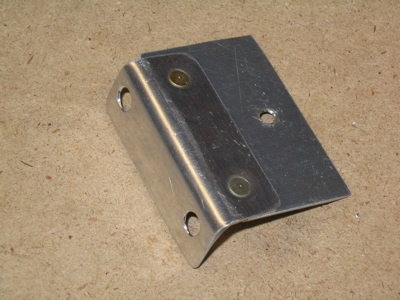
Instead of measuring each and every hole, I made this little template to help me get the holes all drilled in a straight line. The two holes in the angle slip over the rivets in the rib flange, or are clecoed into the correct open rivet holes, and the third hole is where the pilot hole in the rib goes.
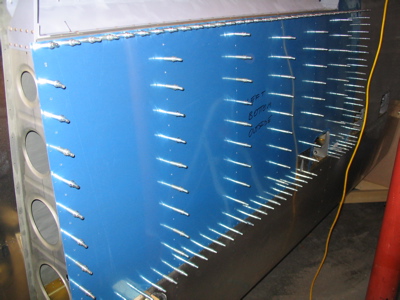
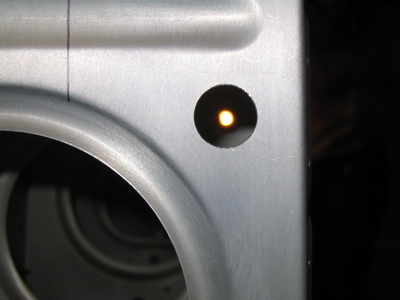
The effort of creating a drill template paid off – in the photo below, Mary is holding a shop light up to the hole in the root end, and the camera is looking down the wing through the hole in the tip rib. You can see that the line of holes is laser straight. Excellent.
I would have gone on and run the conduit material through the holes, but Van's left it out of my order. Time to call and harangue them tomorrow.
I'd also like to point out that this whole process was unnecessarily difficult. It took me hours to drill a couple dozen stupid holes. They send you these partially completed wings – which you pay extra for, I might add – and then say "oh, have fun drilling these holes in all the ribs, especially the ones you can barely reach!"… I can't understand why they wouldn't just press a couple of keys on the CNC machine and cause all the ribs to be churned out of the factory with the proper 3/4" hole already located in the correct spot. I mean, it's not like having the holes there would cause anybody any problems – they obviously have a negligible effect on the strength of the wing, since the factory has put out the above-referenced official document suggesting that builders put their holes there, and I don't know of any RVs that have fallen out of the sky as a result. Furthermore, if some builder ended up not running anything through the holes, they'd just be like extra lightening holes. (I have a hard time imagining that too many people are leaving out wingtip lighting, though) Oh well, it's just another one of those inexplicable Van's things, I guess.