Archive for June, 2006

Random stuff / Control sticks

Sunday, June 11th, 2006

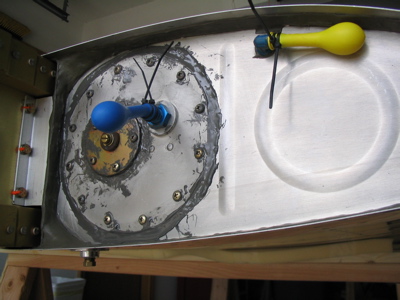
I did a bunch of random junk this weekend, but apparently didn't take too many photos. I bought a handful of plumb bobs and some fishing line, which will be useful for hanging the wings (planned for next weekend). I cleaned up the shop a bit, and leak-tested the second fuel tank – as of tonight, two days later, the balloons I put on it are still inflated. Hooray for proseal.

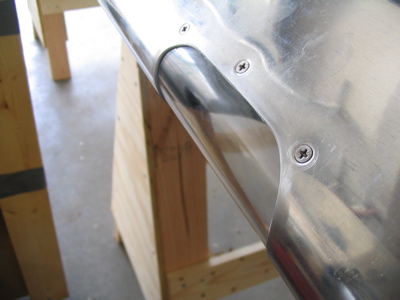
I also messed around a bit with the control sticks. I had to file a bit off of the stick weldments in order to get them to fit where they're supposed to go. After I took this photo I sealed over the exposed steel with the powdercoat touch-up paint so there won't be any rusting.

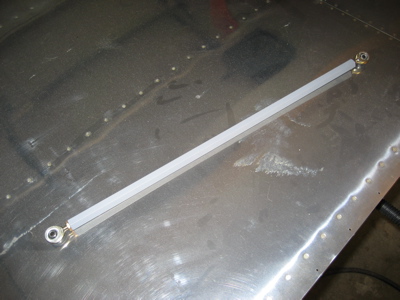
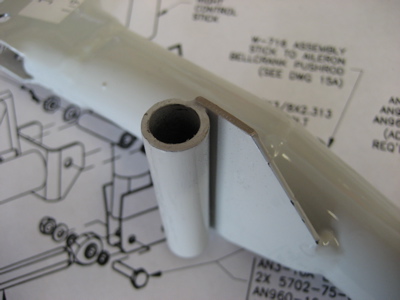
I primed and assembled the pushrod that ties the two control sticks together. The wing looks terribly dirty in this photo, but it's just the flash.

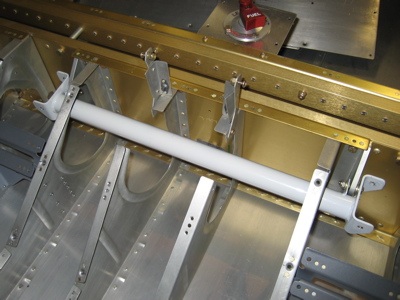
After what seemed like an eternity of fiddling with washers in tight spaces, I got the control column installed in the fuselage.

Sealed up the right fuel tank

Wednesday, June 7th, 2006

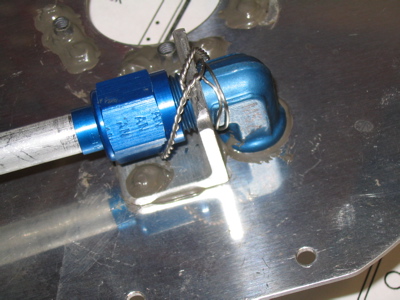
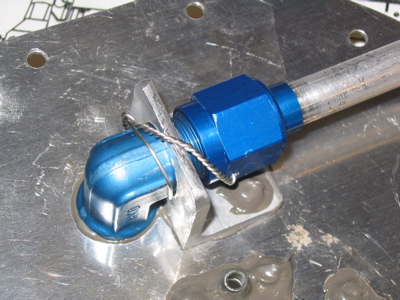
Today's mission: Finish out the remaining fuel tank. First order of business: safety wire the fuel pickup tube. Oh wait – I put the safety wire on backwards! Arrgh.

Ahem. Here it is again, properly safetied this time.

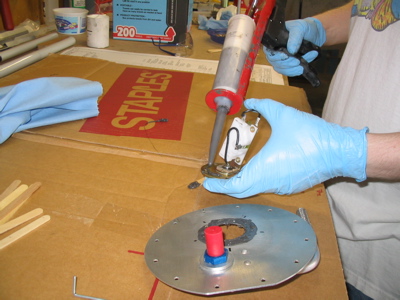
Mary took a bunch of photos while I was doing the proseal part. First the fuel sender gets gooped in place:

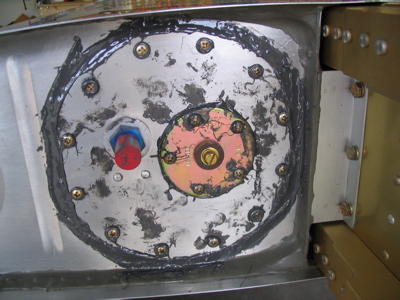
…with a nice seal all the way around the hole, plus a blob of proseal on the back of each nutplate.

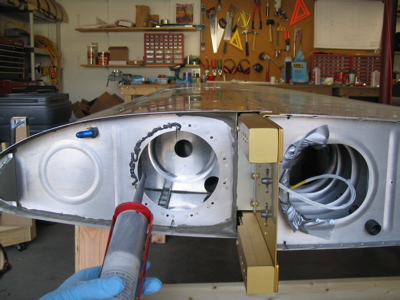
Then I laid down a bead all the way around the access plate opening:

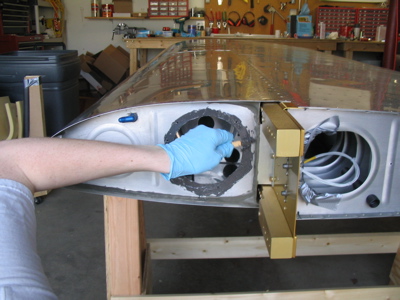
…which I then spread out with a popsicle stick.

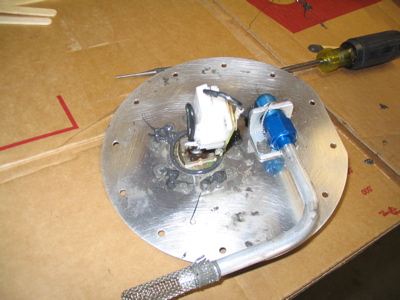
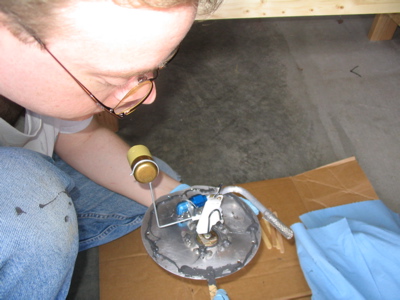
If you are referring to this website during your fuel tank construction, take note! The float on the fuel sender in the photo below is on backwards. I discovered my error after I got all the proseal applied and was about to seal up the tank, but luckily was able to reverse the float without having to re-bend the wire (by popping the plastic float out of the wire loop, flipping it, and snapping it back in). That was a small moment of panic. If I'd paid closer attention in the first place, I would have noticed that the float was hitting the stiffener inside the tank.

Done! Sticky fingerprints everywhere, but it looks like we got a good seal all the way around. I'll know in a week after this cures and I perform a leak test.

Installed right randing right rens

Saturday, June 3rd, 2006

Mary helped me swap wings, and then I trimmed and installed the other landing light lens, same as this morning:

This one took a quarter of the time and fits even better.

Okay, so as soon as I get more proseal I can goop up the other fuel tank, and that's the last real task before mating the wings.

Installed left landing light lens

Saturday, June 3rd, 2006

Since I had the left wing out and accessible, and the temperature in the garage is certainly high enough to work with plexiglass, I decided to put in the landing light lens. First step was to mark some guide lines for making the cuts:
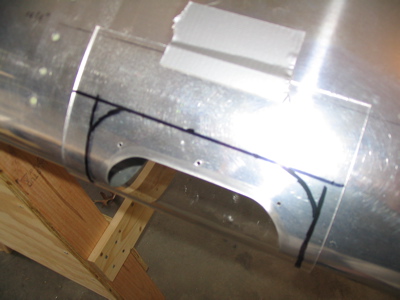
I covered the outside surface of the lens with masking tape to protect it from scratches, then made the straight cuts on the bandsaw.
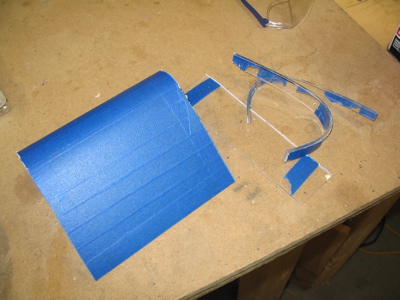
Then I smoothed the edges and rounded off the corners on the scotchbrite wheel. I didn't think it would do so well on plexiglass, but it worked just fine. Oh scotchbrite wheel, is there anything you can't do?
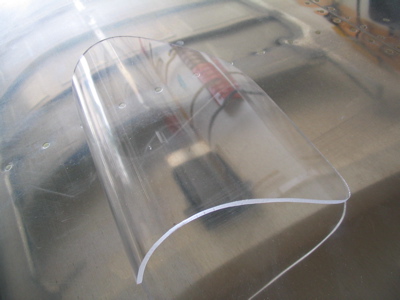
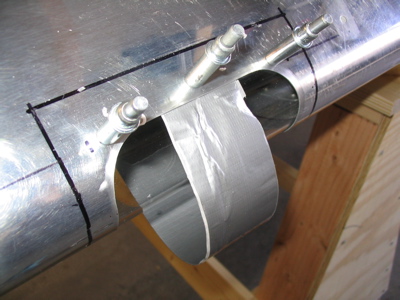
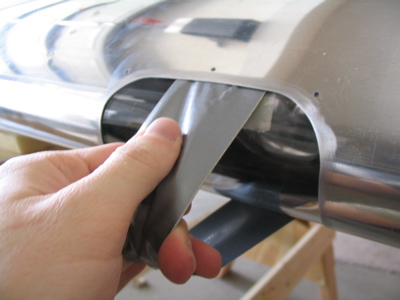
As suggested by the plans, I made from duct tape a "handle" with which to hold the lens firmly against the inside surface of the wing skin. Oh duct tape, is there anything you can't do?
#40 holes were drilled through the wing and into the lens…
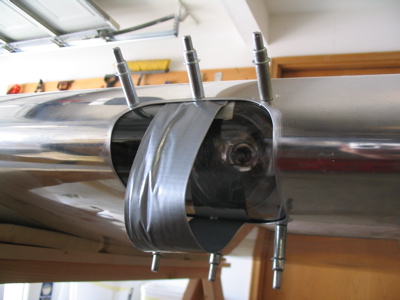
Then I enlarged the holes in the lens with my special not-so-much-with-the-cracking-of-the-plexiglass drill bits. Here I deviated from the plans slightly… they call for you to drill the holes in the skin to #30 and dimple, then drill the holes in the lens to 5/32" to allow the screws to move around as the lens shrinks or expands with temperature. Okay, that's fine. The problem is that the 6-32 screws used to secure the lens in place won't fit flush in a #30 dimple. I've seen plenty of RV's where the builder followed the plans exactly and ended up with the screws around the landing light protruding above the skin, which looks dumb. So, I just drilled the skin holes to 5/32", which is the correct size for a #6 screw, and dimpled with my #6 screw dimple die. Then I drilled the holes in the lens to 5/32", countersunk to accept the skin dimples, and drilled them up to 3/16" to provide expansion room. Seems obvious to me.

I also trimmed another half inch or so from the lower lip in order to improve the fit.
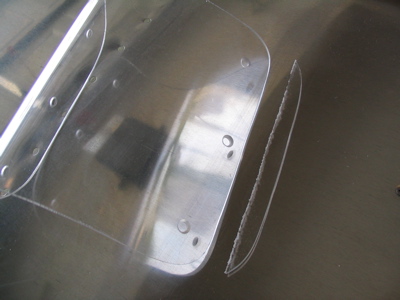
The nutplate retainer strips are attached with double sided tape:
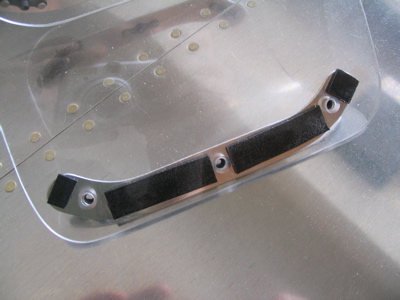
It's pretty hard to see here, but I put a narrow strip of foam tape all the way around the inside of the lens cutout, to seal against water leaks and to provide some additional cushioning for the lens.
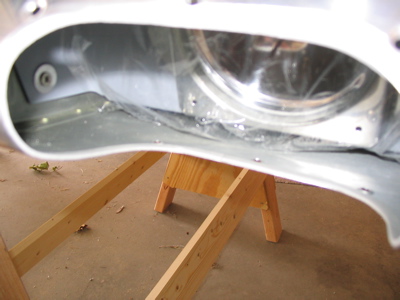
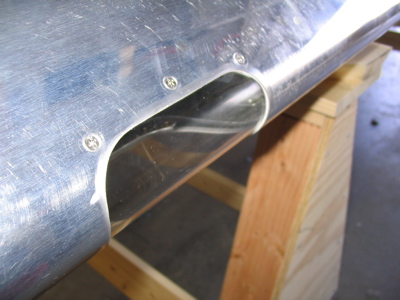
Done! The lens fits the contour of the skin very well… and look how nice and flush the screws are.
Fuel tank update

Saturday, June 3rd, 2006

Two days later and the balloons haven't lost any air. Hooray, that means the tank doesn't have any leaks.