Archive for October, 2006

Empennage fairing

Sunday, October 15th, 2006

Since I still have the tail on, I worked a bit on fitting the empennage fairing today. I had to trim it a bit at the tail end to clear the elevator horns:

Here it is with some pilot holes drilled to match the rivet holes that were left open during the empennage construction. It fits okay – acceptable, but not stellar (though you can't tell either way from this photo).

Finish kit inventory

Saturday, October 14th, 2006

I spent pretty much the whole day unpacking the finish kit and inventorying the contents. If anyone is planning to come visit me and Mary anytime in the near future, we hope you enjoy the guest bedroom's new "canopy" bed. (I crack myself up)

I finally got the crate emptied out save for the bags and bags of leftover packing material. Then I spent the next couple hours breaking the crate apart (easy) and removing the zillion little staples that were left sticking out (tedious). The wood is piled up under my deck for the moment – I need to call the city and have them come haul it away.

Nothing was missing, as far as I can tell, although I did have one duplicated parts bag. Hooray, free "assorted bolts and washers", according to the invoice sheet.

I had to get yet another drawer thingy to hold all the small parts. Shown here is about 75% of the drawer capacity in my garage – not seen are at least two more 50-drawer units that have more stuff in them. There are a lot of little pieces in one of these contraptions…

Finished cockpit brake lines

Friday, October 13th, 2006

The replacement brake hoses arrived from Sacramento Sky Ranch and I got them installed in the airplane. Hooray, everything fits!

Here's another photo of the passenger side. I don't know why I took this – nothing has changed on this side.

Remarkably, none of these hoses touches or rubs on any other hose when the pedals are moved back and forth. I really lucked out here.

I went ahead and torqued all the fittings in the brake system, along with the fuel vent fittings on the fuselage sides (the vent fittings on the floor need some work before I can put them in). I used a little dab of torque seal on some fittings here and there just to remind myself that I have indeed torqued them down.

I bolted the rudder pedals in for good, and riveted the rudder pedal brace to the firewall. These rivets were tough to squeeze because the parking brake valve was almost entirely in the way. Wish I'd riveted this piece on before I permanently installed the valve. Oh well, I made it work in the end.

A pretty good day

Tuesday, October 10th, 2006

Today I got an instrument rating and the finish kit for my RV-7. It was a pretty good day.

Misc fuselage stuff

Sunday, October 8th, 2006

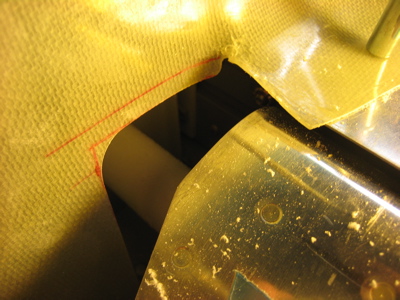
I spent most of the day studying at the library, but I got a few things done on the plane this evening. I safetied the autopilot servo mounting bolts, double checked the aft elevator pushrod length, and torqued a bunch of nuts in the area of the elevator bellcrank. Doing the safety wire took a long time – I always seem to need multiple tries to get safety wire put on right.

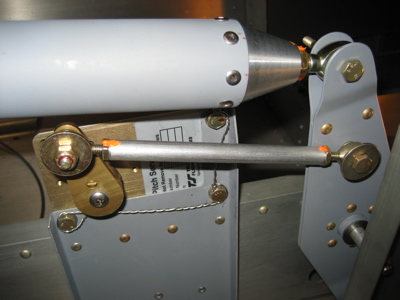
If you look closely, you can see the washer that I put between the two halves of the bellcrank, where the autopilot servo's pushrod pivot bolt goes through. If you don't do this, you can't properly torque the nut because the two halves of the bellcrank just smoosh together when you tighten it. A set of washer wrenches is invaluable for little tasks like this. Or, if you haven't built your bellcrank yet, make your F-635B spacer large enough to fill the space where the servo's bolt goes through.

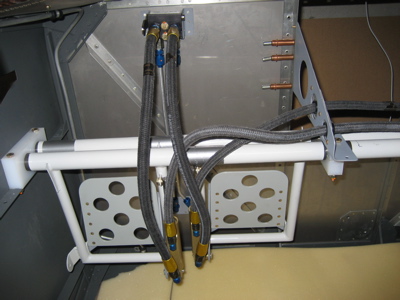
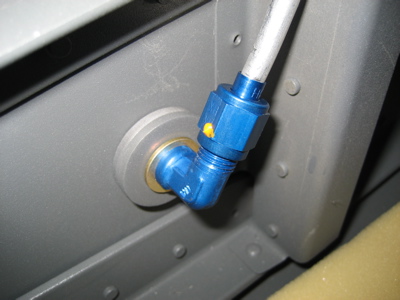
Then I reinstalled the fuel vent lines and torqued the fittings through the fuselage sides. I didn't install the vent fittings on the belly yet, as I'm waiting on some brass screen material to arrive first.

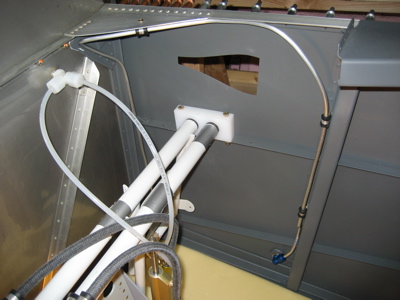
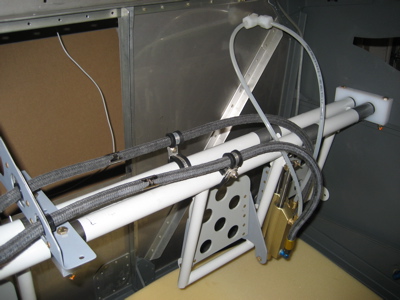
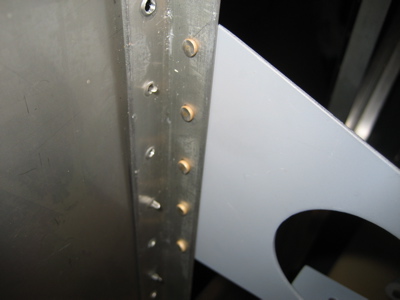
This photo is a reminder to myself that I need to drill out the nutplates on the seatbelt attach brackets and replace them with the dimpled kind, since I'm using countersunk screws wherever possible on the cockpit floors.