Archive for November, 2006

Started fitting canopy frame

Sunday, November 12th, 2006

I iteratively cut about an eighth of an inch at a time off the bottom end of each canopy frame tube until they were the same length and the frame was aligned height-wise with the rollbar.

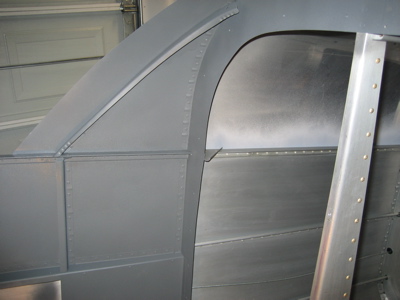
Viewed from the tail, the frame looks straight and the contour matches the rollbar. The canopy frame is supposed to sit higher due to the downward curvature of the canopy in that area.

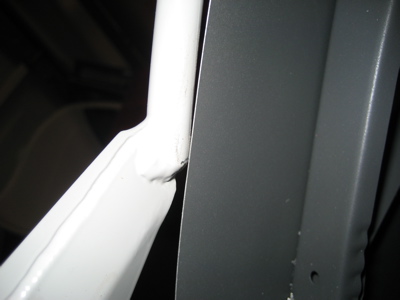
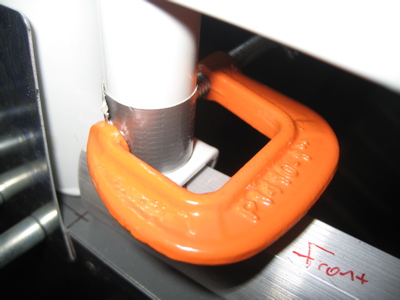
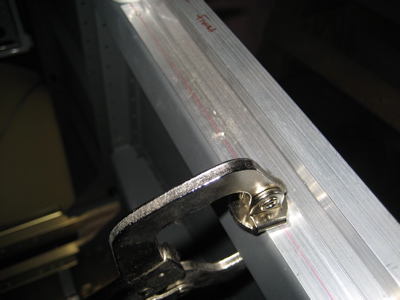
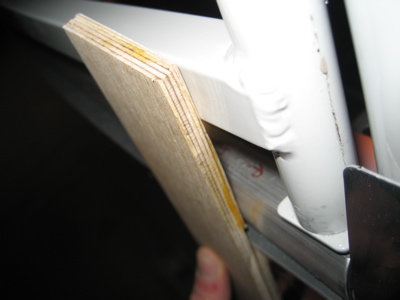
My little offset-measuring tool shows the proper 1/16" spacing between the fuselage sides and both sides of the canopy frame at the front end:

…and the back end:

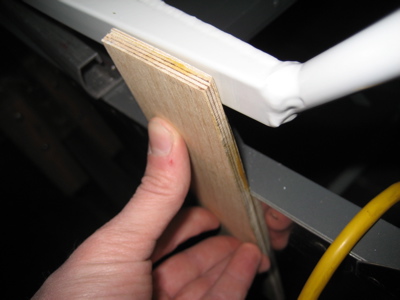
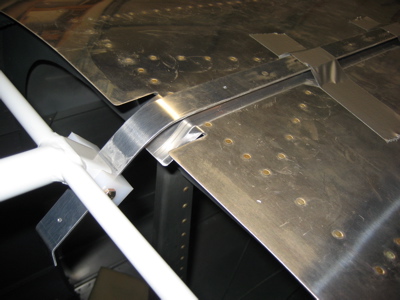
In this photo the rear bow of the frame is exactly 1/16" below the curvature of the aft top skin, but in the end I made the frame sit slightly above this level based on various pieces of advice I collected from various discussion archives. The rear canopy skirt will cover any mismatch and I think the fit will be easier with a little extra height back there.

Update: The above advice was not that great. I had to make my aft skirts out of fiberglass to cover the height difference. The plans really are correct here.

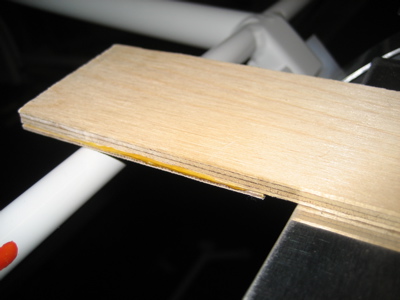
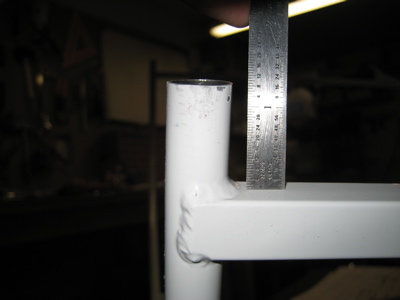
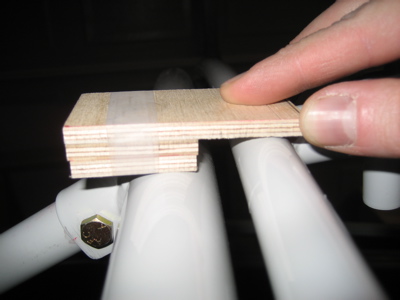
After trimming the canopy frame tubes, the front bow of the canopy sits the required 3/8" above the rollbar. I made this little measuring tool from more scrap plywood. Handy stuff.

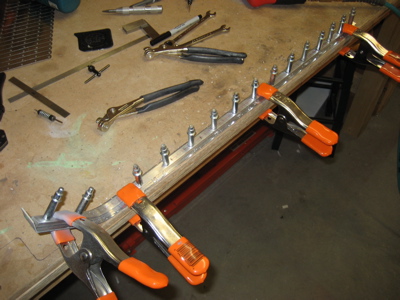
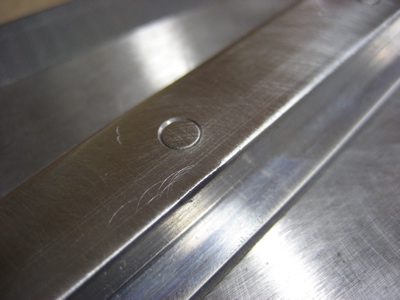
I must have had the canopy on and off the airplane thirty times, trimming the tubes and making small adjustments to the shape by bending it in various ways. Once I was happy with the fit, I drilled the canopy tracks to the fuselage. The rearmost screw hole ends up very close to the longeron, so I had to be careful not to nick it. (that would be bad)

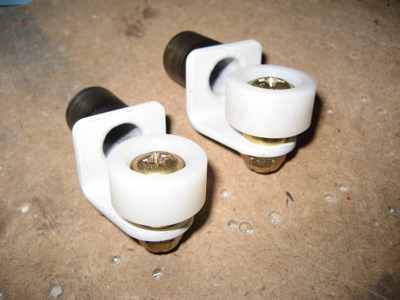
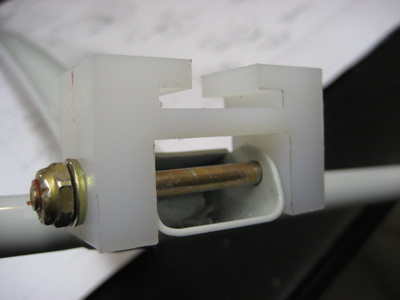
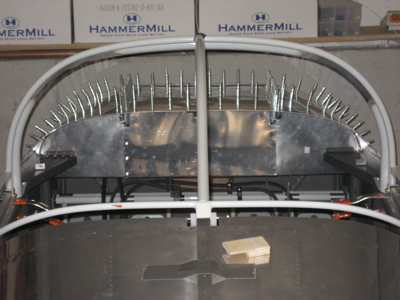
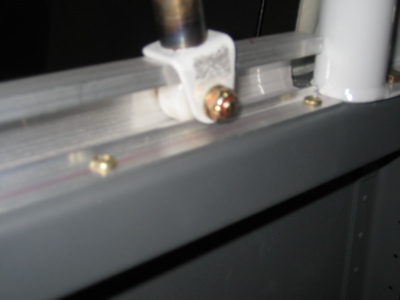
The plans call for you to use regular nuts and washers up under the canopy deck to attach the tracks to the fuselage. I decided that was an excellent recipe for frustration, since you can't see what you're doing up under there. So instead I made these nutplate strips out of some scrap material. I didn't invent this idea but I'm glad I used it because it was a snap to get the track screws in.

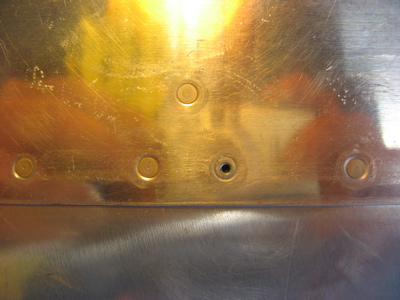
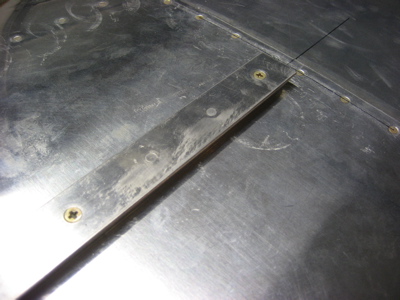
Fuzzy picture of the canopy tracks attached to the fuselage. The plans actually leave you hanging after they say "drill #40 the tracks to the fuselage" and never tell you when you should drill up to the final size and put the screws in. I reasoned that it makes sense to do it now, or else the clecoes would prevent the canopy from opening and closing while you're working on it.

Update: It's easier if you leave all but the two end holes at #40, so you can tweak the position of the tracks later on if you have to.

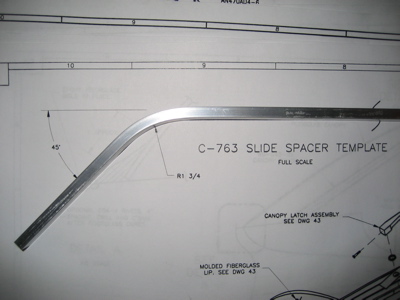
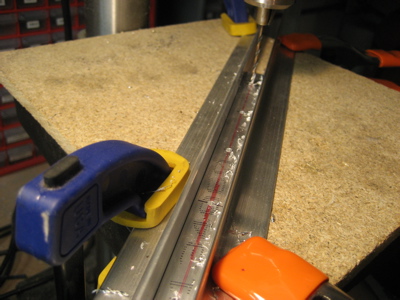
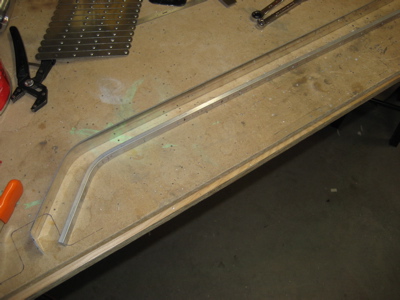
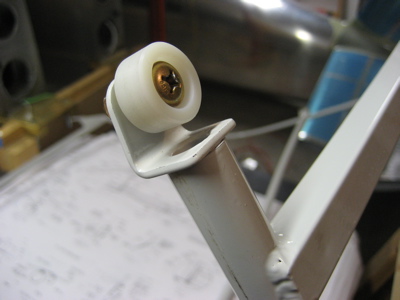
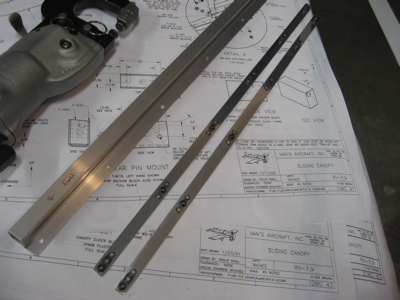
I likewise drilled and countersunk the slide rail for #6 screws and installed it temporarily on the fuselage.

Update: Again, only attach the rail at the forward-most and aft-most ends at this point. Later on, when the canopy is almost finished, you can drill the remaining holes. If you do it this way it will be easier to build a canopy that slides easily.

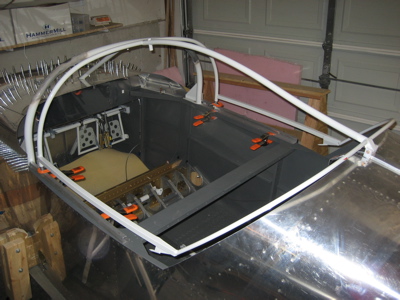
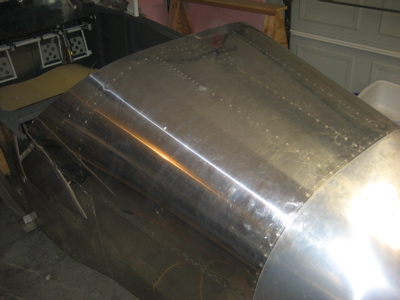
Behold, the canopy in its closed position:

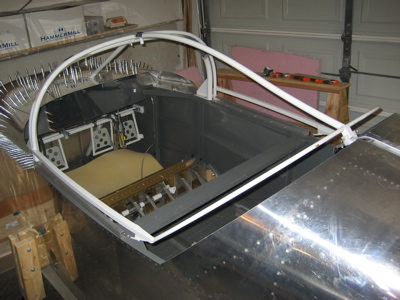
…and slid to the open position:

I have a little interference between the skin and the rear canopy bow on the right side. I need to tweak the bend there and then I think I'll be done fitting the canopy frame.

Constructed canopy slide rail

Saturday, November 11th, 2006

I had tweak the bend in the C-763 slide spacer a bit to make it match the profile shown in the plans, but match it does:

I clamped a couple scrap pieces of angle to the table on my drill press, which created a little channel to help me keep all holes in the slide spacer exactly on center. It's a good idea here to check the prospective hole locations against the fuselage skin before drilling, to make sure there's nothing in the way of where you want to put your attach screws. The locations given in the plans worked well except for the most forward screw, which I moved forward by about 3/16" from the specified location in order to miss a rivet underneath.

After that I bent the C-762 slide rail to match the contour of the slide spacer:

Then I centered the rail on the spacer and match drilled them together, using the old clecoes into the workbench trick:

The two pieces of the rail assembly are double flush riveted together, since it has to sit on top of the fuselage skin. The plans call for AN426AD3-6 rivets here, but I found that I didn't get much of a shop head by using that length. I went up to -7 rivets, which worked just fine. I wish the double flush rivets on the rudder were this easy.

After that, I was able to put the canopy frame on the fuselage for the first time:

I found some baby c-clamps at the hardware store, which are now being used to hold the rollers to the canopy frame:

The slide rail is currently duct taped in place while the canopy frame gets tweaked. You can see how the bend in the rail makes the canopy get pulled down when it closes, which is a clever design. I bent the tab in the skin downwards to clear the rail.

I can tell that the canopy frame is going to need some bending to make it fit the fuselage properly. The plans call for the sides of the frame to be inset 1/16" from the sides of the fuselage, so I made this little tool out of some 1/4" and 1/16" ply I had laying around. Tomorrow when the glue dries I'll use it to check the dimensions of the side rails.

Started canopy frame

Thursday, November 9th, 2006

I haven't had much of a chance to work on the plane lately, but tonight I did have time to assemble the canopy rollers:

…and temporarily put them into the canopy frame tubes. The plans suggest a small c-clamp to hold them in place but I don't have any that are small enough. Time for a hardware store run I suppose.

I cut the slide tracks to length, laid out and drilled the pilot holes for the screws that hold them to the fuselage sides, and temporarily clamped them in place.

Then I drilled a hole through the canopy slide block and the aft end of the canopy. This would have been a great place for a pilot hole, as it was hard to hold everything together while drilling. The edge distance looks pretty small in this photo but it's adequate in real life (you don't need as much E.D. with steel as with aluminum). Also, the specified AN3-21A bolt was too short and I don't have any extra -22A's, so I'm using a thin AN364 nut on here for now.

Finished riveting aft top skin

Sunday, November 5th, 2006

Mary came down and helped me finish riveting on the aft top skin. She held the back rivet bar on the manufactured heads of the rivets and I leaned way into the fuselage to hit the rivet tails with the back rivet set in my rivet gun. Do you think I could possibly have used the word "rivet" enough in the preceding sentence?

The skin rivets all turned out very nice. I had to use a pop rivet in this one hole at the center of the aft edge where the underlying F-707B angle clip leaves no room under the skin for a rivet set or bucking bar. I suppose if I'd noticed this I'd have waited to install the F-787 stiffener until after the skin was on, but oh well.

After the skin was riveted on and the F-6111 reinforcement ribs were riveted to the skin, I sprayed paint over the exposed rivet heads and the places where I'd knocked paint off while riveting. I'm happy that I picked an interior paint that comes in a can – it makes it trivial to come back and touch up spots when necessary.

Seaplane training

Friday, November 3rd, 2006

I spent two days at Jack Brown's Seaplane Base in Florida, earning my single-engine seaplane rating in a Piper J-3 Cub on floats:

What a blast. Another day, another rating: