Archive for January, 2007

Fitted air vents

Sunday, January 28th, 2007

Since I was already working on stuff in the forward fuselage, I decided to tackle the air vents today. The air enters the cabin through plastic inlets that are attached to the fuselage side skins. Some people use only proseal here, but I decided I wanted to also use a few rivets in order to keep the inlets from coming loose down the road. Since the plastic they're made of is too thin and brittle to support a rivet directly, you need to find a way to beef up the inlets and give the rivets something to grab. I started by tracing the outline of the inlets onto some alclad sheet:

After much cutting, trimming, sanding, shaping, and deburring, I had a pair of aluminum doubler rings that were custom fit to the inlets.

The vent kit comes with a template, upon which I marked my rivet locations, then transferred them to the fuselage skins with a punch. Then I drilled #40 holes in the marked locations.

I carefully held the first inlet in place and drilled through the holes into the flange of the inlet. Careful measuring and marking pays off here. However, don't become so fixated on getting a good fit that you drill a hole in your finger, because trust me it is painful! Uh, I mean I heard that it is. From this one guy I know. Yeah.

Then I transferred the hole locations into the doubler ring. Repeat for the other side and the fitting of the vents was completed.

Before putting away the tools, I unclecoed the subpanel and its ribs and removed them from the fuselage in preparation for a little chore I need to do when I get a chance…

Finished panel frame

Sunday, January 28th, 2007

I clecoed the forward top skin back on temporarily in order to match drill the holes in the new F-7103C angles at the top of the panel.

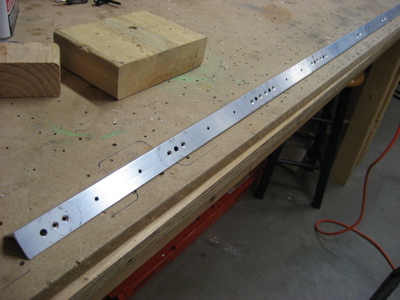
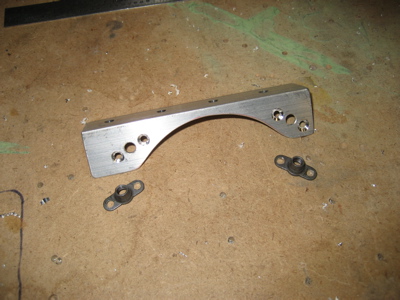
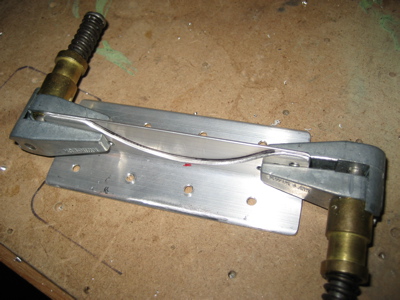
Then I cut and match drilled the stiffener angle to the bottom of the panel frame. Per the advice I received from Affordable Panels, I made it short enough so that it just fits between the air vents.

I coutnersunk the stiffener angle for its nutplates. There are eight or nine nutplates that are used to attach the panel plates to the frame, and a bunch of rivets that attach the angle to the frame itself. The angle doesn't get riveted on until you're really ready to install the frame for good – the frame will be in there permanently once you attach the stiffener angle and remove the ability to flex and wiggle the frame in and out of the fuselage.

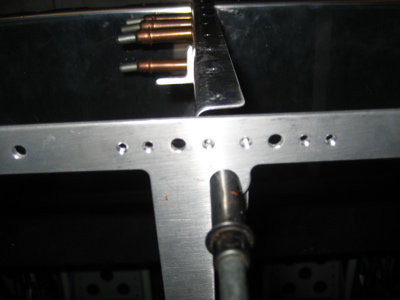
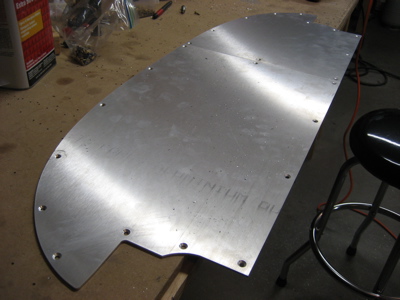
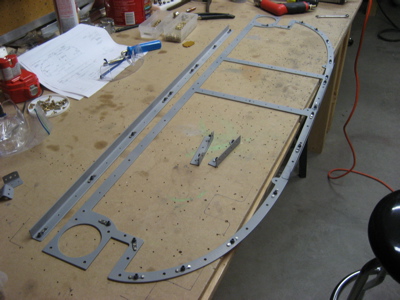
I countersunk the various rivet and screw holes in the panel frame…

…as well as the screw holes around the perimeter of the panel plates.

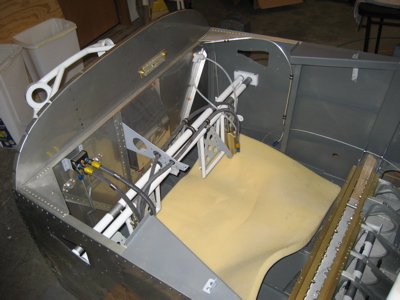
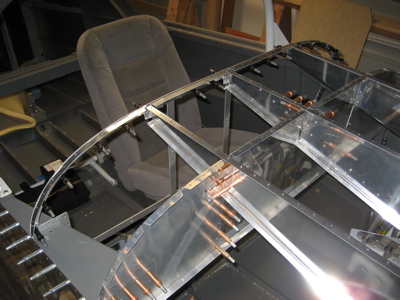
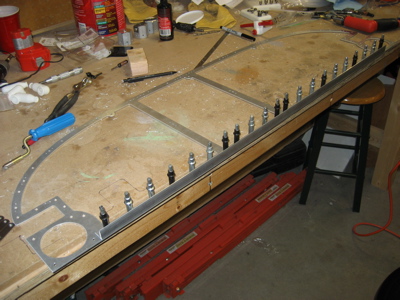
I clecoed all the panel frame pieces back into the fuselage, and fetched one of the cockpit interior pieces for another test fitting. Not just because it looks cool, though…

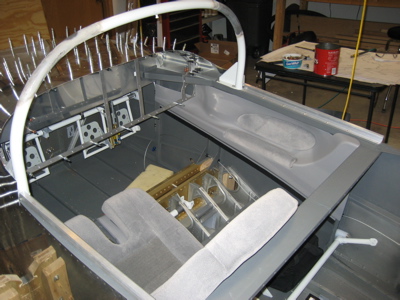
I wanted to see how well the interior fits the panel in the area of the vents. The answer is that it fits perfectly. Excellent. Also, I'm feeling like a genius for buying the interior early, since it's gone up in price significantly since I got mine.

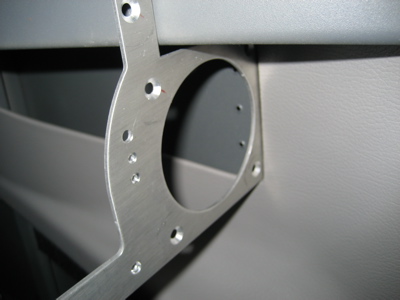
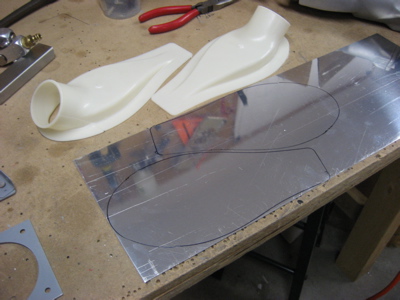
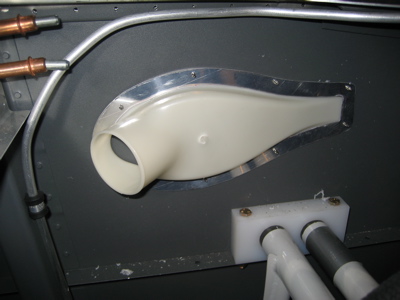
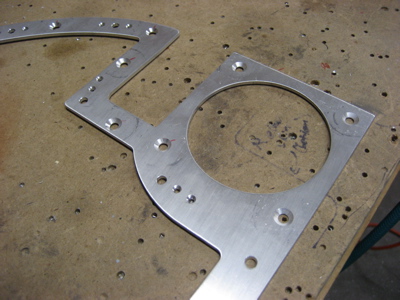
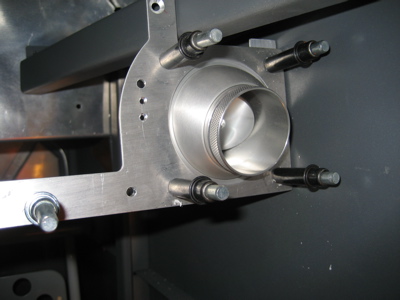
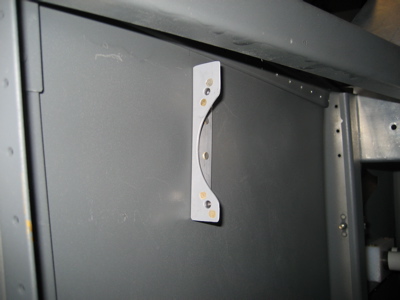
The F-793 vent brackets tie the lower corners of the panel to the fuselage side skin. The holes in the skin are prepunched, and after lots of measuring I determined that if you simply mark a centerline on the bracket, line it up with the holes and drill, you'll have placed it with the proper amount of space to accomodate the vent and hose adapter.

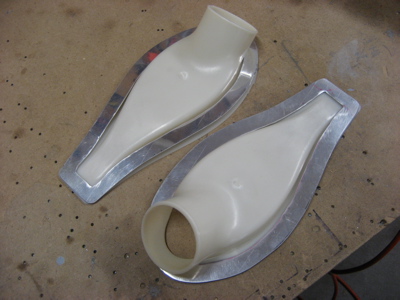
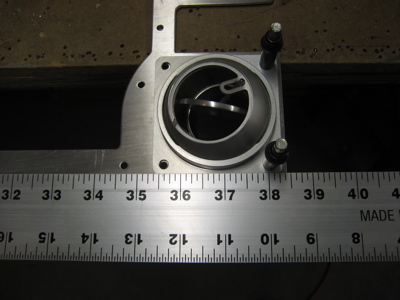
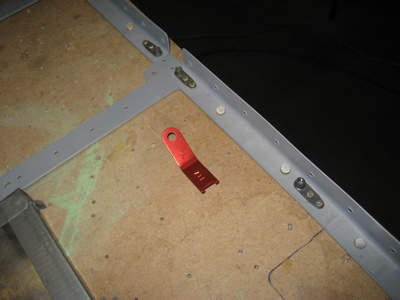
Here's the first F-793 bracket. The semicircular cutout is to let it go around the body of the air vent – I made it with successive iterations of bandsaw and drum sander. I drilled the bracket for MK1000 miniature nutplates, which are the only ones that would fit within the remaining flange area.

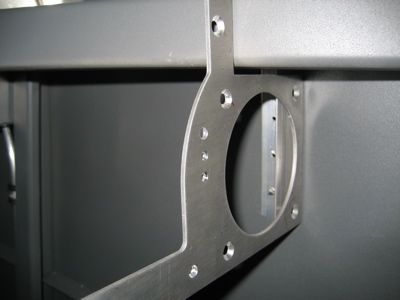
Here's a test fit – looking good:

The second bracket was a lot easier to make, since I could simply transfer the shape of the cutout and the hole locations from the first one.

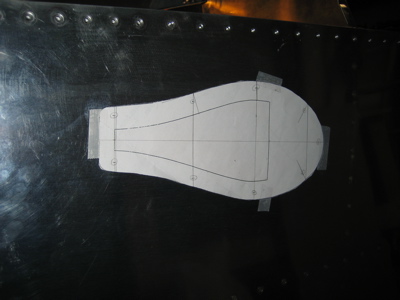
I drilled rivet holes along both sides of the radio stack area and match drilled to some 1/8"x3/4"x3/4" angle stock. The thinking here is to use these angles as a place to attach the forward end of the radio trays. I'm going to wait to rivet them to the panel until I have the radios, though, so I can actually measure the hole locations and make plans accordingly.

It was too windy outside to spray paint, but I was impatient and wanted to get a batch of stuff primed, so I did it just inside the open garage door. I got a little paint on the floor but I at least had the sense to move the car to protect it from overspray. It was also cold as heck with the door open – building is easier when it's not winter.

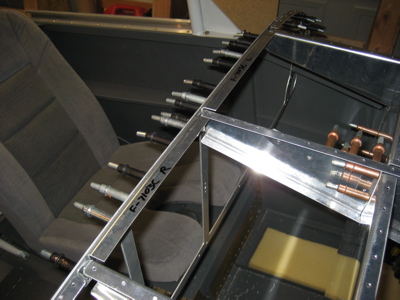
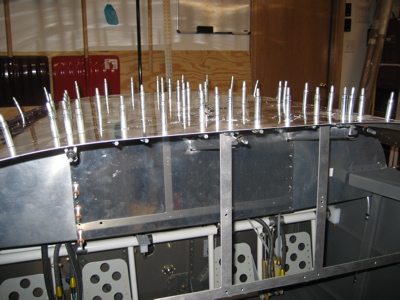
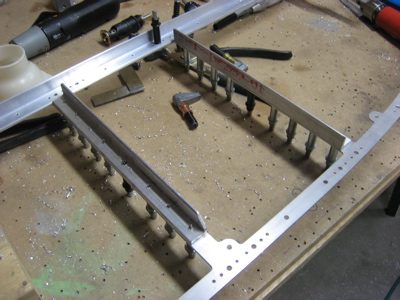
When the primer was dry, I riveted on about a bazillion nutplates:

If you use the stock Van's panel, it attaches to the F-7103 B&C angles via #8 screws and nutplates. With the modular panel, the screws are replaced with 5/32" rivets since the frame is designed to stay permanently attached to the airplane. These are big suckers that my squeezer didn't really like dealing with, so I back riveted them all. It's not often I get to use the red rivet gauge!

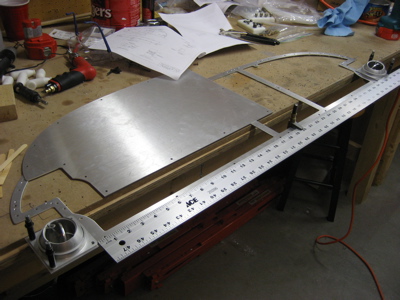
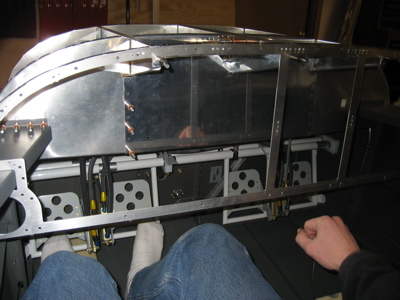
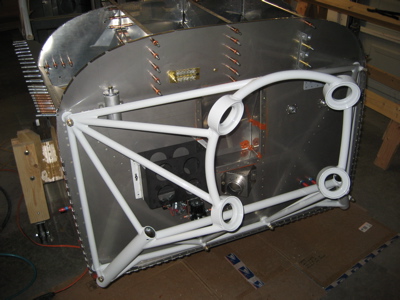
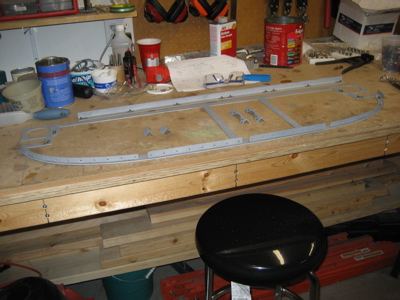
Here's another shot of the panel frame components, all finished and ready to install in the airplane.

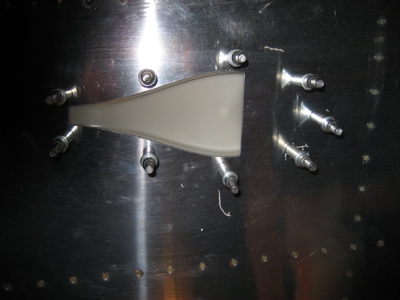
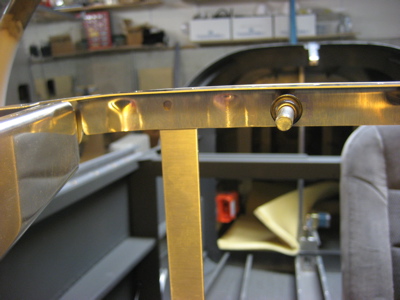
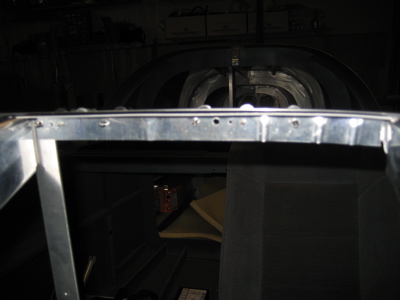
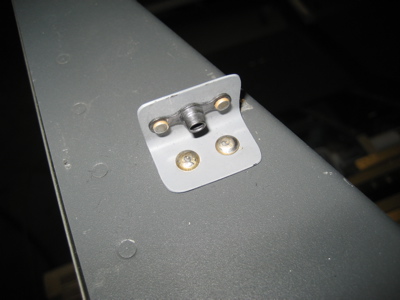
Next, I riveted the F-721C angles to the canopy decks. There's a definitely order to this – you have to rivet the bracket to the fuselage, then rivet the nutplate to the bracket. If you do it the other way around, the nutplate would get in the way.

Last but not least, I riveted the vent brackets to the fuselage.

Construction of the panel frame is now finished, and the panel is ready for me to start playing around with avionics.

Panel fitting

Sunday, January 21st, 2007

I spent some more time playing with the modular panel pieces tonight. There is a piece of angle that gets cut and riveted to the bottom edge of the panel frame to give it some stiffness, so I figured I'd work on that first.

I ran into a problem almost immediately, though. The plans show the angle being 34.5" long, but on my copy the dimension has been crossed out and 35.5" written in by hand, by persons unknown. Problem is, 34.5" is obviously too short (it wouldn't hit the holes on either end) and 35.5" is too long – it would interfere with the vents. I fired off an email to Affordable Panels to ask what's up.

Since I didn't get anywhere with the stiffener angle, I decided to cleco the panel into the fuselage to test the fit. The prepunched holes line up very nicely with the structure that I already built.

I climbed in to test the fit. The XL panel definitely yields less legroom than the stock Van's panel, but I still have a couple inches to spare and it's not uncomfortable at all. The nice thing about the lowered panel is that I think I could probably mount a throttle quadrant in way that makes it fall nicely to hand. Still haven't decided to go with a quadrant or push-pull knobs, though.

The top center of the panel frame is prepunched for regular K1000 two-ear nutplates. Once I clecoed the frame to the subpanel ribs, it was immediately obvious that the inboard ear on each nutplate would interfere with the rib. I decided to simply drill two extra holes in order to be able to use one-ear nutplates here. The unused holes in the middle will be covered by the panel plates.

The next problem was that the holes in the F-7103C angles I'd previously made didn't line up with the holes in the panel frame in all cases, and the flutes interfered with some of the other holes in the frame.

No big deal, I just made another set of angles from some extra stock I had laying around.

Thes new angles have flutes in places where there's no interference with any of the fastener holes. I'll drill the holes along the top next time I have the forward top skin on.

While I was in Colorado last week, I bought a couple of small canvas tool bags from the military surplus section at Jax. I have this idea that I'll put them in the unusable cargo area directly behind the seats, to hold on-the-road tools, emergency supplies, and so forth. Since I had one of the seats in anyway, I did a test fit. So far it looks like the bags are just about the perfect size to fit between the seatbelt anchors, seat back, and flap torque tube. Now I just need to find a suitable way to keep them from bouncing around the cockpit.

Installed firewall recess & engine mount

Sunday, January 21st, 2007

Mary had to work today, so contrary to her orders I spent some time in the cold garage warm and healthful airplane workshop. I riveted the firewall recess in place for good, which let me check off another longstanding to-do item.

For this riveting task I used my new tungsten bucking bar. Man, I wish I'd bought this thing a long time ago. It's really a night and day difference compared to the steel bars I have, because it's made of such dense material. It's so hardcore that you can practically just wave it in the general direction of the rivets and they buck themselves out sheer terror. It was not inexpensive, but it really is an excellent tool.

Believe it or not, the steel bar on the left actually weighs less than the bar on the right. Can you guess why? That's right, it's because the one on the right is made of delicious tungsten.

Then I bolted on the engine mount and torqued all the nuts.

I put the cotter pins in too, which practically guarantees that I'll find a reason to take the engine mount back off the fuselage next week.

More FWF parts arrived

Saturday, January 20th, 2007

I'm currently trying to fight off a sinus infection, so I've been forbidden by the girl to spend time in the cold garage until further notice. However, while she was at the gym I snuck down and retrieved a couple big boxes that arrived earlier this week, which I haden't yet had a chance to open. The first box contained about half of the items in Van's firewall forward kit. I'm ordering stuff ala carte and in stages, since I'm sure I won't need all the stuff in the FWF kit. Also, the cat was very interested in helping.

A second big box contained my Vetterman exhaust system. From what I can tell the welding is first rate.

Opening all these boxes generated a tremendous amount of packing paper, which was also of great interest to the cat.