Unless there are any runs, drips, or errors to sand out and repaint, this should be the final coat on the canopy frame:
Unless there are any runs, drips, or errors to sand out and repaint, this should be the final coat on the canopy frame:
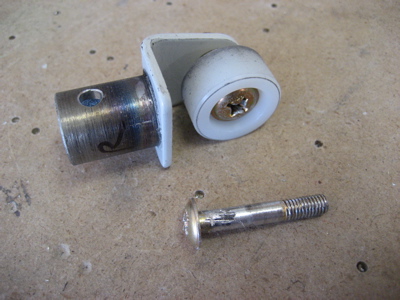
Continuing the disassemble the canopy frame… one of the screws that attaches the roller brackets was a real pain to extract. Good thing I have a couple extra screws laying around.
The paint on the canopy latch handle looked good the next day, though it needed a small amount of touch-up.
…so, I decided to paint some more canopy pieces and see how it turns out. If it goes badly – well, I was going to have them sandblasted anyway, right?
Canopy latch arm being primed, later to be painted black like the rest of the pieces:
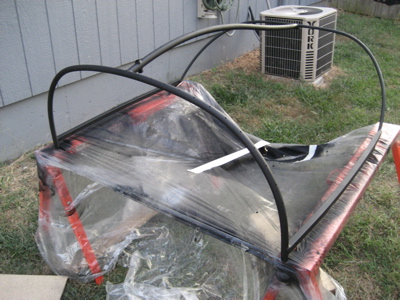
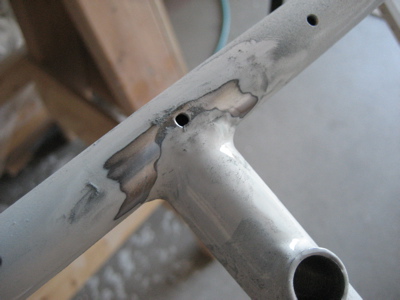
The powder coat was cracking off the canopy frame around the weld where the forward bow and center tube come together, so I ground it off. I inspected the rest of the frame carefully, looking for more flaking areas, but I didn't find any.
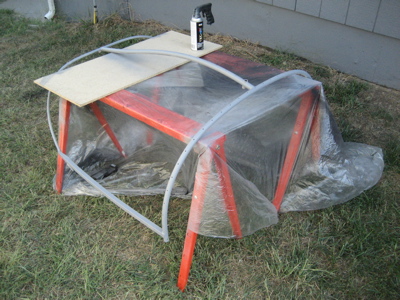
This is my excuse for a "paint booth". I primed the canopy frame thoroughly to promote paint adhesion.
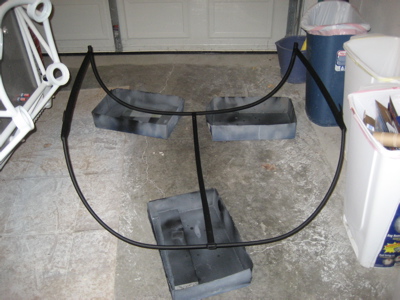
Painting the interior surfaces… I used three light coats.

Unlike the primer I use, the black paint takes hours and hours to dry. The canopy frame was still tacky by the time I needed to start barbequing, so I carefully moved it inside the garage to finish curing overnight. When I next get a chance, I'll flip it over and paint the other side.
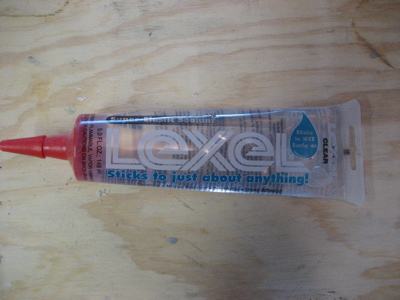
I have plans to use two new substances during final assembly of the canopy, and I wanted to do a materials-compatibility test first to make sure that neither of them will eat plexiglass or promote cracking (as good-old regular Loctite will, apparently).
The first material to be evaluated is Lexel, a clear rubber caulk that I plan to use between the plexiglass and canopy skirts:
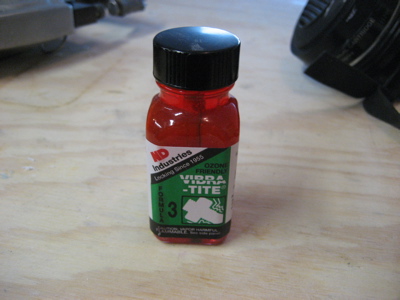
The second is Vibra-Tite, a sort of paintable threadlocker. It has the same function as Loctite, but supposedly minus the inconvenient plexiglass-destroying side effects.
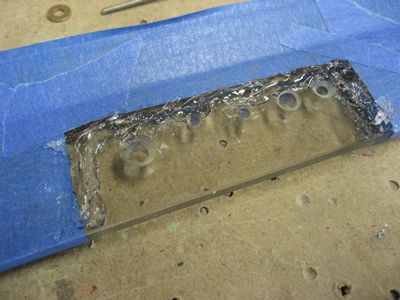
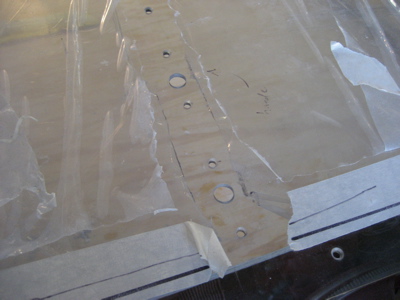
I dug up the piece of scrap plexiglass on which I've been practicing drilling and countersinking, and cut and drilled a small piece of scrap aluminum to fit it. Then I masked off an area just outside where the aluminum piece will go, and applied a bead of Lexel:
Then I riveted and screwed the aluminum to the plexiglass and removed the tape, leaving a decent looking caulk edge. I also smeared on a blob of Vibra-Tite. Why two different kinds of fasteners? So I can properly judge the amount of squeeze-out from both rivets and screws.
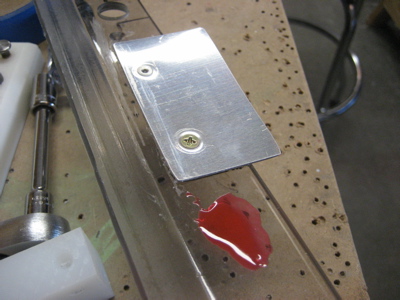
I'll let this all cure for several days and then examine it closely to make extra sure than none of this stuff is going to destroy my expensive canopy (and incidentally cause me to become an alcoholic).
I countersunk all the rivet holes in the fiberglass aft skirt:

Where the 1/8" rivets will attach the skirt and plexiglass to the frame, I am going to use #4 tinnerman washers under the rivet heads to keep them from eventually working through the fiberglass. Once it's all painted, you won't be able to tell they're there.
I drilled all the remaining holes in the skirts and cover strips up to #30:

I also countersunk the line of rivet holes along the side skirts where they will be attached to the frame with flush blind rivets:

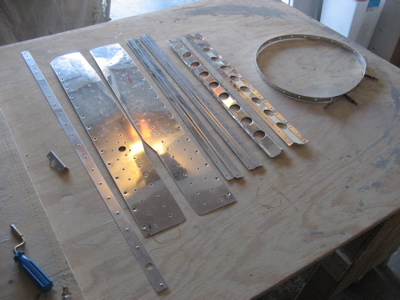
I cleaned all the aluminum parts and got them ready for painting:
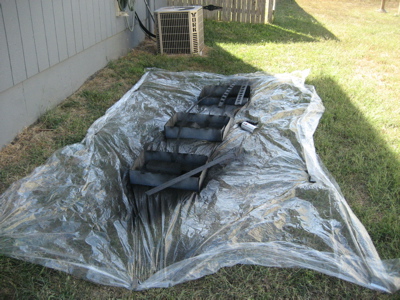
Outside, I laid down a plastic tarp (weighted down with my entire collection of bucking bars) and commenced priming and painting the interior surfaces of the various canopy skirt pieces. I'm using Rustoleum flat black enamel throughout the inside of the canopy, to keep the glare down.
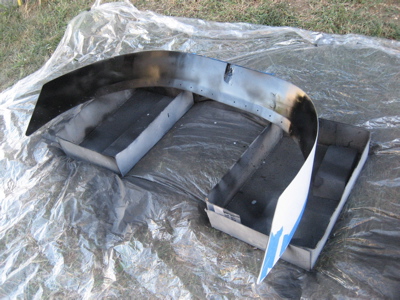
The inside surface of the fiberglass aft skirt also got the black paint treatment:
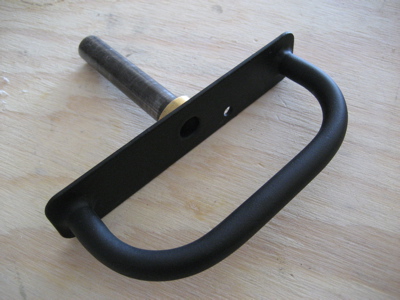
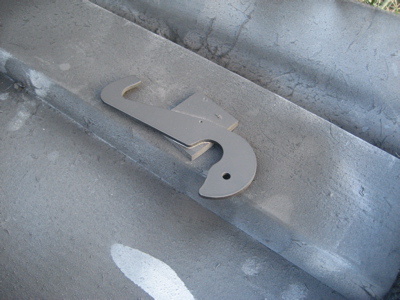
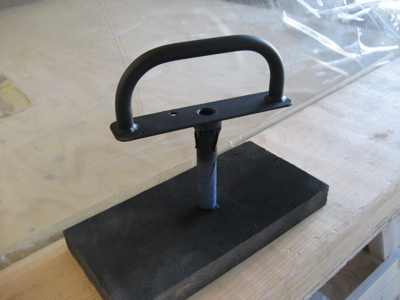
I scuffed up the powder coat on the canopy latch handle, cleaned it, and sprayed it with black paint too. In this photo it's sitting on a nail driven into a board, which is why it looks like the Oscar for Best Canopy. I'm debating whether to paint the canopy frame and rollbar myself, or send them out to be sandblasted and powder coated black. This piece will help me decide which is the best way.
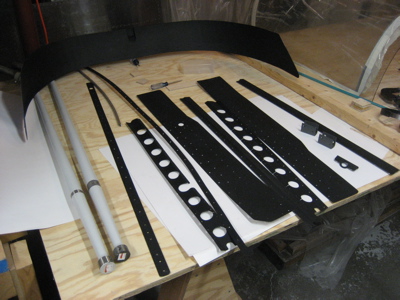
A big stack of canopy pieces is now painted black. I'm like a regular Mick Jagger.
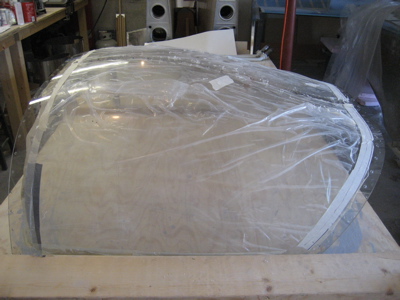
While waiting for successive coats of paint to dry, I enlarged all the holes in the canopy plexiglass. Each hole that will receive a 1/8" pop rivet has been enlarged to 3/16", and every hole that will get a #6 screw has been drilled up to 1/4". This is more aggressive hole-enlarging than the plans call for, but I have a strategy… you'll see.

I enlarged the two holes through the canopy where the exterior handle bolts to the frame, drilling them up to 7/16" with a unibit. Scott had previously made me some neat little aluminum spacers for this application, but through experimentation I found that a stack of washers worked just fine (sorry Scott – I still owe you anyway).
Here's an approximation of how the exterior handle will attach, using some nylon washers I had at hand:

I do believe I'm finished cutting and/or drilling the sliding canopy, and no cracks yet. Huzzah!
The normal way to remove a completed sliding canopy from a side-by-side RV is to remove the bolts that attach the WD-644 canopy rollers to the slider frame, then lift the frame up off the rails. I realized that if I could make it relatively easy to remove the rear anchor pin blocks (which also function as the aft canopy stops) it would then be a cinch to instead slide the canopy straight back until the rollers slid out of the side rails. By removing the canopy that way, you avoid tearing up the paint on the roller weldments, and you don't have to mess around with trying to get a wrench on the nut that attaches the roller to the frame.
The challenge, though, is that the design of the rear anchor block mounting bracket prevents you from removing it from the fuselage unless the canopy is removed first. You have to start by removing the screws that capture the plastic block within the U-shaped bracket, so that you can remove the block and get access to the bolts that hold the bracket to to the fuselage longeron. But of course, you can't get at the screws in the first place, because the canopy side skirts are in the way.
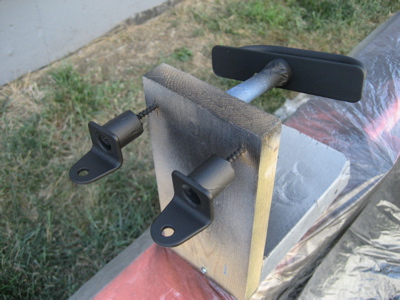
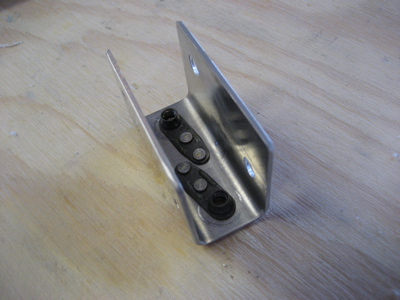
So, my bright idea was to modify the C-677 rear pin anchor block mounting brackets by riveting some MS21051-L3 nutplates inside:
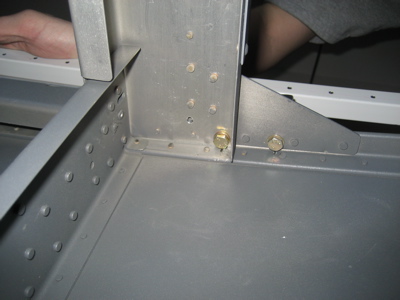
Now instead of using bolts through the top of the brackets and nuts on the underside of the longeron, the bolts come up from underneath:
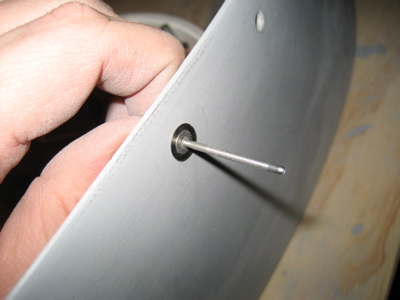
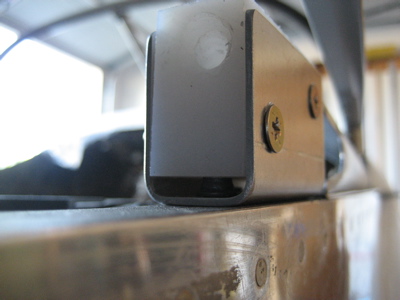
To provide clearance for the nutplates and bolt threads, I drilled very slightly into the plastic anchor block: (hard to see in this photo)
Now I can remove the entire anchor block/bracket assembly from inside the fuselage, then slide the canopy backwards off the rails until it can be lifted straight up and stored safely. Hopefully this will prove to be a useful modification down the road. I will mark the bolt heads with inspection lacquer and check them periodically, although they are plenty snug in the nutplates right now.