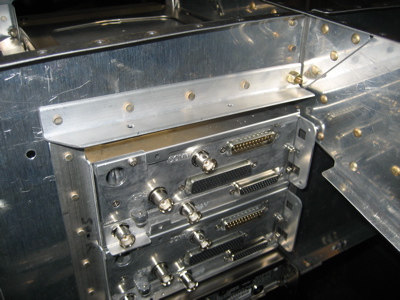
Hooray, at last I got to spend most of a weekend working on the airplane! I finished fitting and installing the radio trays:
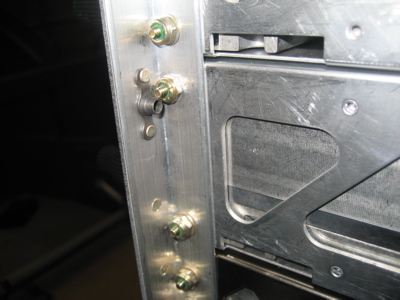
I riveted the aft attach brackets to the instrument panel. Notice in this photo how there is barely any clearance between that nutplate and one of the screws that attaches the tray (430 #2, I think) to the angle. Also notice that I had to make some of the rivets double-flush to keep the #6 nuts from getting hung up on them.
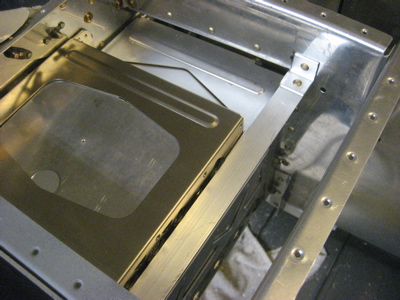
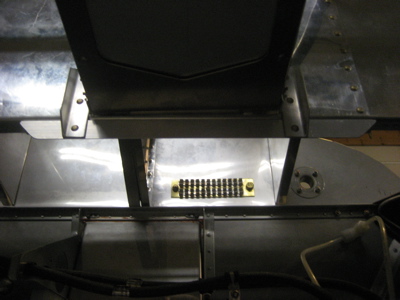
Following an enlightening email conversation with the very helpful Joe Blank at Van's, I decided to add a bunch of additional pieces of angle to reinforce the radio stack cutout. To add stiffness and to provide a place to anchor the right side of the audio panel, I ran a piece of angle fore-and-aft between the panel and subpanel. At the aft (panel) end it attaches to the upright bracket via one of the audio panel's mounting screws, and at the forward (subpanel) end it attaches to the forward upright bracket with a #8 screw, as well as being riveted to the subpanel via the small clip you see in this photo. The corner of the audio panel tray is attached to the angle with a screw, nut, and spacer.
Across the top of the subpanel cutout, I ran another piece of angle to stiffen the subpanel. On the passenger side of the cutout, it attaches to the upright bracket as well as to the small angle clip shown above. On the left side, it attaches to the F-7108C angle.
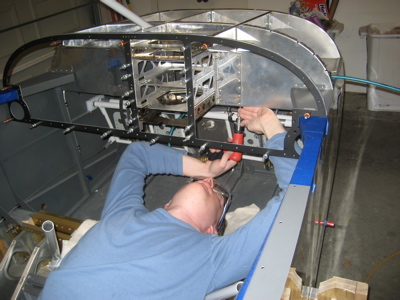
I don't need to do yoga, I have an airplane:
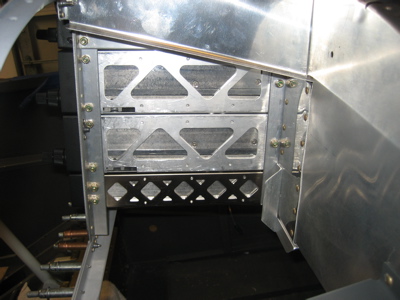
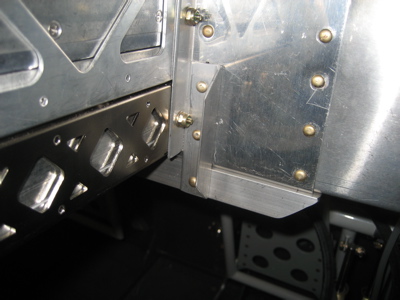
Along the bottom of the subpanel, I riveted yet another piece of angle, and tied it into both of the subpanel upright brackets via smaller pieces of angle. Sorry for the terrible photo.
Here's another view of how the bottom angle brace is tied to the upright brackets on the subpanel. All this bracing effectively forms a box around the subpanel cutout, thus making it very stiff.
Here's the money shot. How cool is this?
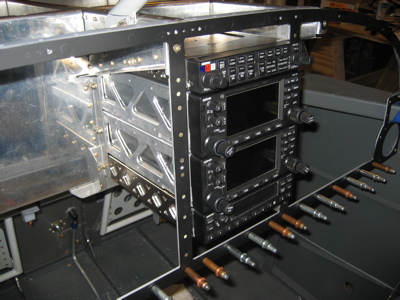
The avionics come with temporary plastic covers to protect their faceplates, of course, but I removed them for this photo and so I could make sure that the faceplates of all the radios are even with one another (they are). Also, the entire radio stack area is now extremely strong. Success!