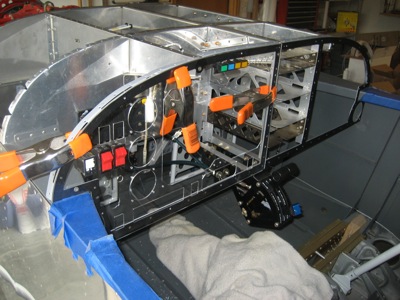
I got the pilot's side half of my plastic panel mockup back from the machine shop. Here it's being clamped to the actual aluminum panel blank to check the accuracy of my CAD outline:
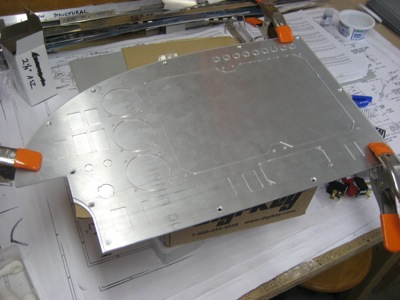
One area down by the air vent needs to move out by an eighth of an inch:
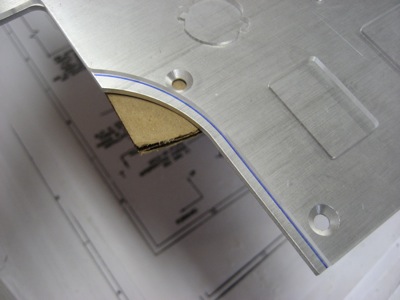
The right side is a bit off as well. These edges are based on measurements that I made while the panel was in the airplane, so I'm not surprised that they're a bit off. Everything else matches up just fine, including the complex curve along the top.
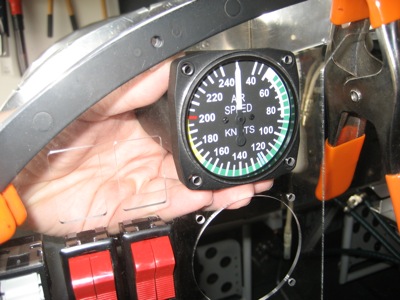
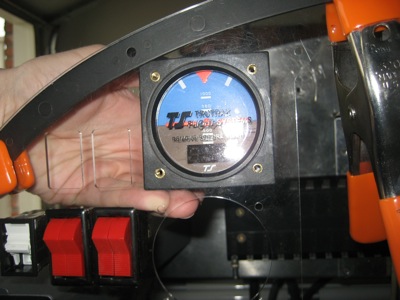
The standby instruments (ADI and airspeed shown here) fit perfectly. I had to pack them pretty close together, but there is still plenty of space to install and remove them.
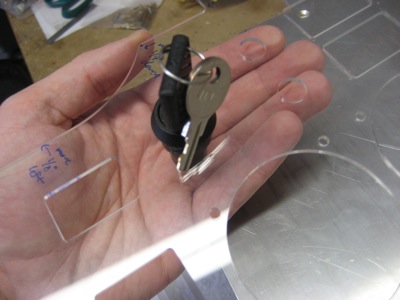
The starter key switch snaps right into its funny-shaped hole (scroll up to see photo).
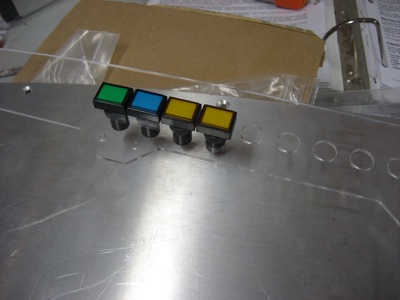
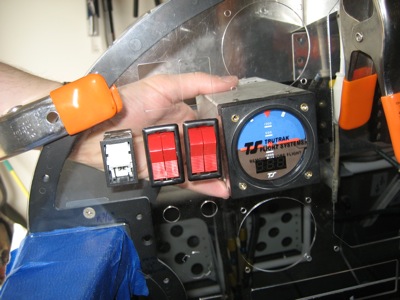
The annunciator lights fit in their holes, but I think I ought to be able to space them 1/32" closer together in the final version.
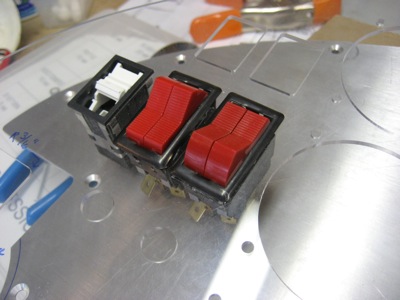
The Cessna master switches fit in their holes, and the Honeywell rocker switches fit as well. The latter is missing its plastic cap, since I plan to order those separately from a place that can engrave legends on them for me.
View from behind the panel… the master switch terminals are pretty close to each other and to the body of the ADI, but judicious use of heatshrink and tie wraps should keep that from being a worry.
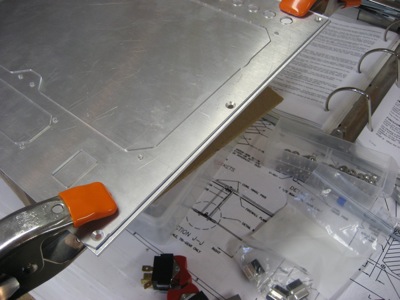
Plastic panel mockup clamped to the panel frame in the fuselage:
The fuel pump switch is placed so I can reach it when I have my hand on the throttle:
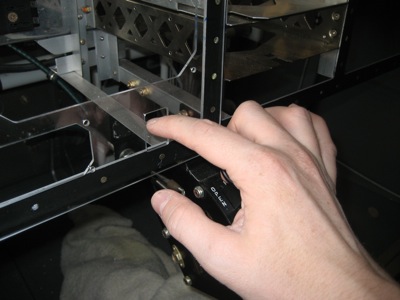
The corner of the airspeed indicator clears the panel frame with room to spare. This photo also illustrates why I had the mockup made from clear plastic – easier to see where instruments/switches interfere with behind-panel structure.
Another shot of the ADI… also you can see that the cluster of ignition switches and master switches can't easily move outboard without either hitting the panel frame or being rearranged. That would mess up the symmetry; I hate messed-up symmetry.
One surprising discovery: The ADI extends further behind the panel than I thought, so it actually comes within a couple inches of the fuse blocks. No big deal, I'll just have to use right-angle connectors.
I thought about just moving the ADI to the top of the stack of standby instruments, but it would hit the panel frame there.
Not pictured is a bunch of CAD work I did to get ready for the real panel production run, including completely redoing my CAD model of the glass cockpit displays. My panel drawing is dimensioned in inches, and the display outline I keyed in from the manufacturer's drawings is metric – normally this would be child's play for a CAD program to handle, but DeltaCad only seems to store object scale factors to three significant digits. That means that the conversion factor from millimeters to inches is represented as 0.039 instead of 0.03937008… that's an error of about a sixteenth of an inch per six inches, which is why none of the holes in my display screens lined up. Since almost everything else in the panel mockup turned out perfect, it took a lot of head scratching before I figured out what had happened. I converted the metric dimensions to inches by hand when laying out the new model, which should remedy that problem.
Mary was in town this weekend, so we were out doing non-airplane things most of the time.