Archive for January, 2021

Defrost fans

Saturday, January 9th, 2021

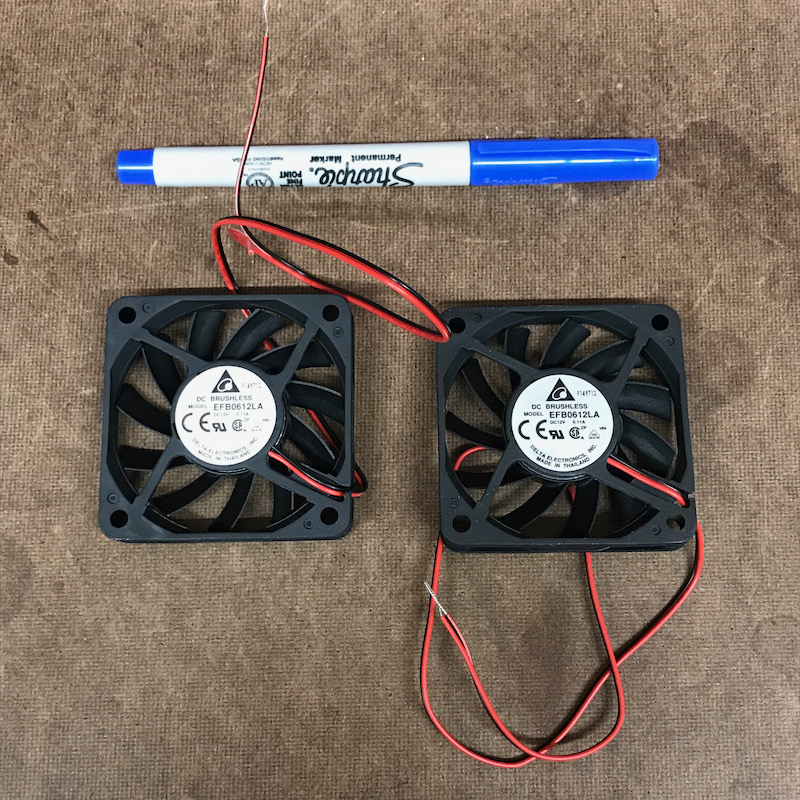
I bought a pair of low-power 60 mm computer fans, which I plan to use for moving warm air from under the panel and blowing it on the base of the windshield:

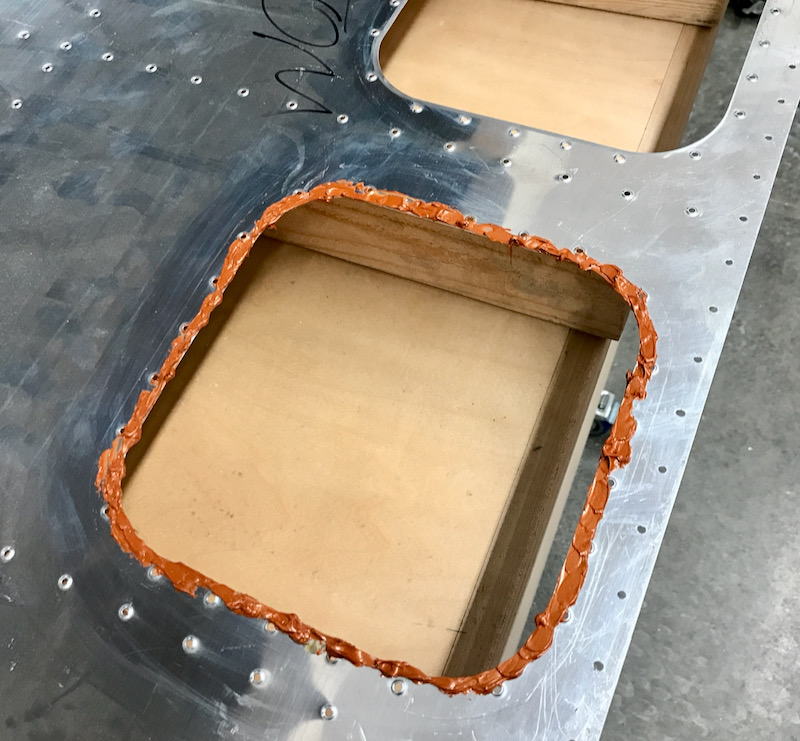
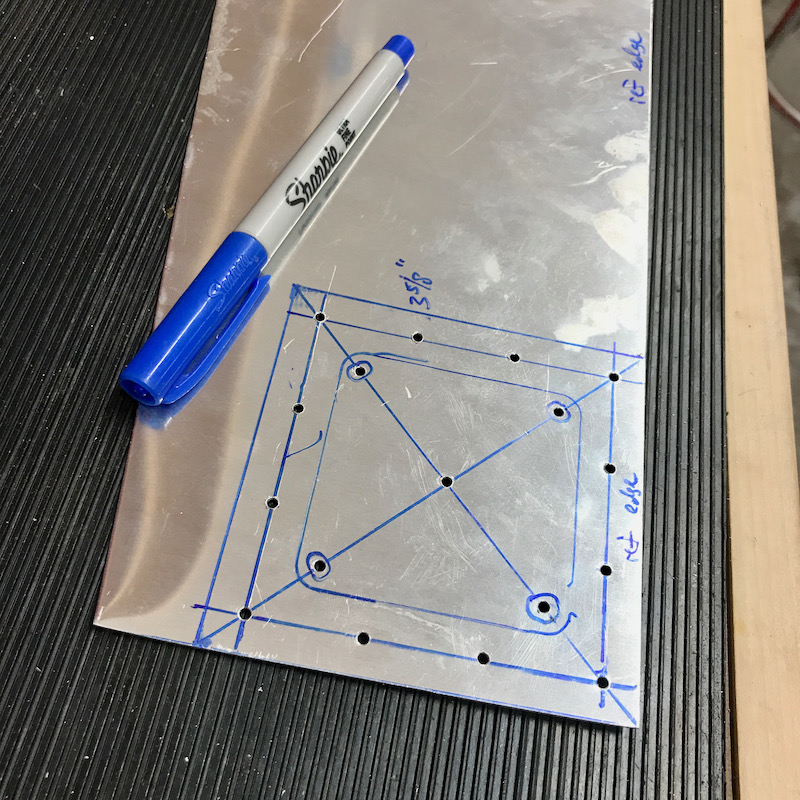
I laid out a simple doubler on a scrap of 0.032" aluminum, then made a second one by match-drilling with the first:

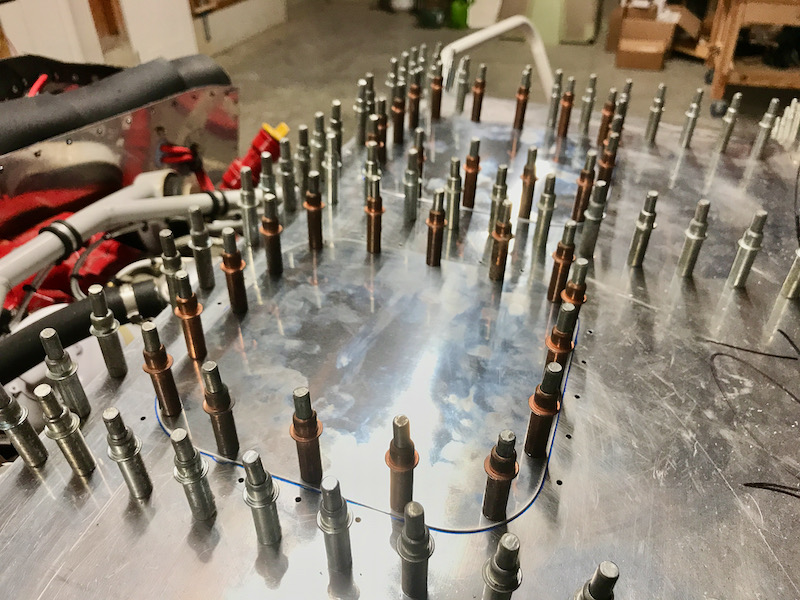
I figured out where I wanted to mount the fans, then drilled the doublers to the skin in the correct location:

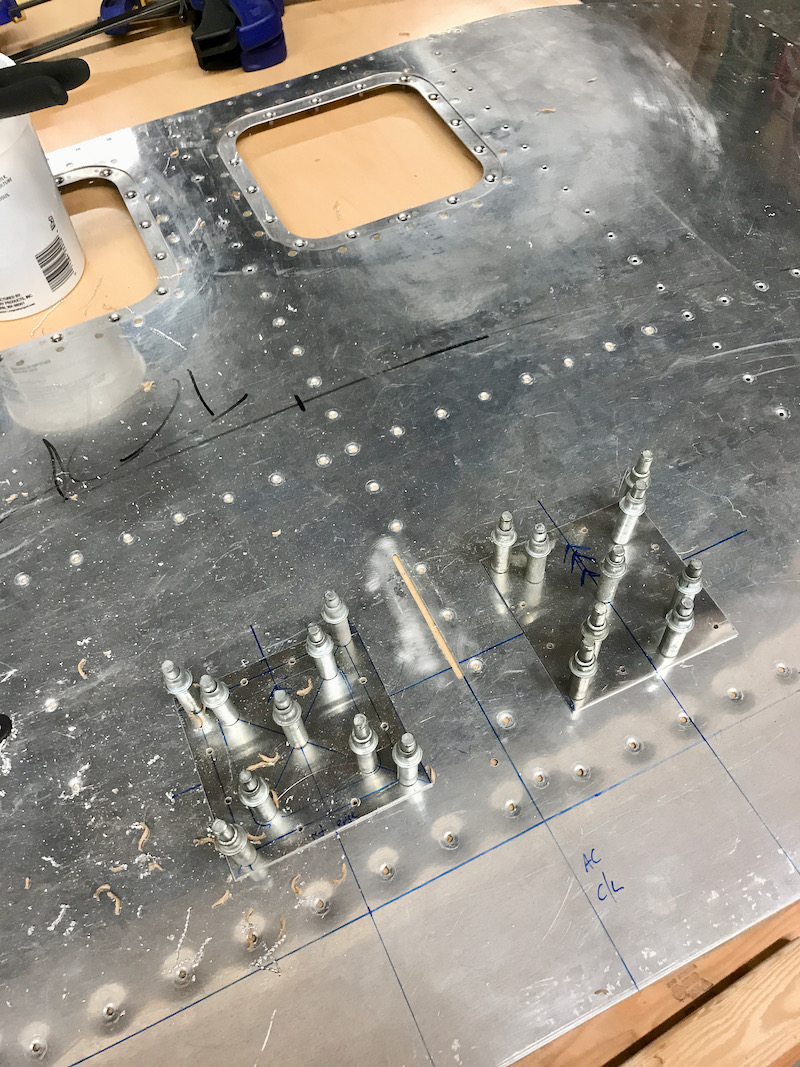
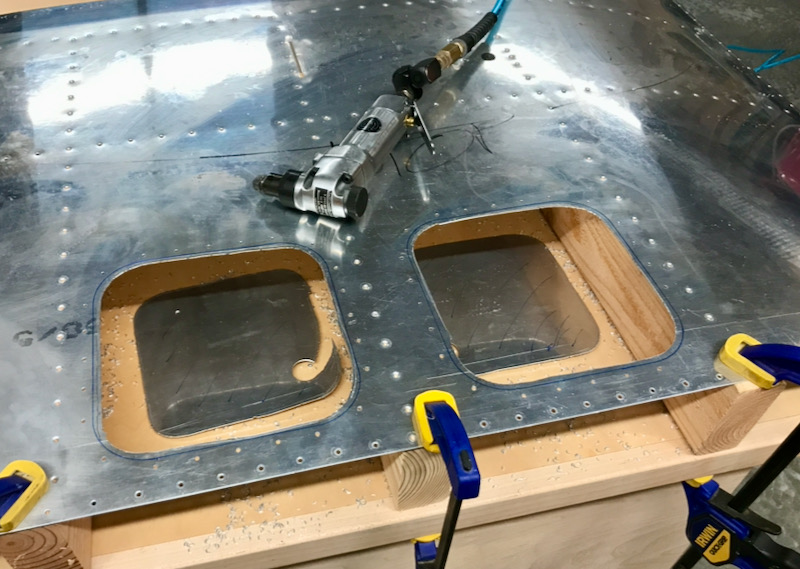
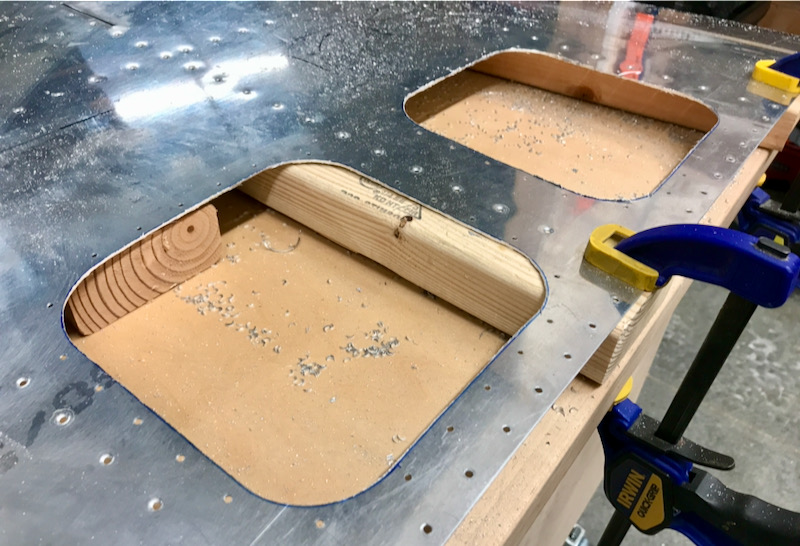
I enlarged the center holes up to 5/8" with the doublers clecoed in place:

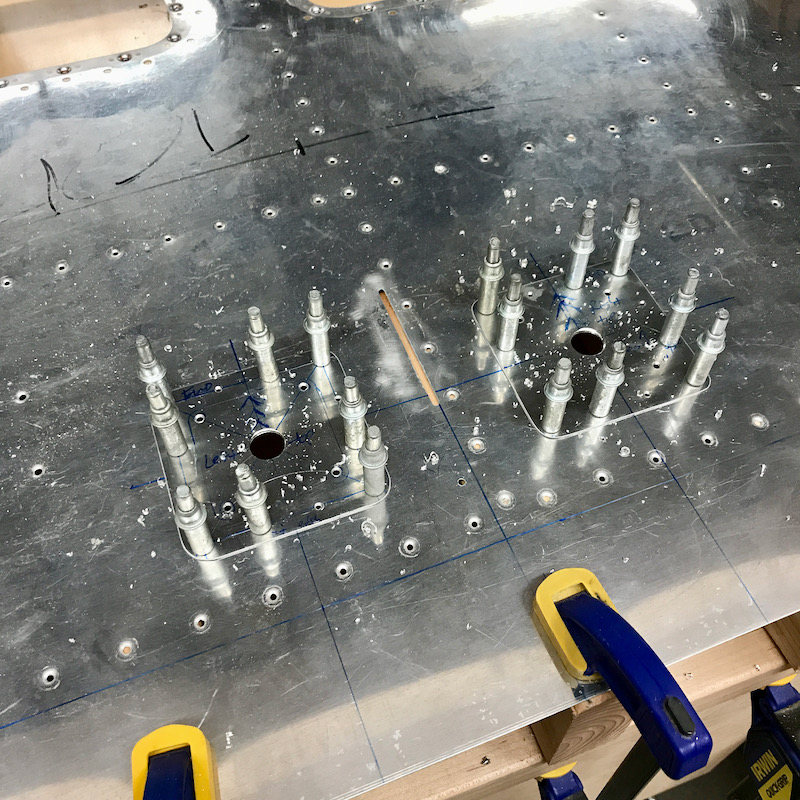
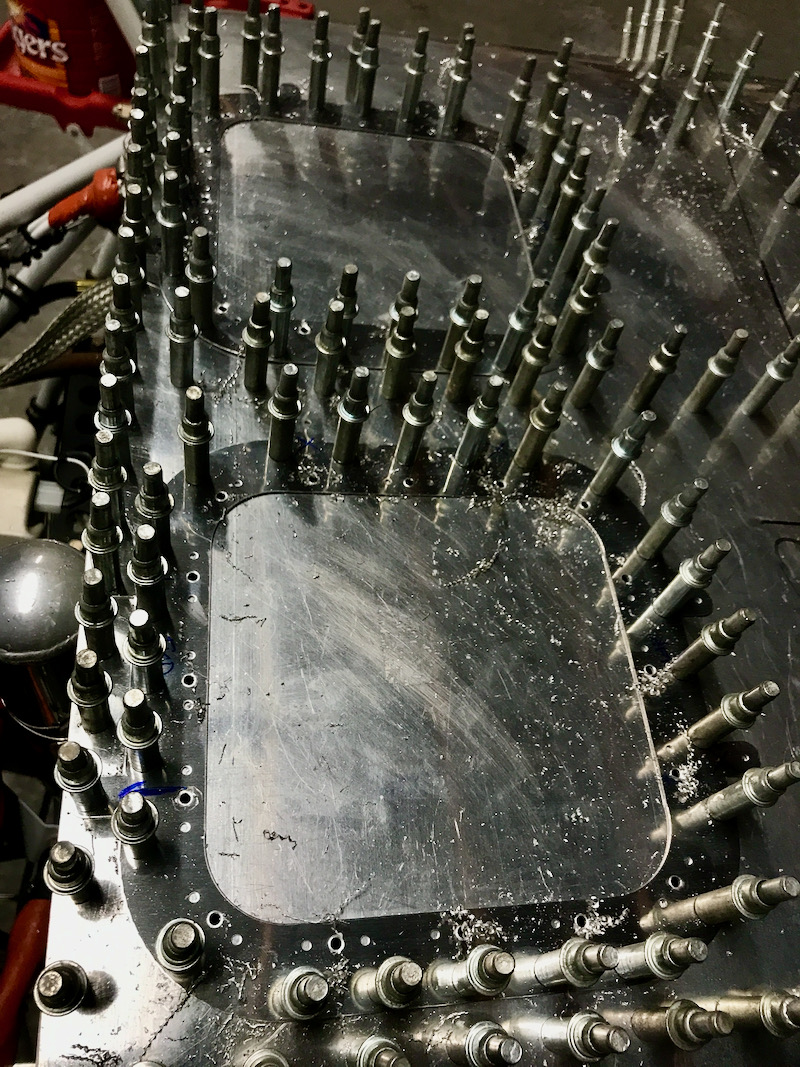
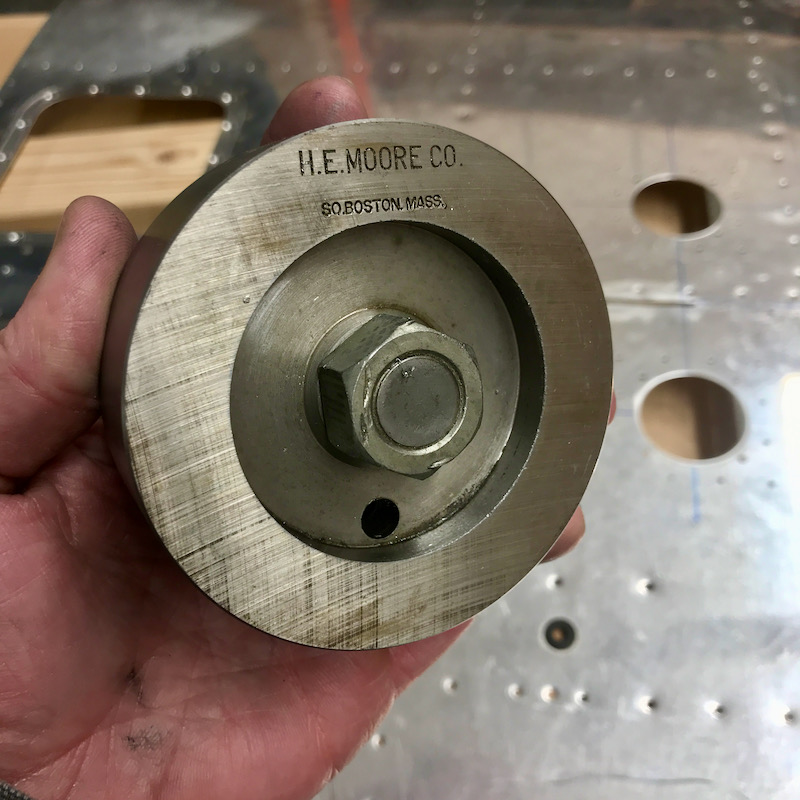
The 5/8" hole allowed me to use my instrument hole punch to make 2.25" holes for the fans – coincidentally that's very close to 60 mm. I love this tool, it's massive and does its one job perfectly (and was made in the US!).

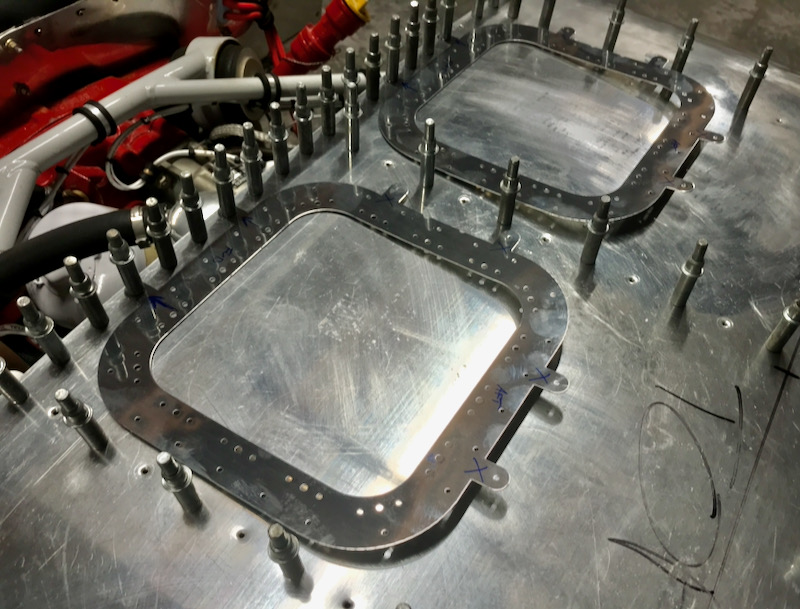
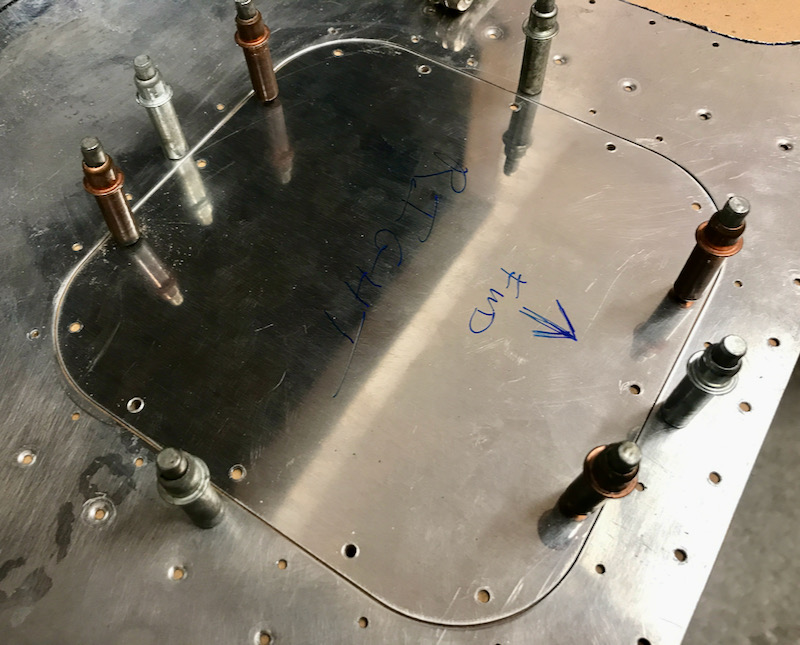
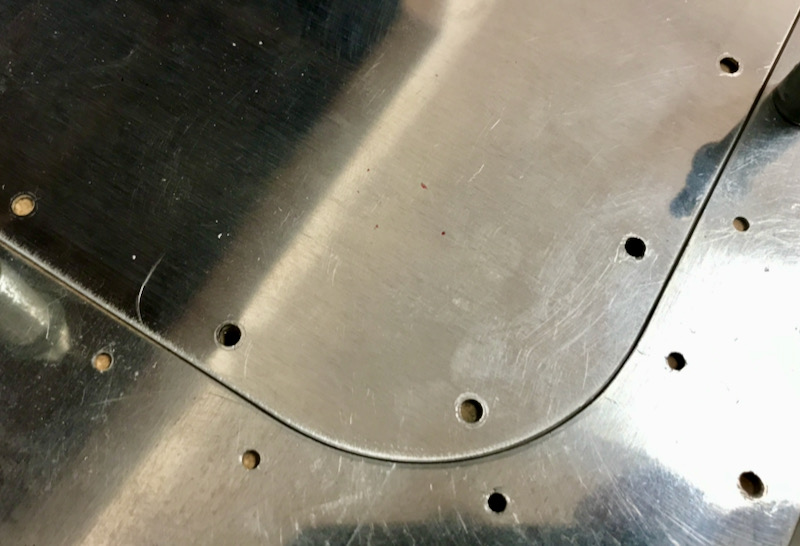
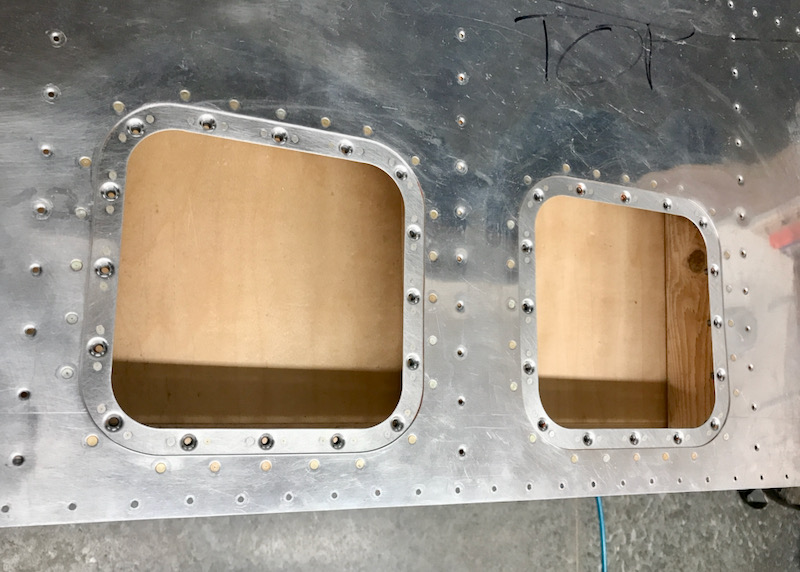
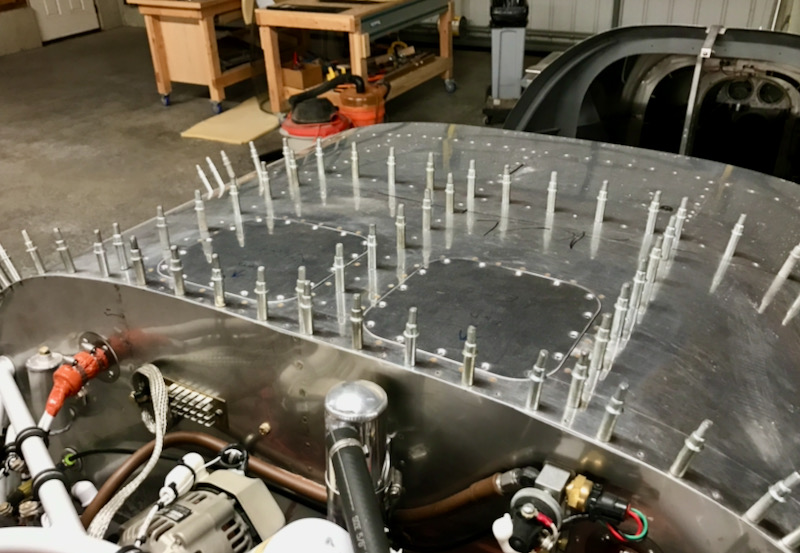
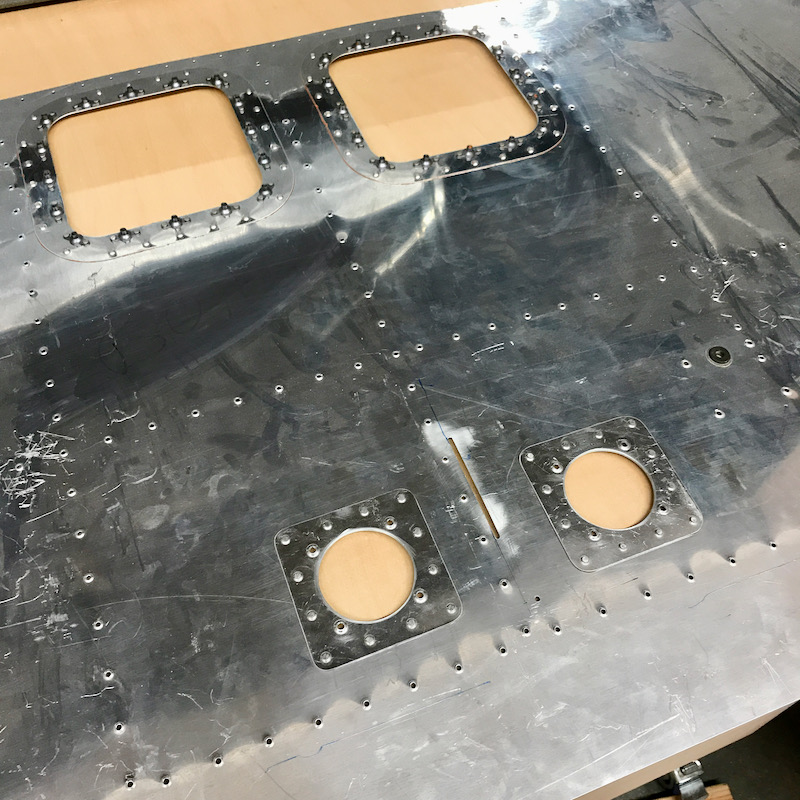
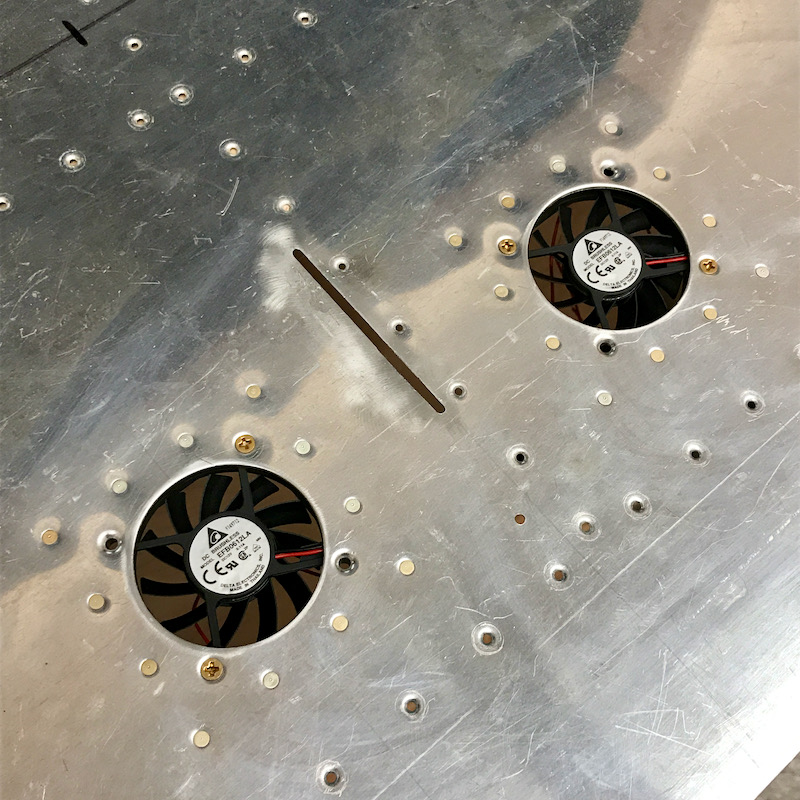
Deburred, dimpled, and back-riveted the doublers to the inside of the skin:

This is what the fans look like when affixed with some temporary hardware. I need to get the correct screws to use here, and also make or purchase some kind of cosmetic cover to dress them up a bit.

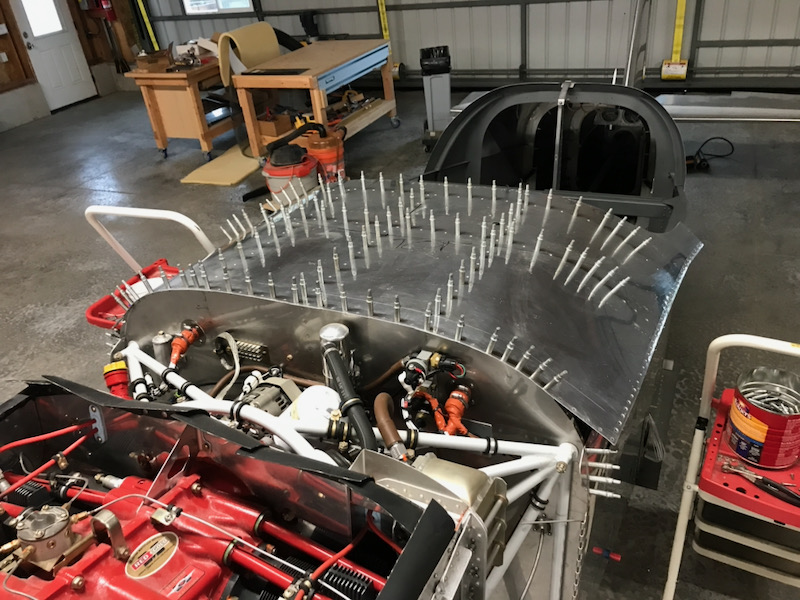
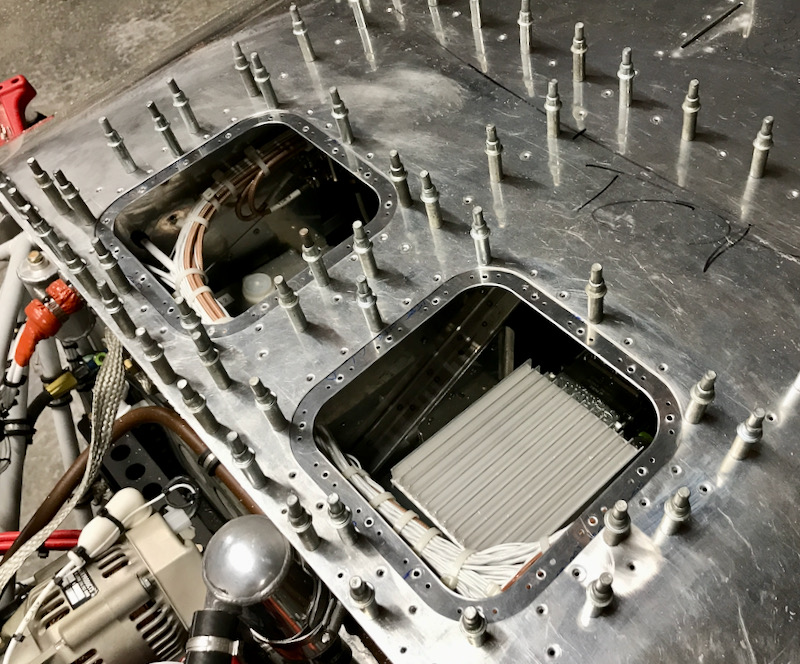
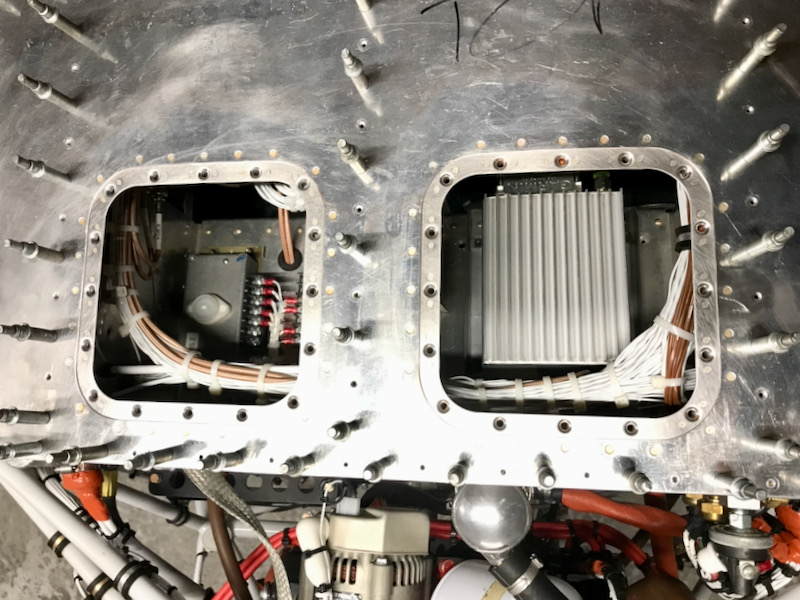
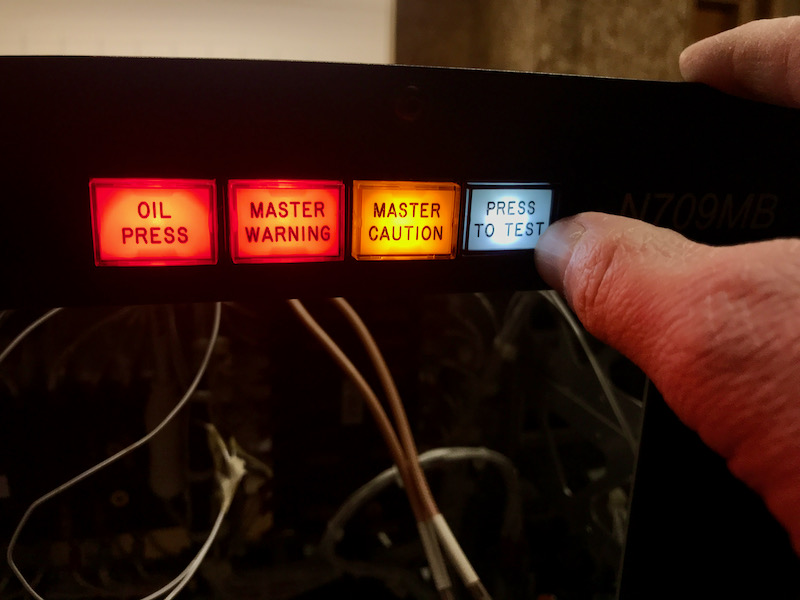
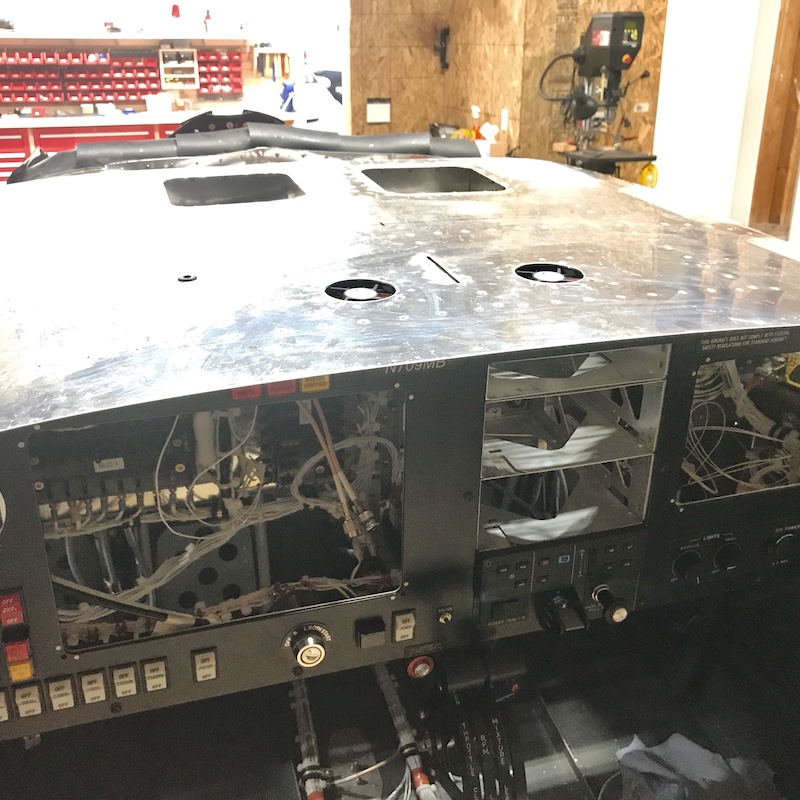
This picture shows where the fans are located in relation to the rest of the panel. The left-side fan will be easy to reach from underneath, and the right-side fan can be accessed by removing the audio panel and reaching up through the hole in the top of its tray.

I still need to crimp some connectors to plug these fans into the existing wiring, but that can wait till the next time I have the crimping tools out.

Avionics access panels

Friday, January 8th, 2021

I had always intended to build access panels into the forward fuselage skin to give occasional access to the avionics mounted underneath, but hadn't gotten around to it yet. Then Van's came out with their own access panel kit, which saved me the hassle of completely building them from scratch.

The installation of this kit is pretty straightforward. First I set the top skin in place with enough clecoes to make it conform to its final shape in the area where the panels will go:

Using the provided tabs, I clecoed the hole doublers to the firewall:

Then I match drilled all the rivet holes through the doublers into the skin. You're also supposed to drill the screw holes up to the final #19 size at this point, but I decided to drill them only to #30 to match the pre-punched #30 holes in the access panel covers. You'll see why in a moment.

With the doublers removed, I clecoed the panel covers to the skin and carefully traced around the outside with a fine-tip marker:

I used the air nibbler to rough-cut the holes in the skin. No going back now!

To finish the holes I used a series of grinding wheels, sanding drums, and files, iteratively sneaking up to the cut line:

If you take care and work slowly, you can get a good fit here. (maybe in a future RV kit these holes will be CNC-cut, wouldn't that be nice?)

I'm happy with the way these holes finally ended up… I have an even and consistent panel gap all around the perimeter of both panel covers:

With the holes complete, the temporary locating tabs removed, and everything deburred, I clecoed the doublers to the inside of the skin, then clecoed the skin to the fuselage:

At this point I clecoed the cover plates to the doublers, positioned to give an even panel gap all the way around, and drilled the #30 holes up to #19. Doing it this way adds a couple minutes of extra work, but it ensures that everything lines up perfectly. You probably don't have to do this step with the skin mounted to the airplane, but I wanted everything to assume its final shape before drilling.

After that I deburred and dimpled all the holes, and riveted the nutplates to the doublers. Then before riveting the doublers in place I applied a thin bead of RTV to seal out water:

After riveting I cleaned up the squeeze-out, giving a pair of nice-looking holes:

Skin installed back on the airplane for one last test fit:

The panel covers fit so well I didn't even bother running any screws in:

These access panels will be invaluable for maintaining the various things hidden under the top skin, not to mention riveting the top skin in place when I get to that step.

Helicopter pilot

Wednesday, January 6th, 2021

2020 was a bad year for a lot of reasons, but one bright spot for me personally is that over the course of the year I learned to fly helicopters. Back in January I had never even sat in one of these contraptions, and by Christmas I had earned my commercial helicopter pilot certificate with instrument rating. Due to the incredible expense I don't foresee myself doing any more helicopter flying just for recreational purposes, but this was a satisfying goal to accomplish. It was also a lot harder than I thought it would be! It's barely an exaggeration to say that the only knowledge that's really transferable from airplane flying to helicopters is the general aeronautical knowledge stuff, and the only reusable skill is knowing how to talk on the radio. Below are some pictures from a year of helicopter flying.

Somewhere over the Willamette Valley:

On the ground – I think this might have been after a checkride:

Visiting a mountain lake:

Short final – I believe this was during my first solo:

Down by the river:

Panel view:

On top and under the hood:

Mountaintop perch:

Last of three checkrides complete:

Annunciator lamps

Friday, January 1st, 2021

I received a baggie of engraved annunciator lamp diffusers from Aircraft Engravers. These are for EAO Series 31 lamps, which are available from the usual suppliers (as well as Aircraft Spruce, for a lot more money). The diffuser piece sits between the bulb – or LED, in my case – and an interchangeable colored lens.

The lamps are all controlled by the annunciator controller board I built years ago. I recently dusted it off and finished writing the software for it, so it's good to go now. It handles lighting the various lamps in response to external inputs, dimming, and the press-to-test function.

Across the top of the panel on the pilot's side is a row of lamps, showing an oil pressure warning (driven by a separate pressure switch), the master caution/warning annunciations from the G3X system, and a press-to-test button. The latter has a smoked lens on it so it presents as more or less plain black when not illuminated.

Next to the bus power switches there is a warning lamp for aux battery voltage, and a caution lamp showing that the bus 2 alternator is under load (i.e. the main alternator has failed).

At the bottom of the panel is an annunciator to remind me that the fuel pump switch is on. This has a blue LED but a smoked lens, so it appears dark when off.

Here's what they all look like when lit, although the camera struggles to make sense of the contrast with the LEDs illuminated:

As the controller software stands now, the press-to-test lamp is illuminated until you press it the first time per flight. That way I won't have an illuminated test button in my face all the time, but it will be lit up during startup, when "annunciator test" will be an item on the checklist.

Here's a closeup of the top row of lamps lit up. I'm pretty happy with the way these turned out.