Archive for November, 2022

Horizontal stabilizer fairings again

Sunday, November 6th, 2022

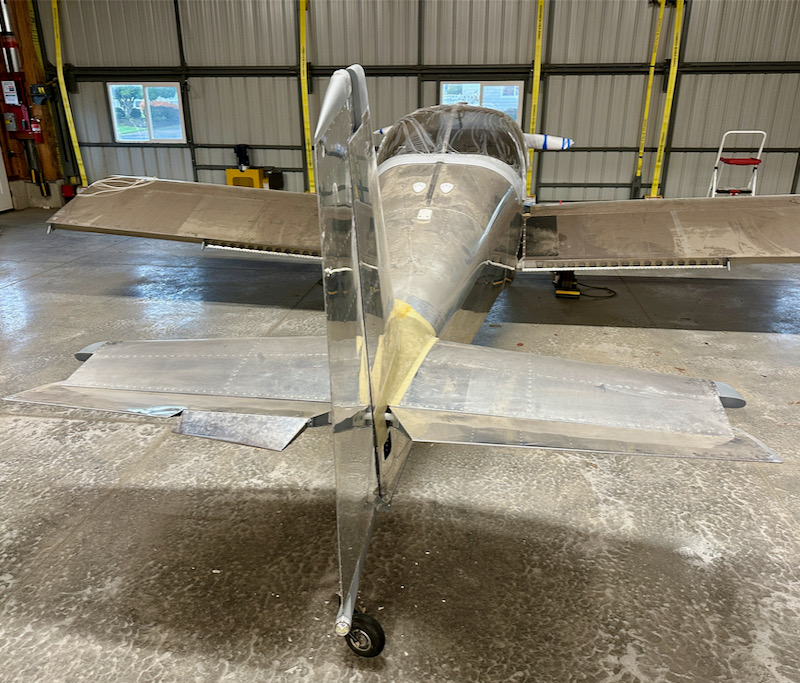
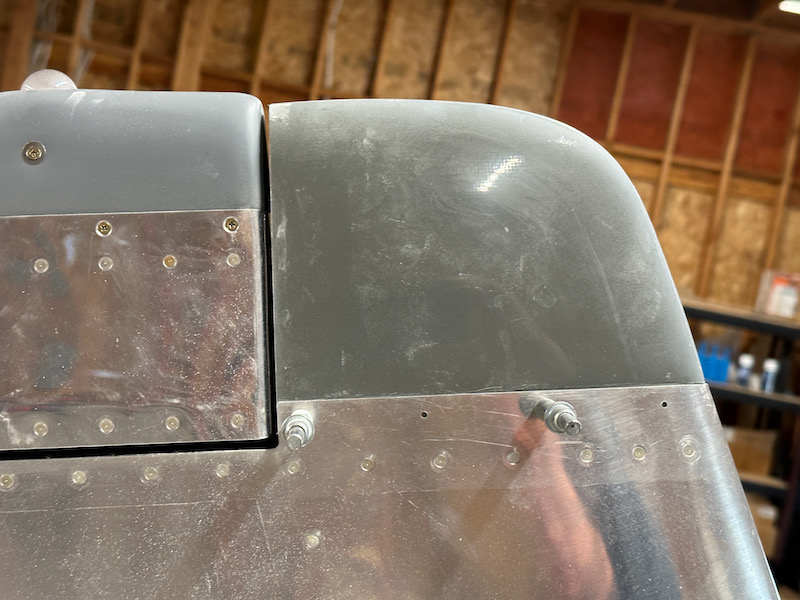
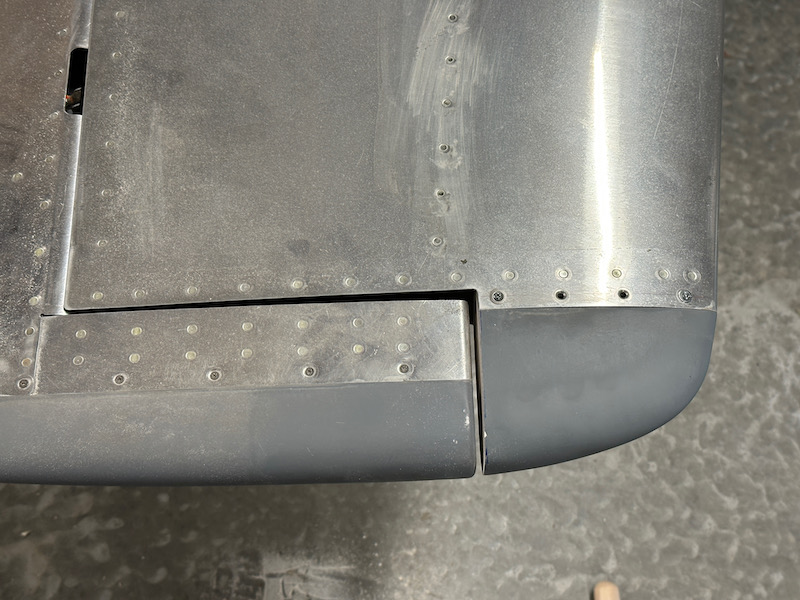
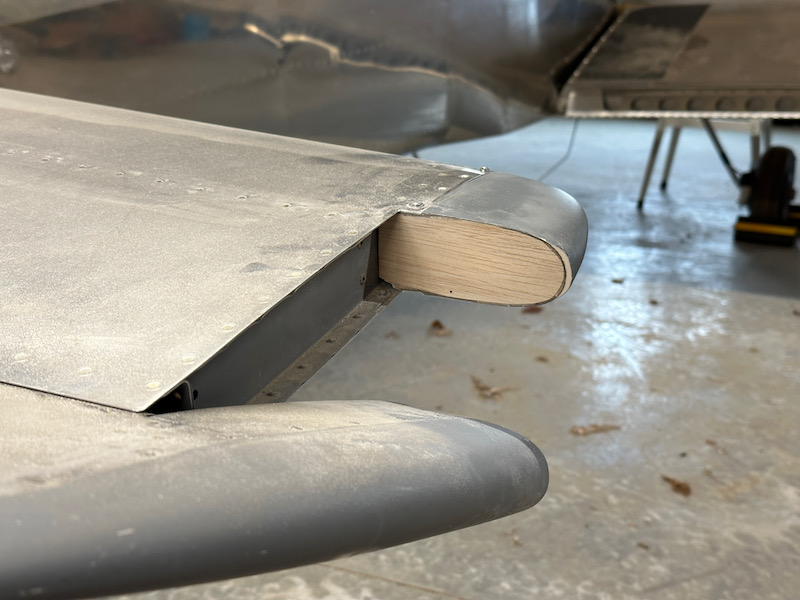
While working on the rudder fit and the vertical stabilizer fairing, I decided to re-check the clearance between the elevators and the horizontal stabilizer tip fairings. I was surprised to find that I had inadequate clearance (less than the minimum 1/8") on the starboard side. Not sure what happened there, perhaps I had the elevator hinge bearings adjusted differently during fitting versus how they are installed now.

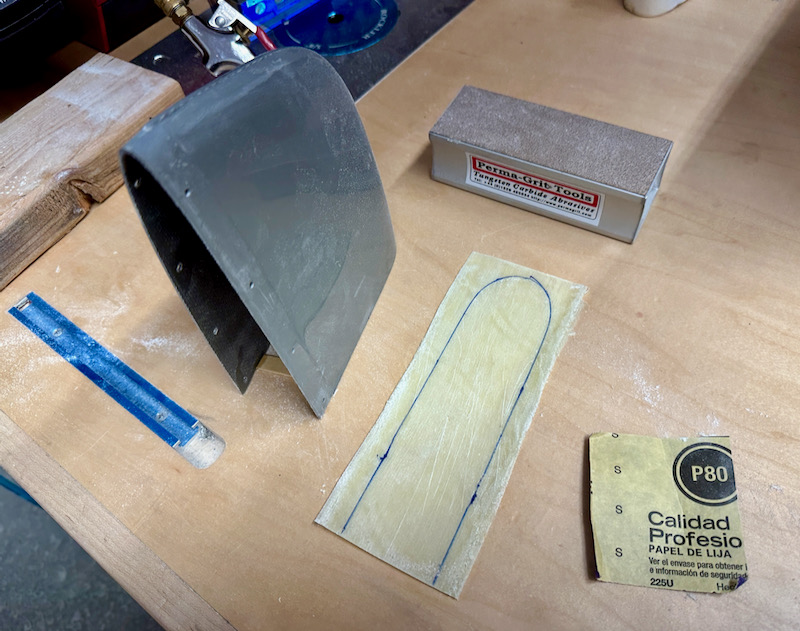
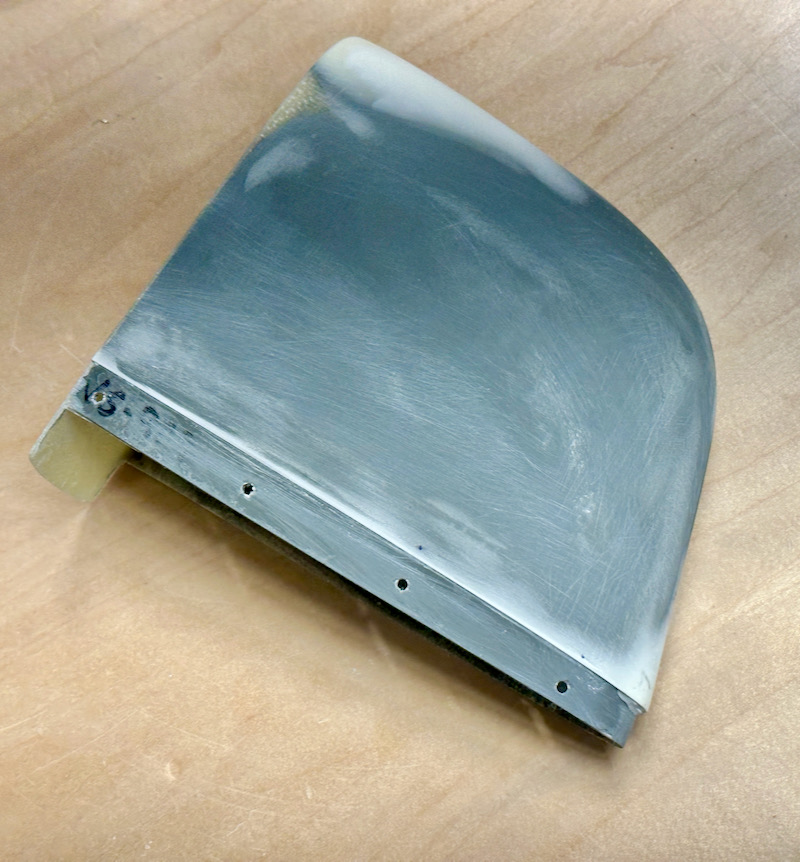
I sanded the fairing to fix the clearance issue, which resulted in me sanding right through the epoxy layer and into the balsa wood underneath. So something needed to be done about that:

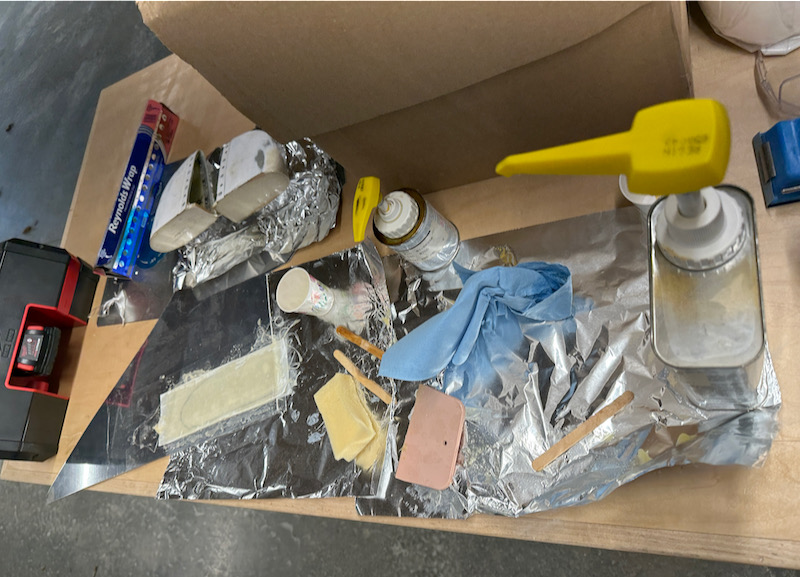
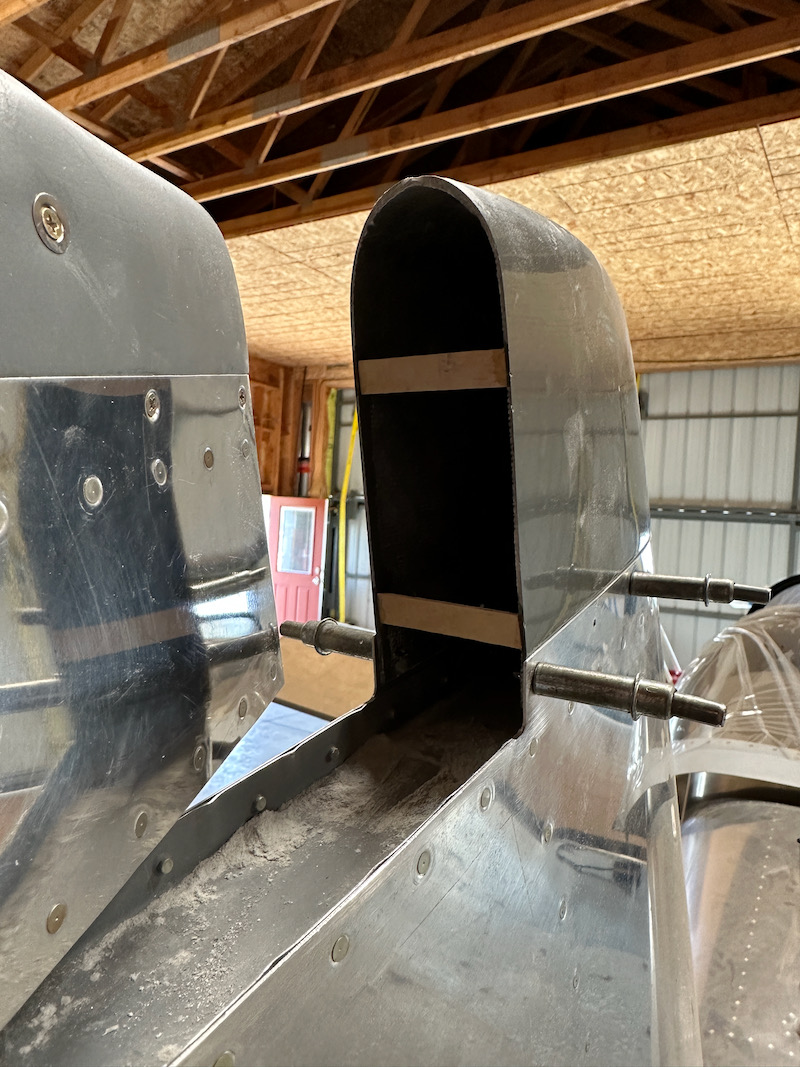
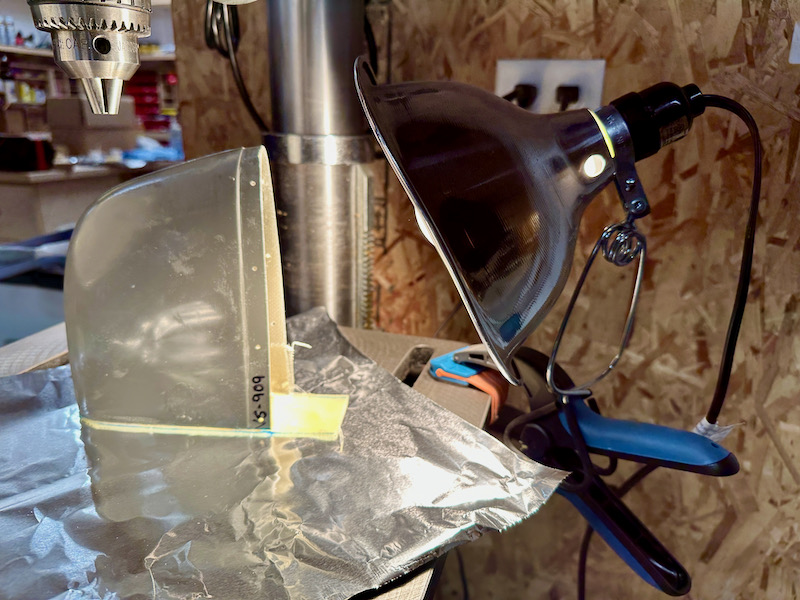
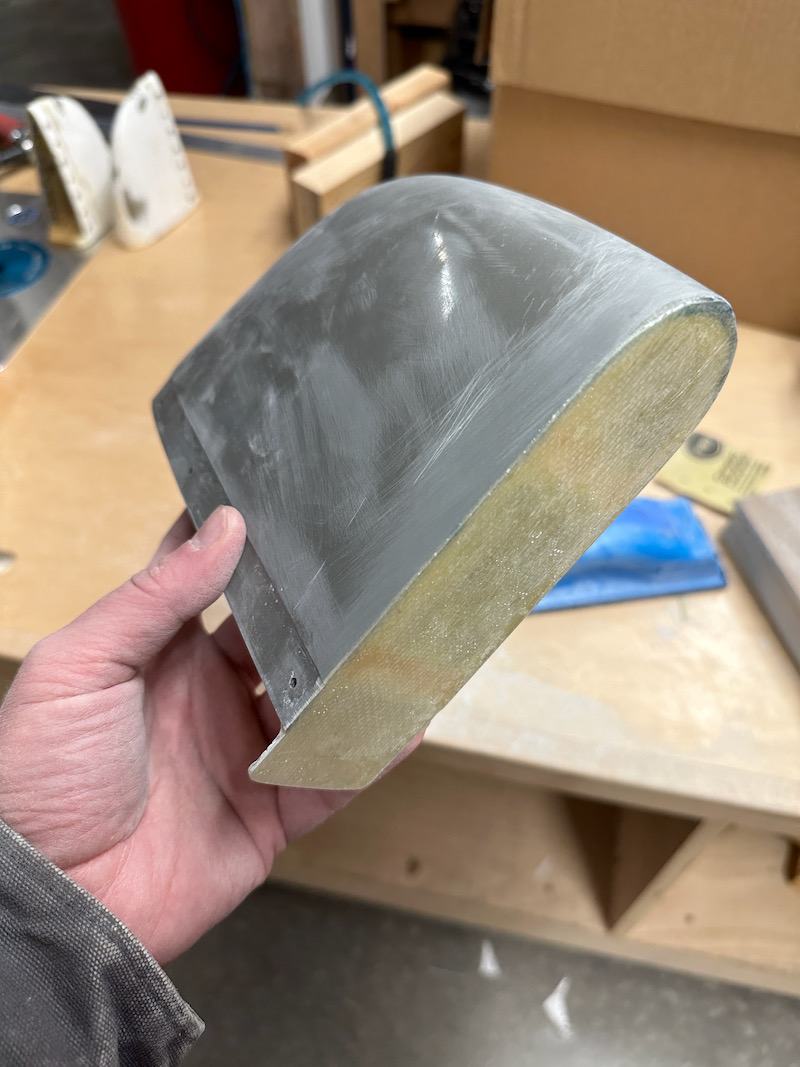
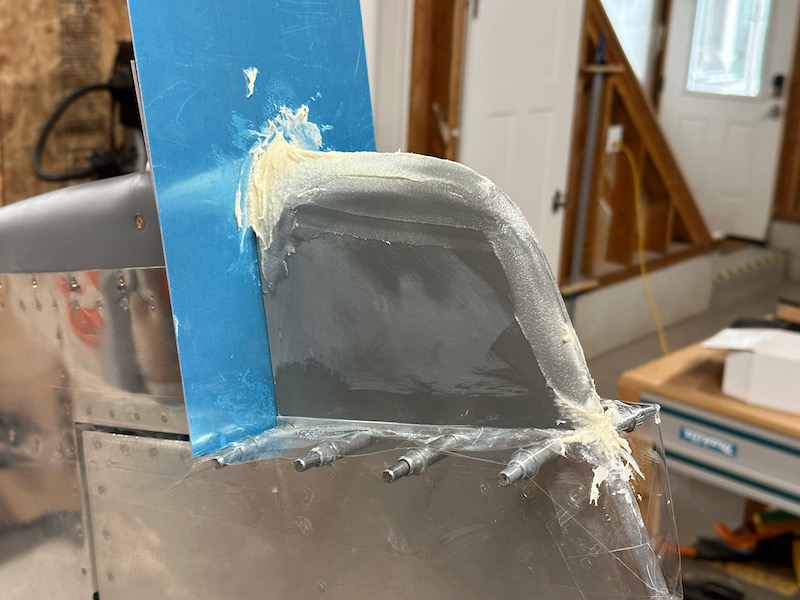
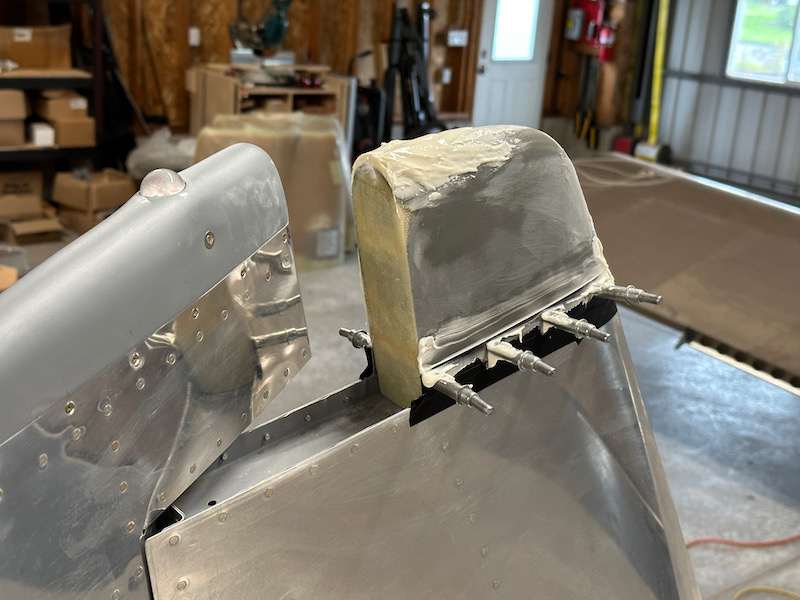
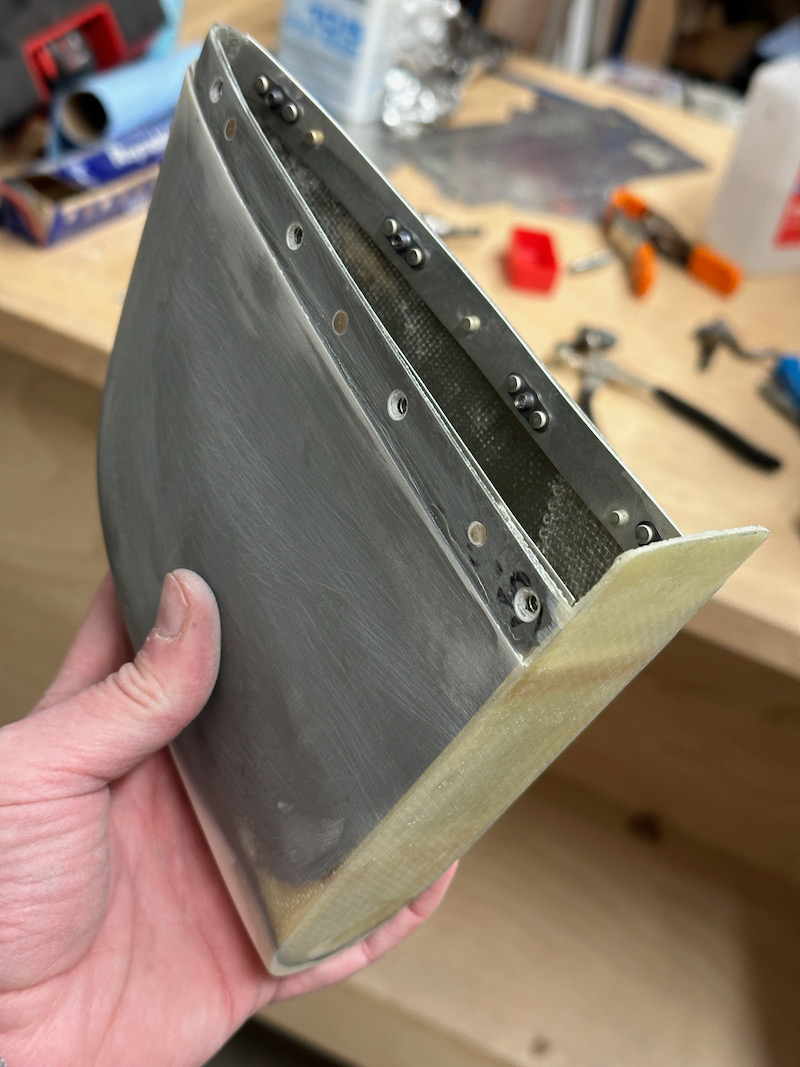
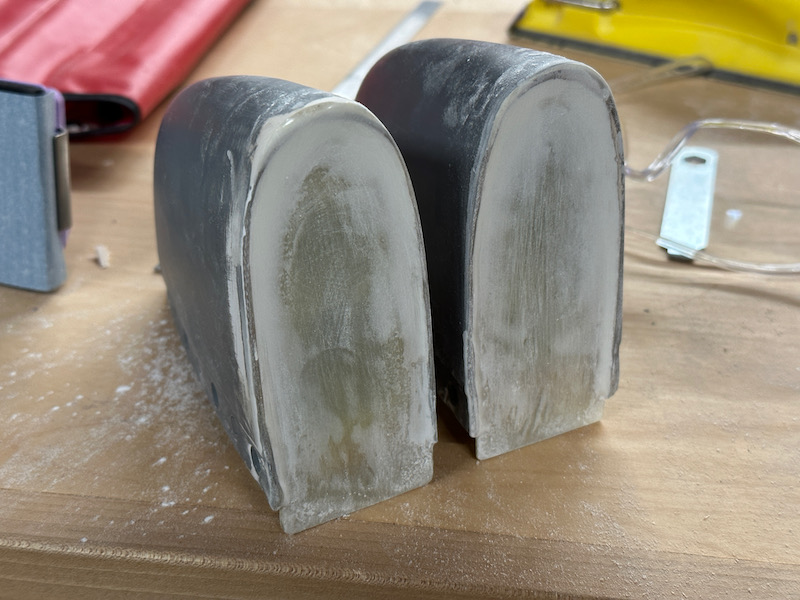
I had been regretting using balsa anyway, so I carved it all out and replaced it with fiberglass just like I did with the vertical stabilizer fairing. Of course I had to do both sides so they'd be identical, otherwise I wouldn't be able to sleep at night. The process here was identical to that used for the VS fairing: popsicle stick supports, glass panel bonded with flox bead, additional glass layer on the inside. I promise it turned out nice even though this in-progress picture makes it look terrible:

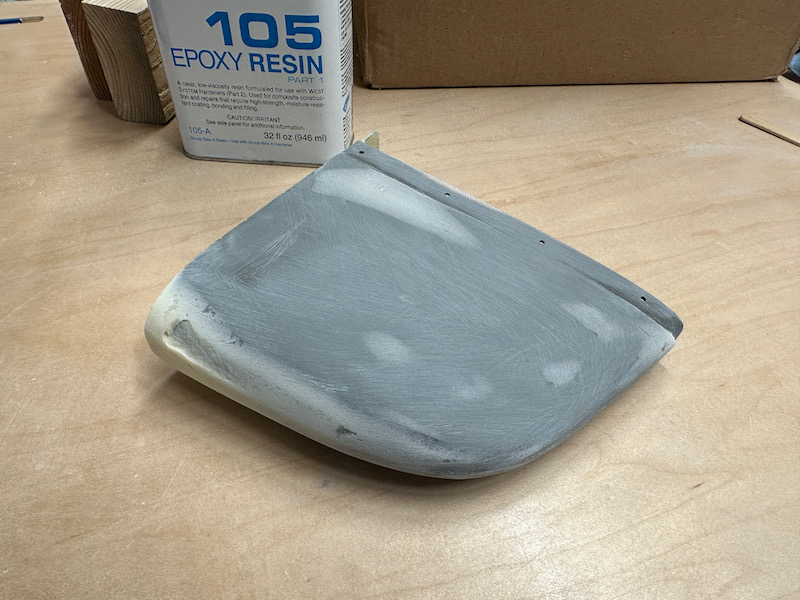
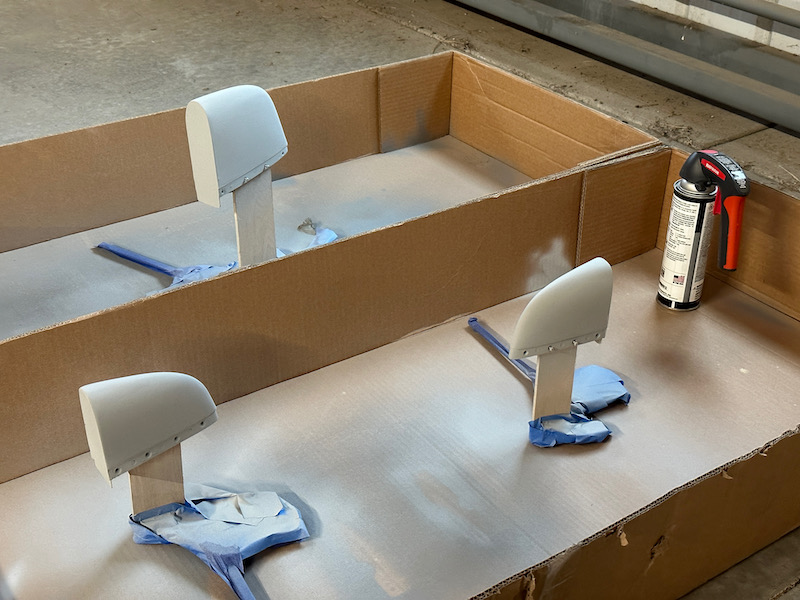
I sprayed all these fairings with several coats of SEM high-build primer, then sanded lightly with 320 grit. I like this stuff – it's expensive but it gives a decent result, and it comes in a handy spray can.

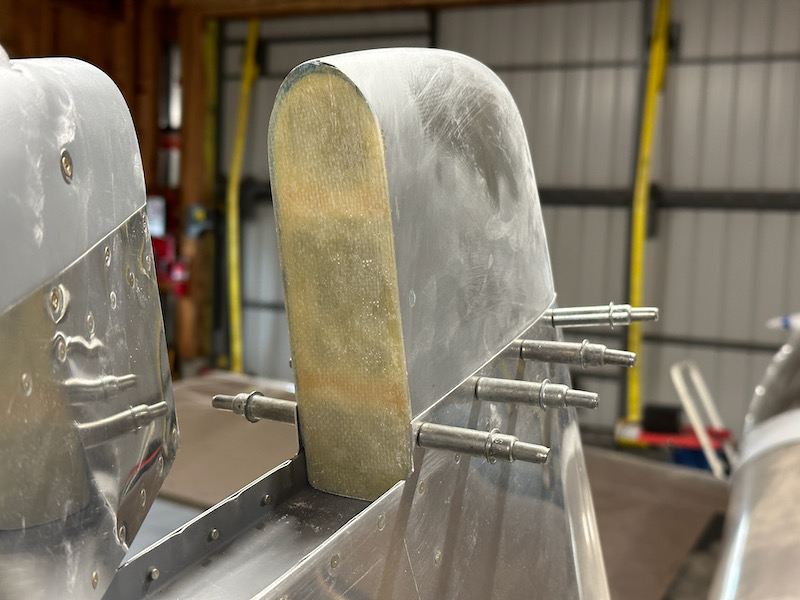
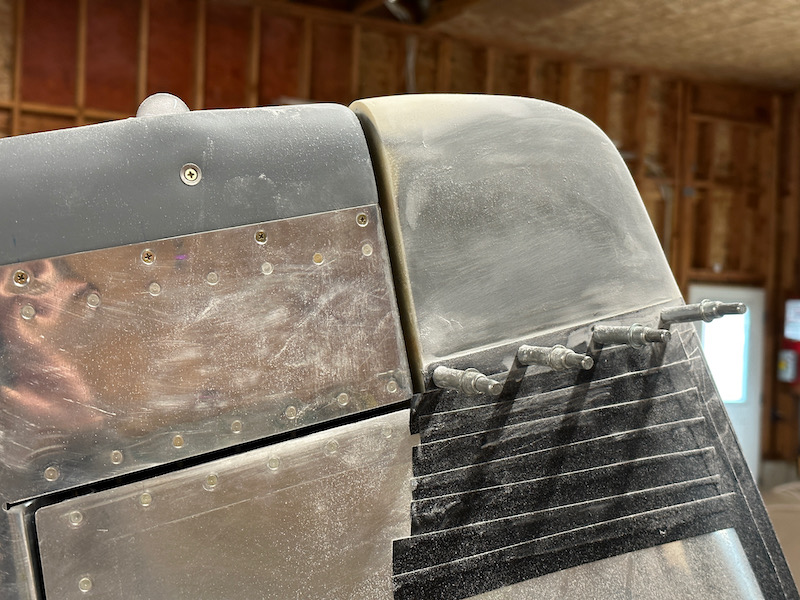
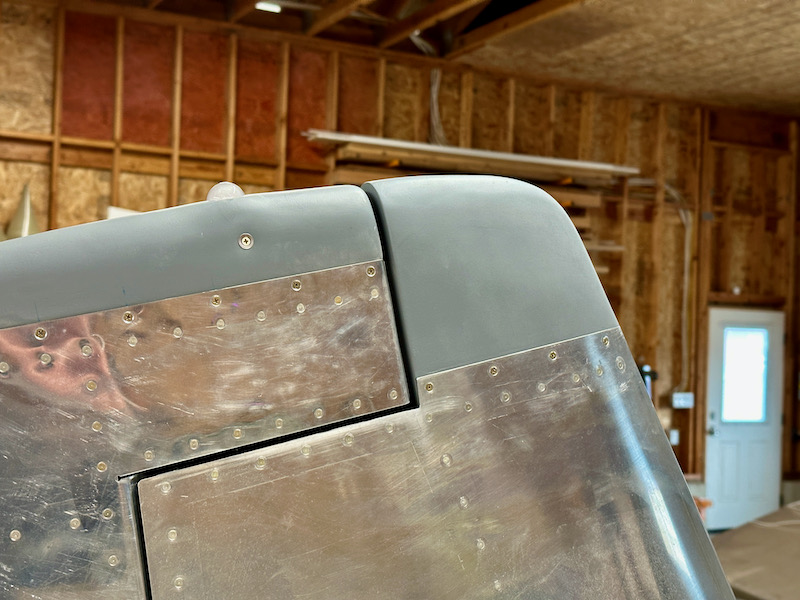
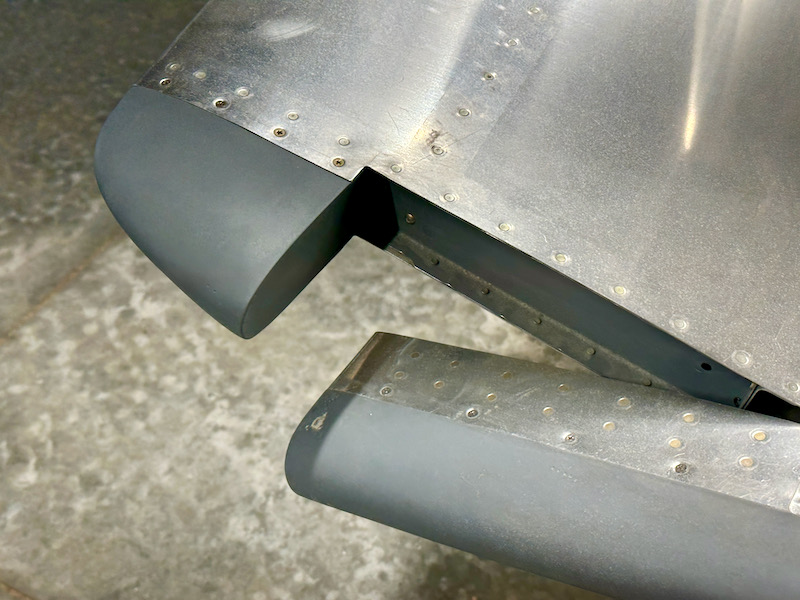
As before, I followed up with a cosmetic coat of 7220 and installed the fairings on the plane. And just as before, the results are not perfect but close enough that I'm happy for now. The pro painter will have a few pinholes to fill, but the shape is correct and the clearance problems are gone:

So now all the fairings on the tail of the airplane are technically done, although I still want to work on improving the fit of the empennage fairing. But that will have to wait for next year's fiberglass season – it's now too cold and rainy for that kind of work.

Vertical stabilizer fairing

Sunday, November 6th, 2022

With the rudder finished and installed on the airplane, I'm now able to fit the vertical stabilizer fairing. Here it is clecoed to the skin:

Unfortunately the shapes of the vertical stabilizer and rudder fairings don't match at all. Given that Van's can produce metal parts with holes that align perfectly, I'm not sure why their fiberglass parts are so troublesome – you'd think they'd be able to turn out properly-sized fairings in some kind of CNC-produced mold. But anyway, this mismatch needs to get fixed:

The back face of the fairing also needs to be closed up with something. I decided to use the method currently given in the RV-14 plans, and laid up three plies of glass over a flat piece of aluminum (visible at left). Oh fiberglass mess, how I have not missed you.

While that was curing, I cut some popsicle sticks to the correct size and super-glued them inside the fairing, flush with the edge. These will keep the fairing from collapsing when it's removed from the plane:

I ended up with a thin, flat sheet of stiff plastic, which I marked and trimmed slightly oversize:

Then I bonded it to the fairing with a flox bead, and an additional glass layer on the inside. The RV-14 plans tell you to do this step on the airplane, which seems like it would be messy; the popsicle sticks allow you to do this on the workbench where you can control the mess easier. I left it to cure overnight under an incandescent lamp due to the arrival of winter weather here in the northwest:

After curing I sanded the edges flush, and the result is pretty good. The popsicle sticks are now sandwiched between glass layers, which will prevent them from soaking up water and swelling:

The little tongue at the bottom took a few iterations to sand to the right shape:

Making the fairing structurally complete is easy enough – the hard part is making it look nice. I protected the vertical stabilizer with tape, stuck in a piece of vinyl-covered aluminum as a divider, and slathered on the first application of micro filler:

After sanding most of it off, the shape is starting to improve… note the built-up areas at the nose as well as on top:

Another round to fill the low spots:

Sanding flush with the skin:

Here's the finished result, which looks terrible visually but is now the correct shape and smoothed to 320 grit:

I did the usual thing with nutplates mounted on aluminum strips:

After a few coats of high-build primer, more sanding, and a final cosmetic coat of 7220, this is the finished result. Not perfect, but good enough for now. Eventually I'll have a pro painter take care of the last 10% and make it look really nice.