Archive for the ‘Rudder’ Category

Finished second rudder

Saturday, August 26th, 2006

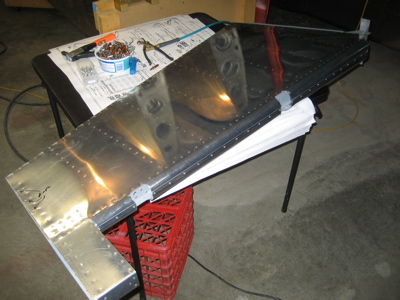
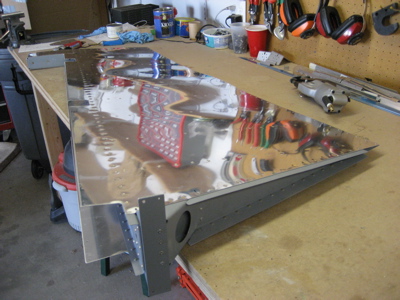
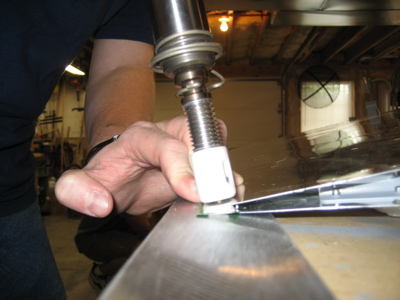
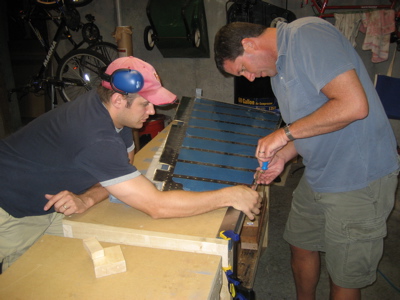
I took my replacement rudder over to John's place in order to make use of the five foot long back rivet plate he made. It made riveting the trailing edge pretty easy. First I set the rivets partway with the back rivet set, then flipped the rudder over and finished them off using the mushroom set.

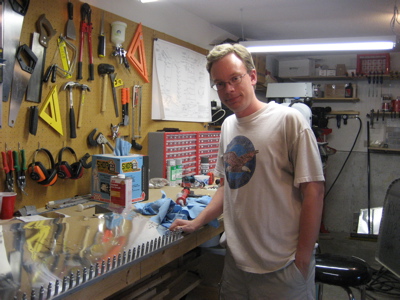
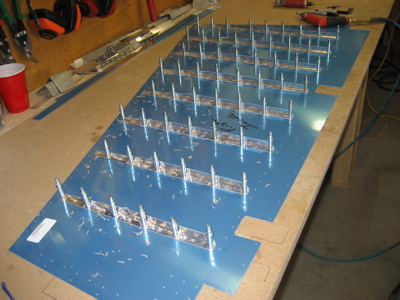
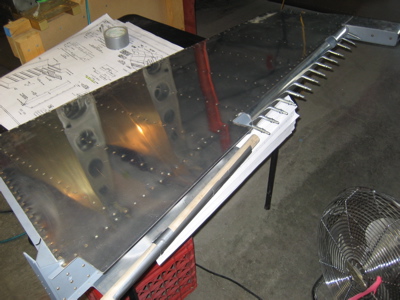
Here's another one of those photos that shows I really built the airplane. Also that I shill for the Boulevard corporation on laundry day.

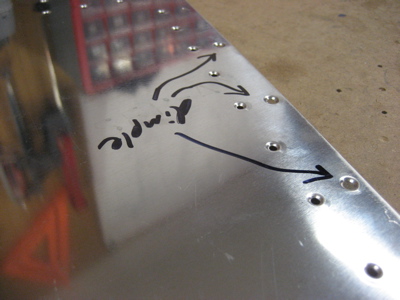
I alternated the rivet directions because I'm anal like that.

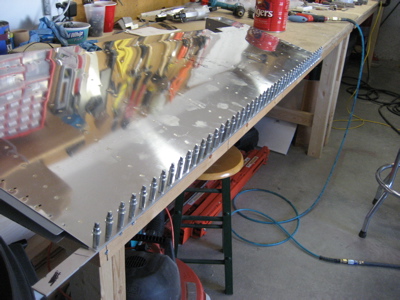
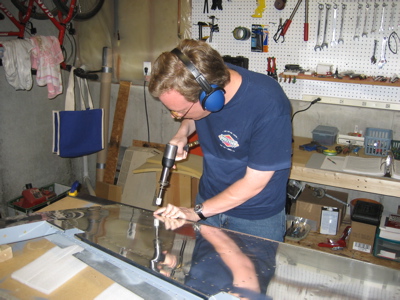
Then while we had everything set up, Chad and John finished off the trailing edge of John's rudder:

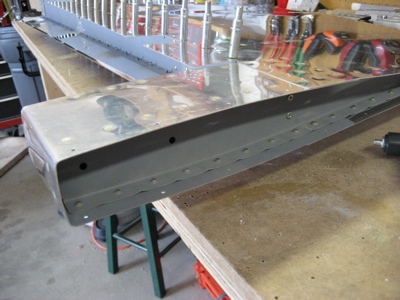
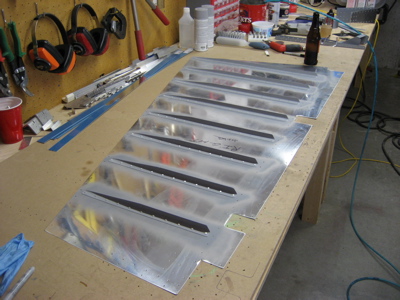
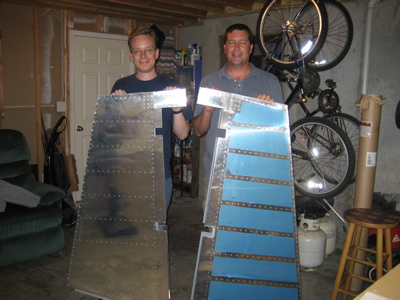
Two rudders completed!

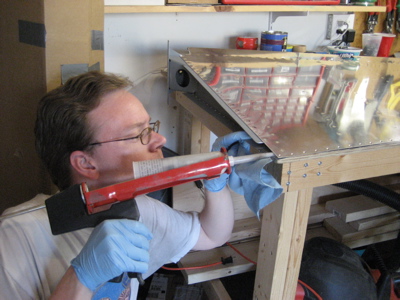
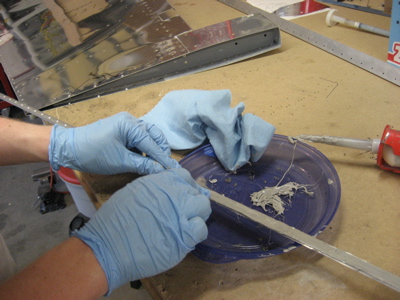
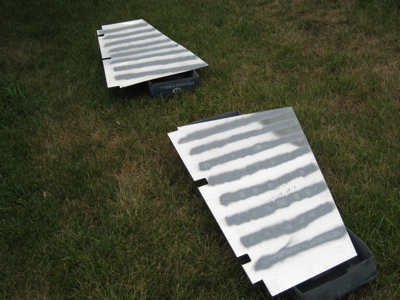
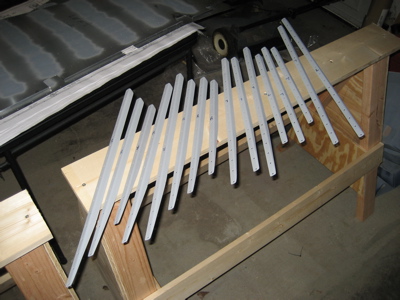
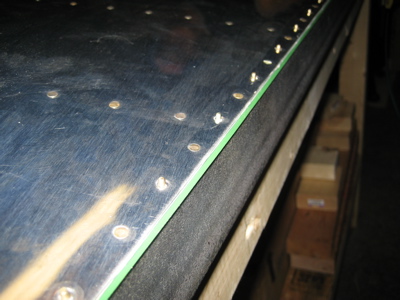
After I brought the rudder home, I set about rolling the leading edge:

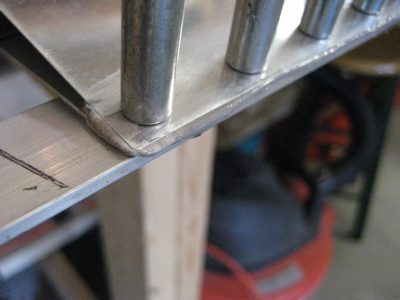
Done! I'm happy with the rudder now. Whew. The very long back rivet plate is an excellent way to do it, at a total cost of about $24 worth of steel angle and machine shop work.

Prosealed new rudder trailing edge

Friday, July 7th, 2006

Today I prosealed the trailing edge on the new rudder. I first squirted some blobs of proseal into the trailing edge of each pair of stiffeners, to guard against future cracking.

Then I buttered up the AEX wedge with a very thin layer of sealant…

…and inserted it into the rudder. The clecoes squeezed out a bead of proseal, which I wiped off.

Now to let it cure for a while. Upon reviewing these photos, it appears that the proseal I used here is a little lighter in color than the stuff I used on the fuel tank covers. Maybe I didn't get it mixed quite enough? It will probably take a bit longer to cure, but that's okay as long as it eventually does.

More work on new rudder

Tuesday, July 4th, 2006

Back from far-flung lands! I deburred and dimpled the rudder skins, including the six holes at the aft end of the top rib that you can only dimple before you rivet on the skins.

Then I countersunk the new AEX wedge to accept the dimples in the skin.

I riveted the counterweight skin on, then bolted on the counterweight. This time around I decided to put some J-B Weld on the nuts, since you can't access them once the top rib is in place. Don't want those guys vibrating loose.

The J-B Weld package cracks me up. Better than bailing wire, indeed.

Next I riveted on the top rib, and riveted the counterbalance skin to the rudder skins.

Then I finished riveting the rudder skins to the ribs and spar.

I got out my old piece of straight angle and clecoed it to the trailing edge to test the fit. Yep, it's straight.

The next step will be to proseal the new rudder trailing edge, when I get some time.

Match drilled new rudder

Wednesday, June 21st, 2006

All I've had time to do this week is to match drill the new rudder skins to the old skeleton. Deburring, dimpling, and riveting will have to wait a while, since I'm leaving on a trip for the rest of June.

Working on new rudder

Sunday, June 18th, 2006

I worked on the new rudder on and off this weekend. On Friday night I match drilled the stiffeners to the skins. (This was a mistake; taking the wife out on Friday night instead of working on the airplane is smarter and causes fewer difficulties.)

On Saturday I deburred and dimpled the skins, which was harder than it sounds because my DRDT c-frame tool was 50 miles away in coworker John's RV-9A workshop. Mary and I threw the skins in the car and made a day out of it, stopping at a couple other places and driving around in the country a bit. We also stopped by briefly to look at RV-7 builder Bill Gill's project – or rather I looked at the airplane, and Mary played with Bill's dogs. Everyone was happy.

After we got back to town, I primed the skins:

On Sunday morning I got up before it was too windy and primed the stiffeners too:

I spent most of the middle of Sunday messing with the air compressor – the "off" position on the switch has never worked since I bought it, and despite my best efforts today it still doesn't work. Then in the evening I back riveted the stiffeners to the skin:

The complete rudder is now clecoed together and looks like a rudder, all right:

The next step is to match drill the skins to the skeleton, deburr, and dimple, but I'm too wiped out from the gym. Plus I'm going on a week long business trip soon so I suppose it's in my best interest to pay attention to the Mrs.