I removed the air filter from the engine and picked up a K&N cleaning kit:
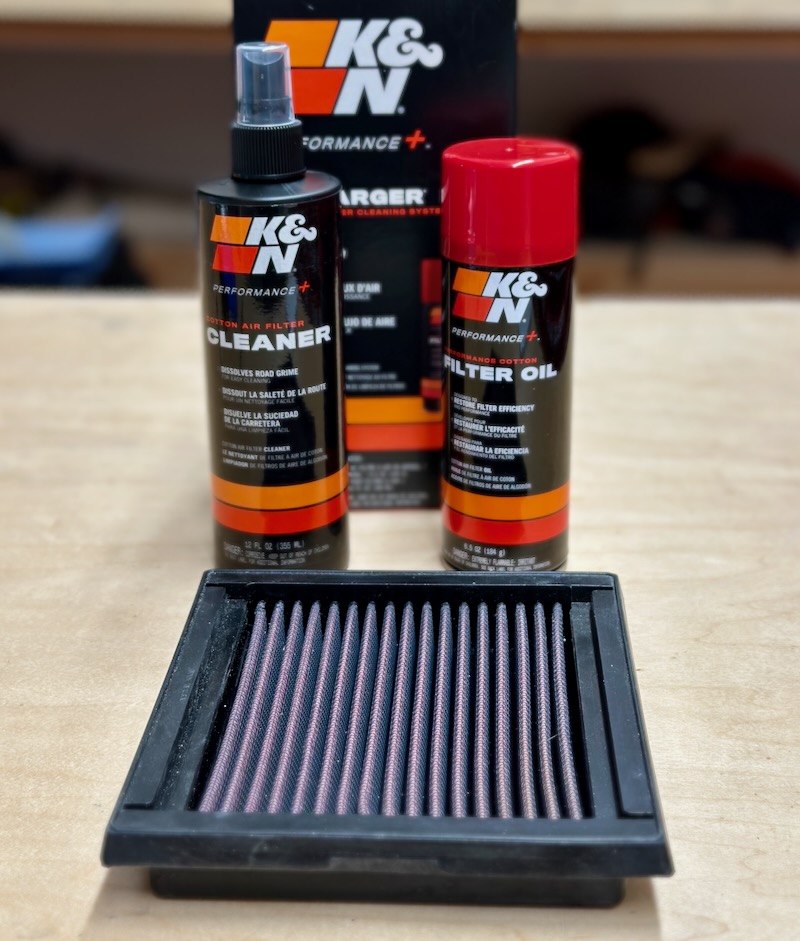
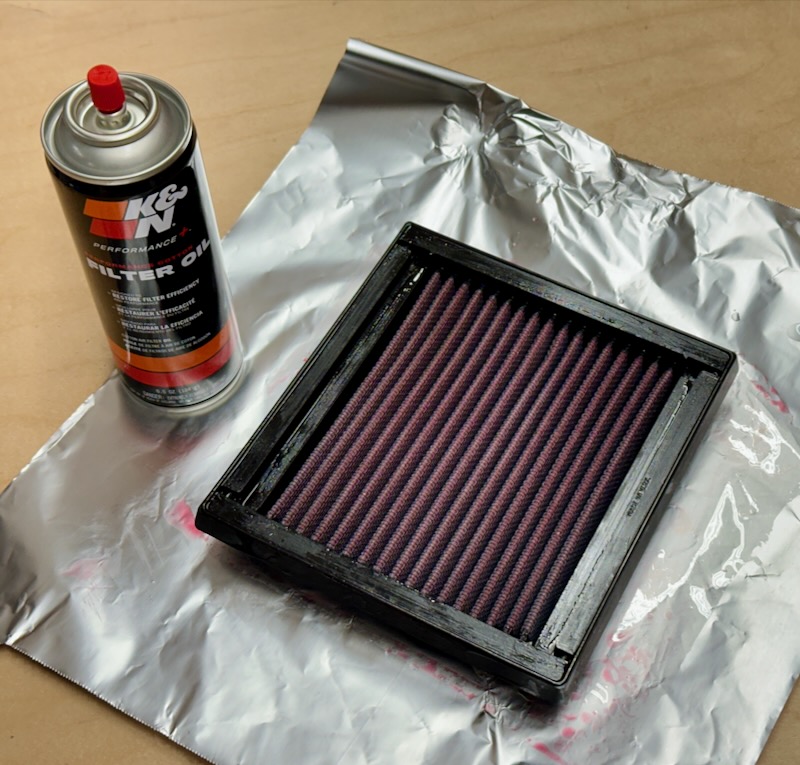
Cleaned, oiled, and ready to put into service:
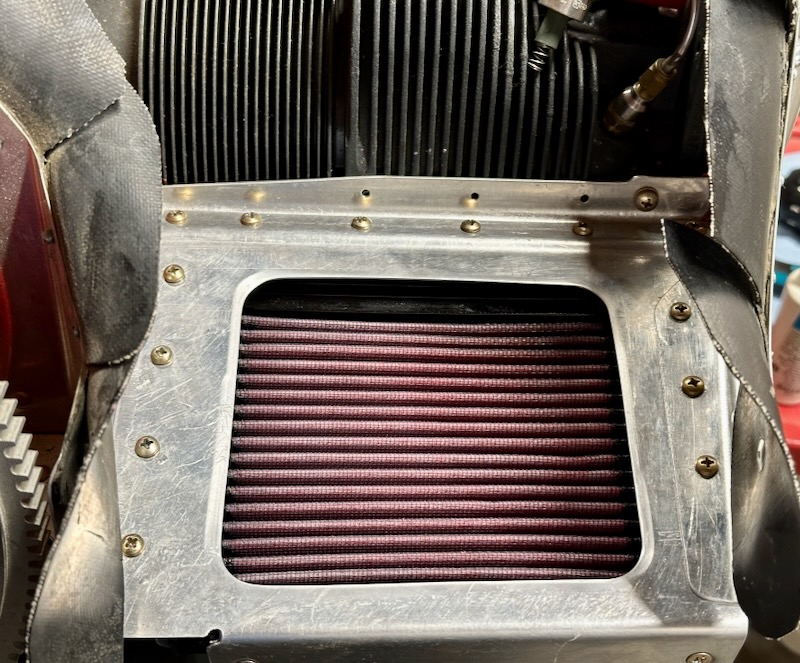
Air filter back on the engine and ready to go:
I removed the air filter from the engine and picked up a K&N cleaning kit:
Cleaned, oiled, and ready to put into service:
Air filter back on the engine and ready to go:
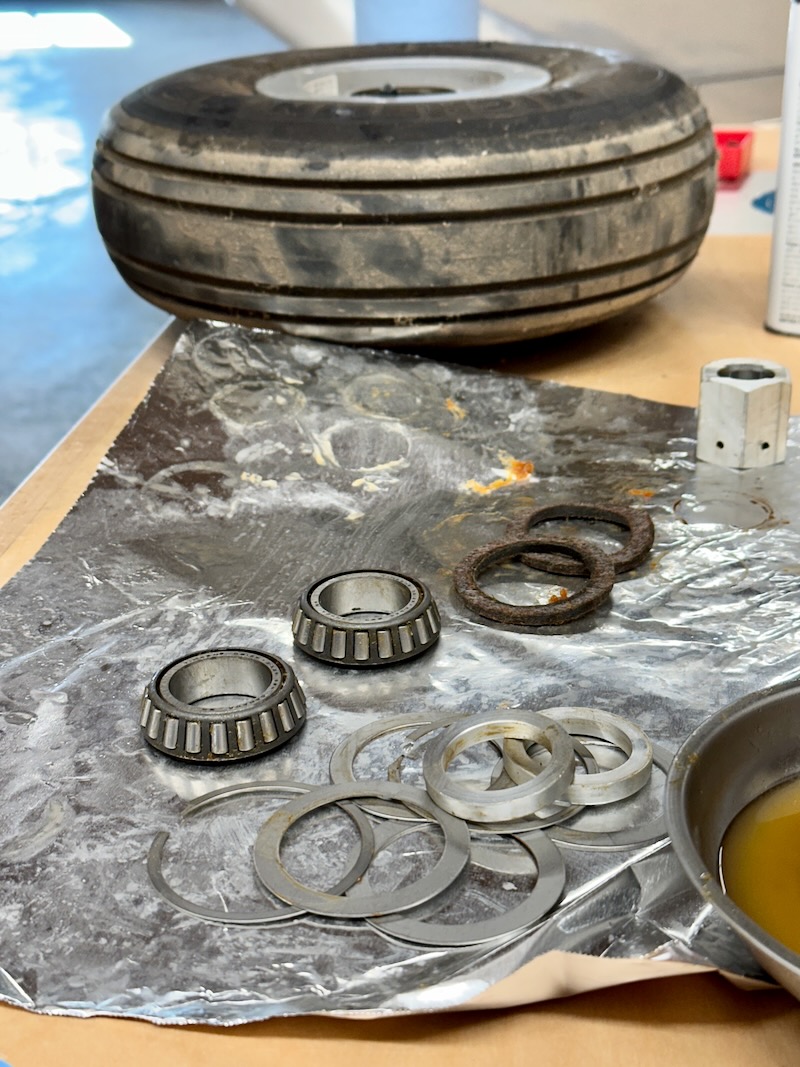
Since eventually this thing will need to roll, I removed the wheels, disassembled the bearings, and cleaned off all the old dried-out grease with mineral spirits and brake cleaner. Then I repacked the bearings with Aeroshell 22 – no pictures of that step since my hands were messy.
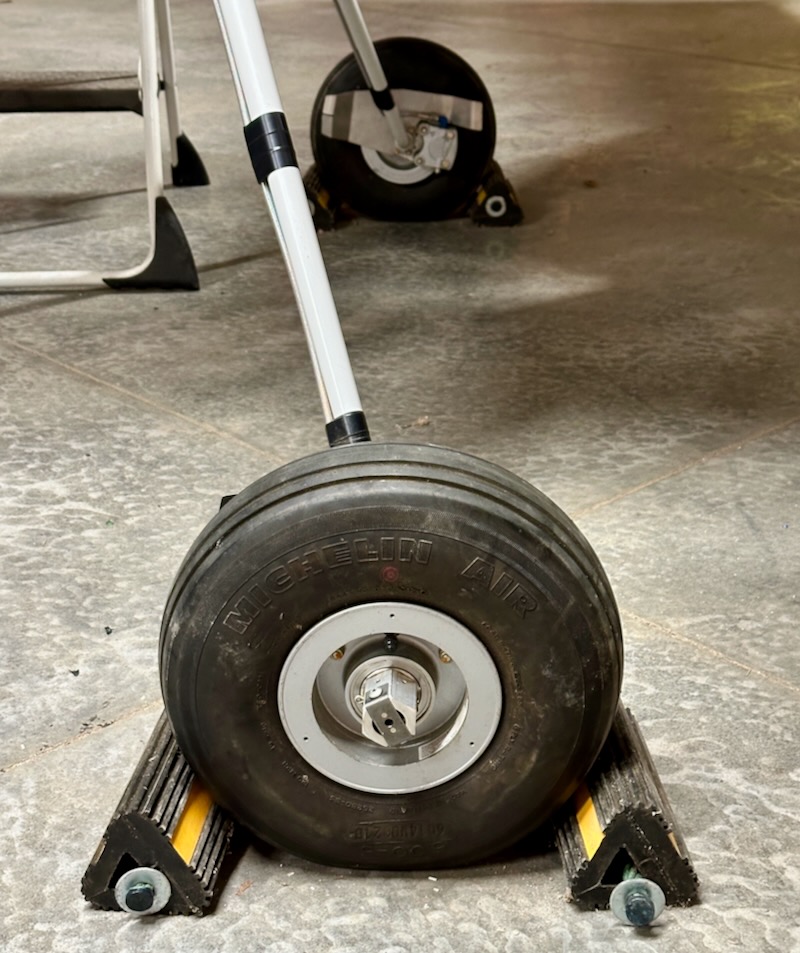
Wheels back on the plane, nuts tightened, and cotter pins inserted:
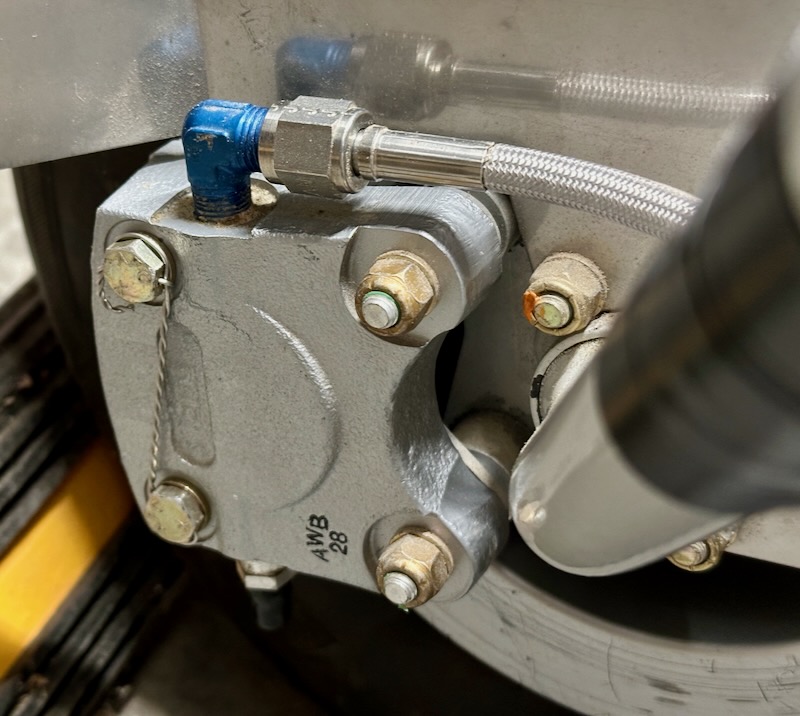
Brake caliper back plate bolts torqued and safetied:
A variety of cockpit-interior work in this post…
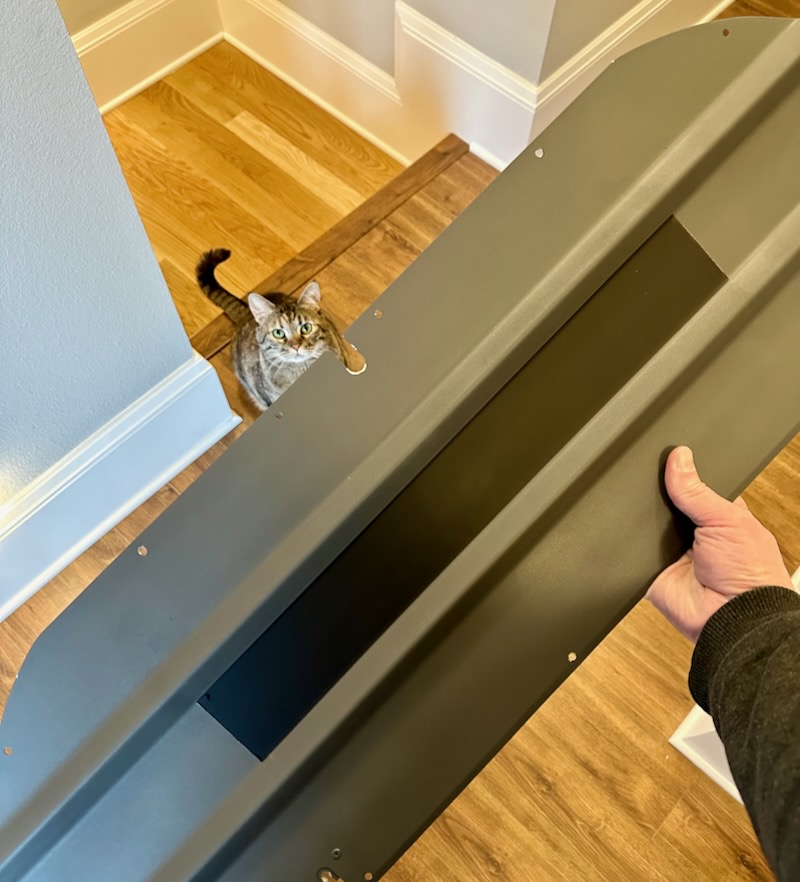
Having read about too many airplanes destroyed by brake fires, I've always made it a point to carry a small fire extinguisher in my airplanes. I have no illusions that I'll be able to put out a fuel or oil fire, but if I can prevent an overheated caliper from torching my airplane or someone else's, it's worth the effort to carry one. So I bought a small 1.25 lb Halon extinguisher (expensive!) and mounted its bracket to the forward tunnel cover, which will position it between the seat cushions:

I bolted the lap belts and crotch straps to their brackets in the floor:

I installed the approximately one million screws for the forward seat pans, and also attached the stick boots with additional screws. I have to say I'm not thrilled with how well my interior paint is holding up – I've tried to be careful with it, but it chips really easily. On the next airplane I'll have to use something different.

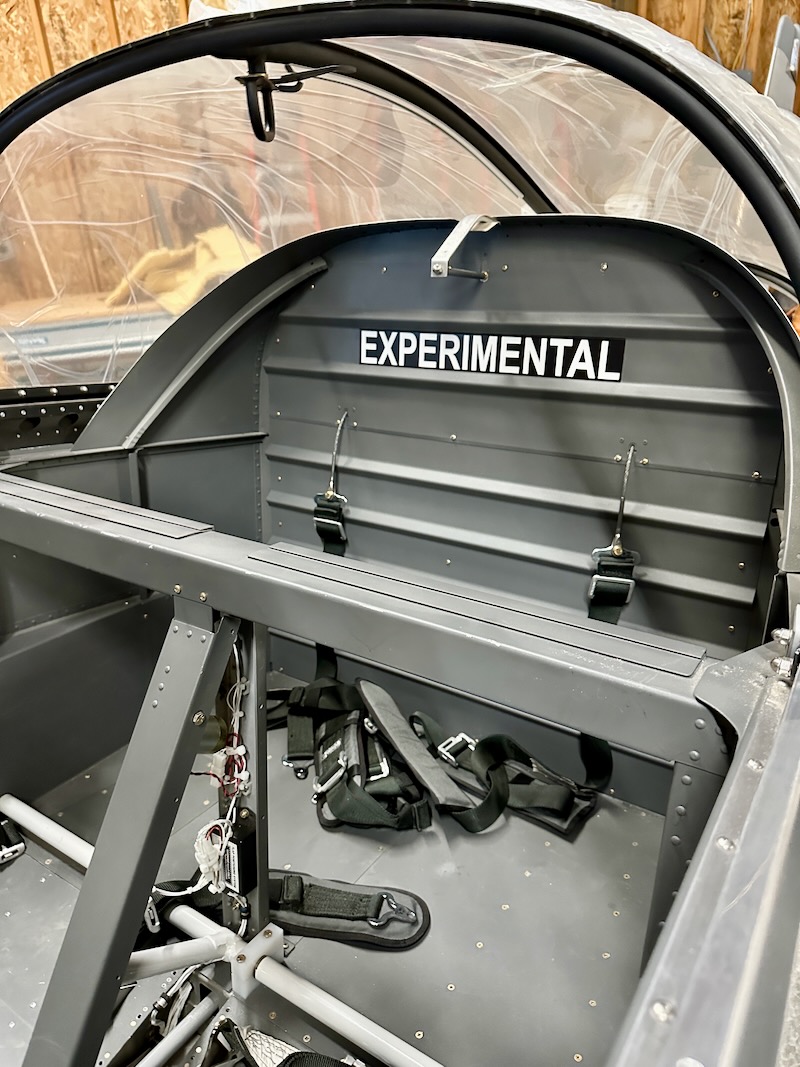
I had a local vinyl sign shop make me an "Experimental" placard that meets the requirements of FAR 45.23(b):
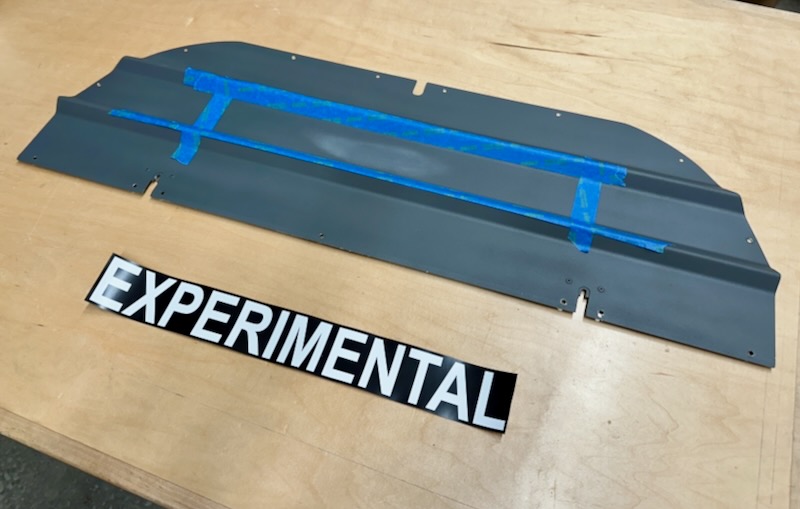
Since I already painted the baggage bulkhead with textured paint, I figured the vinyl wouldn't stick very well, so I masked off and sanded down a rectangular area and then painted it flat black:
Looks good and can't be missed:

I bolted the shoulder harnesses to the anchor cables with castle nuts and cotter pins, and then installed the baggage bulkhead with a further half-million screws:
This is all bringing back memories of my previous RV… half the work of doing an annual inspection is just taking out all these screws and putting them back in.
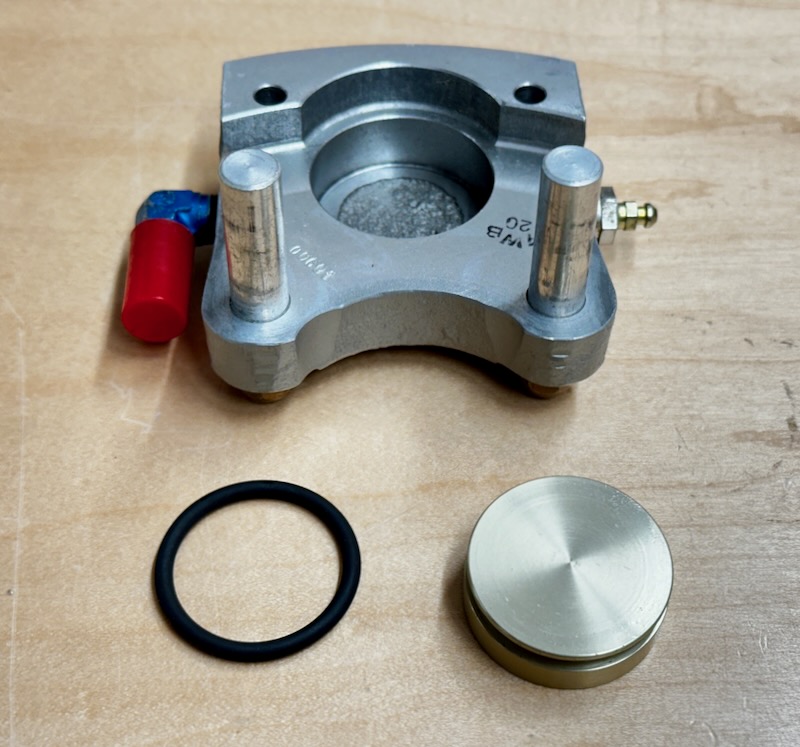
Before filling the brake system with fluid, I removed the calipers and took out the pistons so I could install improved o-rings. These are necessary to take full advantage of the higher-temperature brake fluid available these days (MIL-PRF-83282D) and were quite difficult to find in small quantities in the correct temperature rating of -40º to +400ºF. I ended up ordering them from Van's, which took a while due to their current difficulties. I lubed the new o-rings and the caliper bore with silicone before installing.
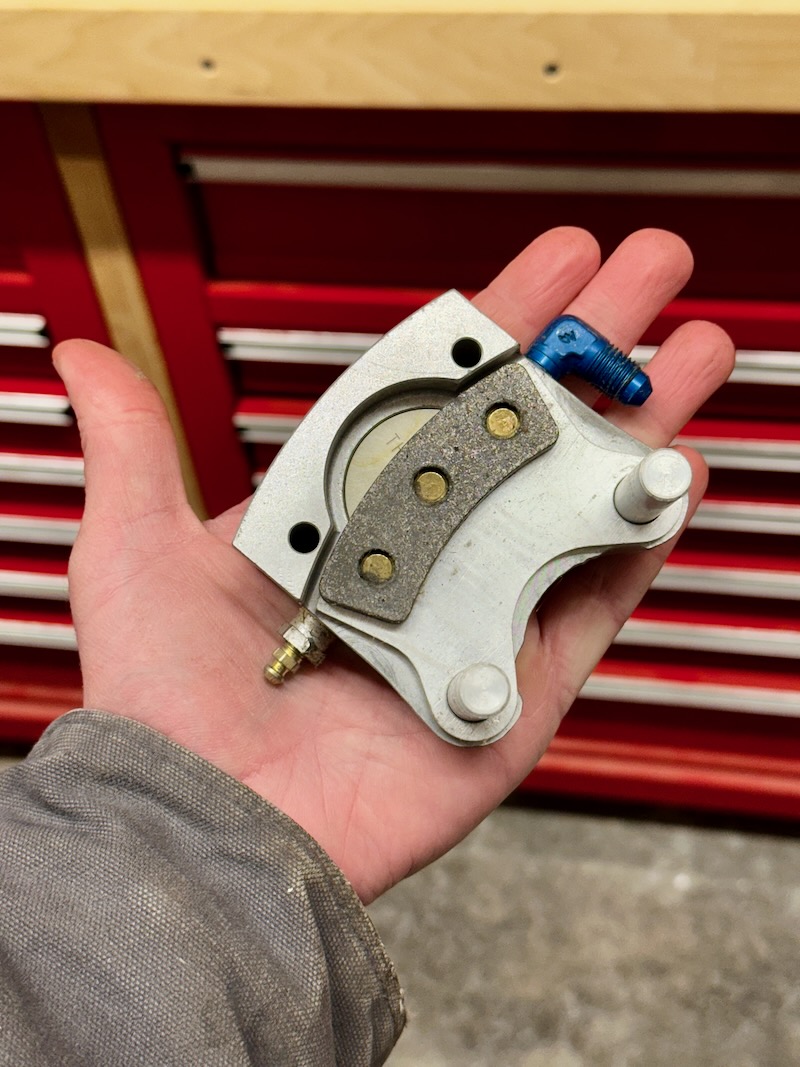
It's funny that this is all the brakes you get to stop nearly a ton of airplane traveling at highway speeds. Small wonder I chose to use high-temp brake fluid, since these can get really hot under heavy use.
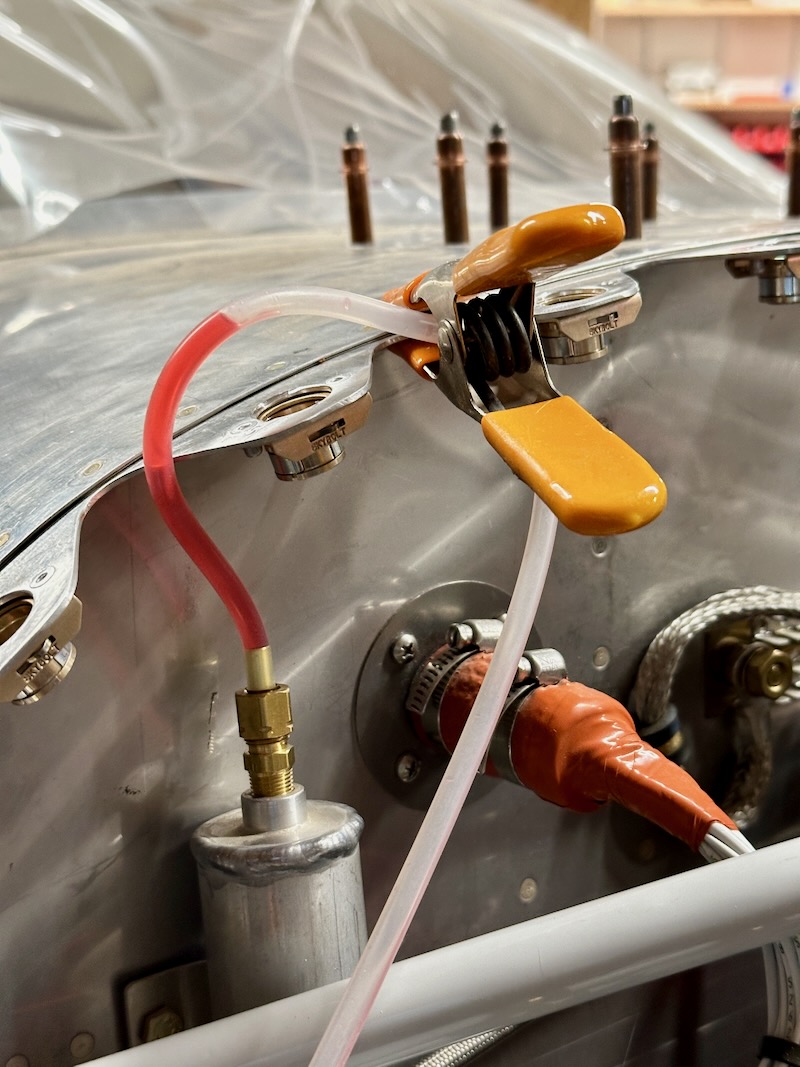
To bleed the brakes, I cobbled together this contraption from a small pump oiler and a special adapter designed to go on the bleeder fittings:
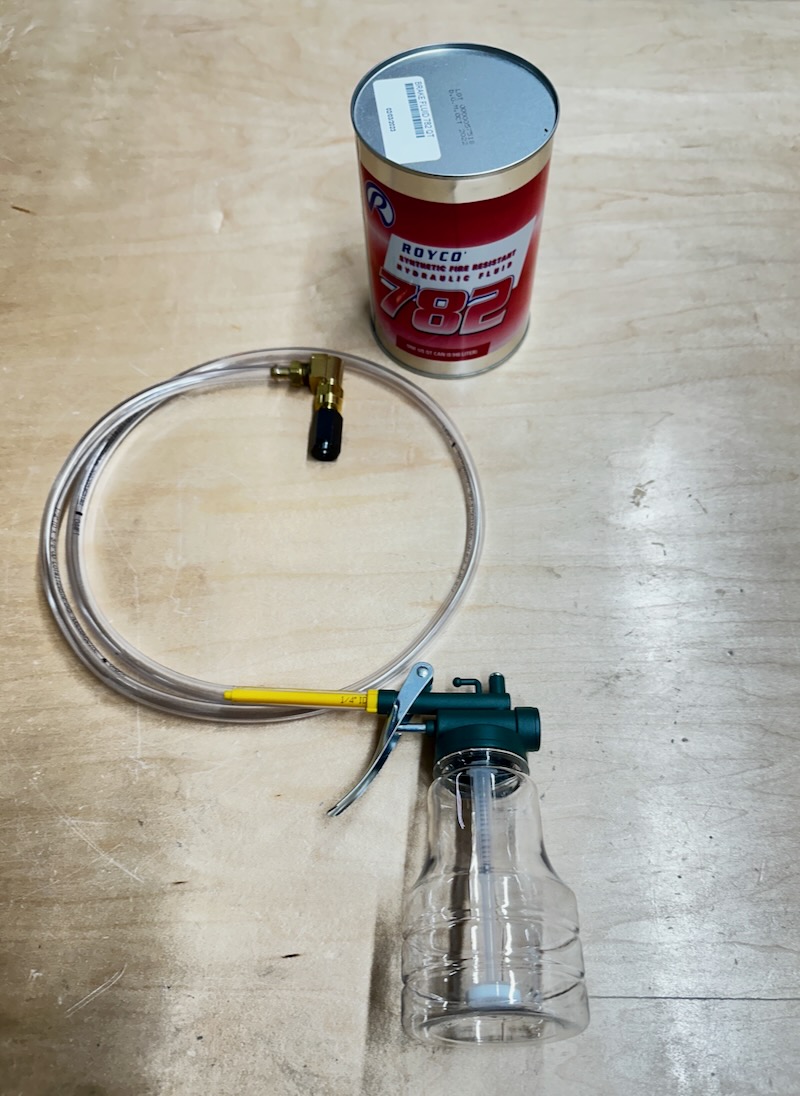
To catch the overflow from the brake reservoir, I plumbed a catch can using a coke bottle and some brass fittings. Additional details of how this works can be seen in the photos below:
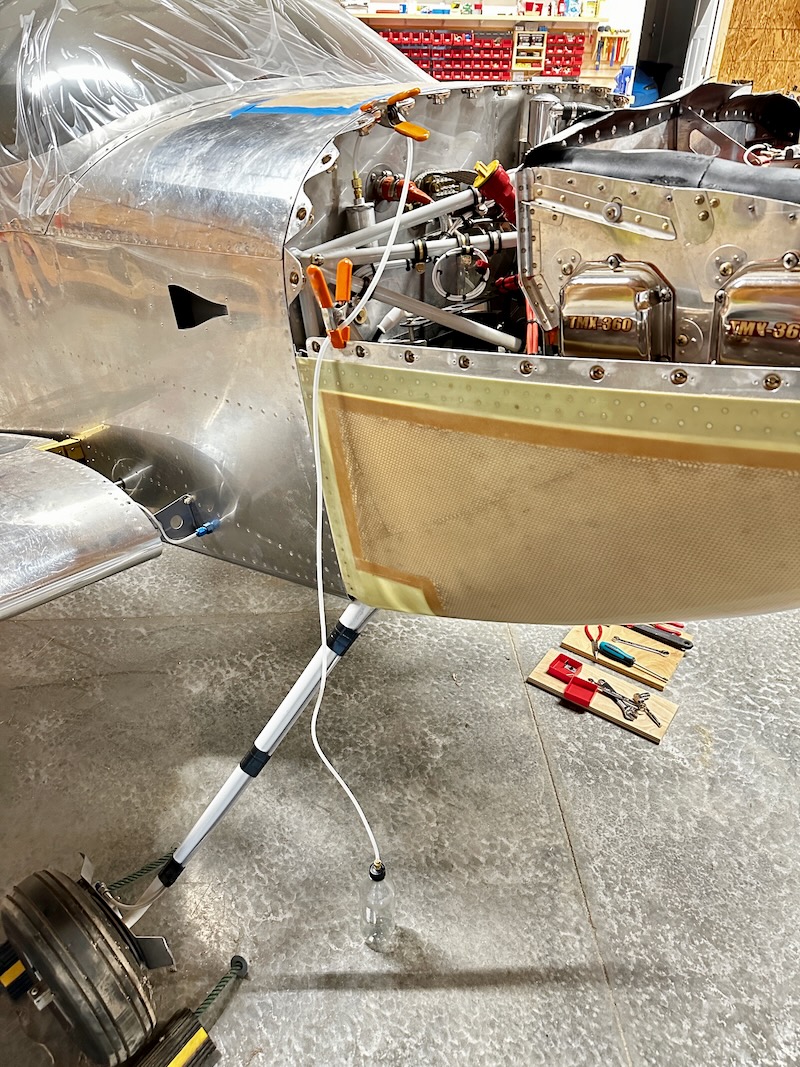
Before starting, I put down some old t-shirts under all the potential leak spots, to hopefully keep the floor clean:
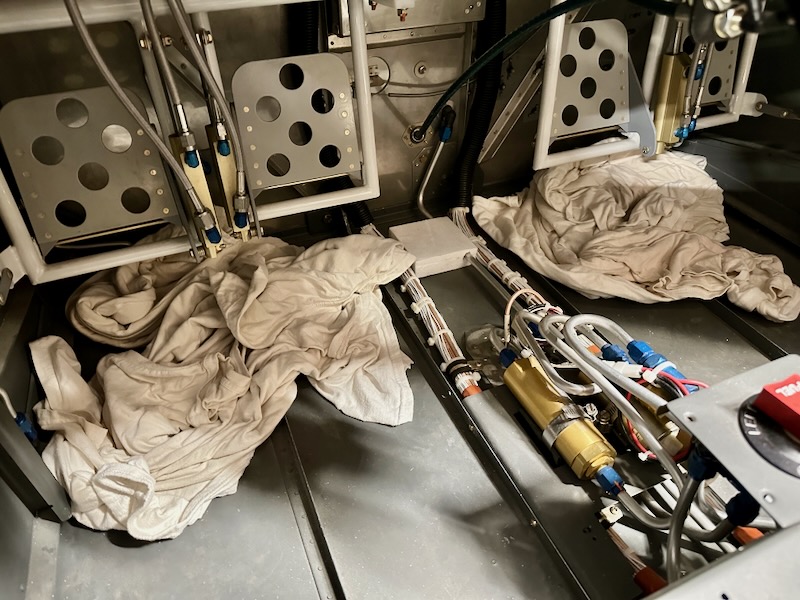
I recruited a friend to help pump brake fluid while I crawled inside checking for leaks and tapping on things to clear out air bubbles. Happily we had no leaks and – I think – ended up with a solid result. We went through a lot of paper towels and rubber gloves, and didn't take any pictures during the process, but you may assume it was messy despite our best efforts to be sanitary about it.
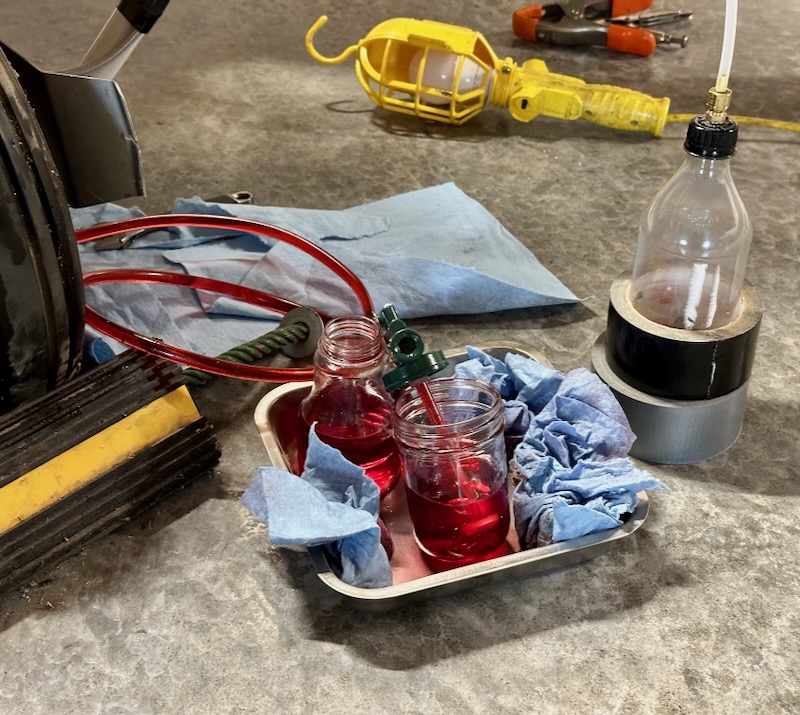
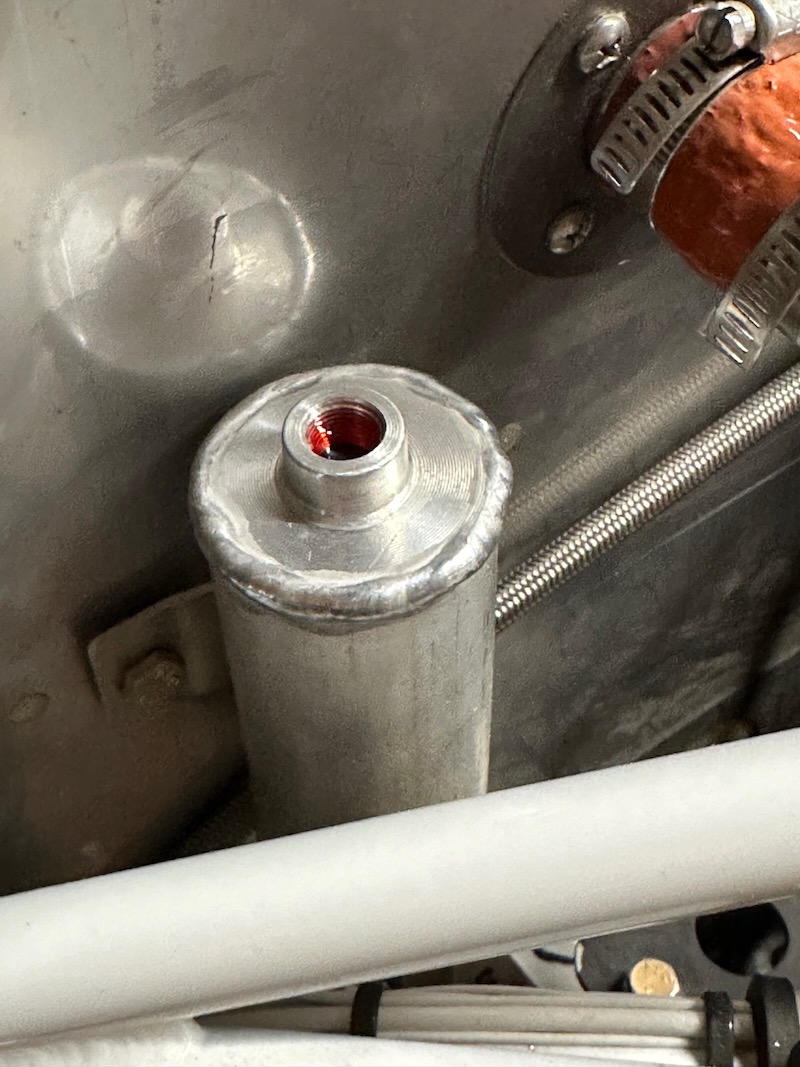
Clear tubing at the top of the reservoir allows air bubbles to be pumped out. We kept pumping fluid until the brakes were solid and bubbles stopped appearing in the tube:
The end result was a reservoir totally filled to the top, which is fuller than it needs to be. I used a syringe to siphon out about an inch of fluid before installing the vent cap.
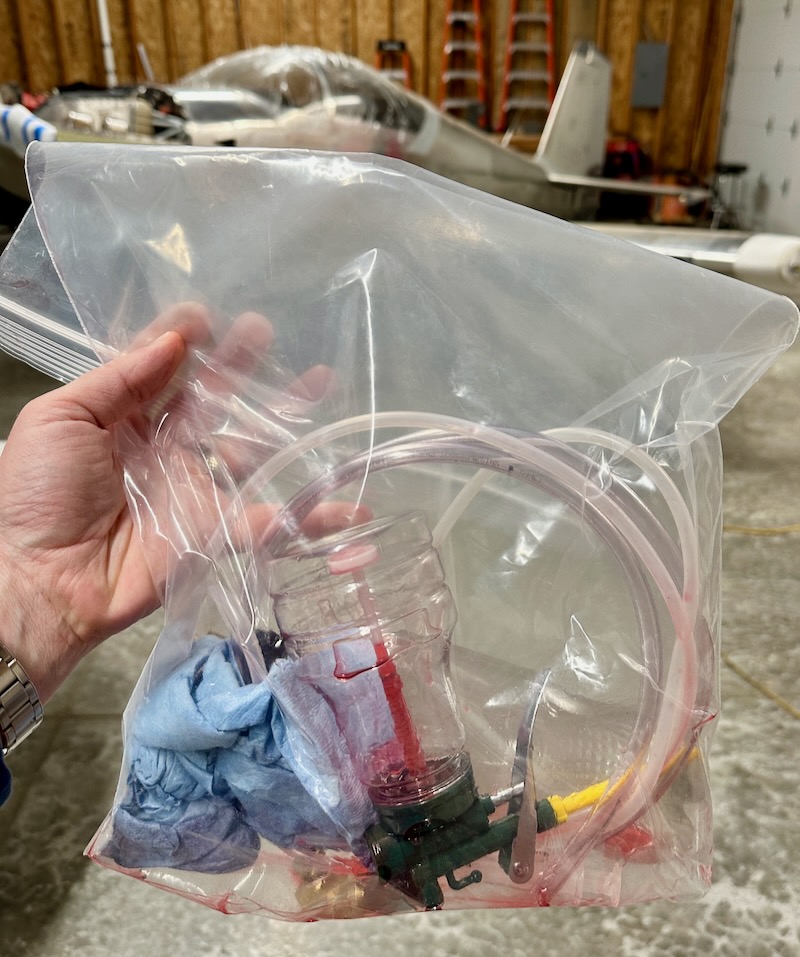
All the accessories are stored inside a messy plastic bag for future brake work. From the quart can of brake fluid I opened, I ended up with about a pint left over, which is stored in a mason jar I stole from my wife's canning supplies.
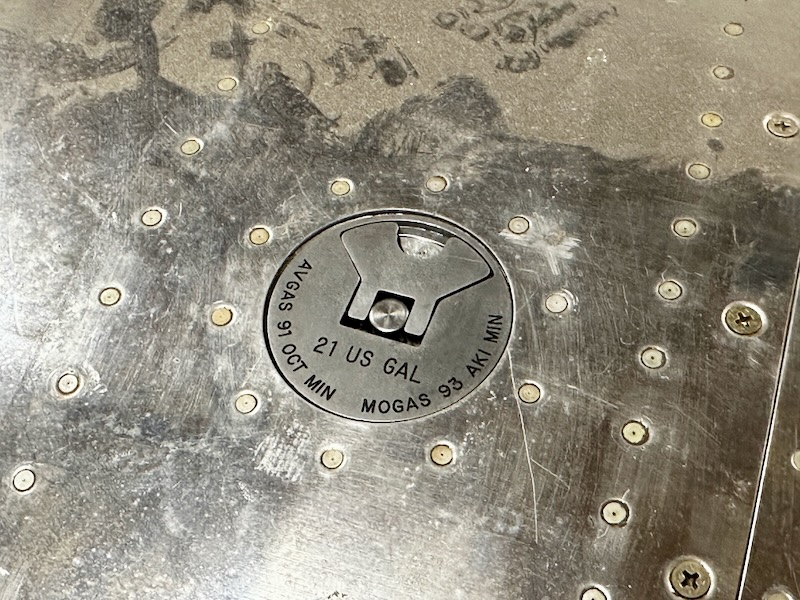
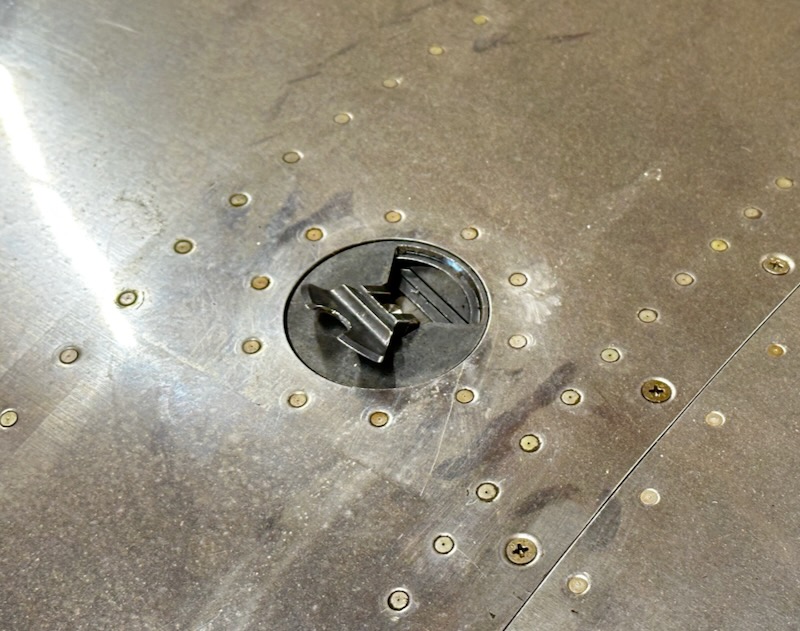
After sitting untouched for too many years, the fuel tank caps didn't want to come off immediately, but I got them loose eventually:
I disassembled the caps so I could clean out the old grease and replace the ancient o-rings:
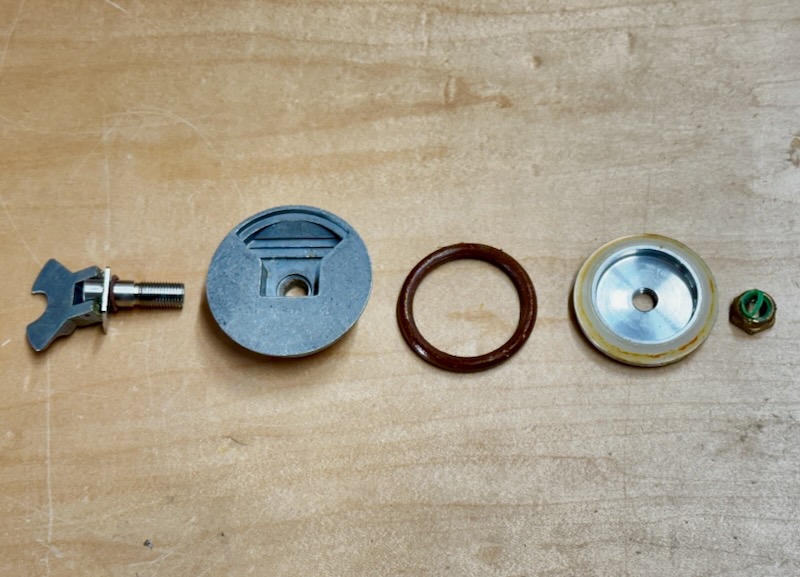
Since I started this project, Vans has switched to a different style of fuel cap, so information about this type is getting harder to find. Click here for an exploded view.
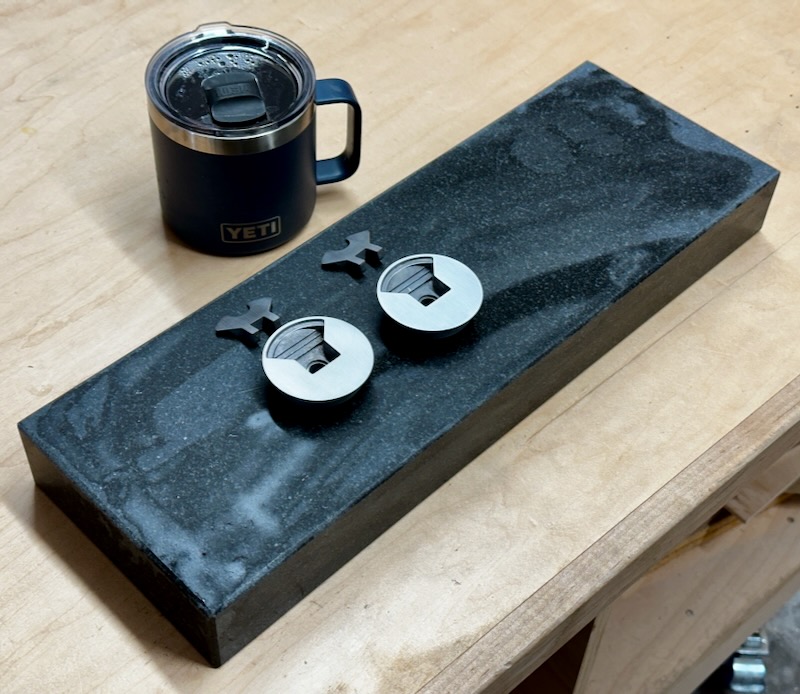
I decided I wanted to improve the cosmetic appearance before engraving, so I got out my granite surface plate and wet-sanded the caps and levers using a series of progressively-finer grits. The hardest part was flattening the rough castings using 220 grit; each successive grit after that went pretty quickly.
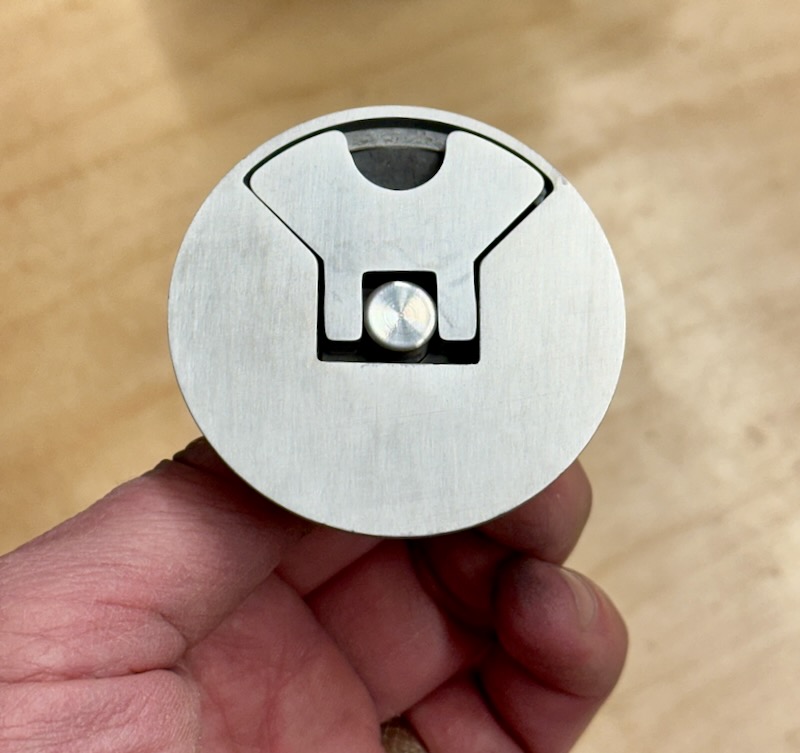
I progressed to 600 grit, not quite a mirror polish, then applied a vertical brushed finish using a grey scotchbrite pad. I didn't worry about making this look perfect, since these will inevitably get scratched up, but I'm happy with the results:
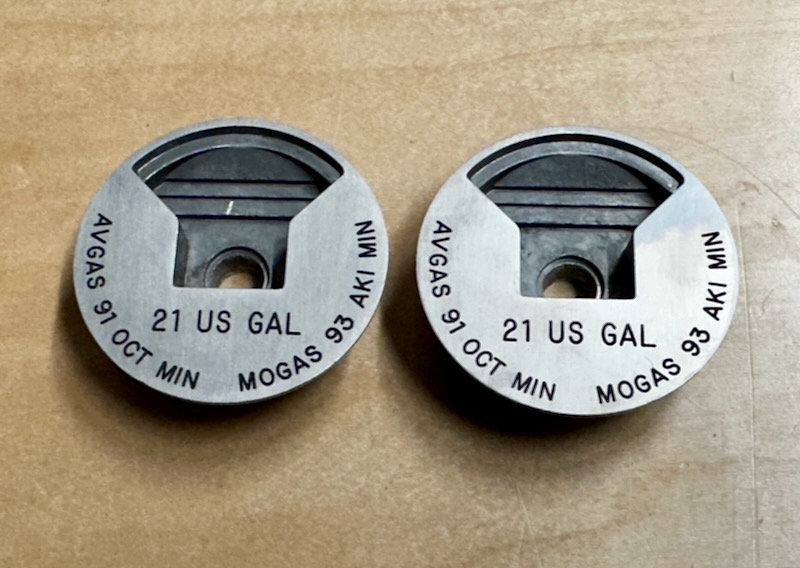
After researching the fuel tank labeling requirements and the fuel type specifications for my engine, I sent the caps off to Aircraft Engravers. A few weeks later, they came back looking like this:
New o-rings installed and lubed, latches adjusted, and caps reinstalled on the (very dusty) tanks: