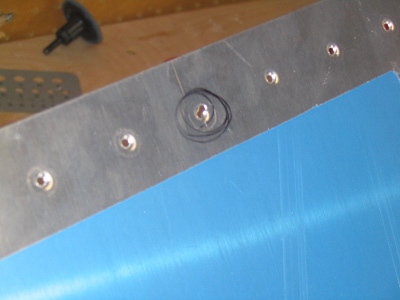
In Saturday's post I idly wondered why Van's was having me drill the hole in the front spar for the trim motor wiring so close to a preexisting tooling hole. We'll I'll tell you why it looked weird: because I had accidentally grabbed the rear spar and happily drilled a giant hole through it instead, thus ruining it. Arrgh. That's what I get for not triple-checking the plans and the part numbers. Of course it doesn't help that the instructions don't even mention this particular hole – I guess they're hoping that you'll notice the tiny callout on the plans, but whatever. At least the replacement HS-603PP is only eighteen bucks. I'm going to be out of town for a week anyway, so it's not that much of a setback other than the couple hours it will take me to drill, deburr, dimple, and prime a new spar. Bah.
Archive for May, 2005
I'll tell you why
Monday, May 23rd, 2005Primed HS parts
Sunday, May 22nd, 2005Today I got the HS parts all dimpled – used the Cleaveland tank dimple dies (which arrived Saturday) on the ribs and spars, and it does seem to make the skin dimples sit down in there better. Then I went out in the backyard and primed all the ribs, spars, bars, and angles while Mary and her folks hung out inside.
Probably they were discussing my warped priorities.

Who needs Star Wars when you're building an RV?

Luke, I am your father!
Incremental HS progress
Saturday, May 21st, 2005The in-laws were in town today, but I kept sneaking out to the garage to work on the plane project here and there. Got all the horizontal stabilizer parts deburred, and drilled the trim wiring hole in the left front spar. I wonder why they have you drill this hole right next to a perfectly workable tooling hole – it could just be enlarged and put to use if they'd put it in the right location.
Update: This was a stupid mistake! See here for details.
Ordered tank dimple dies
Monday, May 16th, 2005Based on recommendations from other builders, I ordered a set of 3/32" tank dimple dies from Cleaveland. I didn't like the way the dimpled skin and substructure were fitting together, and these are supposed to be useful for fixing that little cosmetic issue as well as for building fuel tanks. We shall see.
Update: The package with the set of dimple dies in it arrived promptly, but contained… only the female half of the die set. Not so useful. I called Cleaveland on the phone, and they said they'll send me another set ASAP. Good customer service.
HS work – runs, hits, errors
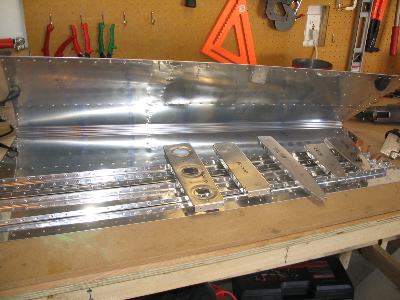
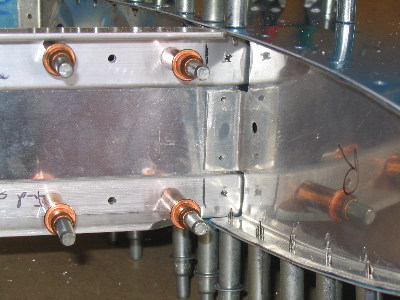
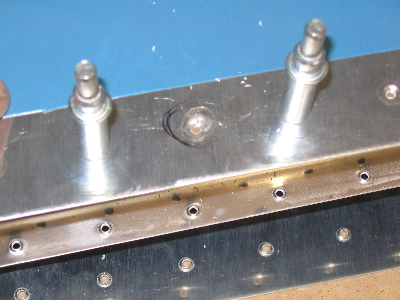
Sunday, May 15th, 2005Okay, check this out. Here the root end of the left horizontal stabilizer. I trimmed the aft flange of the HS-404 nose rib exactly according to the drawings, and double-checked it against the full-scale template in the plans. Look at all the room between the trimmed flange and the HS-710/714 angles! I didn't need to cut off nearly that much. Then, to compound the aggravation, one of the holes (marked with a red arrow below) that you backdrill through from the aft side came out with way not enough edge distance. The marking of the holes on HS-405 involves some amount of guesswork to make it come through the spar with enough ED on the forward side, and I didn't get lucky on that one hole. It would have worked out just fine if they hadn't had me trim so much from HS-404. Oh well. I decided to drill another rivet hole (the yellow arrow) to beef up this area. There's more than the minimum distance between the new hole and the other two holes in HS-404, so everything is okay now.

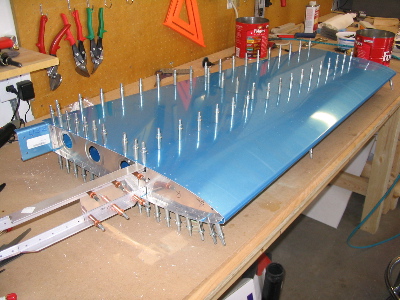
After match drilling all the rest of the holes in the skin, I proclaimed the left horizontal stabilizer completely drilled.
Here's a gratuitous shot of it being opened back up, just because it looks cool:
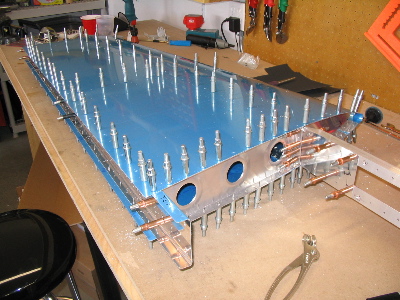
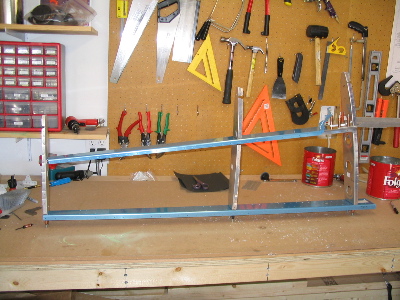
Another shot of the skeleton again:
Flash forward several hours, and the right horizontal stabilizer is similarly completed:
The holes in the root ribs came out better on this side, luckily. But once again I have, per the plans, trimmed more than I really needed to from F-404. Oh well, it is still acceptable, and on the next airplane I'll ignore the plans here and just do it right.
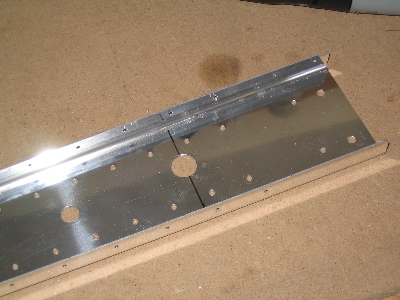
Somebody asked for an explanation of the soldering iron trick. I just take a wooden straightedge and affix it to the skin with one silver cleco and one cleco side grip, and run the soldering iron down it to melt through the blue plastic. (be sure to use a soldering iron whose tip you've ground down so it won't scratch!)
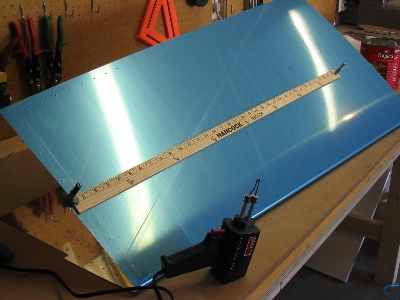
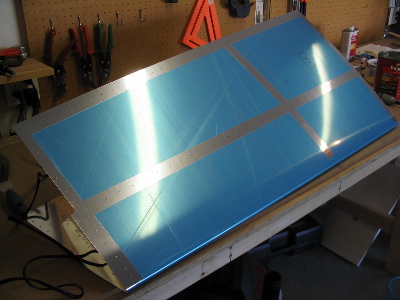
Voila, the blue plastic comes off in nice strips. Props to the fabric store where I went with Mary to get some buttons, or something – they were supplying a precision aircraft skin protection material removal tool and they thought they were just giving me a free promotional yardstick.
Doh! I got a little crooked with the squeezer and it bit a chunk out of one of the holes in the trailing edge of the right stabilizer skin – on the top side where you can see it, of course.
I carefully squished the misplaced dimple flat with the squeezer and some flush dies, then redimpled the correct hole, and spent some time with needle files to make sure there aren't any stress risers in the oblong hole that might crack later. Then I drilled the hole out to #30, which ate up the worst of the misplaced hole. I'll put a NAS1097 "oops" rivet in this hole, and put a little bit of filler in whatever little blemish is still visible. No big deal, every airplane has boo-boos like this. I'm probably the only person who'll even know it's there. Oh, and everyone reading this, I guess. Perhaps there is a downside to being honest and documenting my mistakes where everyone can see…
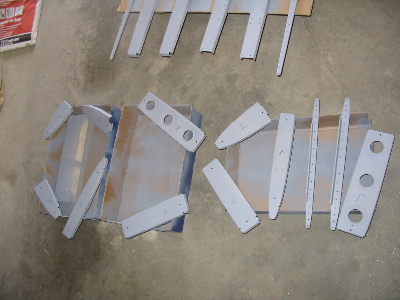
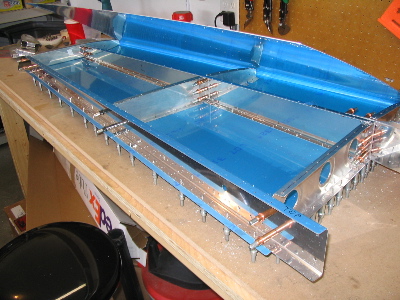
Decided to take the hint and quit for the night. Here are the parts for the right horizontal stabilizer, all deburred and dimpled and ready to be primed and riveted together.