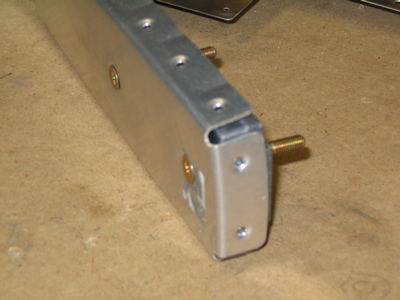
Back riveted the elevator stiffeners and E-615 reinforcement bracket to the elevator skins:
Back riveted the elevator stiffeners and E-615 reinforcement bracket to the elevator skins:
Today I deburred the holes and edges, and dimpled the holes, for both elevator skins. Tedious. My edge deburring method is to first use a vixen file to knock off the shear marks, then 220 and 400 grit sandpaper until the edges are smooth and all visible tooling marks are gone. It takes a while.
Then I shot some primer along the rivet lines. I think the combination of striped empennage skins along with striped ugly futon is rather fetching, don't you?
Then I primed all the elevator stiffeners and the E-615 trim reinforcement bracket. Mary came out and helped me clean parts, and to re-mark them after the acetone washes off the identifiying marks during the cleaning process.
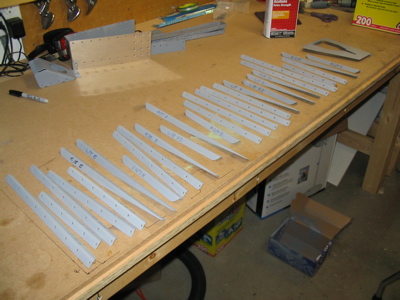
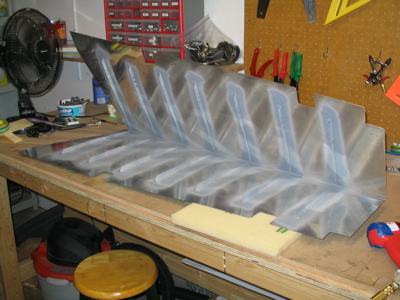
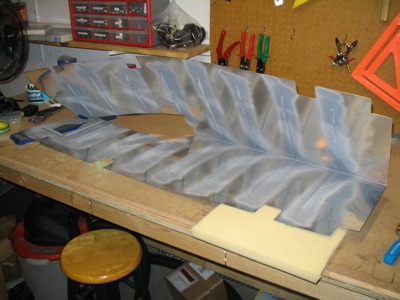
It was way too hot for most of the day to venture into the garage/airplane factory, but after the sun went down I went out and finished deburring and dimping the elevator stiffeners. Here they are in all their glory. I'm pretty sure there are eleventy kajillion of them, or at least that what it seemed like at the time.
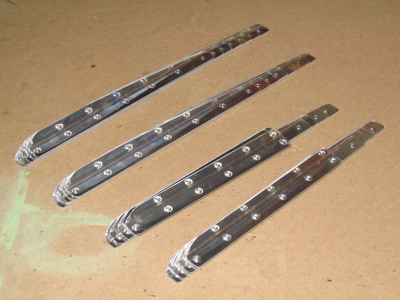
To avoid gouging up the stiffener webs (Do stiffeners have webs? Anyway, the part that's perpendicular the flange) I ground down one side of my female tank dimple die. I didn't have this problem with the rudder stiffeners, but the holes in the elevator stiffener flanges are just a little bit closer to the webs than they were on the rudder stiffeners. And since I have an extra female tank die I wasn't too worried about accidentally munging this one when I was grinding away at it.
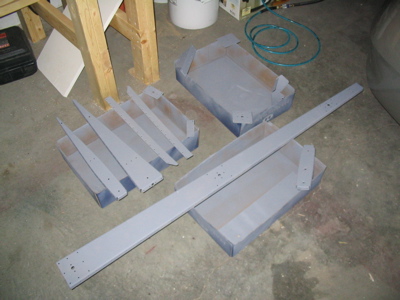
Today I countersunk the rudder trailing edge wedge, and prepped and primed the rudder parts. Not very interesting, but here's a shot of them resting after being sprayed:
So much of this project is this type of mindless stuff – deburr, dimple, prep, prime. Which is okay, since I can do a little bit every day after work when I'm brain dead.
Now I have the rudder parts ready to rivet together, but I'm sort of stuck until I get my squeezer back from the rebuild place.
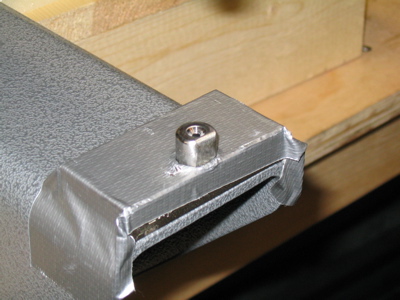
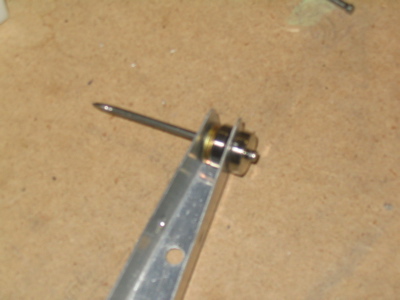
The rest of this weekend was spent deburring and dimpling the rudder parts. Here's a shot of my solution for how to dimple the aftmost holes in R-903… pop rivet dimple dies with the nail inserted from the outside, and washers to take up the gap:
The lead brick is attached to the counterweight rib with #10 screws. Dimple dies for a screw that big can be expensive, so some builders use their #8 dies and mash the screw in there to expand the dimple. That sounded like an opportunity for a stress riser and an eventual crack to me, so I found some cheap #10 dimple dies on eBay and used them to make the proper dimple. No big deal. The lead then is countersunk to fit the dimple – it's soft enough that I was able to use my deburring tool to do it.