Back on the horse… tonight I did the fabrication and so forth on the elevator trim servo cover plate and the brackets that attach the trim servo, and got them ready for priming.
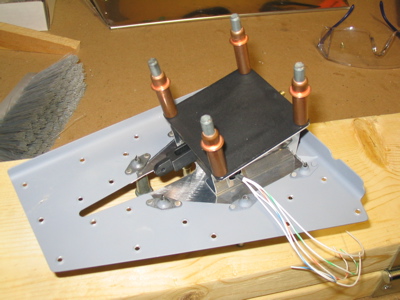
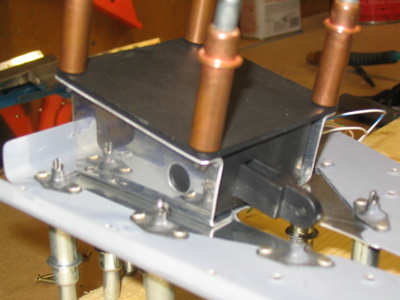
Total parts ruined this evening: Zero (woohoo!)
Back on the horse… tonight I did the fabrication and so forth on the elevator trim servo cover plate and the brackets that attach the trim servo, and got them ready for priming.
Total parts ruined this evening: Zero (woohoo!)
So here's the message I posted to the VAF forum earlier today:
Okay, mostly I just want to vent right now. @#$% tabs on the left elevator skin!
I did the wood block thing and I thought it turned out "okay" – not cosmetically great, but acceptable. Then I looked at it closely and saw the big (5/8") crack in the top side, right at the trailing edge. It seems the length of the little flaps you bend to close out the skin in the trim tab area was too long – I trimmed them up some, but apparently not enough – and the bottom tab dug into the top skin, the pressure of which caused it to crack as I was going over it with the rivet set to flatten out the bend.
The crack is too big to live with, and I don't want to have cracks in my airplane anyway. It's also too deep into the skin to just cut it off and replace, so now I am drilling out the rivets that hold the elevator stiffeners and other stuff to the skin, and I'll order a new skin from Van's tomorrow. Sixty bucks plus shipping, ouch.
This next time around, I'm going to be smart and ignore the instructions – my new plan is to use the hand seamer to make the elevator tab bends first thing, before I complete the trailing edge bend. Or, maybe I'll fabricate a little rib to put in there instead. At least I'll have plenty of scrap aluminum available to use!
I think I'll also do the trim tab the same way, because this wood block and folded tab stuff is completely lame. I wonder why Van's doesn't just offer a little rib to put in there… I know from searching various list archives that I'm not the only one to have trouble in this area. Yet another aspect of this airplane project that makes no sense, I guess. It seems like the times when I've gotten into the most trouble with the empennage so far is when I've done exactly what the plans say and in the prescribed order, instead of throwing them out and using my head instead. I wonder how many fuselages I'll have to build before I get it right? Grr.
Okay, rant over – thanks for listening…
mcb
RV-7 emp
QB wings & fuse scheduled for October
http://www.rv7blog.com
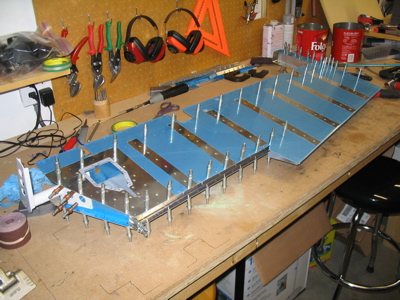
So, here's the carnage that resulted after I drilled out every single rivet that was holding on the left elevator stiffeners and trim mounting plate. It went surprisingly fast, and I didn't really wallow out any of the holes, so I won't have to use very many oops rivets, if any. I don't recommend this as a way to practice drilling out rivets, however.
Today I deburred, dimpled, countersunk, and mostly primed the left elevator parts. However, I ran out of primer when I was almost done, so I'll have to wait until the case I ordered last week shows up. Nothing worth photographing – just look at the photos of the right elevator parts after priming and imagine them flipped 180 degrees.
Oh, one other thing I learned today: A side grip cleco will make a nice blood blister if it pops off the pieces it's clamped to and bites your finger instead.
Riveting the trailing edge of the rudder is one of those tasks that I've been dreading – not just because of all the horror stories, but also because you can tell just by looking at the plans that this part sucks. The goal is to get the trailing edge of the rudder to a) come out straight, and b) have as little waviness to it as possible.
The manual lays out a procedure for doing this that involves the back rivet set – other builders have had success with different methods involving the use of the pneumatic squeezer (1, 2). I started out by grinding one of my flat rivet sets to an angle that matches the trailing edge of the rudder:
Then I clamped angle stock to both sides of the trailing edge, just forward of the rivet line. Using two flat sets in the squeezer, I worked from the center out, setting each rivet about halfway.
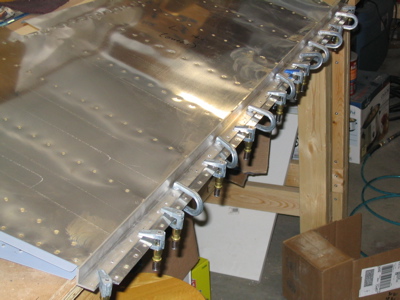
You can't see it here, but I put each rivet in from the opposite direction as its neighbor. I figured that would help balance out any tendency for the riveting process to want to bow the trailing edge in one direction or the other.
At this point, everything was going great. Then I switched to the special angled squeezer set with the intention of finishing the process of squashing the shop heads of the rivets until they were flush with the skin. It didn't turn out as nice as I'd hoped – not only did the shop heads not get set all the way flush, but the act of clamping down on the trailing edge with the squeezer caused some "pillowing" of the skin between each rivet. After finishing this process, looking the rudder over, and saying some bad words, I got out my back rivet plate and mushroom set, and went over all the rivets again until they were all perfectly flush.
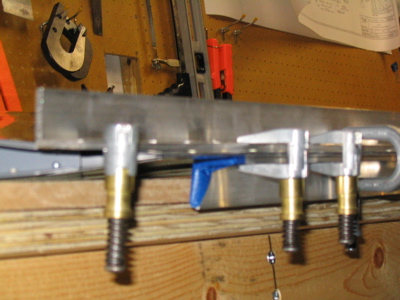
You can't see the details very well in this photo, but here it is:
It turned out to be almost perfectly straight overall (only about a tenth of an inch deviation along its entire length) but it does have some pillowing and a slight amount of waviness between successive rivets. I think it will look okay after it's painted, though, and at least it's aerodynamically acceptable. I now know that setting the rivets partway with the squeezer and then finishing with the rivet gun is probably the best way to go. Oh well, the rudder trailing edge on my next airplane will be perfect. Or, I may re-skin this rudder some day if I have some downtime. I am glad that I put in each rivet in alternating directions, and I'm fairly pleased with the way the shop heads of the double flush rivets turned out. When it's painted you might not even be able to tell which side is the manufactured head and which is the shop head.
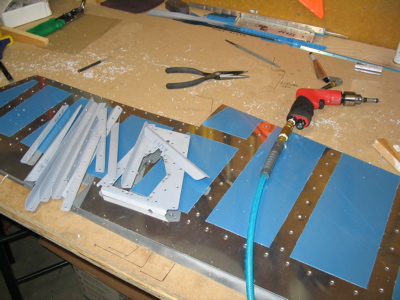
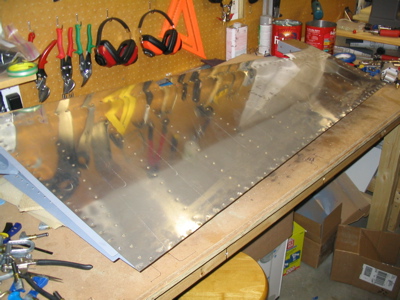
Tonight I got the left elevator clecoed together and mostly match drilled before I had to call it quits: