Archive for August, 2005

Riveted right elevator

Sunday, August 14th, 2005

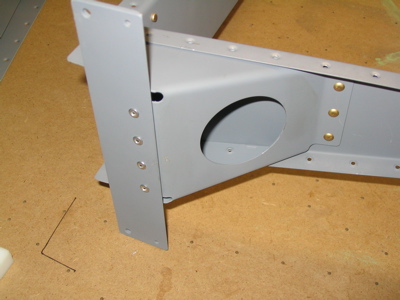
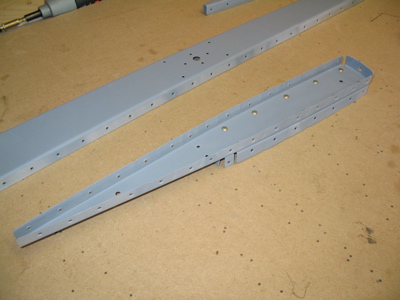
Today was a productive day. Let's walk through it. First I riveted together the right elevator tip ribs:
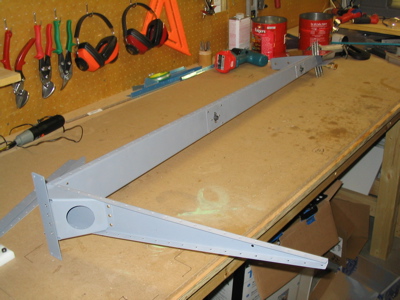
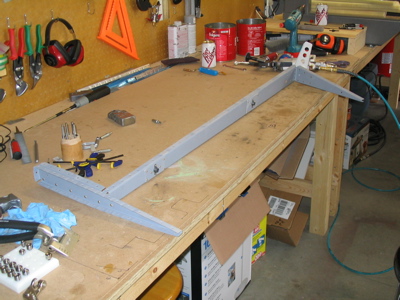
Then I got the elevator skeleton (tip ribs, spar, hinge points, root rib, horn weldment) riveted together:
Then the counterweight skin gets riveted to the elevator skin with two rivets on top and two on the bottom. This makes sense if you look at the plans – these rivets would be impossible to squeeze once the spar and ribs are in place, so by putting them in now you get to avoid the use of blind rivets here.
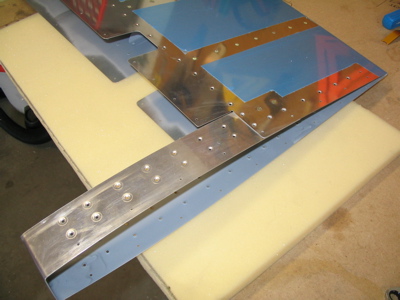
The skeleton is stuffed into the skin, and it starts to look like a control surface:
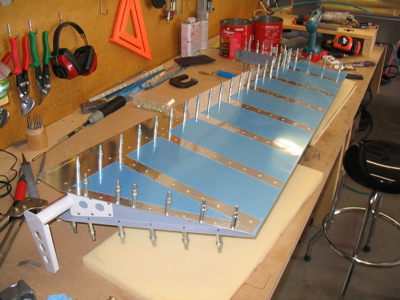
Blobs of RTV (the non-corrosive kind) are put at the trailing edge where each pair of stiffeners comes together. This supposedly helps reduce problems with cracked trailing edges from the skin flexing around the stiffener ends.
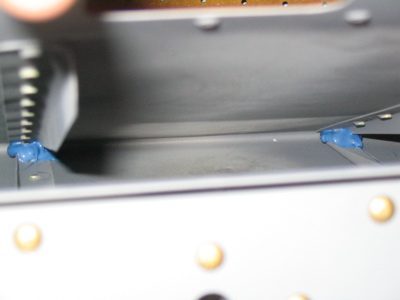
Then all the remaining rivets are put in, and the right elevator riveting is complete!
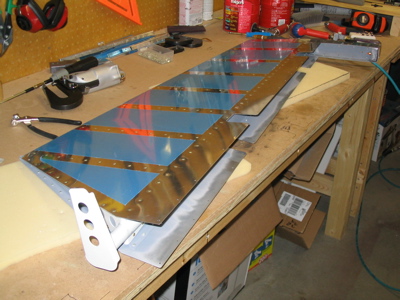
I ended up using two blind rivets at the trailing edge (one on the top side at the tip, and one on the bottom at the root) where the ribs are so narrow that it's impossible to get any kind of squeezer or bucking bar in there. Matthew had previously loaned me a special back rivet set that looked it like it might have helped with those rivets, but I couldn't get it into my rivet gun – the shank was too big. I've seen on various websites where people have made special bucking bars by grinding up axe heads or chisels or whatever else, in a quest to avoid using blind rivets here, but even I'm not that obsessive – put in the poppers and move on, I say.

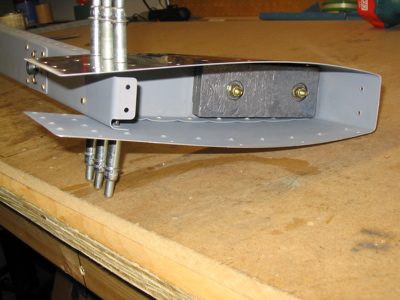
The last step of the night was to torque the nuts that hold on the counterweight. A dab of torque seal compound marks each nut as being properly torqued, and lets me inspect it later on to see if it's come loose.
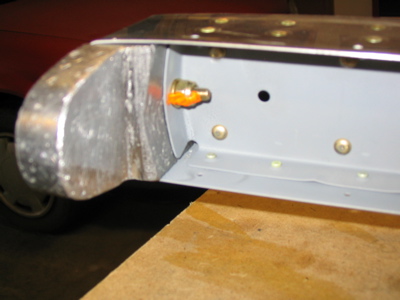
I probably used too much on this nut, but it was an old tube of the stuff and it kind of blew its top when I opened it. Oh well.
More right elevator work

Saturday, August 13th, 2005

Since I'm still letting the rudder trailing edge cure, I did some work on the right elevator today. Got the replacement counterweight and ribs from Van's and drilled them – they came out fine the second time. Then there was a certain amount of match-drilling elevator ribs and spar together, which was also uneventful.

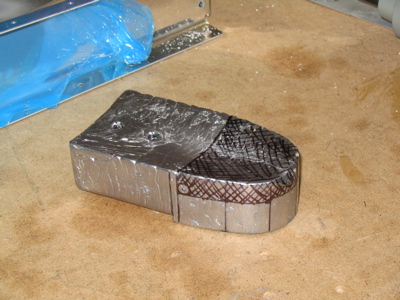
The least straightforward job of the day was trimming the counterweight. They send you two identical lead counterweights, and you have to remove a big chunk from the one that goes into the right elevator, since it is lighter than its cousin on the left side (left elevator has a trim tab and associated hardware). Here is the "before" shot, with area to be trimmed marked off:

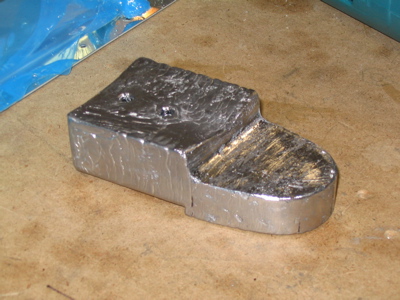
30 sweaty minutes later, here's the finished product. I first bored through it with a 1/4" drill to provide a nice radiused corner, then I attacked it with hacksaw and file until it reached this state. I was pretty wiped out by the end. Although it's soft, lead is a pain to cut or drill because it wants to grab drill bits and load up saw teeth.

Then I took everything apart, deburred, dimpled, and primed. That's a couple hours of tedious work that I didn't bother to snap photos of.

Proseal party!

Tuesday, August 9th, 2005

I think it's safe to say that no manganese dioxide-cured polysulfide sealant has destroyed more marriages than Proseal. Luckily Mary is still speaking to me after I convinced her to help me Proseal the rudder trailing edge tonight. What a mess. I'd forgotten how much I hate that stuff – an enmity I developed while working on the fuel tanks of my previous RV. Having an extra pair of hands around was a huge help, though. Mary is awesome and now I feel compelled to buy her something shiny.

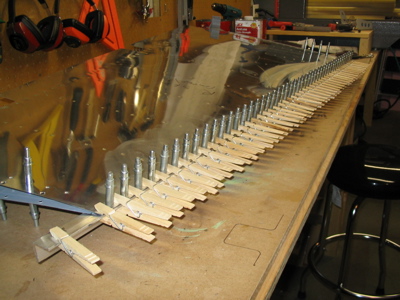
This sucker will cure for a week before I take out the clecoes and put in the rivets. Note that a 48-count box of wooden clothespins from Dillon's yields exactly enough to help clamp down the trailing edge of an RV-7/9 rudder, plus one extra to put on your nose while you mix up the goop. Coincidence?

Rudder riveting

Sunday, August 7th, 2005

Since I need to wait for replacement ribs to continue with the elevators, and I got my pneumatic squeezer back from being rebuilt at Clear Air Tools, I switched back to the rudder. Here the skeleton is coming together:

I used solid rivets to attach the rudder brace to the bottom rib, but I wasn't able to get any of my squeezer yokes inside the brace in order to squash the horn-to-brace rivets, so I used the optional LP4-3 blind rivets there. I could probably have used solid rivets if I'd ground down the top corner of my longeron yoke, but who cares.

The rudder counterweight is installed in its home with nuts and screws. I wonder why this weight is pre-drilled but the elevator ones aren't…?

Here the skins have been riveted to the spar.

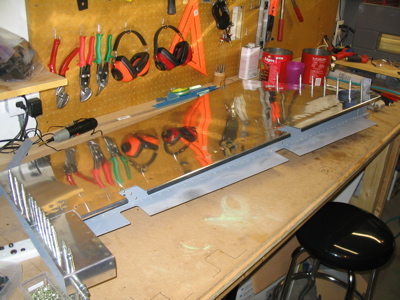
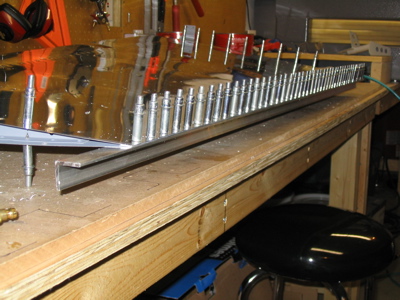
Next step is the trailing edge, for which I obtained a big piece of 1/8" aluminum angle from the aviation department at Ace Hardware. Clamped to the rudder trailing edge, match-drilled, and held with a cleco in every hole, it will serve to keep the trailing edge perfectly straight while I glue it together and then rivet it.

But that will have to wait for another night since Mary wants to take me for walkies in the park.

Right elevator work

Saturday, August 6th, 2005

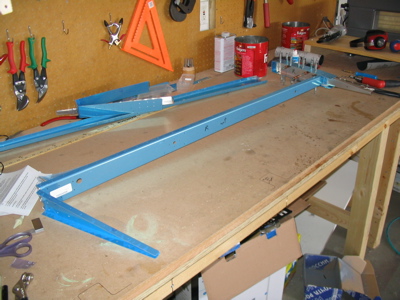
This morning the right elevator skeleton started coming together:

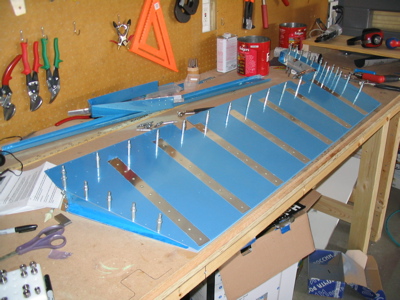
Then the skin got clecoed on and match-drilled:

As did the elevator horn:

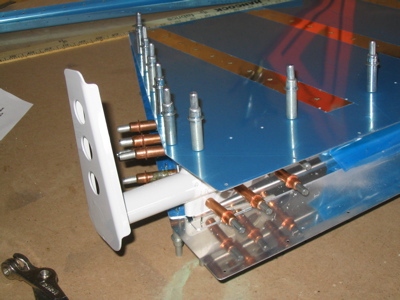
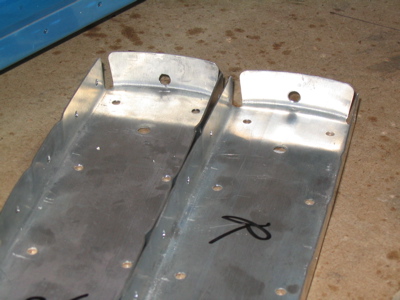
Oops! Here's the first mistake on the elevators. I followed the instructions and drilled through the counterweight into the E-703 and E-704 ribs, but the drill got off-center and the resulting holes in the rib flanges are too close to the edge for the nut that's supposed to fit there. I thought about elongating the holes, but decided against it. That means I get to buy a new counterweight and two new ribs on Monday.

Then I repeated the above steps for the left elevator, and it all turned out okay. So at least I don't have to redo the counterweight ribs on both elevators.