Archive for July, 2007

Fiberglass canopy skirts part VII

Tuesday, July 31st, 2007

I sanded on the canopy skirt for about an hour tonight, making a big dusty mess of my garage:

After I did all the sanding I thought I could possibly do, I shot a coat of grey primer on the skirt.

Once the primer was dry (which was pretty quick since micro filler is so porous) I sanded the entire thing some more. The spots that remained grey are the low spots that I'll need to put more filler on. I'll have to do that later since I'm too tired to mess around with gooey stuff tonight.

By the way, I've become a convert to Norton 3X sandpaper. It's significantly more expensive than the no-name stuff, but cuts better and is way more durable. To me, anything that makes fiberglass sanding go quicker is worth it.

Fiberglass canopy skirts part VI

Tuesday, July 24th, 2007

I used a hole finder to drill the holes that will attach the fiberglass skirt to the canopy:

Then I spent some time laying out reference lines (perpendicular to the rivet line) at intervals of one inch along the entire skirt. These I used to measure and mark the true cut lines for the front and rear edges. Unfortunately I don't seem to have taken a photo of the skirt after all the trimming and sanding, but suffice to say it fits well and the edges are a lot nicer than this "before" shot.

My resupply order from ACS arrived, so I mixed up a big batch of epoxy and filler and applied it to the surface of the skirt, while it was being held in place with a single cleco on each side just to hold the shape.

I'll have to do a lot more filling (and sanding) before it's through – this is just a reconnaissance mission to fill the cloth weave and help identify low spots that need more filler.

Fiberglass canopy skirts part V

Thursday, July 19th, 2007

I only had a few minutes to work on the airplane tonight, but I couldn't resist seeing how the most recent layup went. I removed the peel-ply, and there was the cured canopy skirt in all its glory. I traced the guide marks, which were dimly visible through the semi-translucent fiberglass, onto the top surface of the skirt.

It still pretty flexible around the longitudinal axis, but plenty stiff along its short dimension where it needs to be. I trimmed off the jagged edges and removed most of the tape residue from the fuselage and canopy, and here is the result:

The fit of the skirt to both the canopy and fuselage skin is excellent. I need to even out the dip in the middle with filler, but that at least is something I know how to do.

Fiberglass canopy skirts part IV

Wednesday, July 18th, 2007

A 4-40 screw hole usually requires a #43 tap drill, but there's just enough material left in a regular #40 hole that you can tap it and get a screw to stay in. I used this fact to my advantage, tapping and running flush 4-40 screws into the holes in the aft canopy bow. I'm glad I waited to final-drill the rivet holes in the canopy frame, or otherwise I wouldn't be able to perform this little trick. These holes will eventually get drilled up to #30 for pop rivets, but for now the screws and tinnerman washers will hold the plexiglass in place without clecoes. I didn't do anything to secure the aft edge of the plexiglass last time, and I think it lifted away from the frame. This time, I can lay up fiberglass right over the top the screws, and the plexiglass will be perfectly held in its final position – the better to make a perfect set of aft skirts, I hope.

With the canopy latched and the plexiglass secured in its final position, I bridged the gap between the glass and fuselage with duct tape, then covered it with clear packing tape to keep the epoxy from sticking to the mold. Tightly-stretched duct tape seems able to keep its shape better and sag less than packing tape alone.

Cutting out pieces of 9-oz cloth:

I laid up four layers of fiberglass on each side of the skirt, with lots of overlap in the middle. This ought to be plenty strong. You can also sort of see that the shape is better this time.

I had a roll of peel-ply tape laying around, so I used strips from that instead of one big peel-ply sheet. No particular reason other than it happened to be handy.

And now we wait…

Canopy handle

Tuesday, July 17th, 2007

The canopy on a side-by-side RV is hard to open from the outside, no matter if it's a tip-up or a slider. I decided my canopy would benefit from having an exterior handle to help me open the canopy while standing on the ground, and I wanted it to be small, streamlined, corrosion-resistant, simple to install, and easy to replace. I found a nice looking stainless-steel cabinet handle at Home Depot that seems like it will fit the bill. For future reference in case I need to replace it, it is a standard 96mm size and is threaded for 8-32 screws.

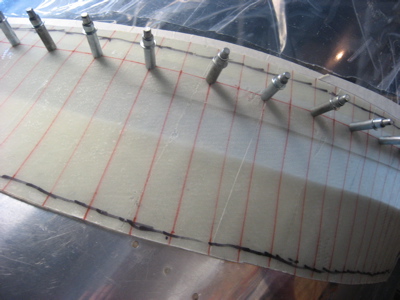
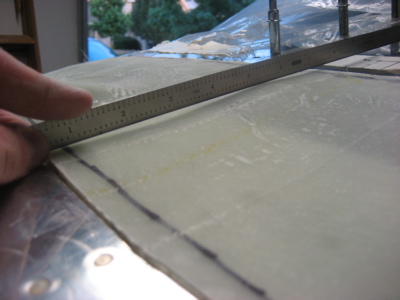
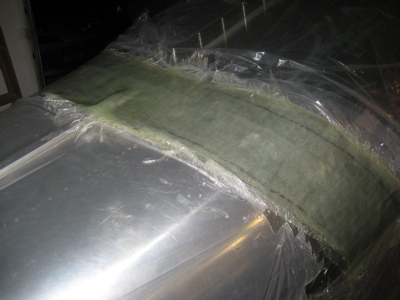
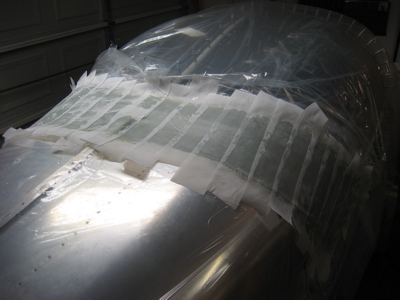
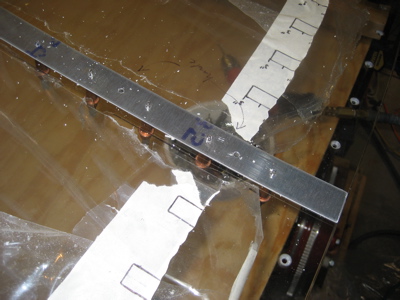
I put some masking tape on the rear portion of the canopy frame to help me find the true centerline, and marked and drilled two holes into the center tube with appropriate spacing to fit the handle.

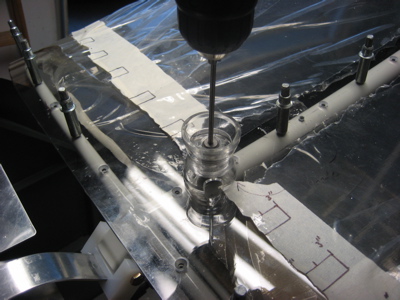
After deburring the holes in the top of the frame tube and enlarging the holes in the plexiglass, I drilled through the bottom part of the tube using a drill guide to keep the drill bit vertical.

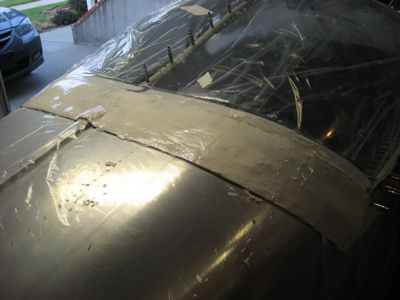
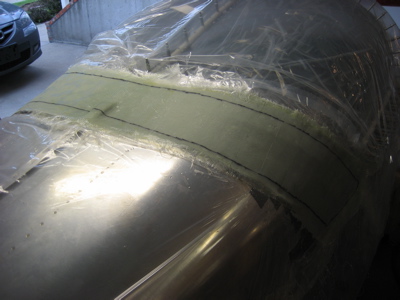
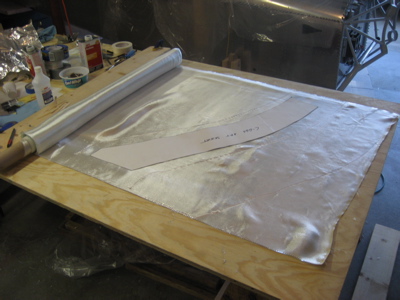
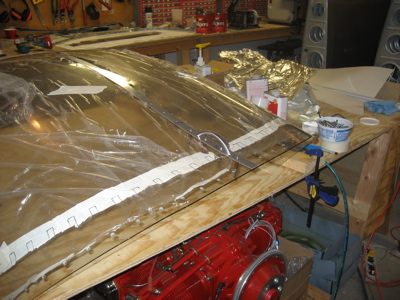
With the plexiglass off the frame, I clecoed on the the C-653 cover strip and backdrilled the handle mounting holes.

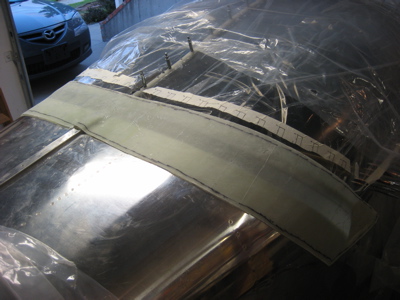
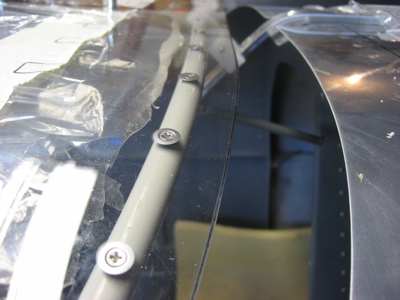
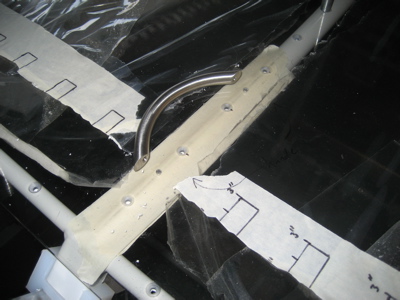
I drilled the holes in the frame and cover strip to #19 for a #8 screw, and enlarged the holes in the canopy bubble to 1/4" to provide plenty of clearance between the plexiglass and the screw threads. I still need to obtain some screws long enough to go through the canopy tube, plexiglass, and cover strip – probably something like an AN525-832R20. Until then, here's a photo of the handle temporarily screwed to the plexiglass, just to show how the finished product will look:

Getting this little project out of the way means I can cross yet another item off my "things to do before the canopy can finally be riveted together" list. I guess you could say I'm starting to get a handle on the situation. Hah!