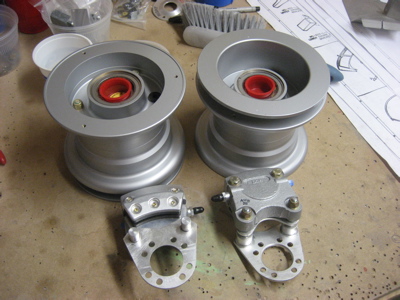
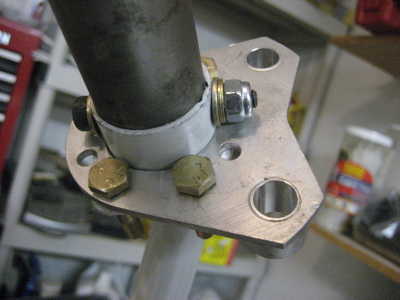
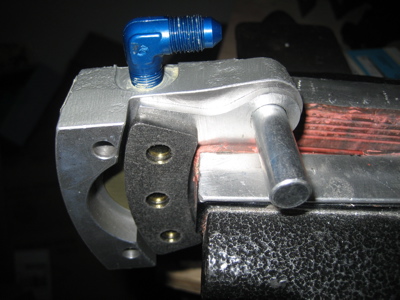
Well, I figured out how the landing gear axle, brake mounting flange, brake mounting plate, and U-810 bracket are all supposed to fit together. You're also supposed to make little 13/32" aluminum spacers to maintain clearance between U-810 (to which the wheel fairing mounts) and the brake disc, but I just used stacks of washers instead. When I had my RV-9A, I accidentally squashed a couple of the aluminum spacers while tightening up some loose bolts – no chance of that happening here.
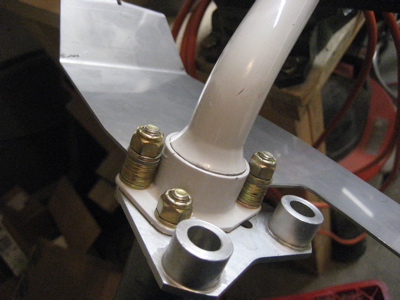
Seven AN960-416 washers stacked up gives you the required 1/16" clearance between the bracket and the brake disc. By the way, my U-810's are actually aftermarket replacement jobbies, made from stainless steel. I'm not sure this is really necessary, but I've had them laying around for a couple years (impulse purchase, again) so I decided to use them. They're heavier than the stock aluminum brackets, but I guess they ought to be pretty much indestructible.
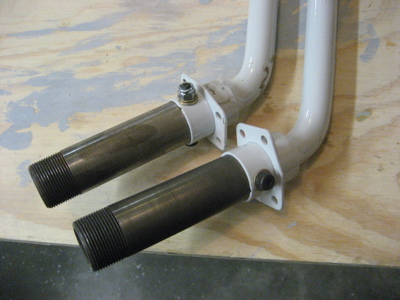
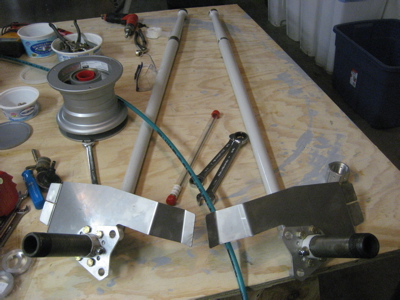
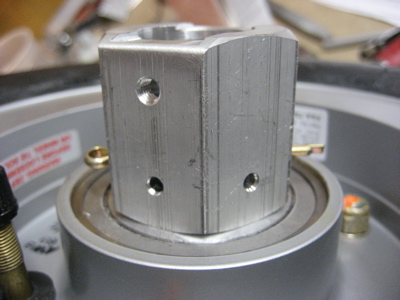
Here are both gearlegs with all the bracketry mounted:
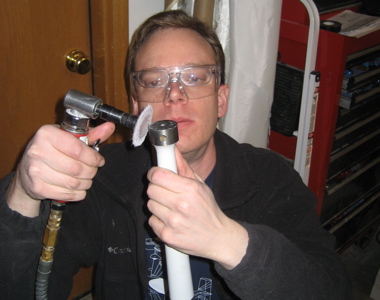
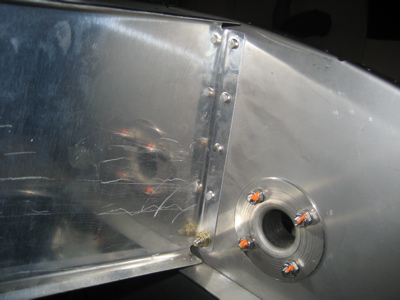
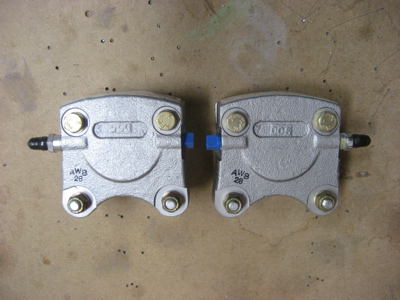
I installed the elbow fittings in the brakes, although I haven't gotten around to mounting the brakes for good just yet. I gooped Bakerseal (teflon paste) on the threads before installing.
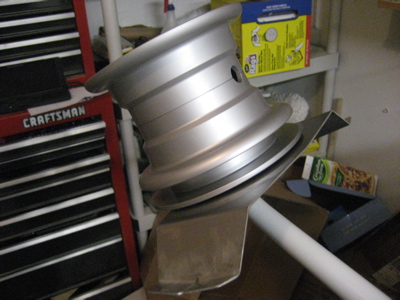
Then I dug the tires and tubes out of storage so I could assemble the wheels. The red dot is opposite the heavy side of the tire, so you line up the valve stem with the dot. One trick I learned somewhere is to put a couple psi of air into the tube after you get it into the tire, before you try to mount the tire on the wheel. When it's just slightly puffed up, it's much harder to accidentally pinch the tube between the wheel halves and ruin it.
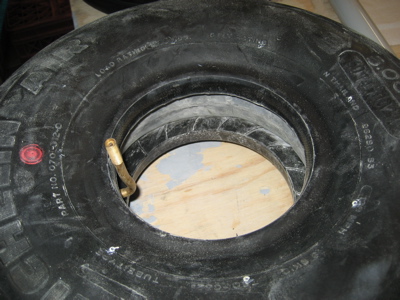
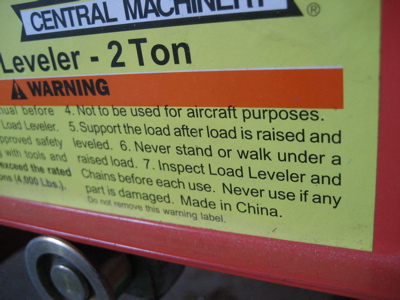
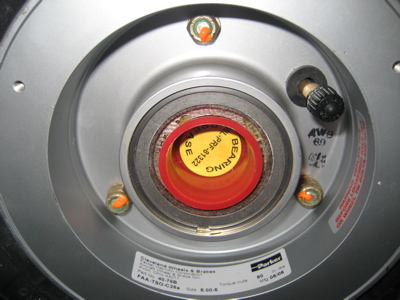
One other thing I want to mention about tires… the tradition is to put talcum powder inside the tire, to keep the tube from sticking to the tire at high temperatures – this is supposed to make it easier to remove the tube later on. I'm not sure if I believe this is really a problem, but when changing tires on my airplanes I've always done it anyway. Today I could only find the baby-fresh kind so that's what I bought. Anyway, I torqued the bolts holding the wheels together to 90 inch-pounds, which is higher than normal but that's what it says on the sticker. I also had to enlarge the hole in the rubber grommet to get the valve stem through without resorting to pounding on it.
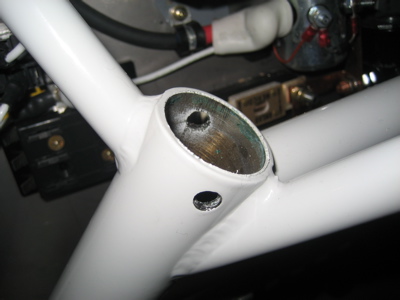
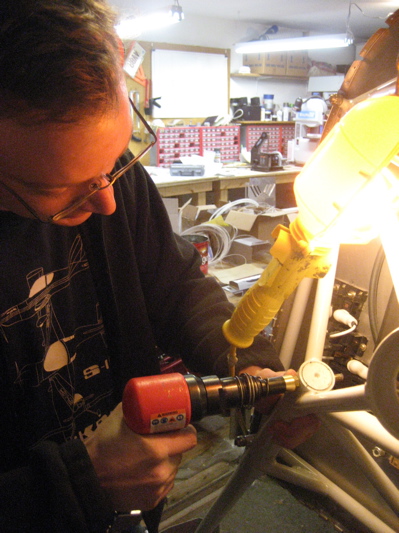
To drill the axles for the cotter pins that keep the nuts in place, I ignored the plans and followed the Tony Spicer method. Basically, it goes like this:
- Install the wheel and tighten the nut to where you want it.
- Use a 12" #30 drill bit to mark the location of the first hole with a small dimple.
- Remove the nut and wheel.
- Grind away the threads on the axle in an area about 1/8" in radius, centered on the dimple you made. I used a small hemispherical stone in my Dremel.
- Replace the wheel and tighten the nut back to where it was.
- Use the 12" #30 bit again to re-mark the dimple for drilling.
- Remove the nut and wheel.
- Use a sharp #30 bit to drill the first hole through the axle, using the dimple as your guide.
- Replace the wheel and nut.
- Put a drill bit through the hole you just made, to keep the nut from rotating.
- Repeat steps 2-9 for the second hole.
- Use the 12" #30 bit to clean out the two holes so a cotter pin will go all the way through.
You end up with nice-looking holes and you don't have to worry about splitting the threads and getting the nut jammed on the axle, which can happen if you use a center punch like the plans tell you.

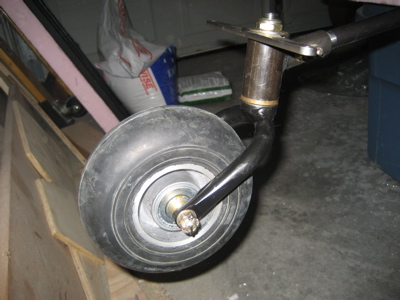
I installed the wheels and nuts but didn't bend the cotter pins yet, since I'll need to remove the wheels again to pack the bearings.
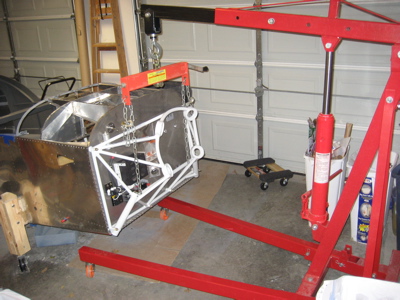
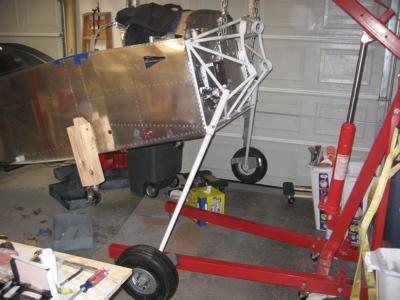
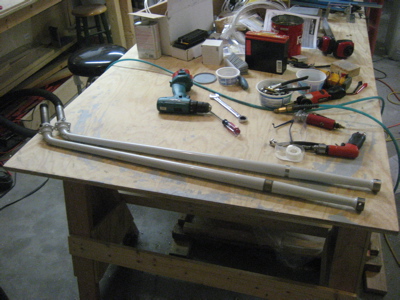
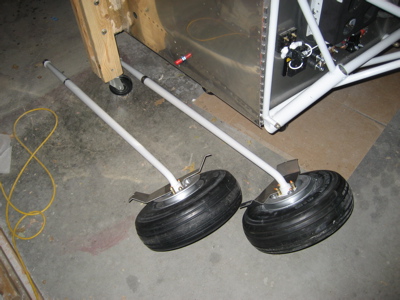
Here's two gearlegs with wheels installed (but no brakes yet) ready to go on the airplane.
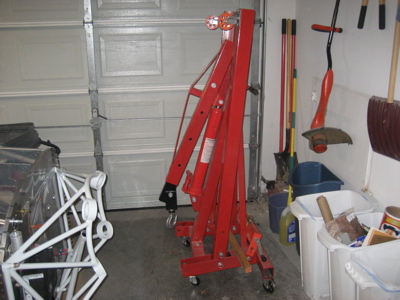
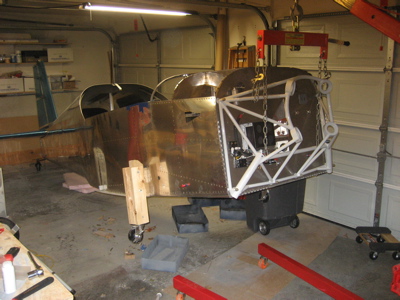
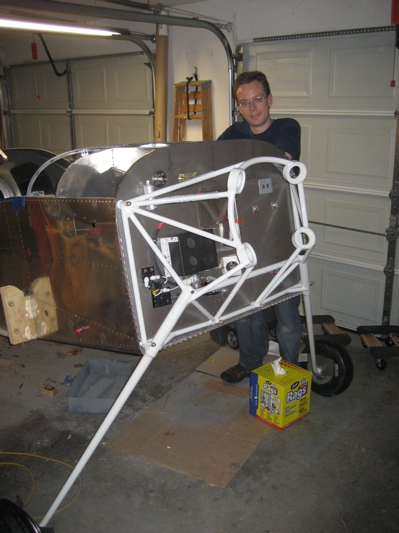
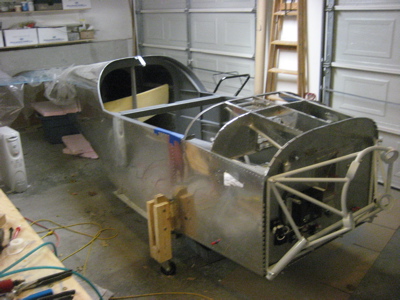
Scott was nice enough to loan me his engine hoist, which I will use to lift up the fuselage for fitting the gearlegs (not to mention for hoisting the engine). I just need to get a few things in order and then it will be gear-attaching time.