Archive for the ‘Landing gear’ Category

Nuts and tires

Saturday, January 6th, 2007

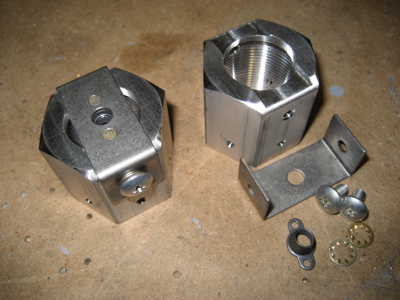
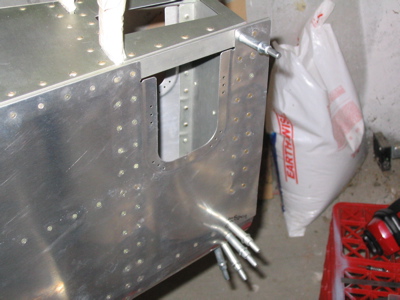
Avery has a really neat RV jack stand kit that makes it a lot easier to jack up the airplane. It requires you to modify your axle nuts in a manner that I was too lazy to do, so I paid a couple extra bucks to have them send me a pair of wheel nuts that already had the proper holes cut and slots milled into them. All I had to do was rivet the nutplate onto each one.

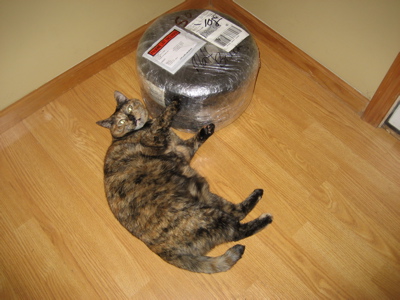
I also received my tires from Desser Tire today. These are Michelin Aviators with Airstop tubes – much higher quality than the tires Van's supplies (which I deleted from the finish kit). I used these on my last RV and they lasted forever and hardly ever needed airing up, which is a lot more than I can say about the cheapo Van's-supplied tires and tubes that airplane previously had. I figure it's worth it to spend the extra money here.

And for some reason, my cat loves them:

Finished empennage attach

Saturday, August 12th, 2006

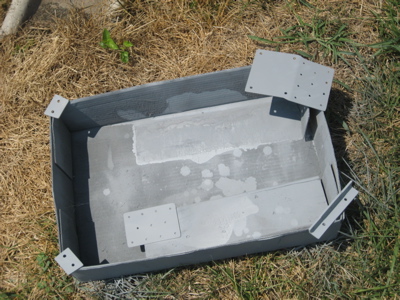
Today I took the empennage stuff completely apart yet again, deburred and cleaned everything, and primed the various parts that needed it:

I also vacuumed out the tailcone and smoothed and spot-primed a few places where there were scratches and tool marks.

Once the primer was dry (it doesn't take long in Kansas in the summer) I riveted the up elevator stop to the top deck:

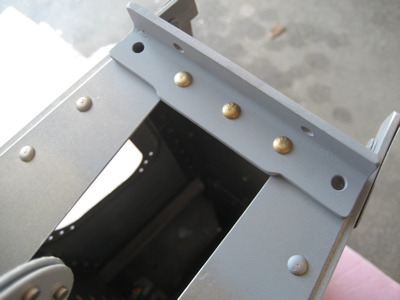
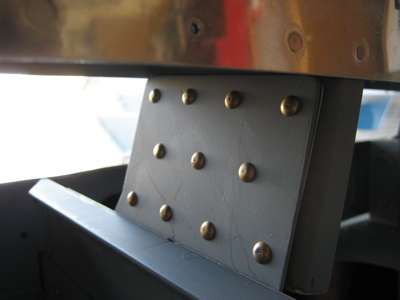
I also riveted the forward attach plate and shim to the vertical stabilizer spar:

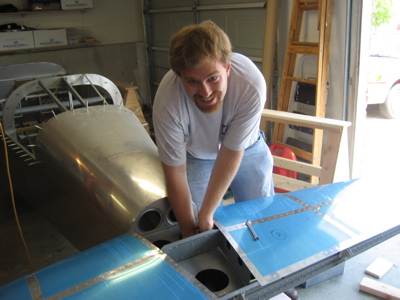
Scott came by to check out the project and I put him to work bolting the tail back on yet again.

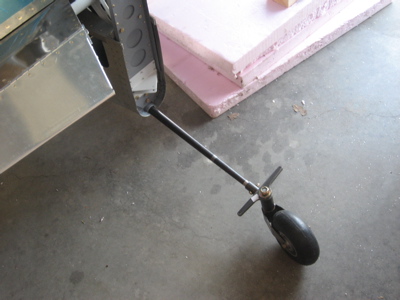
Since all the bolts are in now, I attached the tailwheel. Once I'm done with rigging the control surfaces, I'll take the tail off and put it back in storage, but I should be able to use some shorter bolts and a temporary doubler of some sort to keep the tailwheel fastened to the aft bulkhead.

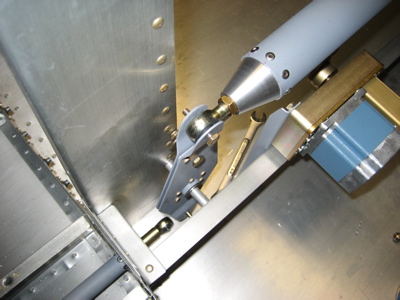
I installed the F-790 aft elevator pushrod and rigged it so when the elevators are clamped in trail with the horizontal stabilizer, the elevator bellcrank is exactly vertical. This happens when a 3/8" socket placed over the lower bolt head is perfectly centered in the access hole, like so:

Just for grins I also installed the F-789 forward elevator pushrod to see how it would fit. Something seems to be wrong, though… In this photo the elevators, bellcrank, and control sticks are all in their neutral positions, and even with the rod ends backed out as far as I dare, the forward pushrod is way too short. I promise I made it the exact length called out in the plans, so I'm not sure what the story is. It may turn out that I have to re-make that pushrod, which is no big deal since the end fittings are not terribly expensive and the tube stock is available locally – no expensive shipping of long pieces, hooray.

I also spent some time cleaning up the garage, which was a mess. It's still a mess but at least most of the tools are put away now.

Hard landing

Saturday, March 4th, 2006

Oops, had a little accident in the shop today. Mary came home from the store and pressed the wrong button on the garage door remote, causing the door on the side of the garage where the fuselage is to try and open. Since the tailwheel was sort of resting against it, the door picked up the tail of the airplane a few inches and then dropped it back onto the wheel. Not her fault, I should have unplugged that garage door opener (which I subsequently did). Anyway, the only damage was the shearing of the two little keeper rivets – no big deal, they were easy to drill out and replace – and some scratched paint on the weldment.

After repairing the "damage" and then thinking about it some more, I decided to remove the tailwheel and let the aft end of the fuselage rest on some 2" styrofoam insulation instead. Although I got the go-ahead from Van's before I put weight on the tailwheel in the first place, it's obvious now that it was never meant to hold up the airplane with only two of the five the bolts in place. The fuselage can go back on all three wheels once I get the vertical stabilizer fitted, but for now it will sit on the foam.

Wheels down

Saturday, February 25th, 2006

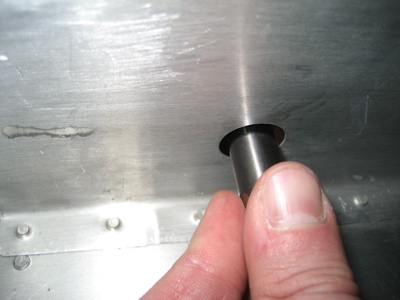
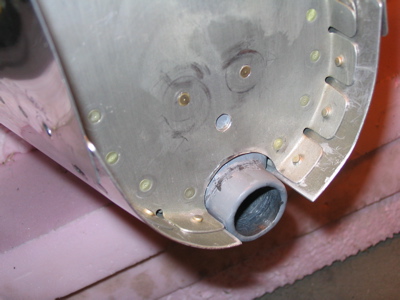
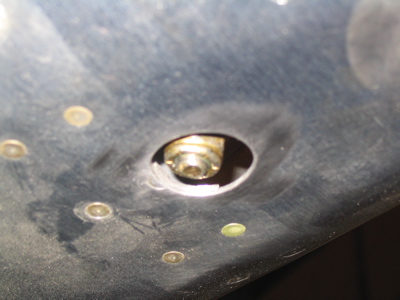
I discovered that I didn't make the hole in the bottom tailcone skin big enough – actually, I made it plenty big to let the required 7/16" socket get through, but I failed to realize that the tailspring bolt isn't exactly perpendicular to the skin, so the hole should have been one or two sizes bigger in order to let the socket get in there at an angle. No big deal, I just had to dremel the hole into a slightly oblong shape so I can tighten that nut when attaching the tailwheel.

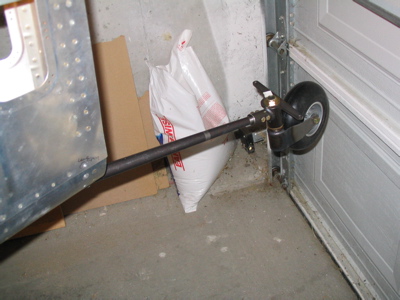
I temporarily bolted on the tailwheel, so that I can use it to make moving the fuselage around the shop easier.

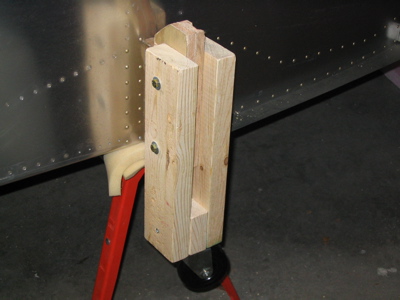
I also knocked together these little legs for the fuselage, and attached them to the wooden spacers that are bolted to the center spar carrythrough:

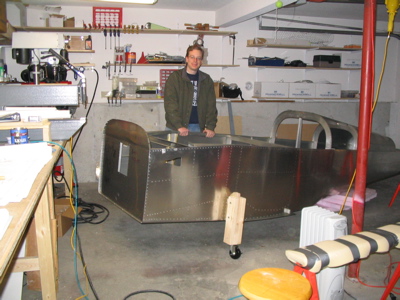
At approximately 10AM on February 25th, RV-7 #72324 made its first landing! It now sits nice and low so I can just lean into the fuselage to work on stuff. I think those stubby little legs make it look kind of like a KR-2.

Tailwheel mount continued

Sunday, February 12th, 2006

Here's the tailwheel mount back in the plane, after being cleaned, primed, and painted with some grey enamel to keep it from rusting. The aft bulkhead is also back in the plane, after lots of fitting, twisting, pounding, and bad language. I actually had to grind off about 1/16" from the top of it to get it to go back in – this is one area where the slow builders have an easier time, since they can just un-cleco the skins and put the aft bulkhead in and out all day long. I used some random 1/4" bolts to keep the mount in alignment with the forward bulkhead while drilling the holes for the two "keeper rivets" that keep (naturally) the tailwheel mount aligned with the aft bulkhead until the vertical stabilizer is bolted in place to hold all this stuff together.
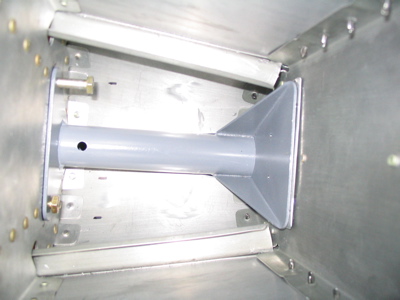
Here's the same shot, but now it's mostly riveted together. In this and in the above photo you can also see the 0.040" shim I decided to add between the aft face of the mount and the aft bulkhead to take up some of the gap there. The plans say to add a shim between the mount and the forward bulkhead if necessary, but my problem here is that the lower part of the mount is fine, it's just the upper part of the aft face that doesn't perfectly match with the aft bulkhead. I think the aft part is actually welded a little crooked. Anyway, I jammed a piece of alclad down in there, and hopefully the bolts that will go through here later on will pull everything into alignment.
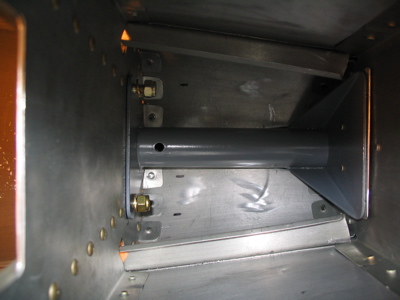
This little tab didn't lay down against the longeron like it should have, so I put a little shim in between and used a longer rivet:
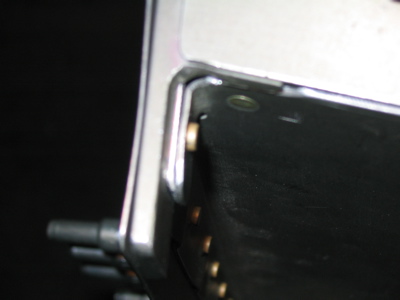
The skin doesn't lay down over the bulkhead in a perfectly flat manner – it sort of tucks in a tiny bit and then bows back out, probably because the bulkhead flanges aren't 100% square with the skin. I guess I could have taken the bulkhead out, tweaked the flanges, and put it back in over and over until it was perfect, but I figured I'd risk bending something else in the process and decided not to mess with it. Anyway, this caused me to put a couple of light smiles in the skin when driving a few of the rivets, but once it's painted nobody will notice. Note that in the photo below I'm holding the light at an angle that exaggerates the dings and fingerprints – in real life you have to look closely to see this.
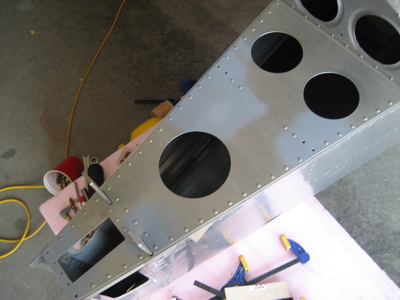
The tailwheel mount and aft bulkhead are completely installed, with the exception of four holes on each side where I plan to use Cherry Max structural blind rivets (there are five clecoes per side in the photo but one is for the rudder stop and will be riveted later). Three will go on each side below the tailwheel mount where you can't get a bucking bar to fit, and one will go through each of the little tabs on the forward face of the bulkhead where I can't get them to lay down on the longeron without a clamp, and I can't fit both the clamp and the rivet squeezer or bucking bar in at the same time.
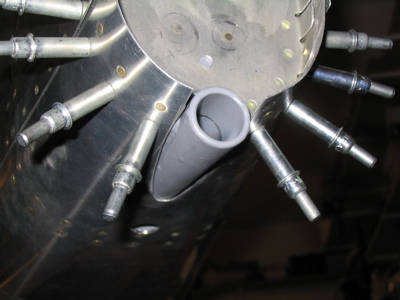
I thought this was a neat view… I think it sort of looks like some kind of spiny deep-sea creature, what do you think?