Archive for December, 2020

Brake hoses

Sunday, December 27th, 2020

To complete the plumbing of the brake system I bought a set of teflon-lined, steel-braided brake hoses from TS Flightlines. Tom was great to work with, and I'd recommend his services to anyone in need of aircraft plumbing.

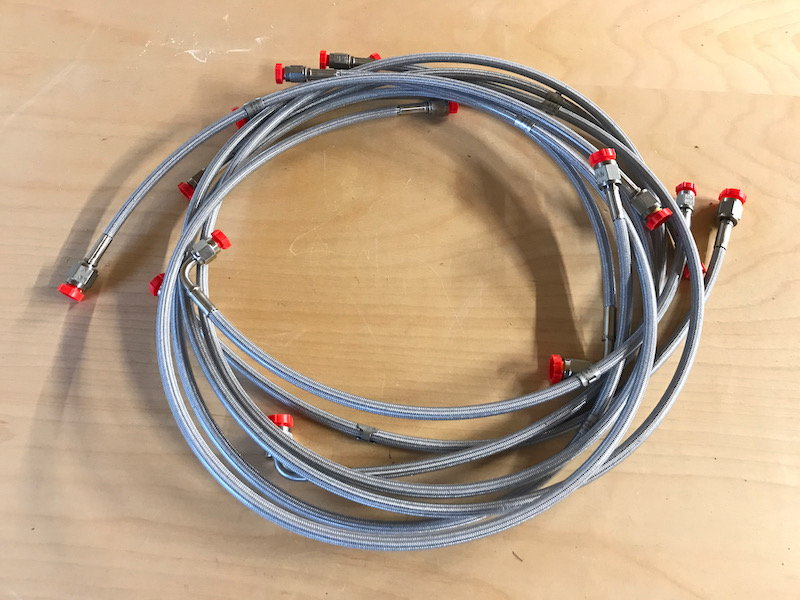
I really only needed the two hoses that go between the firewall and the brake calipers, but I decided to go ahead and replace all the interior hoses with this new non-life-limited teflon stuff too. As a bonus, the new hoses are thinner and lighter than the old ones they're replacing.

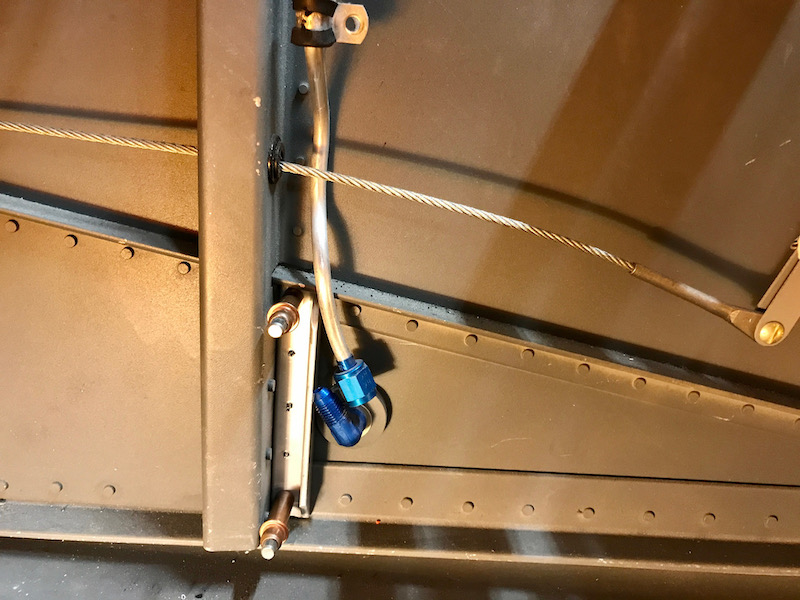
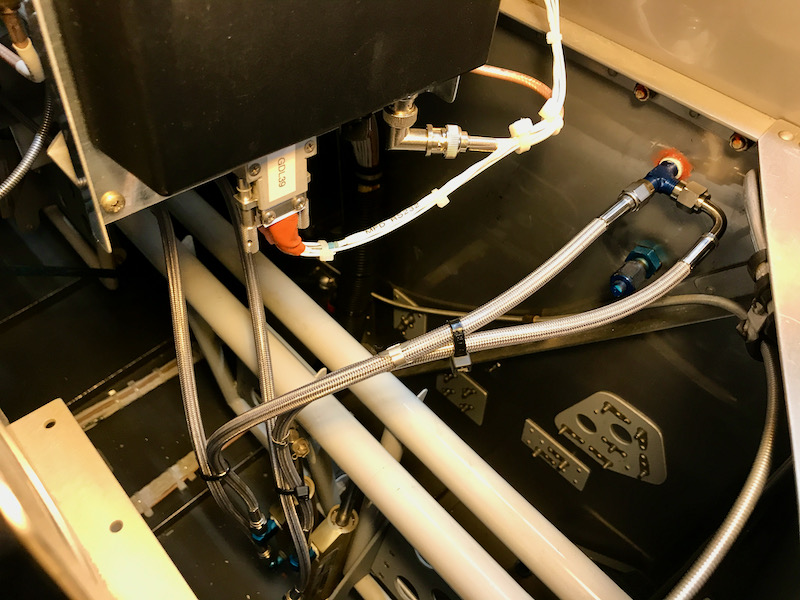
A few strategic tie wraps keep the hoses from binding on each other:

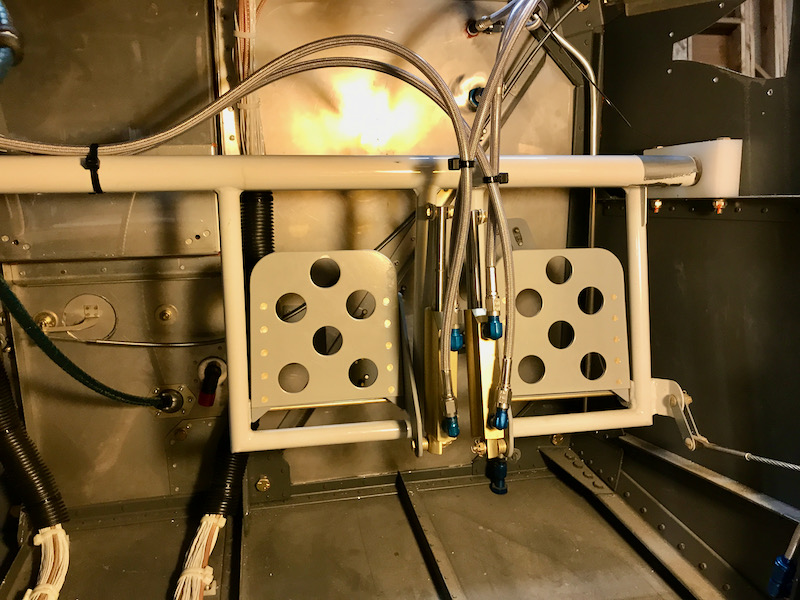
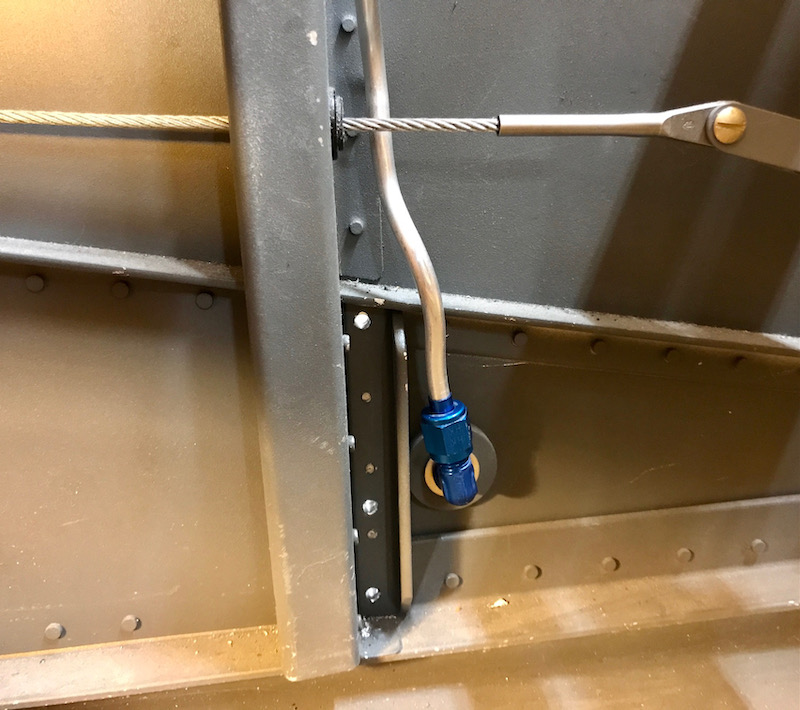
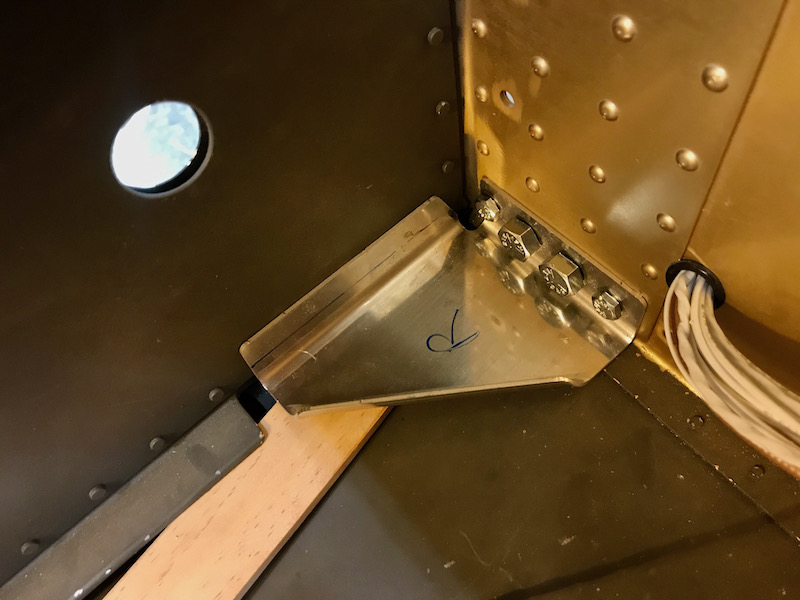
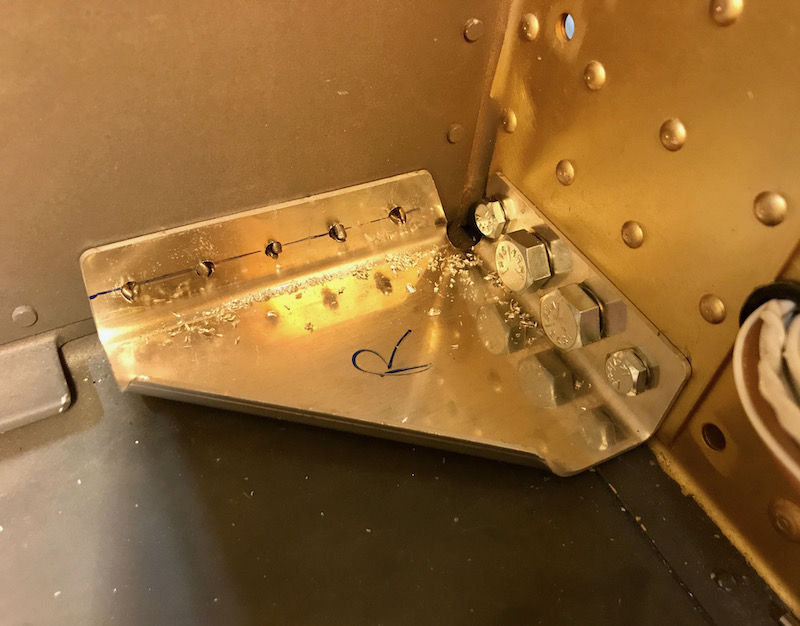
I also replaced the plastic "ice maker" tubing from the brake reservoir to the passenger pedals. I had to experiment with hose routing and fitting angles to make sure these hoses remain well clear of the avionics and wiring mounted above.

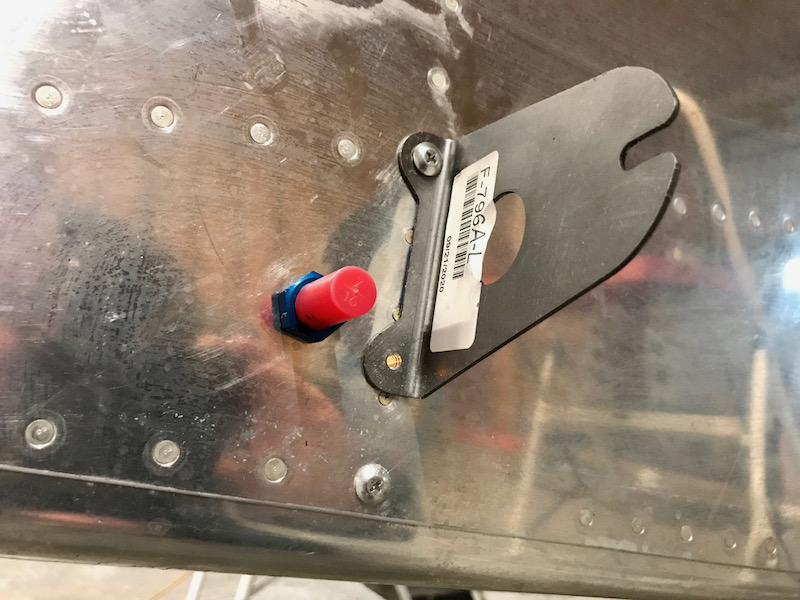
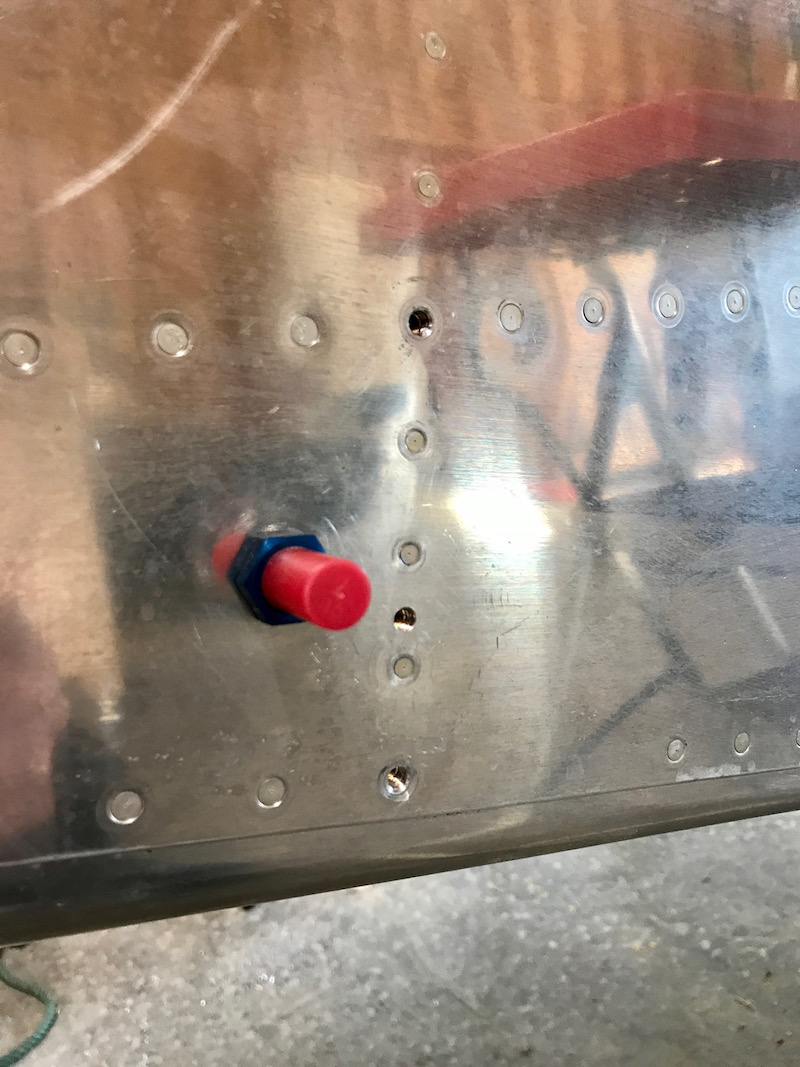
Forward of the firewall, one hose splits off towards each brake caliper:

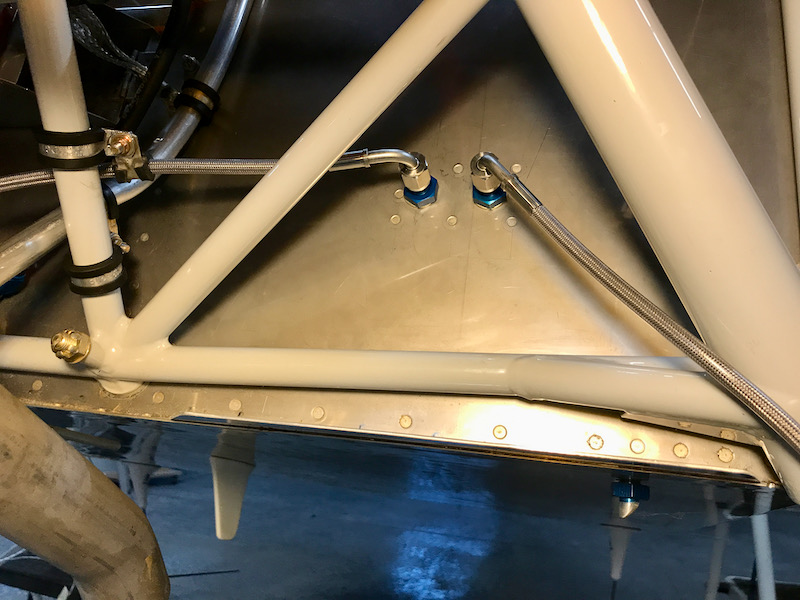
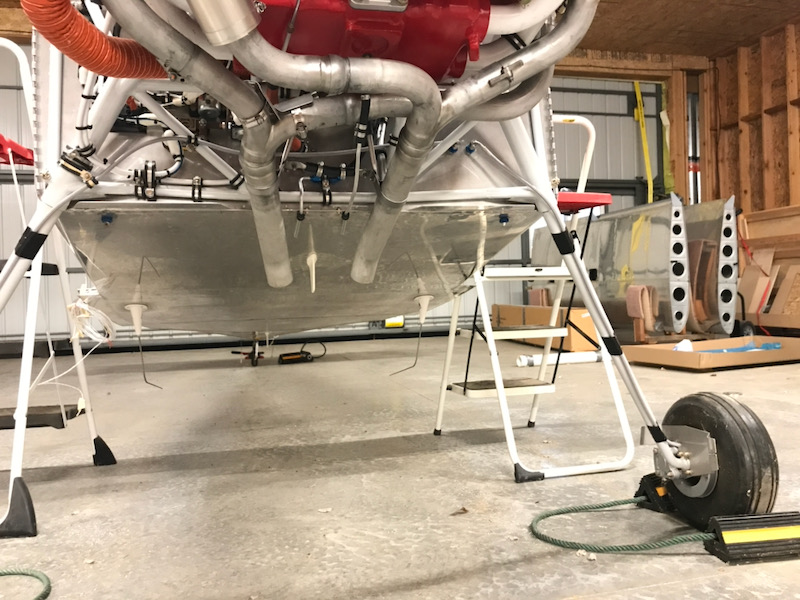
In this overview shot you can see that the left side brake hose has a straight shot down the gear leg to the left brake caliper. The right side brake hose, on the other hand, takes a circuitous route across the engine compartment to reach the right gear leg:

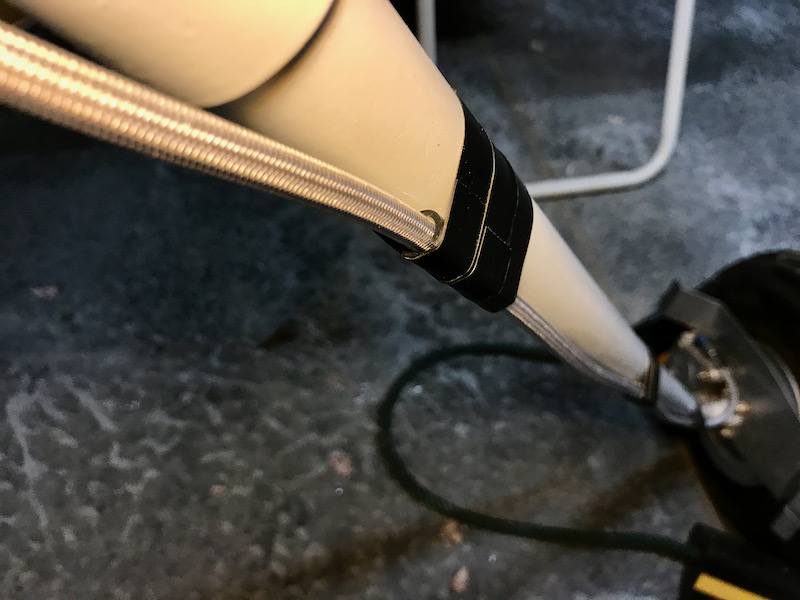
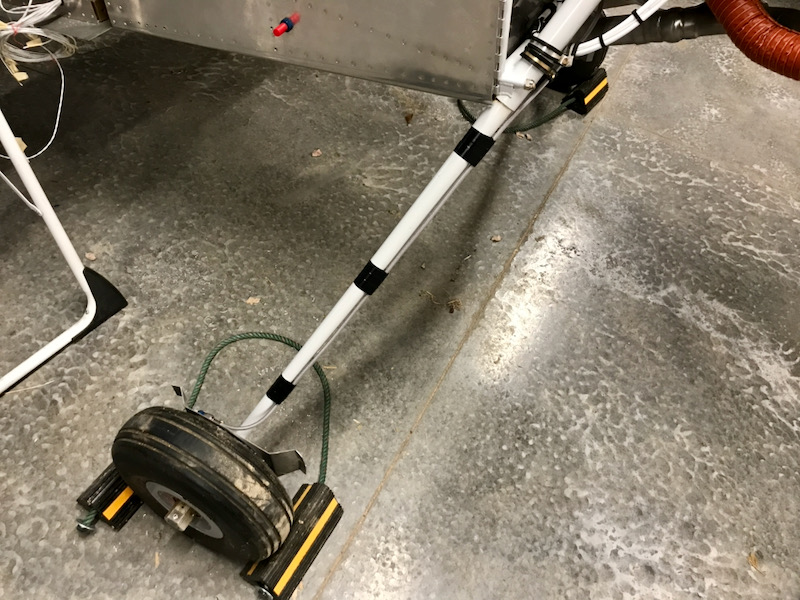
The hoses are affixed with small lengths of split plastic tubing that are stuck to the gear leg with plain old black electrical tape. This seems a little cheesy until you realize that an adel clamp would be heavier, bulkier, and wouldn't properly clamp onto the tapered gear leg anyway.

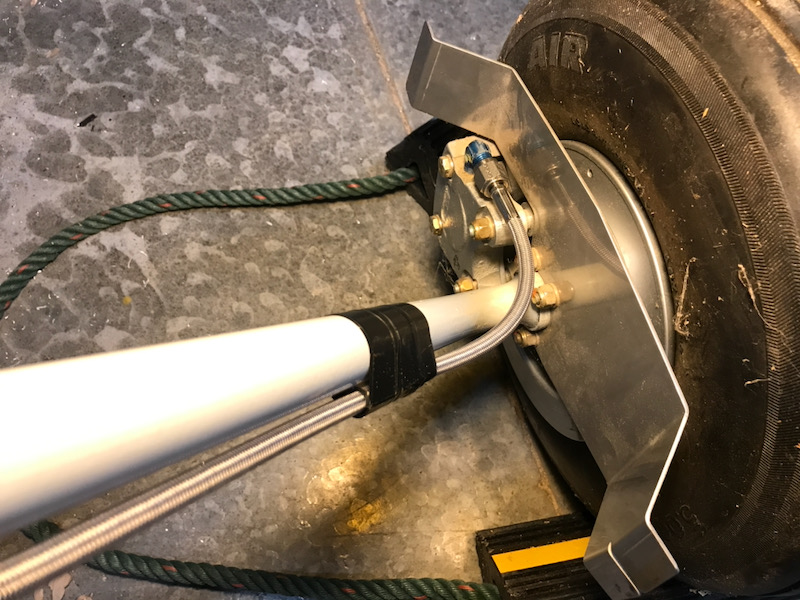
Down at the caliper there's plenty of slack to allow the brakes to work. The use of flexible hoses instead of rigid aluminum tubing along the gear legs is more expensive but almost trivially simple compared to the plans method.

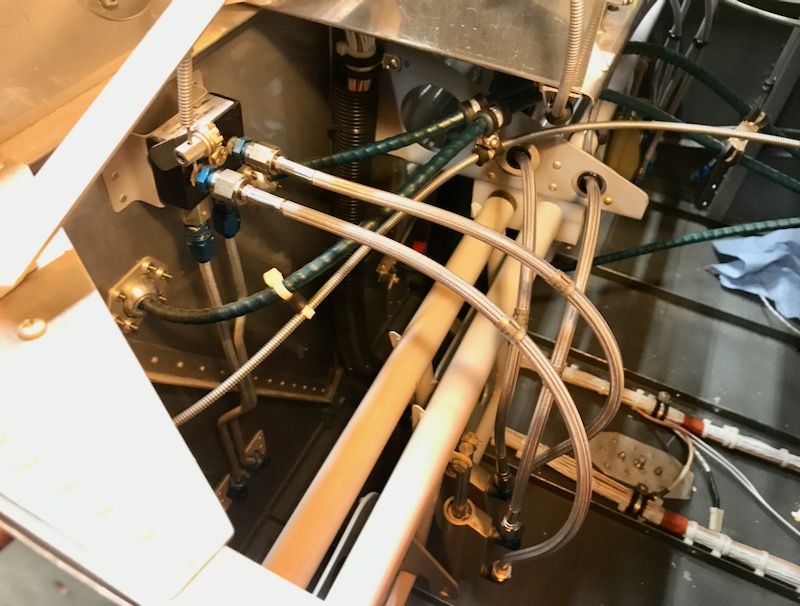
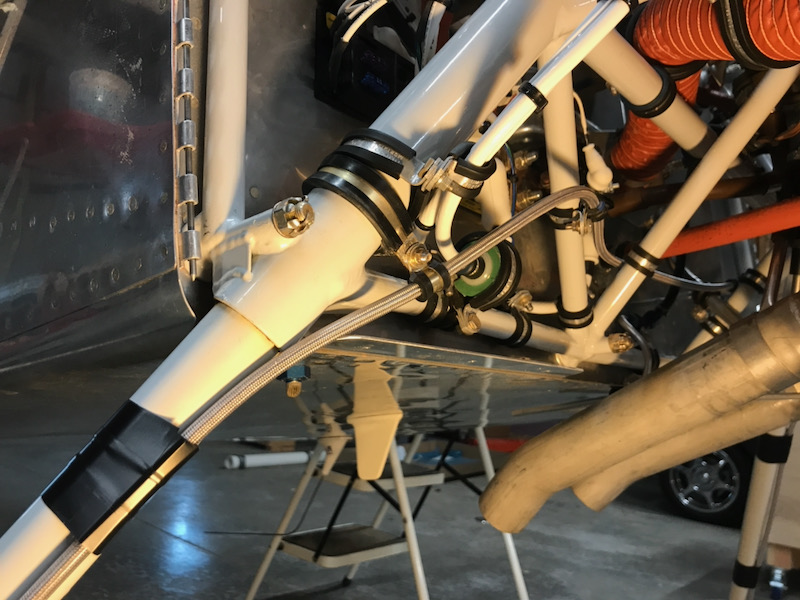
Here are some detail shots of the right side brake hose… first it crosses behind the diagonal engine mount tubes, with adel clamps to affix it near the breather hose:

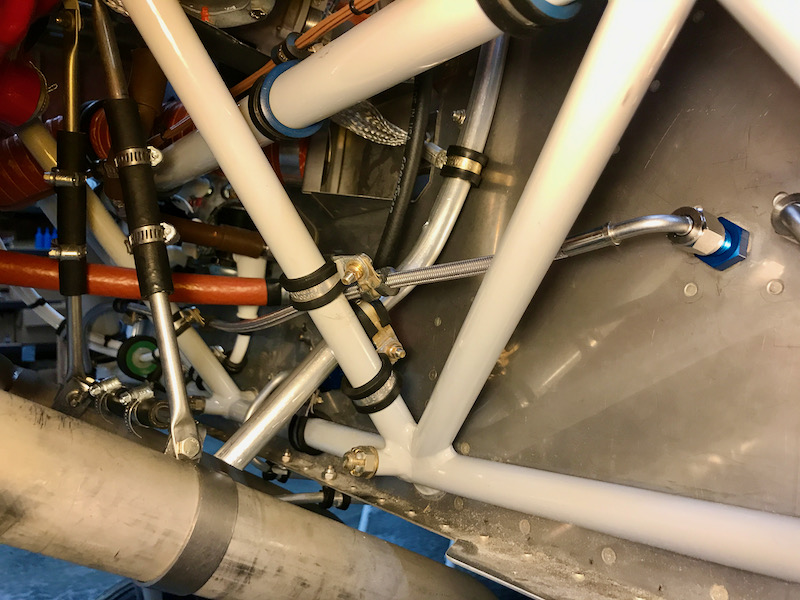
Then it dips down and under the prop governor cable, curves around in front of some electrical components, and then finally proceeds down the right gear leg. Altogether this hose is affixed to the engine mount in four places, which was a fun exercise in adel clampery.

Then from there it's another straight shot to the right side brake caliper, again with the same tape treatment to fix it to the gear leg:

There's no brake fluid in these lines yet, but at least all the plumbing is there now.

Fuel tank attach brackets

Saturday, December 26th, 2020

Another item that's shown in one of the plans drawings but not really mentioned in the assembly instructions is the F-796A fuel tank attach brackets. These protrude from a spot on the forward fuselage, and get bolted to the corresponding mounting ears on the forward ends of the wing fuel tanks. I don't need these brackets yet themselves per se, but the mounting of them also involves a series of parts on the inside of the fuselage, which is a job I need to complete.

The interior parts for mounting each tank attach bracket are a piece of angle and a stackup of aluminum spacers:

I cut and shaped these to fit between the lower longerons, on the forward side of the F-902 bulkhead. This required unhooking the fuel tank vent plumbing and moving it out of the way. My recommendation to anyone reading this is to install these parts much earlier, so you don't have to rejigger your vent lines like I did.

I drilled the upper and lower bolt holes by match-drilling through existing rivet holes. Then I installed the tank attach bracket with a temporary hardware store bolt in its upper mounting hole, and match-drilled its lower bolt hole through the centerline of the mounting parts below. That step was much easier once I picked up a 12" long 3/16" drill bit. The rivets visible under the bracket in this photo are just sitting in their holes to help keep things aligned.

After drilling and deburring everything, I primed and painted the mounting angles with my interior color (Rustolem Dark Pewter textured) and painted the steel attach brackets with Dark Machine Grey enamel. While I was having a painting day, I also painted the spar gussets from the last post in the same interior color.

I had to enlist Mary's help to drive the rivets, which are in an inconvenient spot for solo riveting:

I made sure that I'll be able to bolt the tank attach brackets in place when I need to, but I'm not going to attach them just yet because they seem like a real knee-banging, pants-tearing jobsite hazard.

Back inside of the fuselage, I was able to reshape the fuel vent lines and re-clock the elbow fittings to clear the newly-installed mounting angles. Thank goodness for soft 3003 tubing.

Spar gussets

Thursday, December 24th, 2020

The taildragger RV-7 has a pair of hefty aluminum gussets (F-7114) that bolt to the main spar and the lower fuselage longerons, fulfilling the same purpose as the main gear weldments which would be there in a tri-gear RV-7A. The plans don't really say when to attach these parts, other than you obviously need to have them in place before you mate the wings. I'm not to that stage yet, but I'm trying to get everything possible done inside the fuselage, so I decided I'd better check these gussets off the list.

First I made a set of drift pins by cutting down some appropriately-sized hardware store bolts and grinding a the ends to a taper point. By chucking a bolt into a hand drill and spinning it against my belt sander, I was able to make a nice taper fairly quickly, and it warmed my hands up to boot. A quick pass with some emery cloth made the ends nice and smooth.

Before doing anything else, I used the taper pins to check that the factory-drilled bolt holes in the spar were okay. There was a brief moment of panic when I could only get about half of them to go in, but with the aid of a hole gauge I figured out that the actual problem was that the F-704C/D plates were slightly misaligned with the corresponding F-704E/F bars that they were riveted to. This must have been due to the quickbuild factory failing to bolt the plates and bars together properly before match-drilling and riveting. I decided the best fix would be to carefully file the holes in the F-704C/D plates only, leaving the bores in the much more structurally significant F-704E/F bars untouched. This was fiddly, but I managed to make it work. In this photo you can see how out of alignment the parts were before I finished this repair:

I bolted the gussets to the forward face of the spar using short hardware-store bolts. You have to reshape the bent flanges on this part to make it fit properly, but it's no big deal if you go slow with the hand seamer. I drew a centerline on the outboard flange and used a paint stick to prop up the gusset at the correct angle to pick up the existing holes in the lower longeron.

From the outside of the fuselage I match-drilled into the gusset through the existing rivet holes, clecoing as I went. Here you can also see the temporary hardware-store bolts I used to affix the gussets in place while drilling:

Not too bad, plenty of edge distance:

I repeated this process for the other gusset, then drilled the five holes in each part up to #10 to accept an eventual row of bolts. Then I removed the gussets, deburred, and got them ready for painting. These won't actually be installed until the wings go on, so in the meantime I'll just shoot some paint on them the next time we get a decent day for painting.