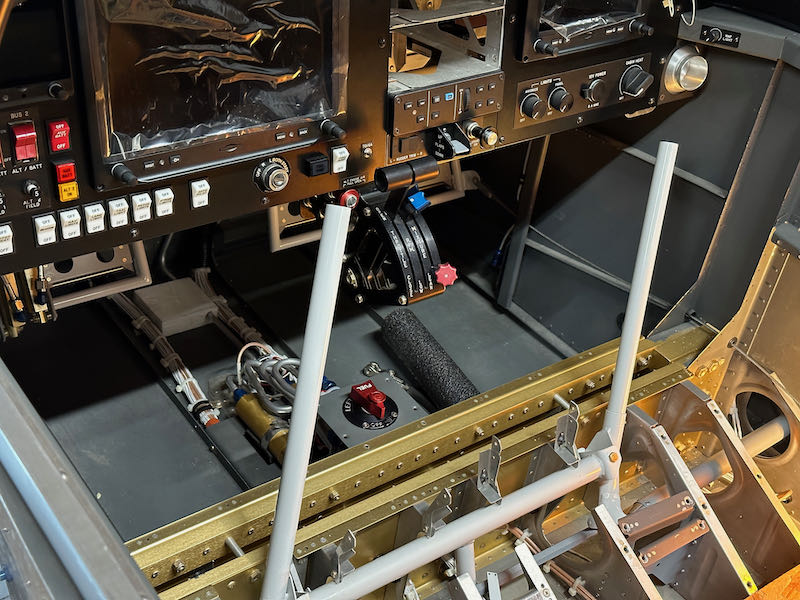
When we last saw the cockpit flight controls, I had the control stick geometry worked out but didn't have the stick grips installed yet:
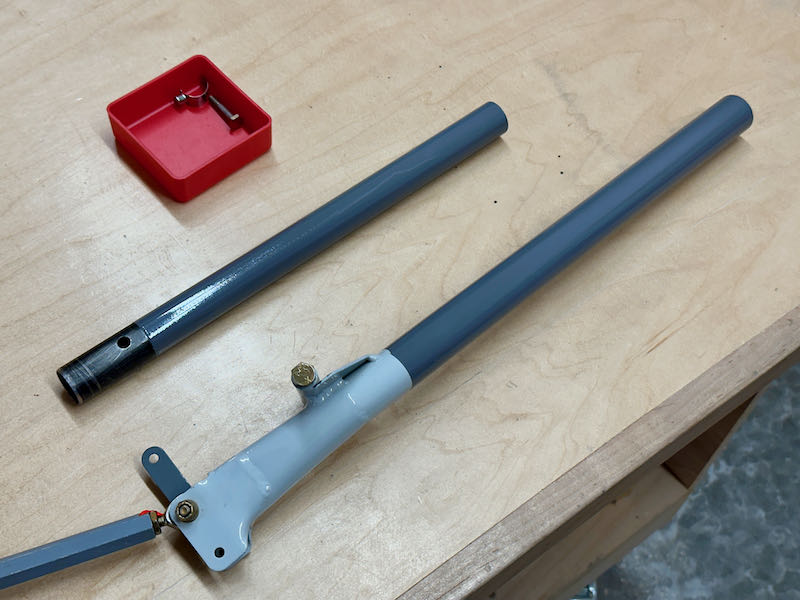
The stick grips add some length, so the tubes have to be shortened to result in control sticks that are the correct length. I did this iteratively, to sneak up on the correct dimensions without making the sticks shorter than they need to be:

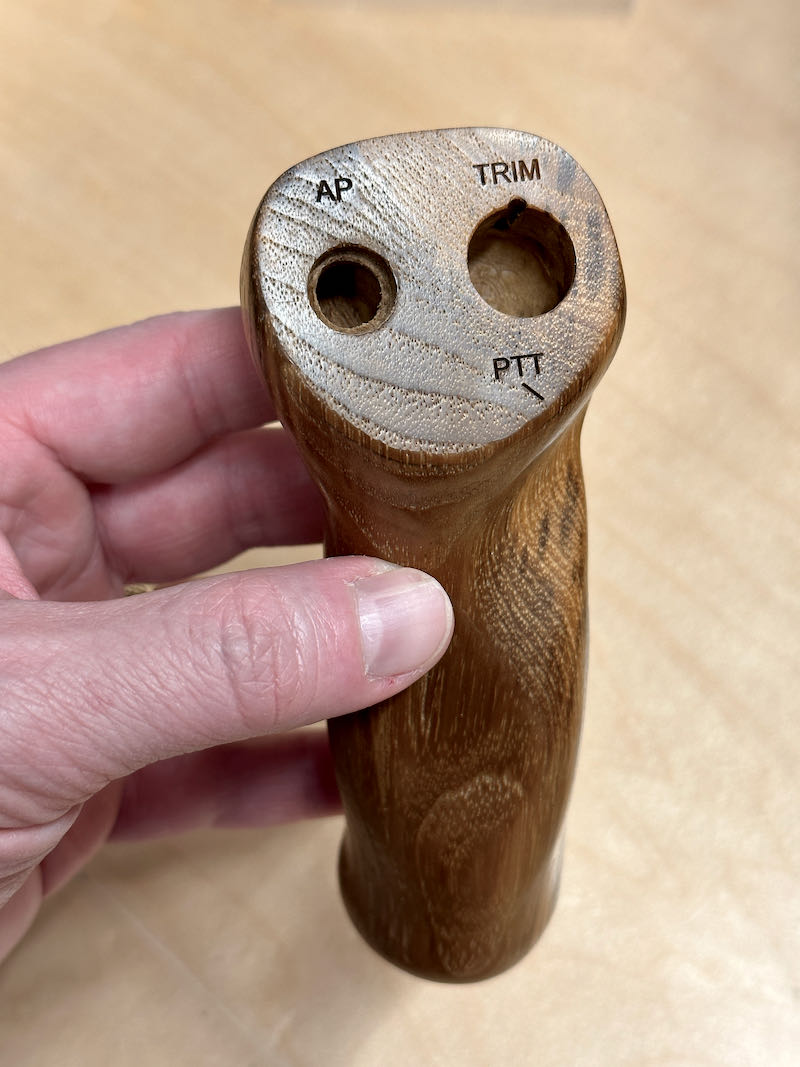
Frustratingly, with the sticks trimmed properly, the pilot stick grip hits the start key when moved to nearly full forward-right deflection. This was an unwelcome surprise:
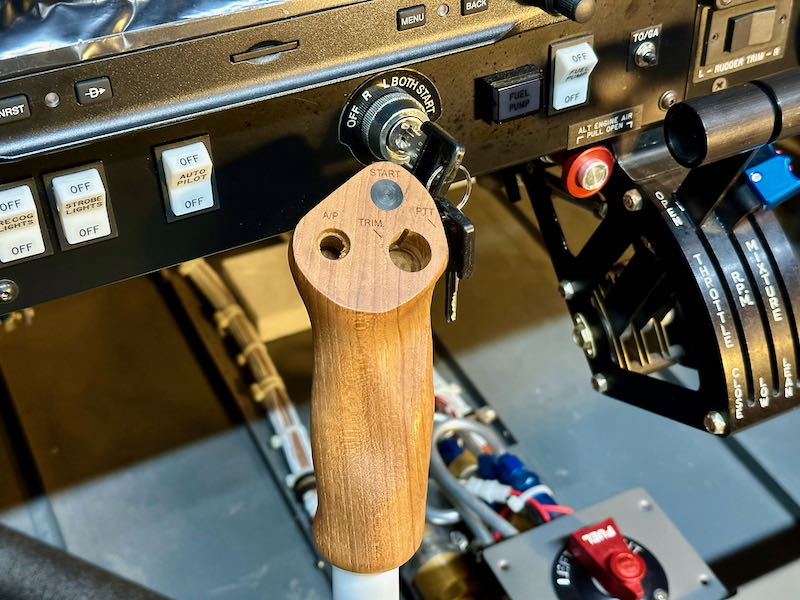
This type of interference can't be allowed to exist, but I didn't want to shorten the sticks even further and affect the flight characteristics of the aircraft, so I was presented with a dilemma. Ironically, the part of the stick grip that contacts the key is the forward protrusion that used to house the start button – which is no longer required now that I've moved the starter control to the panel.
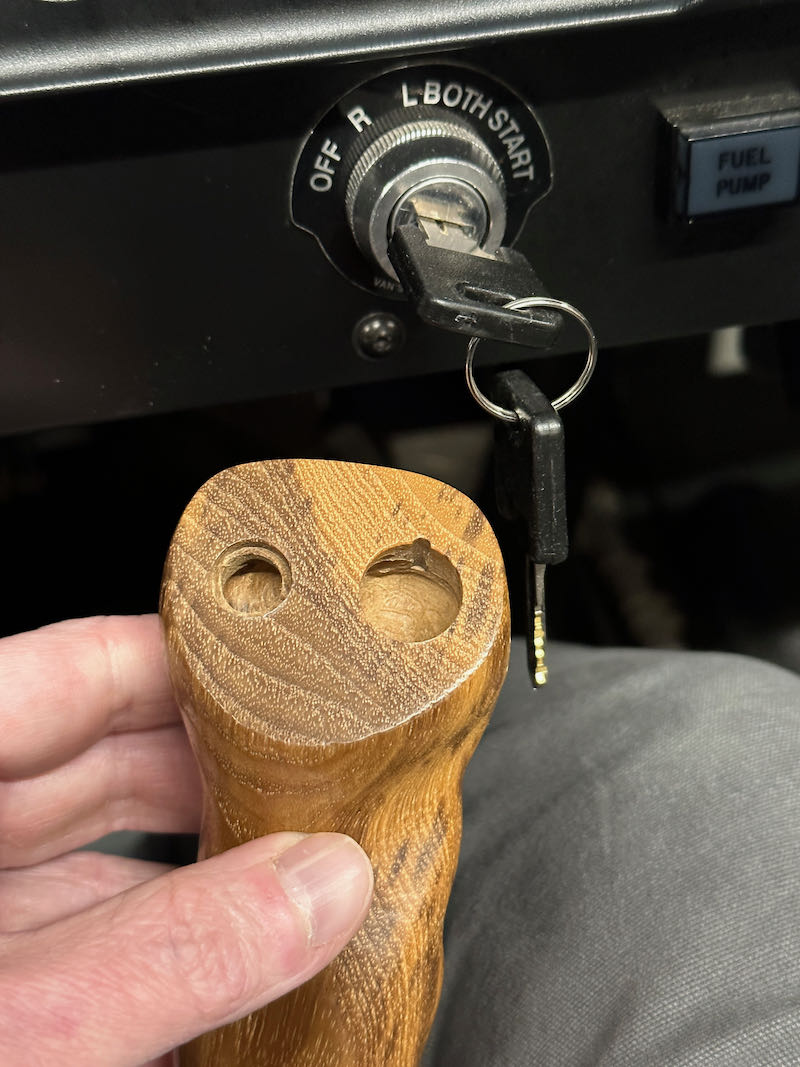
So, I figured the only workable solution was to have a new grip made. After a few emails with the manufacturer and the expenditure of a modest sum, I had a brand-new wood grip in hand. This one has the same functions as the old one, minus the unneeded extra button at the top, and consequently is smaller by just enough to allow the stick to achieve its full range of motion without hitting the start key. As long as I don't affect a big keychain for the airplane keys, this should work. Whew!
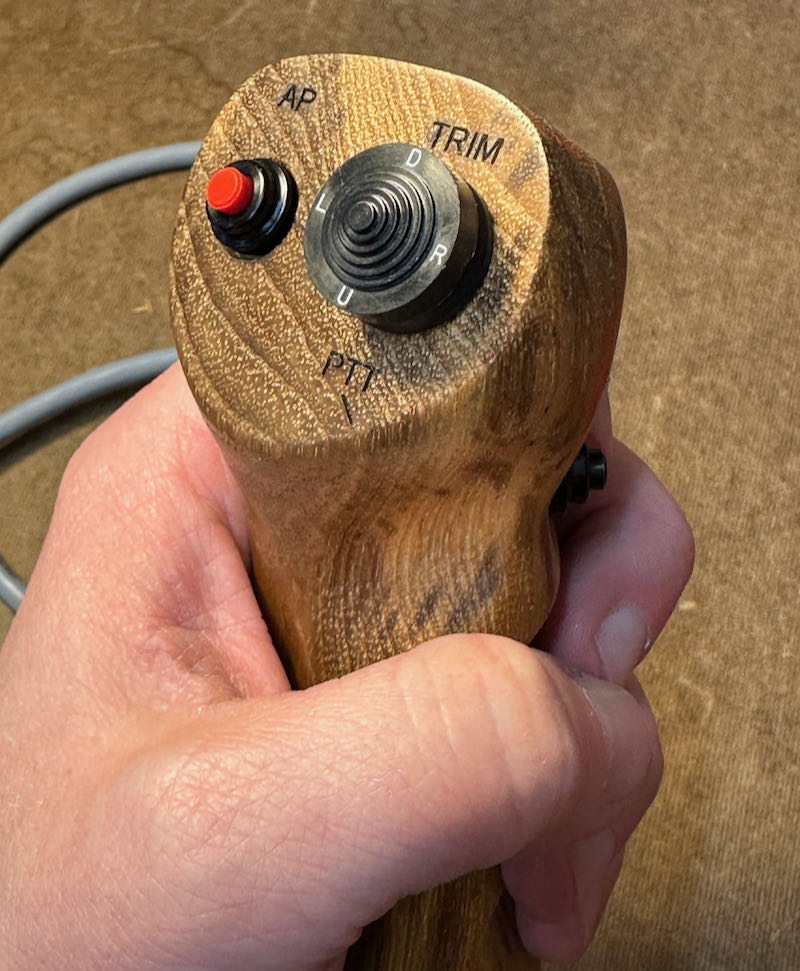
I had a local trophy shop engrave button labels on the new grip:
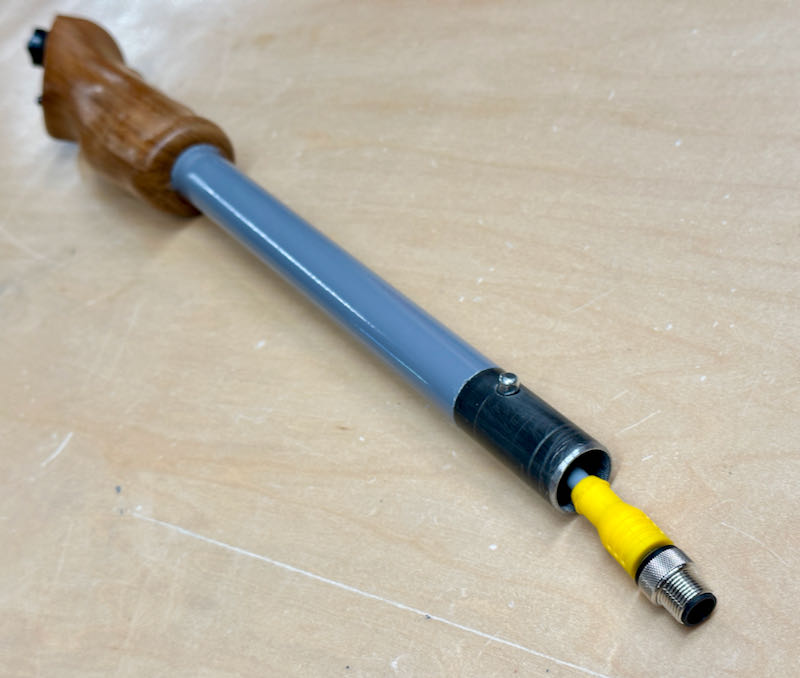
While I was waiting for the engraving job to get finished, I painted the visible parts of the stick tubes with my favorite grey enamel:
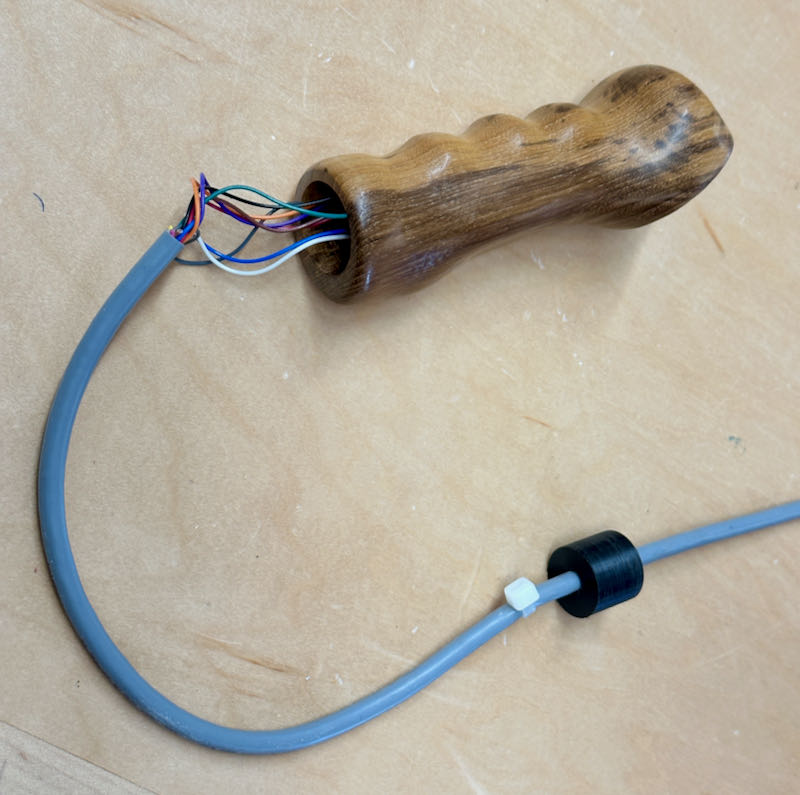
On to the wiring… instead of using standard aircraft wire here, I sourced some ultra-flexible cable intended for industrial robots. It is as bendy as a wet noodle, even though it has a total of nine conductors inside. It is also only 1/4" in diameter, which allows it to exit the stick tubes by passing down through the pushrod bearings:
This stuff is rated to withstand ten million flex cycles, so it ought to survive in my airplane just fine. I soldered the 24-gauge wires in the cables to the switches that live on the stick grips:
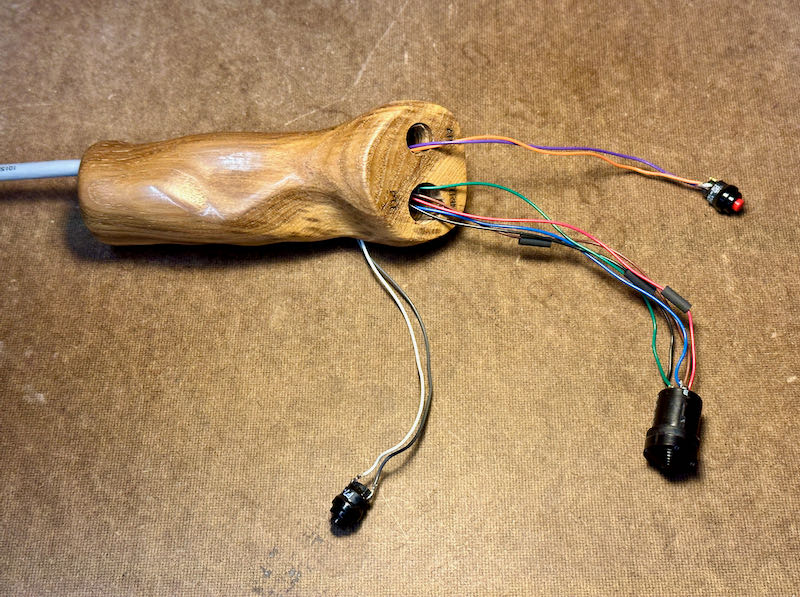
I'm using Otto P7 milspec switches for the autopilot disconnect and radio PTT buttons, and they have a very satisfying and expensive-feeling click action:
I didn't want to have to worry about these tiny wires getting pulled loose from the switches, so I fabricated some simple strain relief devices that live inside the stick tubes. Each one is nothing more than a close-fitting Delrin bushing and a zip tie that stops the cable from being pulled all the way out the bottom:
The flex cable assembly I bought had a pair of M12 connectors already installed. I had not encountered this type of connector before, and I'm glad I didn't have to solder or crimp them because they are really small. So small that they can fit inside the passenger stick tubes, which combined with the secure threaded and locking connection method makes them an ideal choice for the passenger side:
The mating connector lives inside the pivoting part of the passenger stick. The little zip-tie tail is there so I can fish it out if it falls down inside the socket:
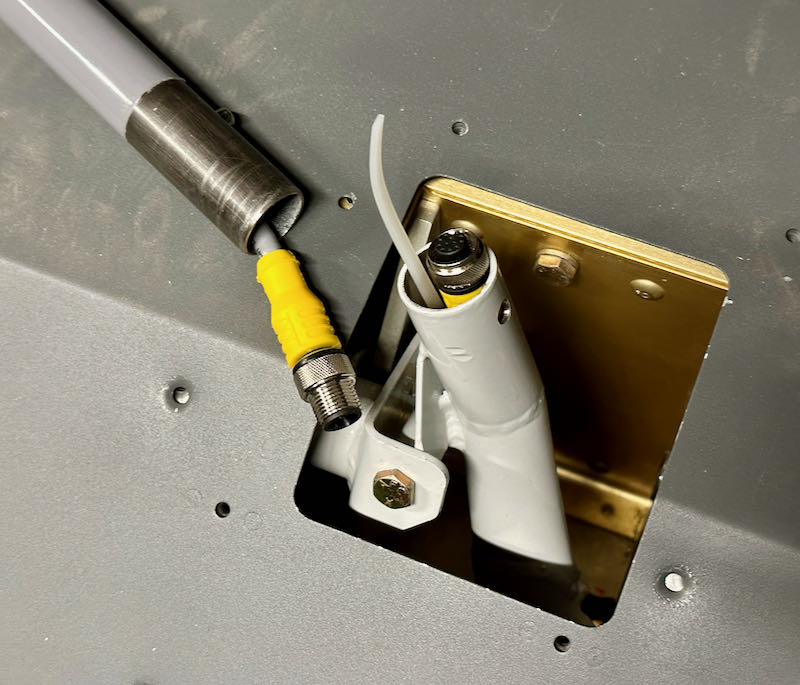
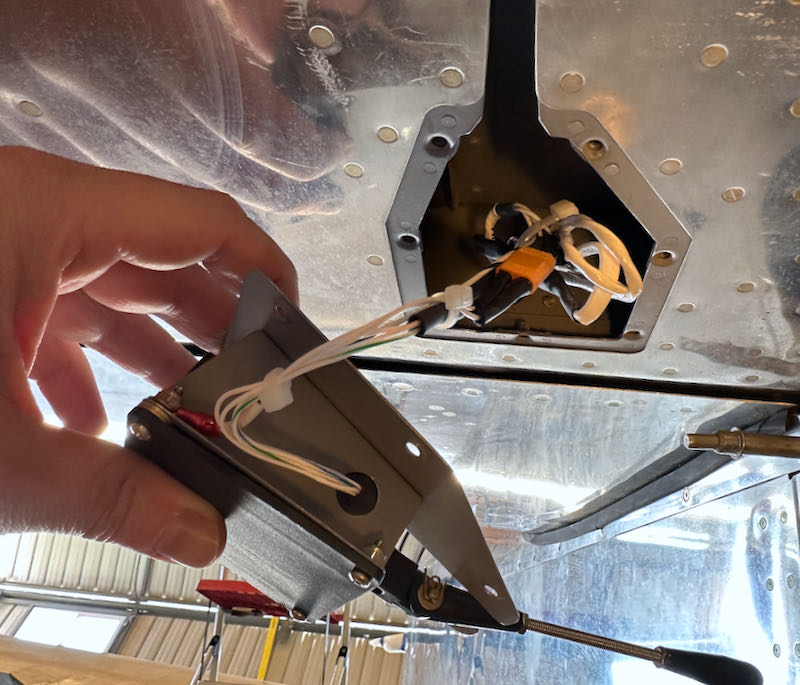
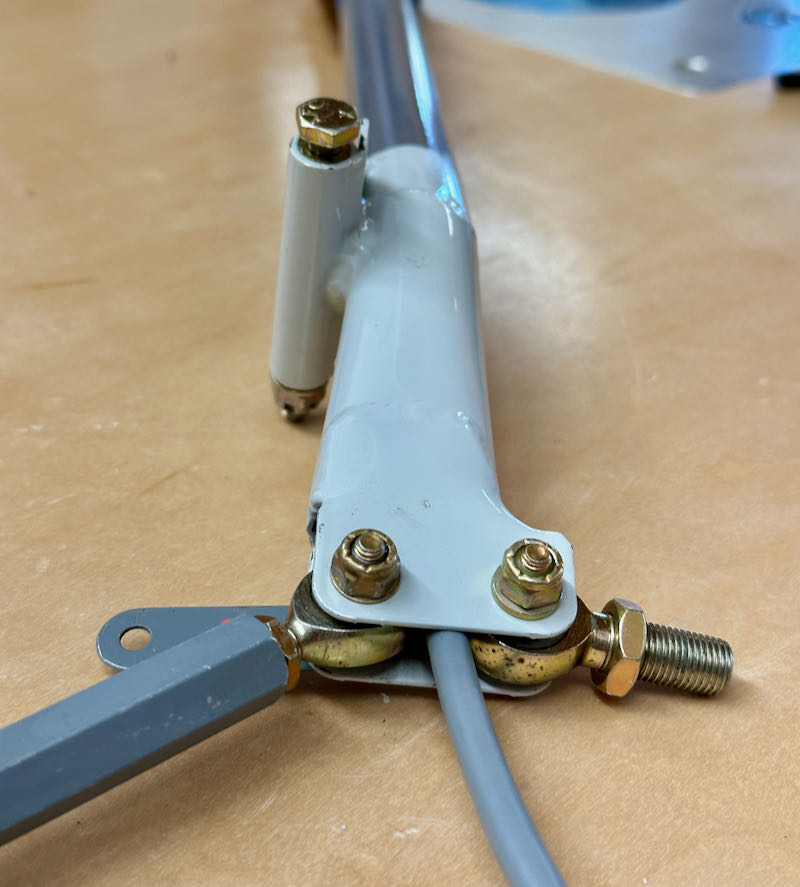
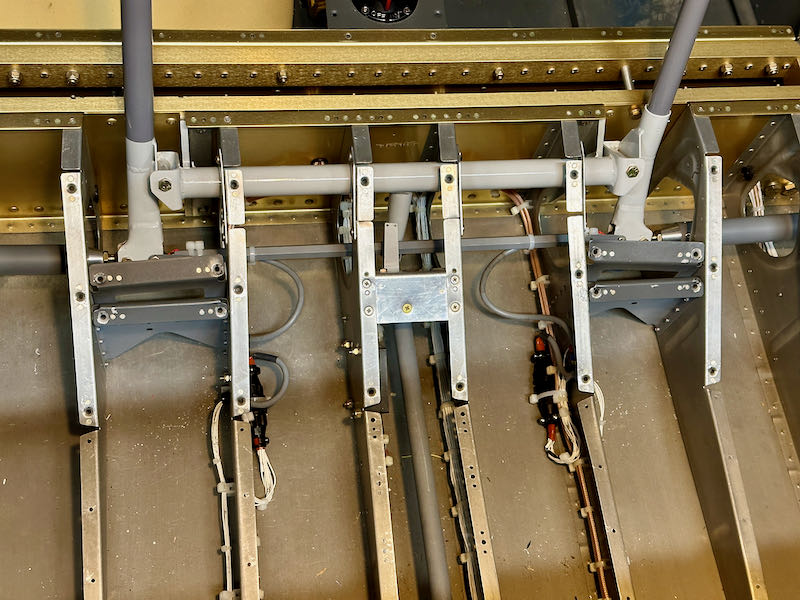
Here's an overview of how I routed the cables from the sticks and connected them to the aircraft wiring. The flex cables are zip-tied to the F-665 pushrod, and a loop of cable is provided that's just slack enough to allow easy flexing but not so loose that the cable can chafe against the fuselage structure:
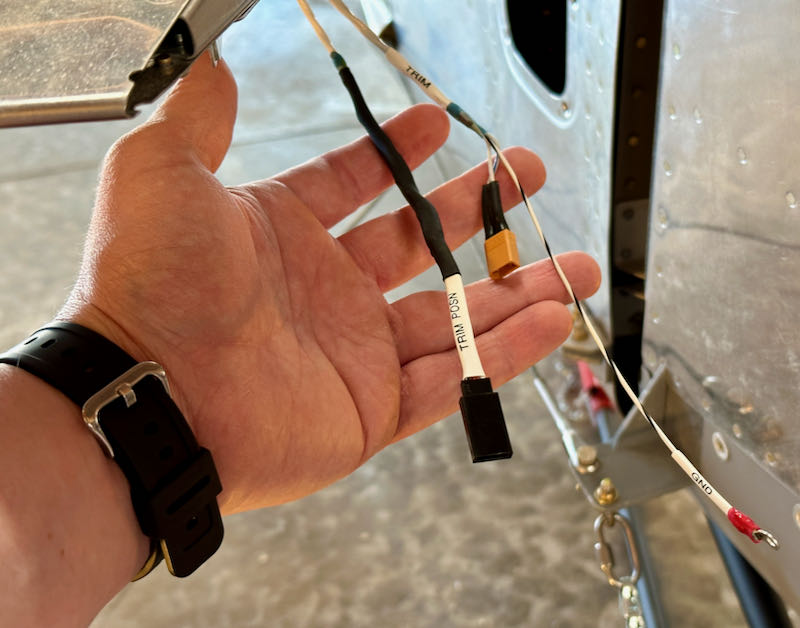
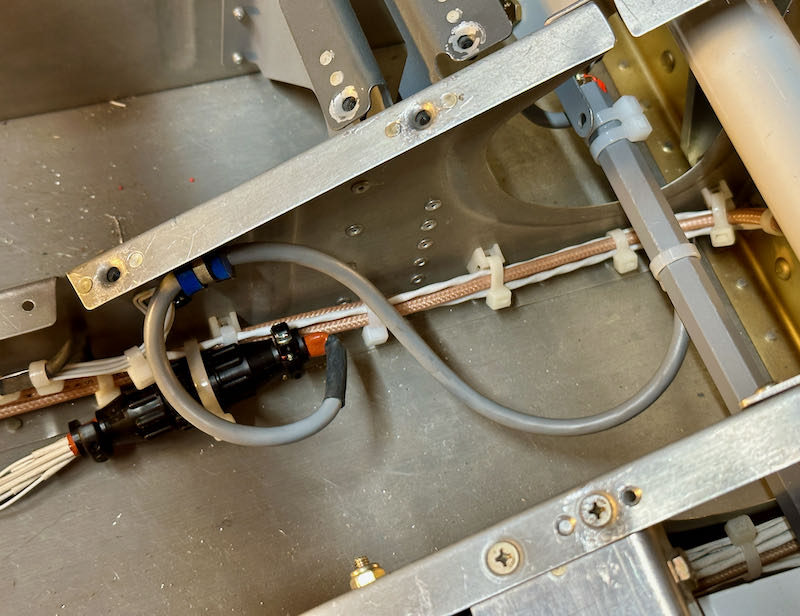
Here's another view showing how each side is arranged. The flex cable is secured at the stationary end by an adel clamp, and connects to the fuselage wiring via a 9-pin CPC connector:
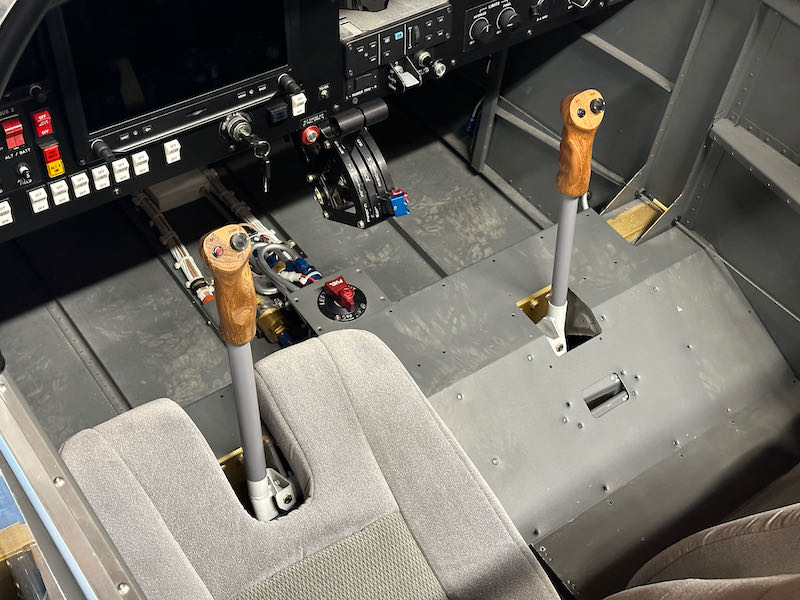
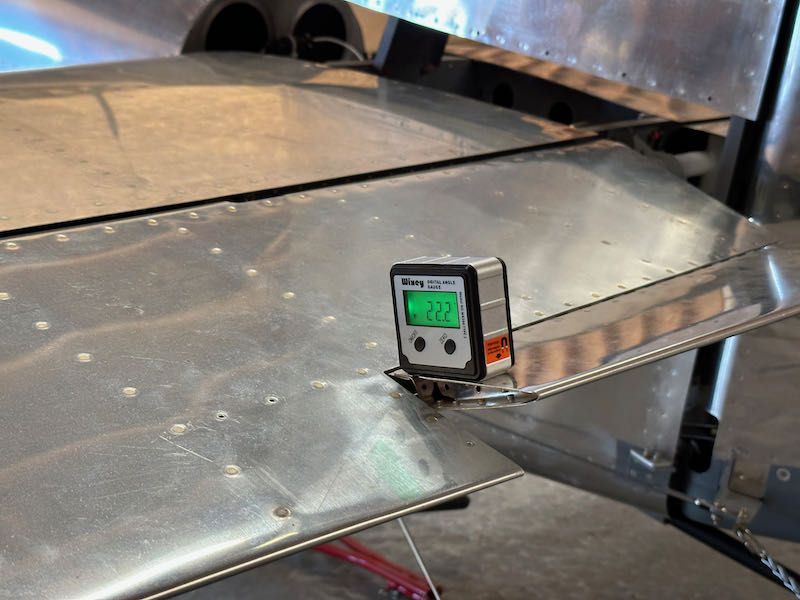
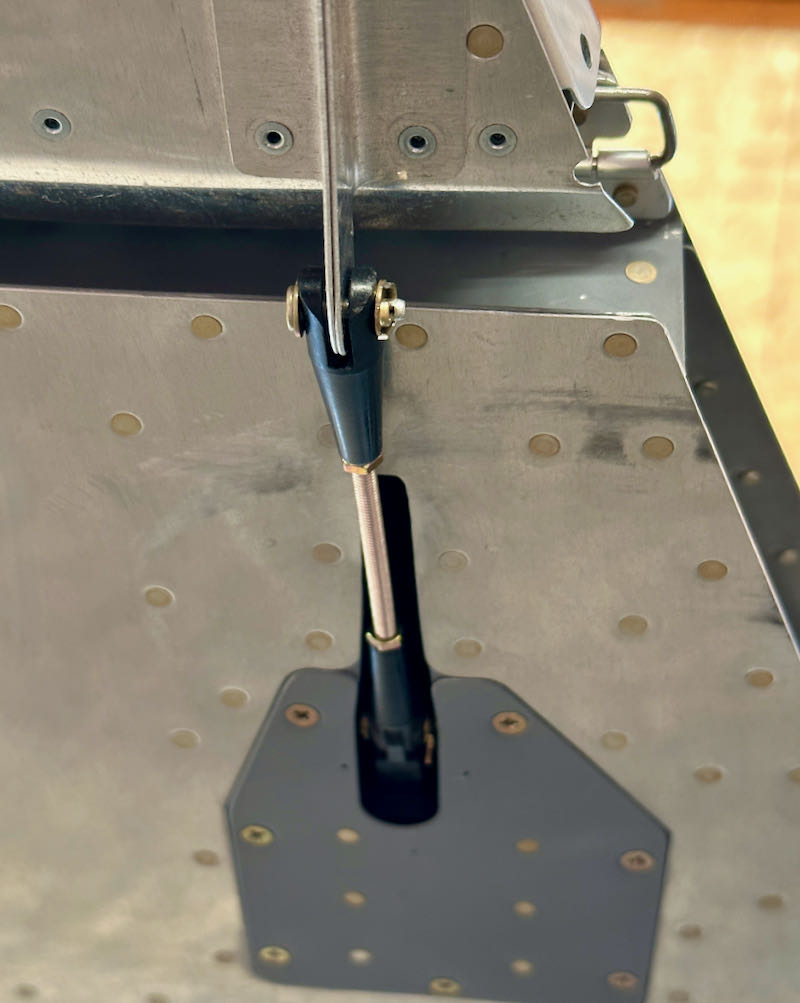
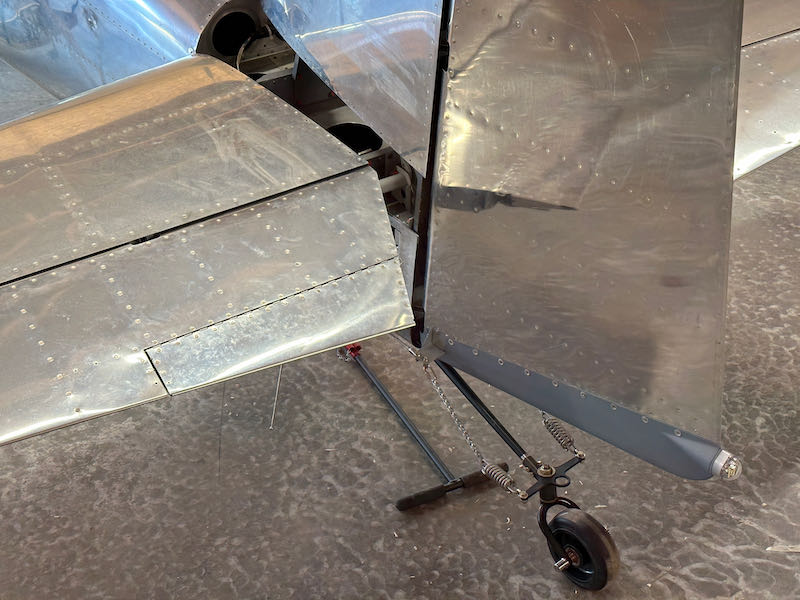
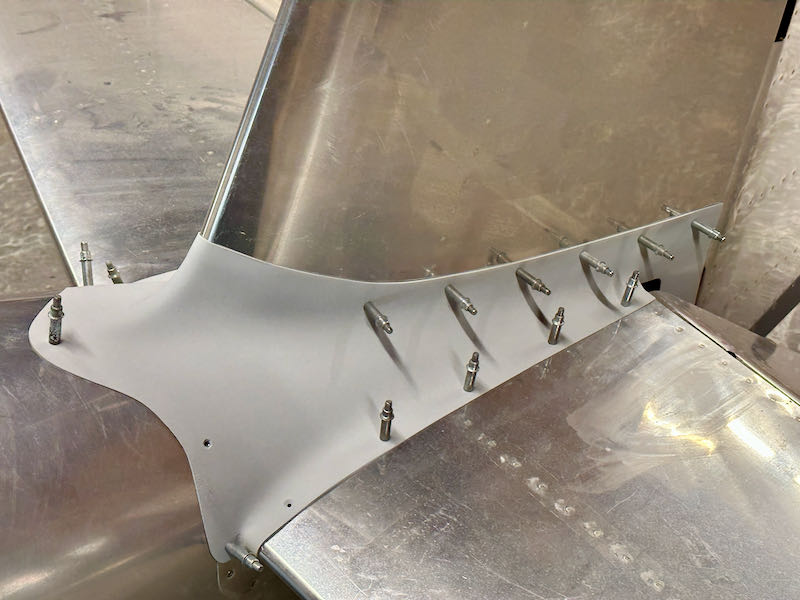
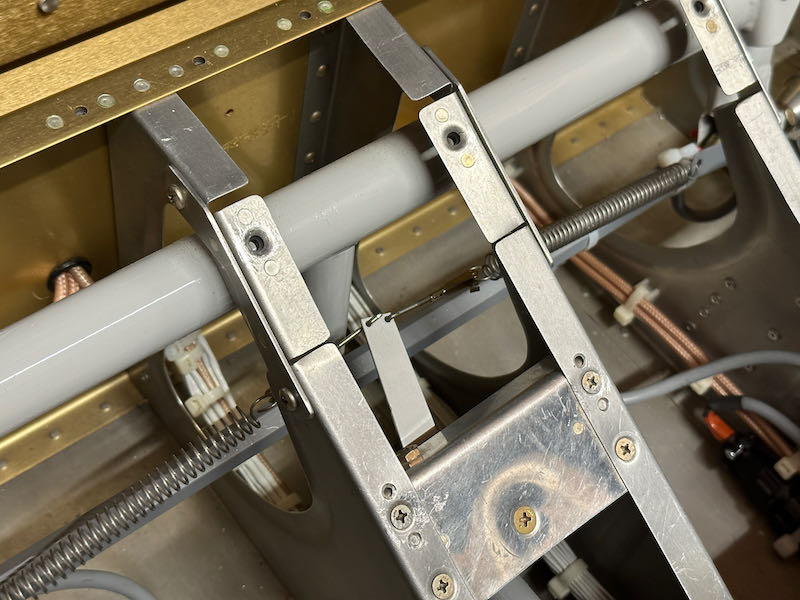
With the control sticks completely installed at last, I reconnected the aileron trim springs:
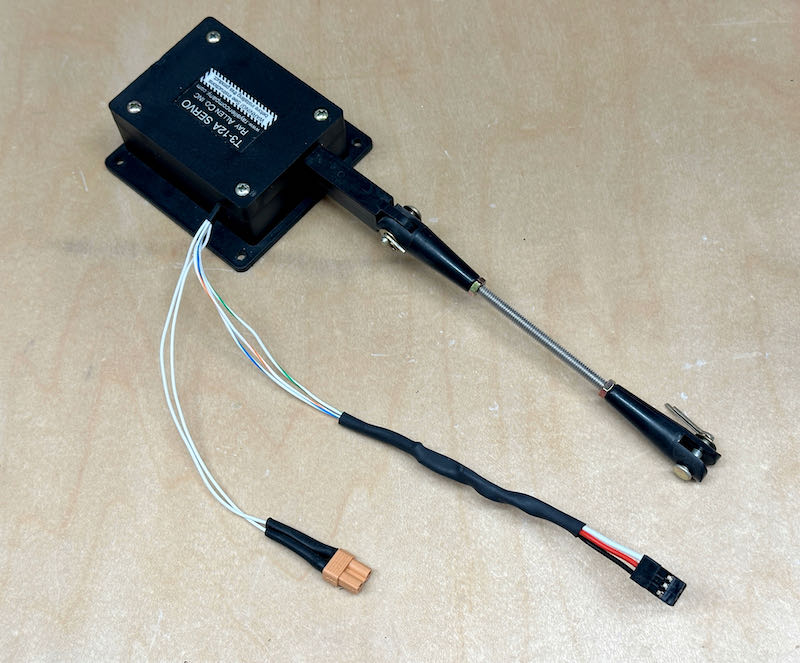
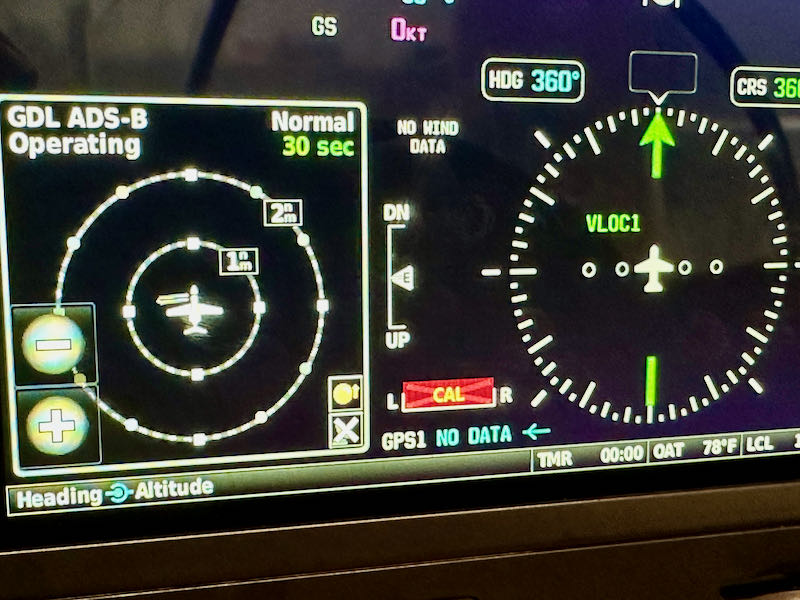
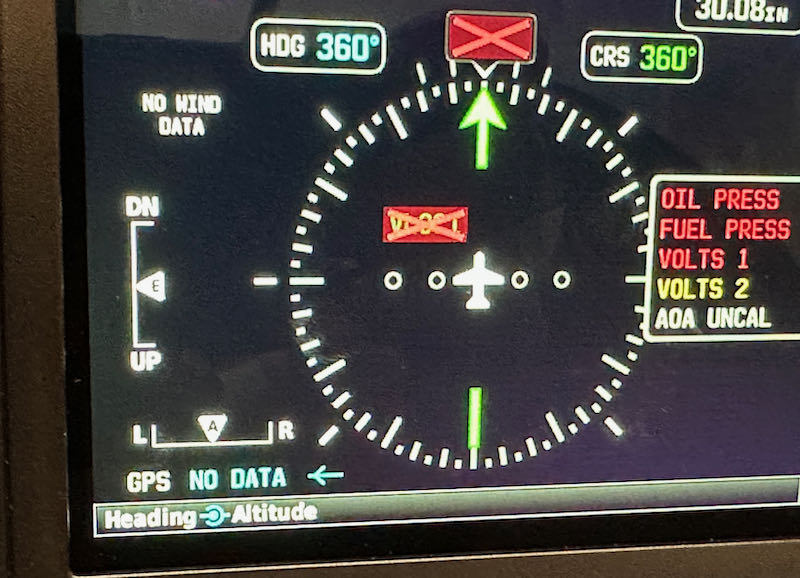
I did a quick calibration of the aileron trim position sensor, resulting in one less red X on the screen:
As the final step, I attached the stick grips to the tubes using the manufacturer's recommended method of simply gluing them in place with clear silicone. To do this correctly, I had to install the seats and sit in the plane to judge the proper rotation angle while gluing the grips. Did I make airplane noises? I'll never tell…